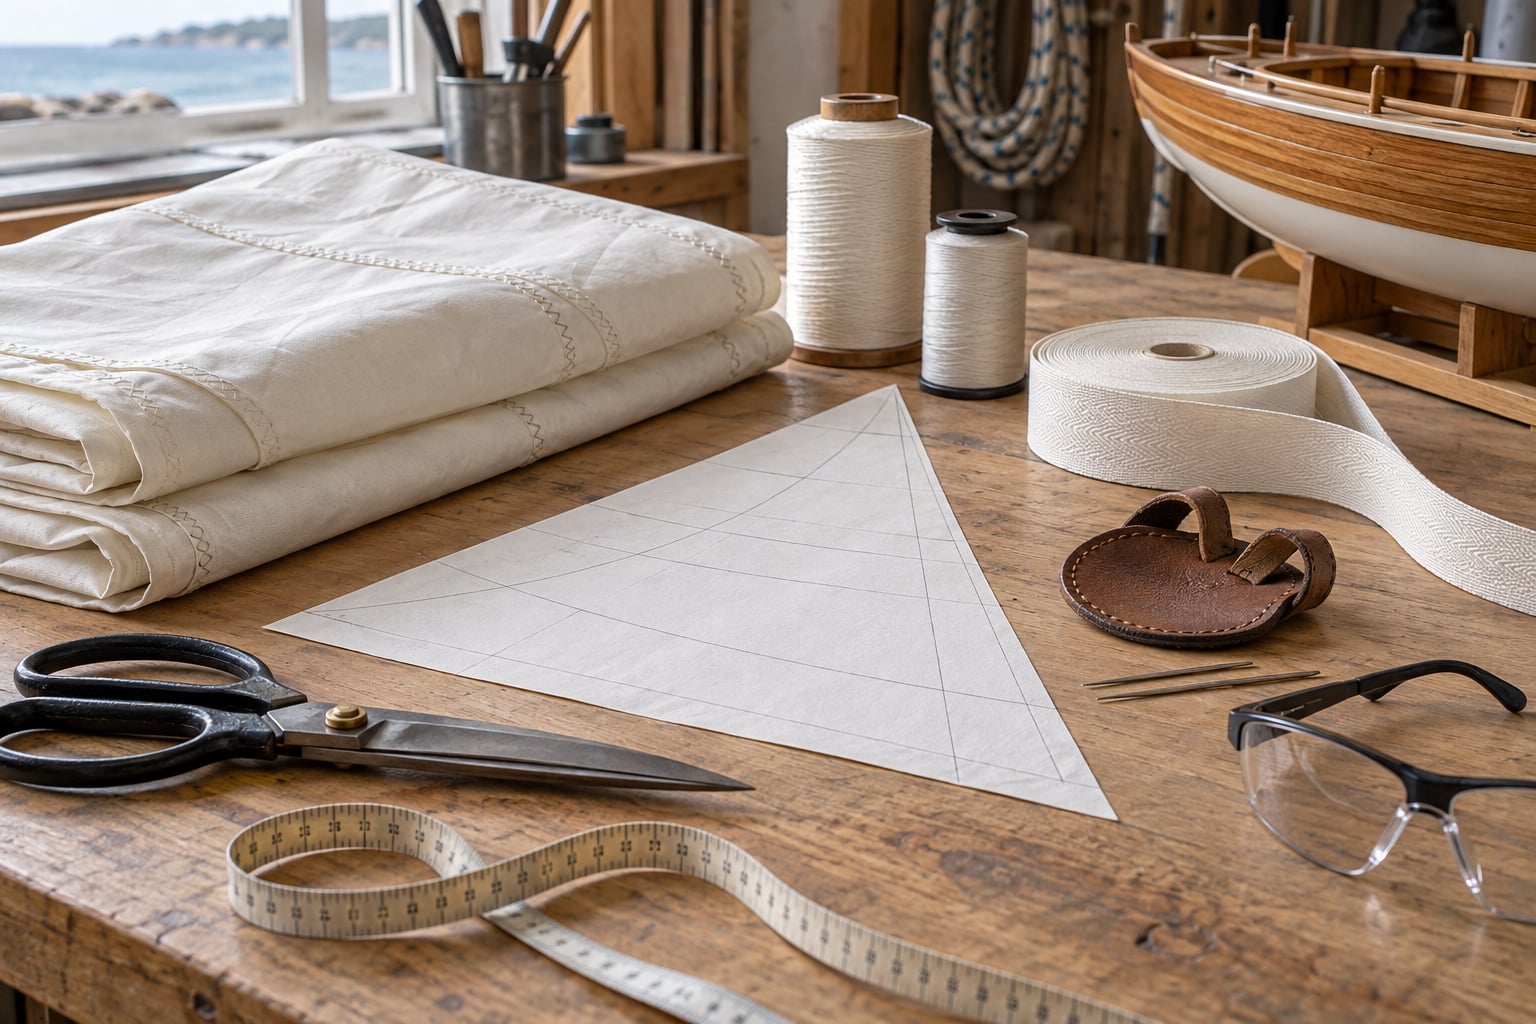
To build a sail from scratch you need three things: a pattern matched to your mast and boom, cloth stiff enough to hold an airfoil shape, and a seam that resists the load running through it. Cut a flat shape and sew it into panels, then the luff curve and seam shaping give you a curved surface that works as a wing once it’s hoisted. A first sail is a weekend-plus project for a model or small dinghy; a full-size main for a cruising boat is a different job, usually better started from a kit or a sailmaker’s pattern.
The process in short:
- Measure your mast, boom and boat, then find or draft a pattern to fit.
- Choose sailcloth by weight and sail size, not by habit.
- Lay the panels out with the warp running in the load direction, mark and cut cleanly.
- Baste the seams, then sew them with a three-row zigzag at about 4 mm stitch length.
- Finish the luff, leech and foot, then reinforce tack, clew and head.
- Fit the luff tape or sleeve, add rings or thimbles, and hang it.
- Hoist in light air on the sheltered side of the boat and read the draft strip before you trim.
Budget a full weekend of cutting and sewing for a model or sprit sail, and considerably longer for a mainsail with battens. Safety glasses, a sailmaker’s palm and a hot knife handle are worth the detour even on a small build.
Table of Contents
- What You Need
- Step-by-Step
- Common Mistakes
- Frequently Asked Questions
- What is the easiest type of sail for a beginner to build?
- What material should I use for a homemade beginner sail?
- Can I build a sail without a sewing machine?
- How do I know what size sail my boat needs?
- Should I make the sail from one piece of cloth or several panels?
- How do I test a homemade sail safely?
What You Need
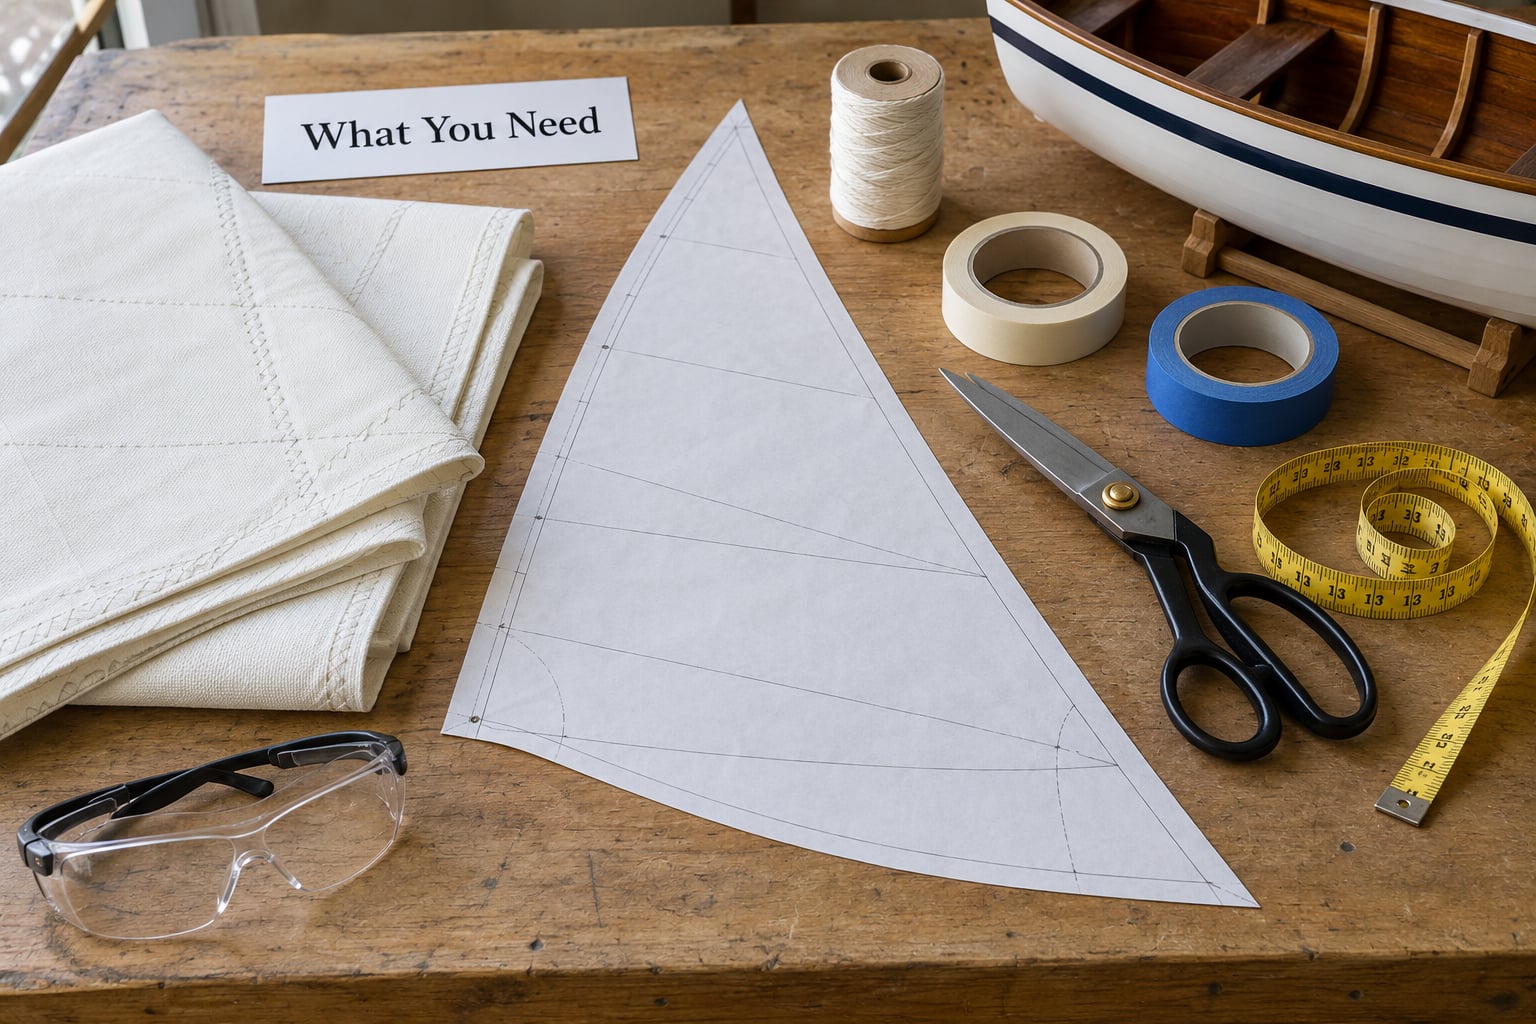
Start by separating two projects that share a name but not a toolset. A model, canoe or sprit sail is fabric, thread and glue-adhesive film, cut with scissors and closed with a running stitch. A small dinghy main is heavy cloth, shaped seams, a zigzag machine and batten pockets. A cruising mainsail or headsail is structural, and it belongs with a professional.
The vocabulary you need first
Most beginner mistakes trace back to mixed-up terms, so learn these before you touch a ruler.
- Luff — the forward edge that runs up the mast.
- Leech — the trailing edge running from the head down to the clew.
- Foot — the bottom edge from tack to clew, usually along the boom.
- Head — the top corner, where all the load concentrates.
- Tack — the forward bottom corner, at the bow end of the foot.
- Clew — the aft bottom corner, where the sheet attaches.
- Roach — the curve on the leech above the straight line from clew to head, which adds area high up where it helps.
- Batten pocket — the sleeve holding a stiff batten that supports the leech.
Materials
For sailcloth, thread, corner patches, luff tape, rings and adhesive film, the short version is that the cloth choice sets your sewing method. If you need a hot knife, an industrial machine and gridded cutting, you have laminate cloth in mind. If a sharp scissors and a hand needle will do, woven polyester or nylon is your material.
- Sailcloth — enough for the flat panels plus seam overlaps and corner patches. Add 15% extra for learning mistakes.
- Thread — V69 or heavier for woven Dacron, V92 for laminate seams, a nylon-bonded thread for nylon cloth.
- Reinforcement — webbing or tape for corner patches, gridded taffeta for patches and battens, spreader patches for ring loads.
- Luff and leech hardware — luff tape and hank-on slides, or a sewn sleeve; rings and thimbles for the clew and head.
- Adhesive — sail tape or a polyurethane film for sealing seams, and sticky-back patches for temporary reinforcement.
- Edge finishing — bolt rope, leech line, a clew slug.
Tools and workspace
You need a long flat cutting surface, a measuring tape, a sharp knife or large shears, a water-soluble marker, straight edges, pins or weights, and a sewing machine capable of a wide three-row zigzag. A sailmaker’s palm, an awl, a mallet and heavy scissors complete the kit. The ideal setup is an industrial zigzag machine with a sail table that lets the cloth hang past the needle so panels feed flat.
Without that machine, hand sewing is a real option. Use a sail needle or a size 18 embroidery needle, doubled thread, and a running stitch about 5 mm long with 3 mm spacing, worked from both sides so the seam sits flat. Hand-stitched seams are legitimate on model, canoe and sprit sails; they are a poor choice for a loaded head on a boat that goes offshore.
Safety and scope
A home-built sail is fine for daysailing, sheltered water, model boats and classroom rigs. It is not fine for offshore passage work or for a sail carrying structural loads at the head of a mast, because the head carries the combined pull of halyard, luff and leech. Sails are consumables that stretch and perish under UV, and a self-built one has a shorter, less certain life. If the sail is going offshore, buy it from a loft.
Step-by-Step
How to Choose the Right Sailcloth
For most first sails, woven Dacron polyester is the right answer because it is stable, forgiving to sew and cheap in relative terms. Nylon suits light air and spinnaker use because it is light and stretchy, but it deforms. Laminate sailcloth is stiff and light, and it demands an industrial machine because fusing layers in a domestic zigzag melts them into a mess.
| Cloth | Stretch | Stiffness | Durability and UV life | Relative cost | Best use |
|---|---|---|---|---|---|
| Woven Dacron (polyester) | Low after a few seasons | Medium | Good; degrades slowly, opaque when new | Low | First build, small dinghy main and jib |
| Nylon (Ch spinnaker, ripstop) | High when new, then stable | Low | Good mechanically, weak against UV over time | Low | Light-air sails, model and canoe rigs |
| Scrim laminate (taffeta scrim in film) | Very low | Medium to high | Very good UV resistance, retains shape | Medium | Small cruising sails where stiffness matters |
| Monofilm laminate | Almost none | High | Best UV life, but brittle if creased cold | High | Performance sails, industrial machines only |
| Polyester film laminate | Very low | High | Good, less UV-stable than monofilm | Medium | Budget laminates, model and school sails |
| Ripstop nylon | Moderate | Low | Poor UV tolerance, excellent tear containment | Low | Utility sails, tarps, reef cringles |
Cloth weight, in ounces per square yard, tells you the sail size it suits. Around 0.75 oz works for model and toy rigs, 1.0 to 4.0 oz covers canoes, dinghies and small daysailers, 5.5 to 7.5 oz is the range for a mid-size mainsail, and anything heavier belongs to offshore work.
The practical trap is the luff curve. A sail’s luff is deliberately more curved than the mast it sits on, because the mast is straight and the extra curve creates camber. If you draft the sail to match your mast exactly, the sail will be flat and dead. Pulling that curve in by hand after hoisting is the job of halyard tension, leech line and luff curve systems, not of the pattern.
How to Draft a Beginner Sail Pattern
A pattern matched to your boat is the single thing that most stalled builders lack, and getting one early saves cloth. Three routes work: buy a kit pattern for the boat class you are working on, download a free PDF pattern and scale it to your dimensions, or draft a full-scale pattern yourself from your mast and boom measurements.
To draft by hand, lay out the luff length along a wall, then set the foot length along the floor from the tack. Draw the luff as a smooth curve bowing forward, not a straight line. Set the leech from head to clew, add the roach as a gentle outward curve, and mark the head and clew points. Draw one panel, scale it into a panel strip set by laying the paper along the luff and stepping it across in grain-aligned sections.
Before you cut cloth, do a sanity check on size. Sail area in square metres is roughly the luff length multiplied by the foot length multiplied by about 0.65 for a mainsail, and by about 0.75 for a triangular jib. As a rough demand figure for a small open boat, somewhere near 8 to 10 square metres per metre of boat length works for a modest cruise; a planing daysailer wants considerably more, a heavy displacement keelboat less. Aspect ratio, the square of the luff divided by the area, tells you whether a sail is tall and powerful or wide and easy to handle. Anything past about 5 needs a stiff mast and a competent trimmer.
Mark the cloth with a water-soluble pen, lay the paper pattern on top, and weight it down. Cut edge panels on the straight grain because every load runs along them.
How to Cut the Sail Panels
Cut panels with the warp or strongest thread direction running up and down the sail, so the load runs through the fibres rather than across them. Cross-cut sails, where panels run at an angle across the sail, let the seams act as the shape and are easier to sew but heavier. Vertical-cut and radial layouts put the load paths in the right place and suit laminate cloth.
Iron or roll the cloth flat, then lay it out so the straight grain runs the full length of the sail. Chalk or pen the panel outlines using long straight references, and add a seam allowance of 15 to 25 mm on every edge that will be joined. Cut with a sharp blade on a cutting mat or with heavy shears, keeping one continuous motion so the edge stays straight.
Label each piece as you remove it from the table, with the panel number and the corner it belongs to. Panels that look identical are not, and finding the difference after sewing half of them together is a bad afternoon.
How to Sew the Sail Together
Align the panels on the long straight grain line, match the edge marks, and pin every 150 mm or so. Pinning more is fine on a first sail and cheaper than unpicking a shifted seam.
Baste before you stitch. A loose running stitch along the seam allowance holds the alignment while you check the whole run for fit. Then sew the seam with an overlap of about 10 mm and a three-row zigzag, roughly 4 mm stitch length, with the thread tension firm enough that the seam line is straight and flat but the cloth is not gathered or puckered along it.
Join panels from the leech toward the luff, or from the centre outward, checking after each seam that the edge you are using still matches. Do not force mismatched edges together; trim the offending panel back and re-cut it if the discrepancy is more than a few millimetres.
Curved seams need more care than straight ones because the whole panel distorts as you sew. Shorten the stitch length slightly, sew in three short passes with a re-pin between them, and press or weight the finished seam flat. When the sail is finished it should lie flat on the floor, symmetric about a line from head to clew. A twisted panel shows up as a diagonal when you look down the luff from above.
On laminate cloth the stitching method changes completely. Use an industrial zigzag or a hot air welder, and never feed laminate through a domestic machine that will melt and gum the feed dogs.
How to Finish the Edges and Add Reinforcement
The three edges have three jobs. The luff carries the sail up the mast and takes chafe, so it gets a tape or a sleeve. The leech sets the sail’s shape and twists as you sheet in, so it gets a line or a stiffened edge. The foot sits on the boom and takes abrasion, so it gets a tape and usually bolt rope.
Fold the luff edge over a strip of luff tape and stitch both edges of the tape, keeping the folded edge even along the whole luff. For a sleeve luff, cut the sleeve strip long, stitch it around the luff, and finish the upper end with a closed top you slide over the masthead. On a tapered mast, a hank-on luff with slides fitted through the tape is easier to fit and easier to remove.
Close the leech with a folded hem or a leech line running its full length inside a channel. Tack the foot with a spreader bar strip for strength and add bolt rope in a stitched channel for shock loading.
Reinforce the corners in layers. Start with a gridded taffeta patch in matching weight, then add heavier webbing at the clew spreader, then add a spreader patch under any ring that will carry a halyard or sheet load. Work in from the outside corner inward so every layer sits flat against the one below it. Patch stitching uses the same three-row zigzag, and small patches also stop tear propagation where a seam ends.
Now add the hardware. Hank-on slides and a luff curve at the luff, a ring or thimble at the clew for the sheet, and a head ring or thimble with a reinforced patch for the halyard. On a jib, set snaps along the luff in matching pairs and check every snap before you sew the tape down.
Run the leech line, and add telltales a few inches from the leech if you want readable trim. Optional but useful: reef points with rings, or reef loops, if the sail is big enough to need them.
How to Attach and Test the Sail
Hoist the sail at the bow with the tack fitting to the forestay or mast base, then attach the halyard to the head or head ring and raise it slowly. For a mainsail, slide the luff onto the mast or boom, lace the sail to the boom at the tack and along the foot, and tension the halyard until the draft stripe sits about a third to halfway back from the luff.
That stripe is your trim instrument. With the luff tension set, slide the clew out until the telltales stream evenly; if the windward telltale lifts, ease; if it stalls, sheet in. If the stripe sits right at the luff the sail is too flat and is driving poorly. If it sits past halfway toward the leech, the sail is over-full and heeling hard.
Test in light air, in shallow water, close to shore, wearing a personal flotation device and staying clear of the boom when it comes across. A sail that luffs and flogs is a sign of a loose leech or an untensioned luff, not of a bad cut. A sail that pulls hard to windward on a straight reach usually needs the leech opened or the luff tension eased.
Check the fit after the first hour on the water, because seams relax and take a set. Most first sails need a halyard adjustment rather than a re-cut.
Common Mistakes
- Drafting the luff curve to match the mast. The sail goes flat and feels lifeless. Draft more luff curve than the mast has, and let halyard tension take it out later.
- Panels cut off the grain. Load runs across the seams instead of along the fibres, and the sail distorts as it stretches. Re-lay the layout so each panel runs with the strongest thread direction.
- An unstitched or singly stitched leech. The edge frays, blows out and lets the sail twist. Close the leech full length and run the leech line inside it.
- Under-doing the head. The head takes the highest sustained load on a sail. Layer it: patch, webbing, then a spreader patch under the ring.
- Batten pockets made too short or the wrong shape. The batten cannot support the leech and the pocket bulges. Cut pockets straight, matched in width, and set them at the height the design intends.
- No seam allowance at the luff. The tape gets pulled off the cloth during hoisting. Include the tape allowance in the pattern, not as an afterthought.
- Pinning only at the top of a seam. Panels shift as you sew and the sail ends up twisted. Pin along the entire run, in sections, and re-pin before each pass.
- Sewing laminate on a domestic machine. The layers melt and the seam fails. Use an industrial zigzag or a hot air welder for any laminate.
- Cutting to the pattern line with no extra cloth. One slipped scissor cut and there is no panel left. Add 15% and label pieces as you go.
- Testing offshore on the first hoist. A new sail’s head and clew are untested. Daysail it first, in light air, near shore.
A few habits make the difference between a sail that lasts one season and one that lasts several. Seam quality beats stitch count, so keep the thread tension correct rather than adding rows. Seal every seam with tape or film after stitching; it keeps water out of the needle holes and slows the rot that starts there. Re-stitch any seam that has pulled loose before it opens into a tear, because a re-sewn seam is a five-minute job and a replaced panel is a weekend.
If you want practice before committing to a full sail, re-sewing the panels on an old sail teaches the same seam handling on cloth you can afford to ruin.
Frequently Asked Questions
What is the easiest type of sail for a beginner to build?
A sprit or lug sail on a model boat, canoe or small dinghy is the easiest place to start. Both are small, flat or nearly flat in shape, so they need few seams and no curved-panel shaping. A simple triangular lug sail for a small model can be cut, closed with a running stitch and fitted in an afternoon. A mainsail is a much bigger job because of the luff curve, batten pockets and head loads.
What material should I use for a homemade beginner sail?
Woven polyester, sold as Dacron or taffeta, is the best first choice. It is stable, forgiving to sew, easy to cut and holds a shape without fighting you. Nylon is lighter and better for light air but stretches more. Laminate sailcloth performs better but needs an industrial zigzag or a hot air welder, so save it until you have machine access. Choose cloth weight to suit sail size, from about 0.75 oz for models to 4 oz for a small daysailer.
Can I build a sail without a sewing machine?
Yes, for small sails. Use a sail needle or a size 18 embroidery needle with doubled thread and a running stitch roughly 5 mm long with 3 mm spacing, worked from both sides so the seam lies flat. Adhesive sail tape can close a seam on its own for model rigs. Hand sewing is a legitimate method for sprit, lug and model sails, and a poor one for a loaded head on a boat that sails offshore.
How do I know what size sail my boat needs?
Measure the luff and foot you need, then estimate area as luff times foot times about 0.65 for a mainsail or 0.75 for a triangular jib. For a small open boat, a starting estimate is roughly 8 to 10 square metres of sail area per metre of boat length for a modest cruise, more for a planing daysailer. Aspect ratio, luff length squared divided by area, tells you whether the sail is tall and powerful or wide and easy to handle.
Should I make the sail from one piece of cloth or several panels?
Several panels, always, unless the sail is tiny. A one-piece sail cannot hold a clean edge across a wide sheet and has no way to manage stretch or shaping. Panel seams are how you build the three-dimensional curve, and the seam orientation controls how the sail holds its shape. Even small model sails benefit from at least a leech panel and a body panel, cut with the strongest thread direction running up and down the sail.
How do I test a homemade sail safely?
First hoist in light air, on the sheltered side of the boat, in shallow water and within swimming distance of shore. Hoist slowly and stop to check the luff tape, rings and clew for anything loose. Raise the halyard until the draft stripe sits a third to halfway back from the luff, then use the telltales to trim. Wear a personal flotation device, stay clear of the boom when it swings across, and re-check the fit after an hour as seams relax.
If you are starting now, measure the mast and boom and get a pattern that matches before you buy anything else. That one step decides whether the rest of the build goes smoothly.