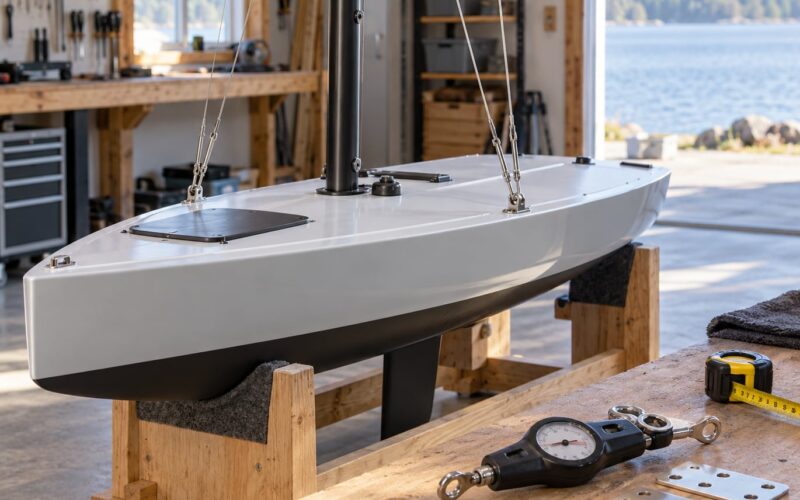
Rig tuning is the process of setting the standing rigging so the mast sits straight in column side to side, holds a deliberate fore-and-aft angle, and keeps its shape when you sail. Learning how to tune a rig on a small sailboat is mostly about working through one wire at a time, in a fixed order, and then verifying the result on the water. Most people can do it in an afternoon on the dock plus one sailing session, and it needs no more than basic tools.
The payoff shows up fast. A boat whose mast is properly in column sails the same speed on both tacks, holds a line without constant corrections, and stops shaking its shrouds in a breeze. A rig that has never been deliberately set usually does none of that.
Two failure modes sit at opposite ends, and both are real. Too loose and the wires shock-load every time the boat comes off a wave, which wears fittings and wire out early. Too tight and you load the mast step, the chainplates bolted through the hull, and the spreaders well past what they were designed for. The aim sits in the middle, and every target below is a fraction of a wire’s breaking strength rather than a gut feeling. I reviewed these numbers for 2026 against current class and sailmaker guidance, and the technique has not really changed in twenty years.
Table of Contents
- What You Need to Tune a Rig on a Small Sailboat
- Step-by-Step: How to Tune a Rig on a Small Sailboat
- Common Mistakes
- Frequently Asked Questions
- How often should I retune the rig on a small sailboat?
- What should I adjust first if the boat sails luffing?
- How tight should the shrouds and mast be on a small sailboat?
- Should the mainsail be completely smooth when sailing?
- How do I tune the rig for different wind strengths?
- Can I tune a rig while the boat is on the trailer?
- Conclusion
What You Need to Tune a Rig on a Small Sailboat
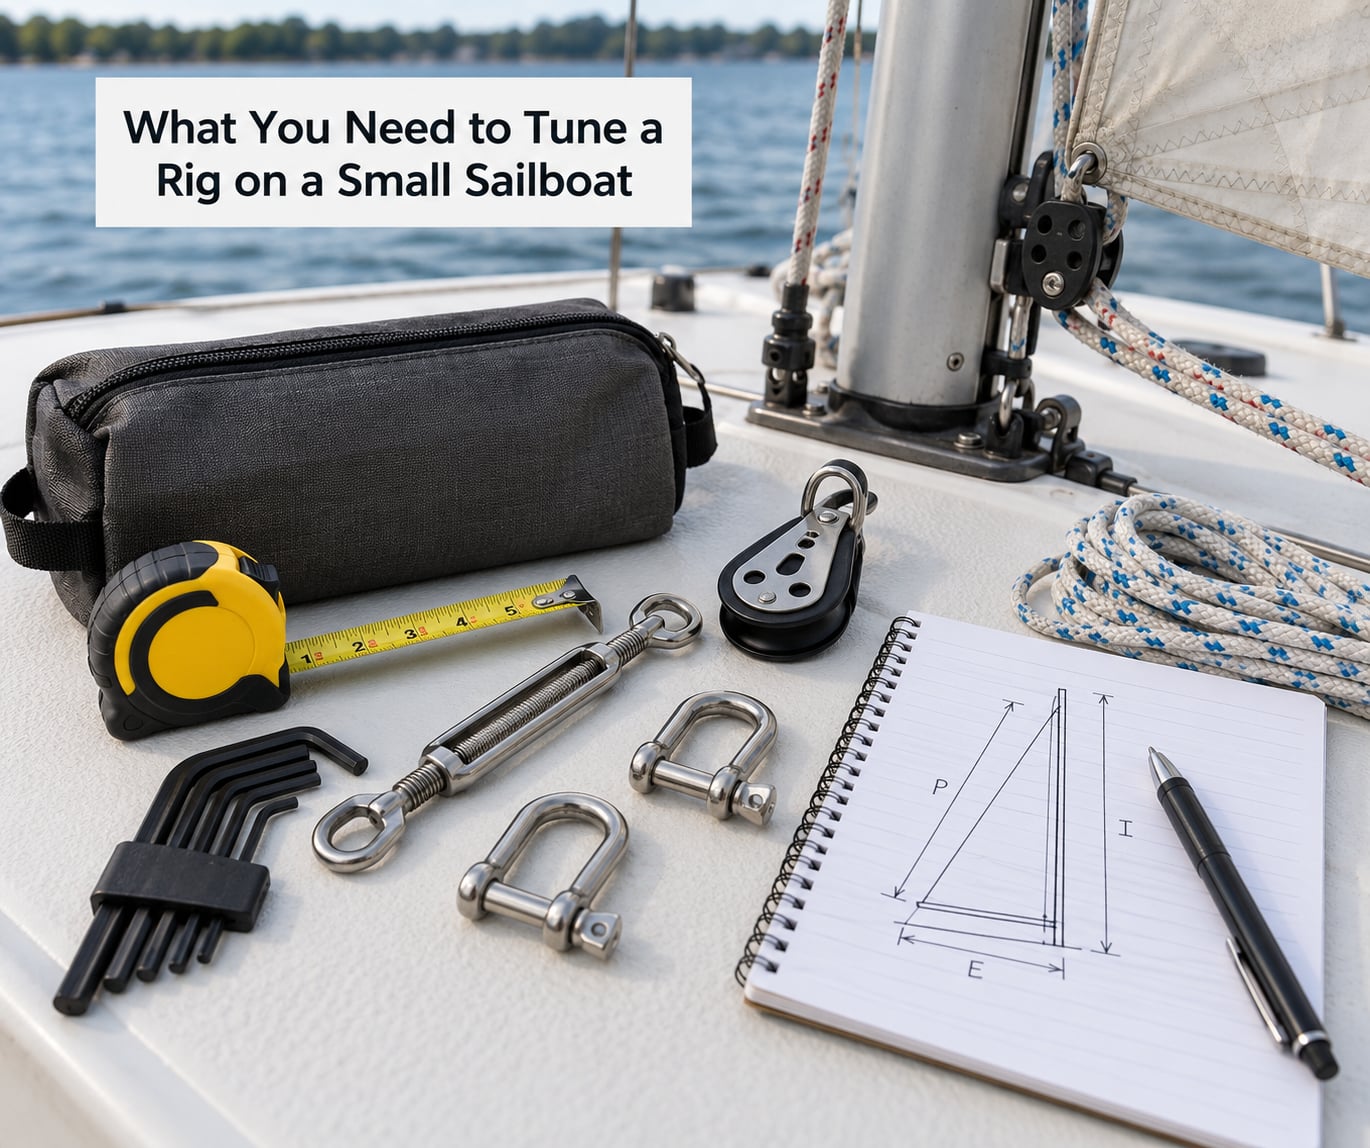
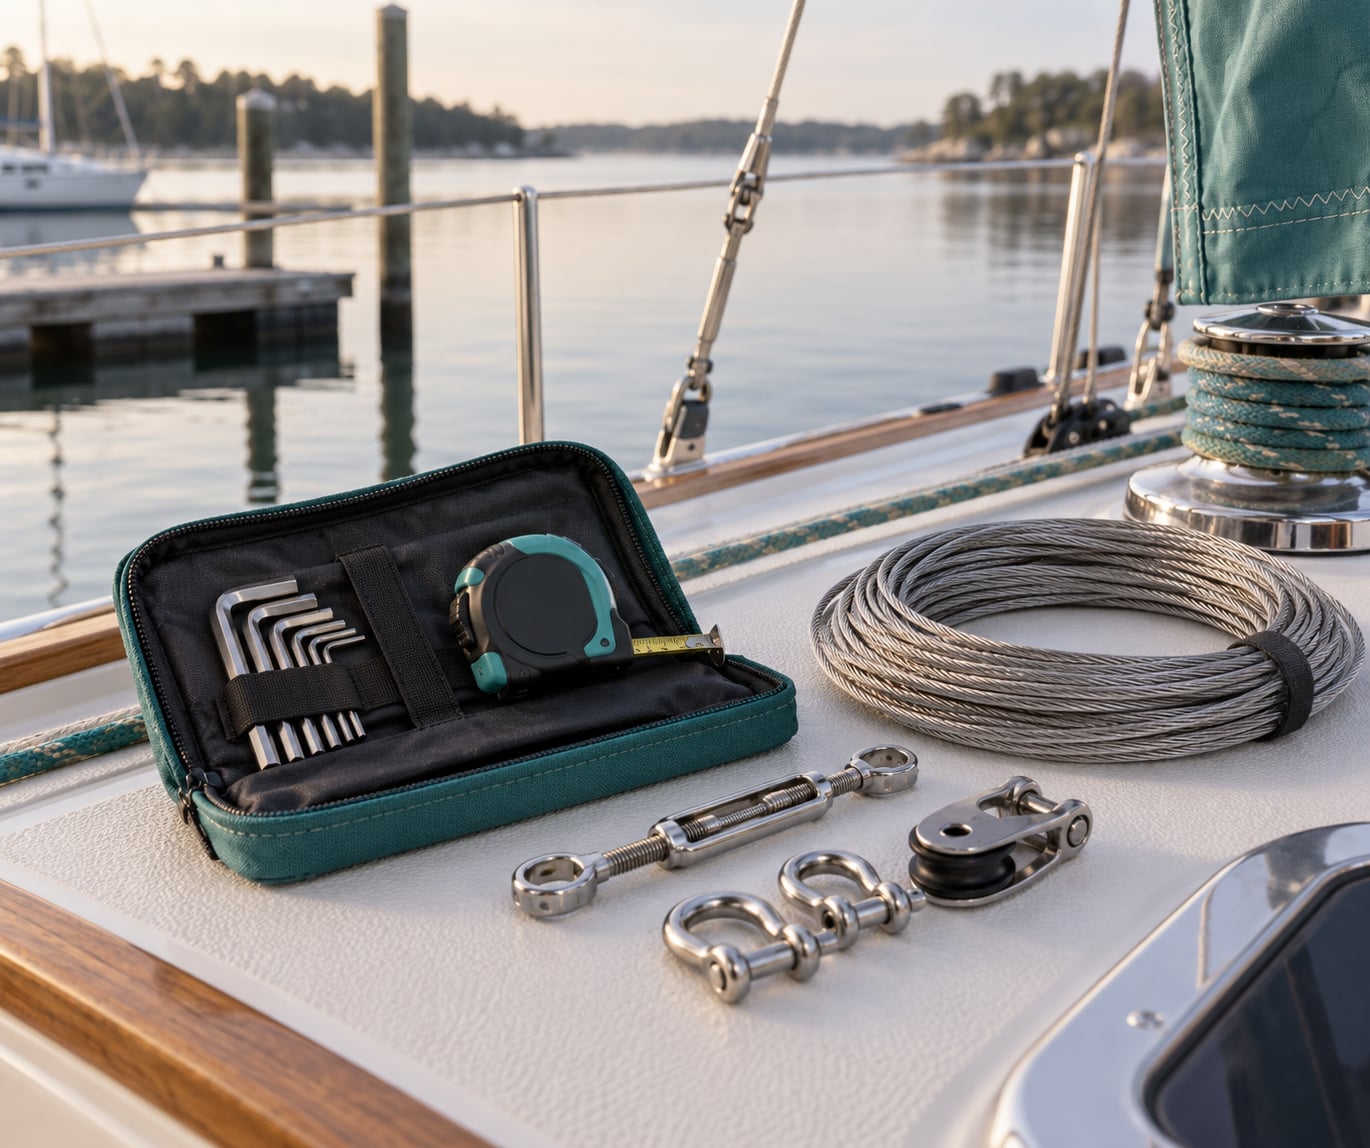
Start by gathering what you need before the boat leaves the dock, because the middle of a tuning job is a bad time to discover a missing tool. Most owners already have nearly all of this on board.
- Correct-size turnbuckle and rigging wrenches. These fit the specific hex or barrel sizes on your boat. Standard pliers and an adjustable wrench will round the corners of a barrel nut and cost you the job.
- A rigging tension gauge. This is the one tool that turns opinion into a number. It measures load in hundreds of pounds, which is what the percentage targets are calculated from.
- A tape measure and a plumb line or long straightedge. The tape measures forestay sag and shrouds; the line and straightedge check whether the mast sits plumb and in column.
- Masking tape and a pen. Mark spreader positions and record the setting of every wire before you touch it, so you can put it back the way you found it.
- A rigging knife, lubricant, and penetrating oil. Stiff turnbuckles and seized screw pins are common, and fighting one on a loaded wire is how fittings crack.
- Gloves and a boat hook or fender. Hands get cut, and the boat wants to sit against something solid while you work under the spreaders.
Two tools are optional but earn their keep. An inclinometer stuck to the mast heel or a compass on the chainplate tells you when the rig is in column, which is genuinely hard to judge by eye from the deck. And a pair of sailing gloves with a good palm grip help when you hand-tension a wire to judge it by feel.
You also need boat information before you start, and it is usually sitting in the manual or on the sailmaker’s label in the sail bag. Find the rig type (masthead or fractional), the mast height above deck, and the wire diameters. Wire size matters because the percentage targets only make sense once you convert them to pounds against the wire’s breaking strength. If the builder ever upsized a stay, note the original size too.
Choose conditions carefully. Dock work belongs on a calm day with the boat securely tied, ideally with the mainsail and boom off so you can judge true mast bend without sail tension confusing the picture. Under-sail checks need flat water, moderate breeze, and no more heel than about 20 to 25 degrees, because a boat pinned on its ear will not tell you anything useful about balance.
Before any of it, a safety note worth repeating: stepping and unstepping a mast is not a tuning job. If your boat needs the mast lowered to reach a fitting, hand that to a professional rigger rather than improvising with a gin pole. Tuning happens with the mast already in the boat and the boat in the water.
Step-by-Step: How to Tune a Rig on a Small Sailboat
1. Establish a Safe Rigging Baseline
Never begin by turning a turnbuckle. Begin by writing down what the rig looks like right now, because the most common regret among owners is losing the setting that was almost right.
Walk the standing rigging with a mirror and a magnifier, checking the forestay, backstays, cap shrouds, lower shrouds, and any intermediates at their terminals. Look for wire strands standing proud of the surface, kinks, flattened sections, and any bright rust staining around swages. Run a soapy rag along each wire: broken strands catch and hook, and that is how you find them before they part.
Then record the current tension of every wire with the gauge, plus the forestay sag and mast rake. Write it in the boat’s log book or on the sheet you taped to the bulkhead. If you find a wire too short to reach its terminal, or far too long to leave any thread on the turnbuckle, stop and deal with it now. A wire of the wrong length is the single most common reason a tune stalls halfway.
How you verify it: every wire has a sound terminal, every pin is secured, and you have a written baseline. If a cotter pin, split ring, or seizing wire is missing, fit it before anything else. Hardware gets replaced, never tuned around.
2. Set Mast Position and Check Straightness
This is the stage that decides whether the boat will handle the same on both tacks, and it is the one most worth doing carefully.
Slacken the lower shrouds enough to free the mast sideways, then look up the mainsail track from the deck. You want one straight line, no side-to-side curve, in column from base to masthead. If the masthead falls off to one side, that is set by the cap shrouds, and you correct it there rather than by hauling on a lower.
Next comes fore-and-aft position. With the shrouds loaded, tune the forestay and backstay together. Lengthen the backstay slightly to push the masthead aft and add rake; shorten it to bring the masthead forward and reduce weather helm. On a masthead rig, half a degree to a degree of aft rake is a sensible starting range. A fractional rig on a deck-stepped boat carries more, typically two to three degrees, because it has no heavy backstay to lever the masthead forward.
How you verify it: hang a plumb line from the masthead and compare it with the boat’s centerline. A rake that looks right on deck often reads a degree steeper from the water, which is exactly the mismatch that pushes the bow off on one tack.
Finally, load the shrouds to these targets. They are fractions of the wire’s rated breaking strength:
| Wire | Target tension | Absolute ceiling | Notes |
|---|---|---|---|
| Cap shrouds, masthead rig | 15% of breaking strength | 25% | Set the masthead column before anything else |
| Cap shrouds, fractional rig with aft-swept spreaders | 20% of breaking strength | 25% | A higher number is needed before the forestay will tension |
| Lower shrouds | Set relative to the uppers | 25% | Work them evenly, port and starboard matching |
| Intermediate shrouds | Set relative to the uppers | 25% | Leave enough side clearance so they never touch the spreader above |
| Forestay | Enough to pull the masthead forward, below 30% | 30% | Check sag with the tape, not just the gauge |
| Backstay | 20 to 30% of breaking strength | Builder’s limit | Open it to 30% to set rake, then back off to about 20% |
For 1×19 stainless, a rough guide is 3/16 inch wire near 3,000 pounds, 1/4 inch near 5,000 pounds, and 5/16 inch near 8,000 pounds. Fifteen percent of a 3,000-pound wire is about 450 pounds, which is where a lot of people are surprised. Check your wire’s rating rather than trusting this table, and read the safety limits below before you tension anything past the middle of these numbers.
Safety limits. Do not exceed the builder’s maximum forestay or backstay tension; hydraulic adjusters and deck fittings are designed around a ceiling the manufacturer knows and you do not. If the wire was upsized during a previous repair, tension to the original wire’s rating, not the new one. The extra strength is a safety margin, not a target. And re-secure every terminal you touched with its cotter pin, split ring, or seizing wire.
If you have no tension gauge, work in relative terms instead: tighten each cap shroud a counted number of turns from hand-tight, keep the two sides within a half turn of each other, and use a piece of masking tape on the spreader to make any movement visible under sail. It is a slower, coarser method, but it is far better than guessing.
3. Adjust the Mainsail for the Wind Conditions

Once the mast stands correctly, the mainsail is where you shape the airflow rather than the rig. Most of this is halyard and outhaul work.
Start with the halyard tension. In light air, take enough outhaul that the foot of the sail closes, and let the halyard set a shape with a little draft in the middle third and a straight entry at the luff. In stronger wind, ease the halyard slightly to flatten the upper part of the sail, and pull the outhaul hard to flatten the foot. The rule I use is simple: if the leech falls off, the sail is too full somewhere and needs a flattening control, not more sheet tension.
Pre-bend is the one rig adjustment that changes sail shape. Side tension alone barely bends a small-boat mast, so the mast gets a fore-and-aft curve from the tension forward in the sail: sheet tension, outhaul, cunningham, and vang. Set enough to remove the wrinkles running from the mast toward the clew, but stop there. The limits are worth keeping in your head: total fore-and-aft bend should stay under about 2 percent of mast height above deck, and no more than half the fore-and-aft thickness of the mast itself. Past that you are adding drag and loading the spreaders for no gain.
How you verify it: sail close-hauled on a steady course and watch the luff. A smooth luff that ripples evenly is working. A luff that collapses higher up than it does lower means the top of the sail is too flat and the halyard wants easing.
4. Set Mainsheet and Boom Control
Boom control decides how much twist the sail carries, and twist is what lets the leech spill in a gust. A boom that cannot move does not sail well in waves; a boom that swings freely makes the boat wallow downwind.
Measure the mainsheet so the boom comes just inside the shroud’s aft sweep at the closest point of sailing, then feathers out slightly as you bear away. On small boats, a single-line setup with a traveller is common, and the traveller position does the fine work: moving it forward tightens the sheet and closes the leech, moving it aft eases it and opens the leech.
Set the vang or cunningham last, because they work together. More vang holds the boom down and flattens the lower leech, which helps in medium air. More cunningham flattens the upper luff, which helps when the wind is above the boat’s normal range. Use one more than the other rather than maxing both, since both together over-bend the mast and flatten the entry until the luff stalls.
How you verify it: hold a steady close-hauled course and sheet in until the telltales stream aft, then ease a hand’s width. If the boat slows noticeably and the leech stays tight, you are sheeting too hard. A sail producing smooth power has a leech that twists gradually and a telltale that streams, not one that snaps back and forth.
5. Tune Headsail Shape and Sheet Tension
The jib or genoa is trimmed separately from the main, and one setting will not serve every point of sail. Tension the halyard evenly and fit the luff so the draft sits in the front third of the sail, then sheet to the angle your sailmaker specifies. For small headsails on boats this size, a sheeting angle of roughly 7 to 8 degrees is a common starting point and a good first reference if you have no other number.
Sheet for close-hauled, and let the sheet run as you bear away. On a run, most of the work is done by the traveller or by letting the sheet run aft, and a deeply twisted headsail that collapses is doing you no favours. If your boat carries a larger headsail than the wind wants, sail it eased until the wind builds or step down to a smaller sail. More headsail is not faster headroom, it is just drag plus heel.
How you verify it: on each tack, watch whether the luff of the headsail tells you the same story as the main. If the main is powered up and the jib is stalled, the gap is usually sheet angle rather than a rig problem.
6. Sail a Test Circuit and Record the Results
The dock work is not finished until you have sailed it. The final stage is a short, repeatable circuit in flat water and moderate breeze.
Run a simple route: a close-hauled leg, a tack, another close-hauled leg on the opposite tack, a reach, and a run. On each leg, note the apparent wind direction and strength, boat speed, heel angle, how hard the helm feels, and whether the shrouds or mast visibly shake. Sail it twice so the second time is a fair comparison.
Two checks are worth learning by feel. First, on the close-hauled legs, reach out and pull the leeward cap shroud; it should be just firm, not slack and not hard. Second, look up the mast from the cockpit while the boat is powered up and under sail: the fore-and-aft curve you built at the dock should still be there. Owners often find the mast straightens under load only if there was real pre-tension to begin with.
Record all of it in the log book next to your baseline numbers from step 1. One change at a time, one leg to re-test. That habit is the difference between tuning and guessing, and it means next season you are re-checking numbers rather than starting over.
Common Mistakes
Almost every botched tune comes down to one of the same handful of errors, and each has a straightforward correction.
- Overtightening the shrouds. Owners reach for a gauge, see a low percentage, and keep going until the mast feels solid. The correction is to stop at the target and trust the number. Over-tensioned shrouds load the spreaders and the hull through the chainplates.
- Changing several controls at once. You cannot attribute the change in handling to anything. Make one adjustment, sail the same leg, write down the result, then move on.
- Tuning in the wrong conditions. A flat, moderate day tells you about balance. A hard breeze with the boat over 25 degrees of heel tells you nothing except that the boat is overpowered. Pick a day you can read.
- Trimming for one point of sail and assuming it transfers. A rig set for reaching is sluggish upwind, and one set for beating is overpowered on a run. Re-check mast rake and lower shrouds when the wind range changes.
- Fitting around damaged hardware. A wire with broken strands or a terminal with a rust stain does not get tensioned; it gets replaced. The soapy-rag test takes a minute.
- Judging without recording. Your memory of how it felt last month is unreliable, and so is your memory of which turnbuckle you moved. Numbers beat recall every time.
One safety reminder to close this section: re-secure every cotter pin, split ring, and seizing wire you disturbed, and keep a wrench on the wire side of the fitting while turning the turnbuckle so you do not twist the wire in its swage. A turnbuckle that has not been pinned will back off under the first gust and undo your afternoon.
Frequently Asked Questions
How often should I retune the rig on a small sailboat?
Once at the start of each sailing season, and immediately after anything that disturbs the rig: a knockdown, a grounding, an impact while mast-stepped, a mast step, or a change of rig or sails. Between those events, check tension against your log book a few times a season, especially after the boat has been trailered. Seasonal re-tuning is really an audit rather than a reset. If every wire still reads close to your recorded numbers, there is nothing to change.
What should I adjust first if the boat sails luffing?
Start with mast bend, not the halyard. Most luffing on a small boat is the upper leech twisting off because the mast is too straight fore and aft. Add sheet tension and a touch more cunningham or vang to flatten the sail, and confirm the shrouds are at their target tension, because a slack rig lets the mast fall off to leeward and lose the curve you set. If it still luffs after that, ease the halyard slightly for more twist in the upper third.
How tight should the shrouds and mast be on a small sailboat?
Set the cap shrouds to about 15 percent of the wire’s breaking strength on a masthead rig, or 20 percent on a fractional rig with aft-swept spreaders, and treat 25 percent as a hard ceiling you do not pass. Set the lower and intermediate shrouds evenly relative to the uppers rather than to a fixed number. The mast itself should be plumb in column side to side with the turn of rake your rig type calls for.
Should the mainsail be completely smooth when sailing?
No. A completely smooth main is usually over-flattened, and an over-flattened sail stalls because the entry angle is too tight. What you want is no hard wrinkles running from the mast toward the clew, a draft somewhere in the middle third of the sail, and a leech that twists gradually as you bear away. Wrinkles at the luff near the mast mean you need more halyard tension; a tight leech with a slack foot means the outhaul is too loose.
How do I tune the rig for different wind strengths?
Keep the standing rigging itself alone through most of the range and change sail controls instead. In light air, ease the halyard, open the outhaul, and raise the traveller for a fuller shape. In medium air, sheet in and bring the traveller to centre. In strong wind, flatten with cunningham and vang, use the backstay to firm the luff if you have one, and step down to a smaller headsail rather than over-tensioning the rig to compensate.
Can I tune a rig while the boat is on the trailer?
Partly. Documenting tensions, checking wires for damage, centring the mast side to side, and setting fore-and-aft pre-tension can all be done on land, and doing the initial inspection there is sensible. The limits are rake and column, which are much harder to judge with the boat out of the water, and the final under-sail check, which is the only way to confirm the tune. Plan on a short sailing session to close the job.
Conclusion
Start by writing down the tension of every wire before you touch a single turnbuckle. That record is the thing that makes the rest of the job repeatable, and it costs ten minutes on a calm afternoon.
From there, work in order: inspect the hardware, get the mast in column side to side, set rake with the forestay and backstay, load the shrouds to their target percentage, shape the main, set boom control, trim the headsail, and then go sailing to confirm it. One adjustment at a time, one leg to re-test, one number written down after each change.
Keep the safety limits in view throughout. Stay under the builder’s maximum for the forestay and backstay, treat 25 percent of breaking strength as a ceiling rather than a target on the cap shrouds, replace damaged hardware instead of tuning around it, and re-secure every cotter pin and split ring you disturbed. Tuning the rig is a safe, ordinary weekend job for any owner with basic tools, and doing it properly once will teach you more about your boat than a season of guessing.