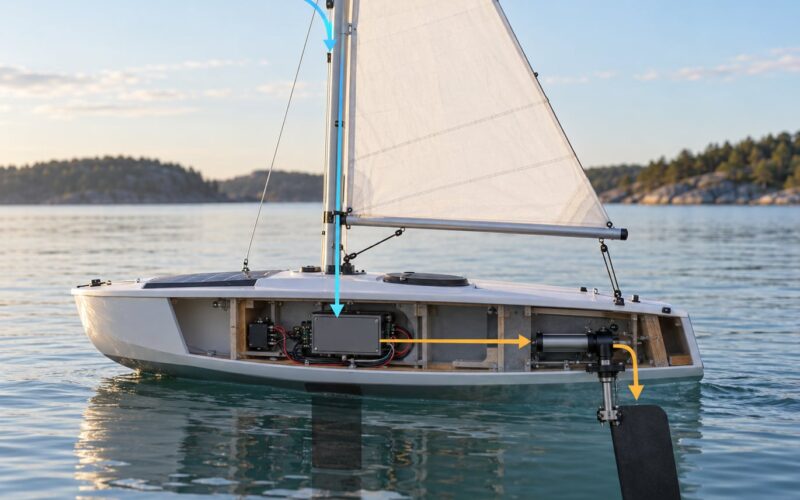
A wind vane self steering system is a purely mechanical device that holds a boat at a constant angle to the apparent wind without any electrical power, electronics or manual input. To learn how to build a wind vane self steering system, you need four things in working order: a balanced air vane above the water, an immersed blade that generates force, a low-friction link between them, and a way to move the rudder. Most first builds take a weekend of woodworking and a couple of hours of wiring, plus a weekend of supervised water testing.
The one thing that decides whether your build works is not the vane. It is the balance of the boat underneath it. A badly balanced hull will park the pendulum at one end of its travel no matter how well you built the rest.
Table of Contents
- What You Need to Build a Wind Vane Self-Steering System
- Step-by-Step
- How to Build a Wind Vane Self-Steering System: Choose the Steering Mechanism
- How to Build a Wind Vane Self-Steering System: Make the Wind Vane
- How to Build a Wind Vane Self-Steering System: Install the Rudder or Steering Output
- How to Build a Wind Vane Self-Steering System: Add the Encoder or Wind Sensor
- How to Build a Wind Vane Self-Steering System: Program the Steering Controller
- How to Build a Wind Vane Self-Steering System: Calibrate and Test on Land
- How to Build a Wind Vane Self-Steering System: Run Controlled Water Tests
- Common Mistakes
- Frequently Asked Questions
What You Need to Build a Wind Vane Self-Steering System
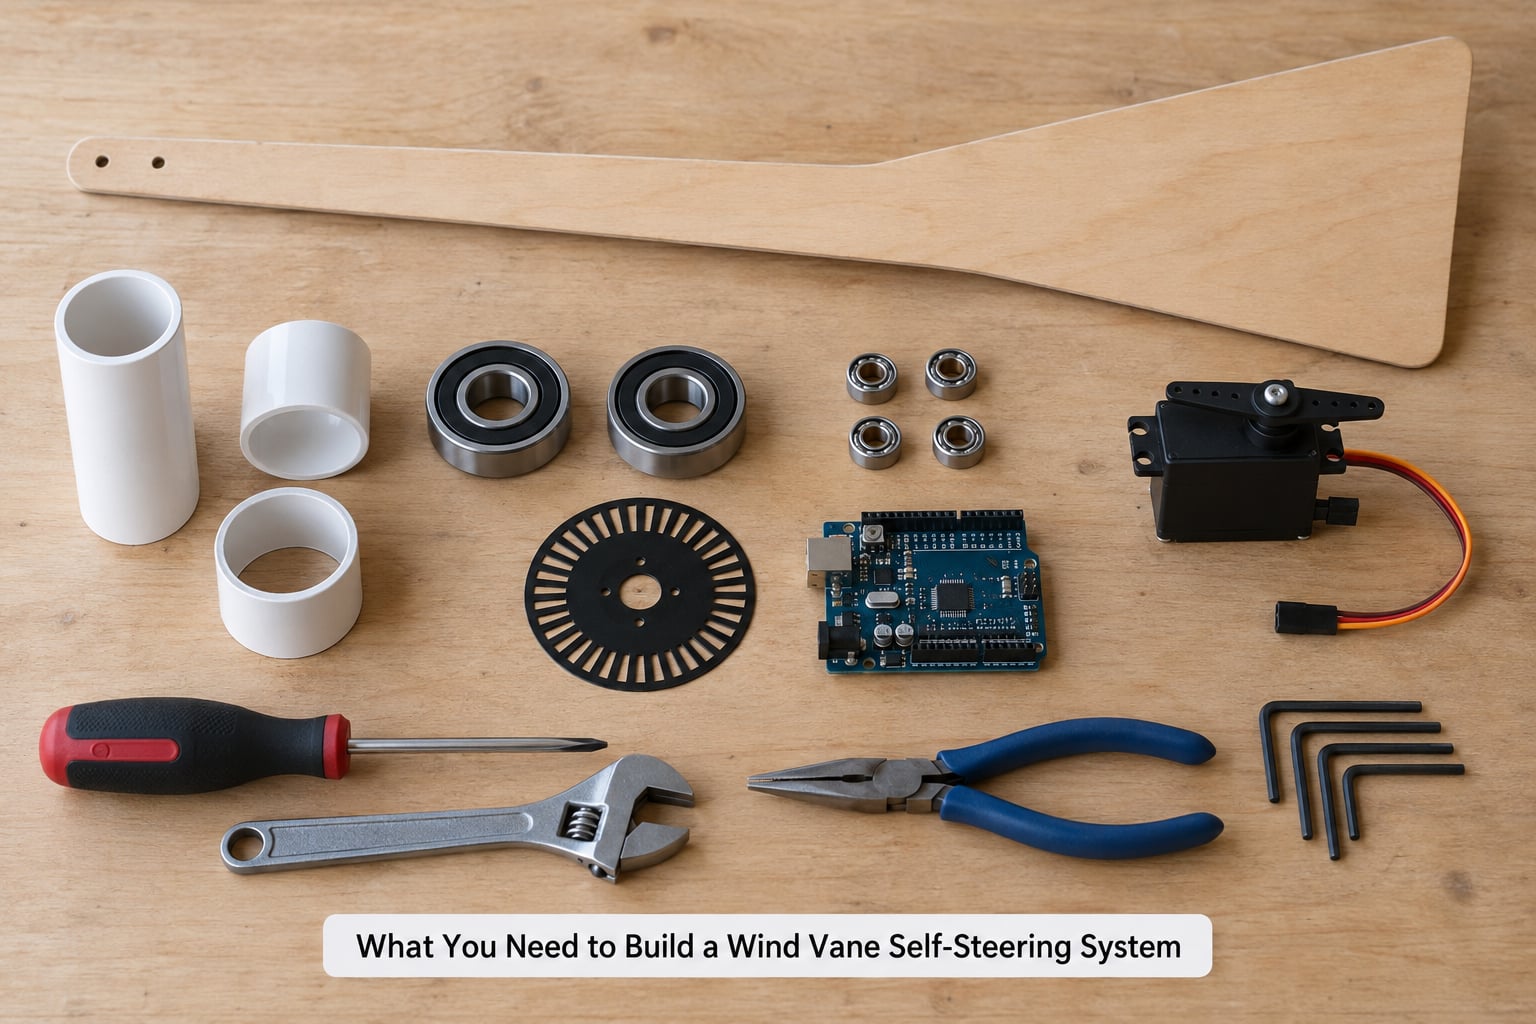
The parts list is short. The specifications are where builds go wrong, so it is worth fixing a target boat length and a target wind speed before cutting anything.
Parts list, dimensions and purpose
| Part | Material | Dimension | Purpose |
|---|---|---|---|
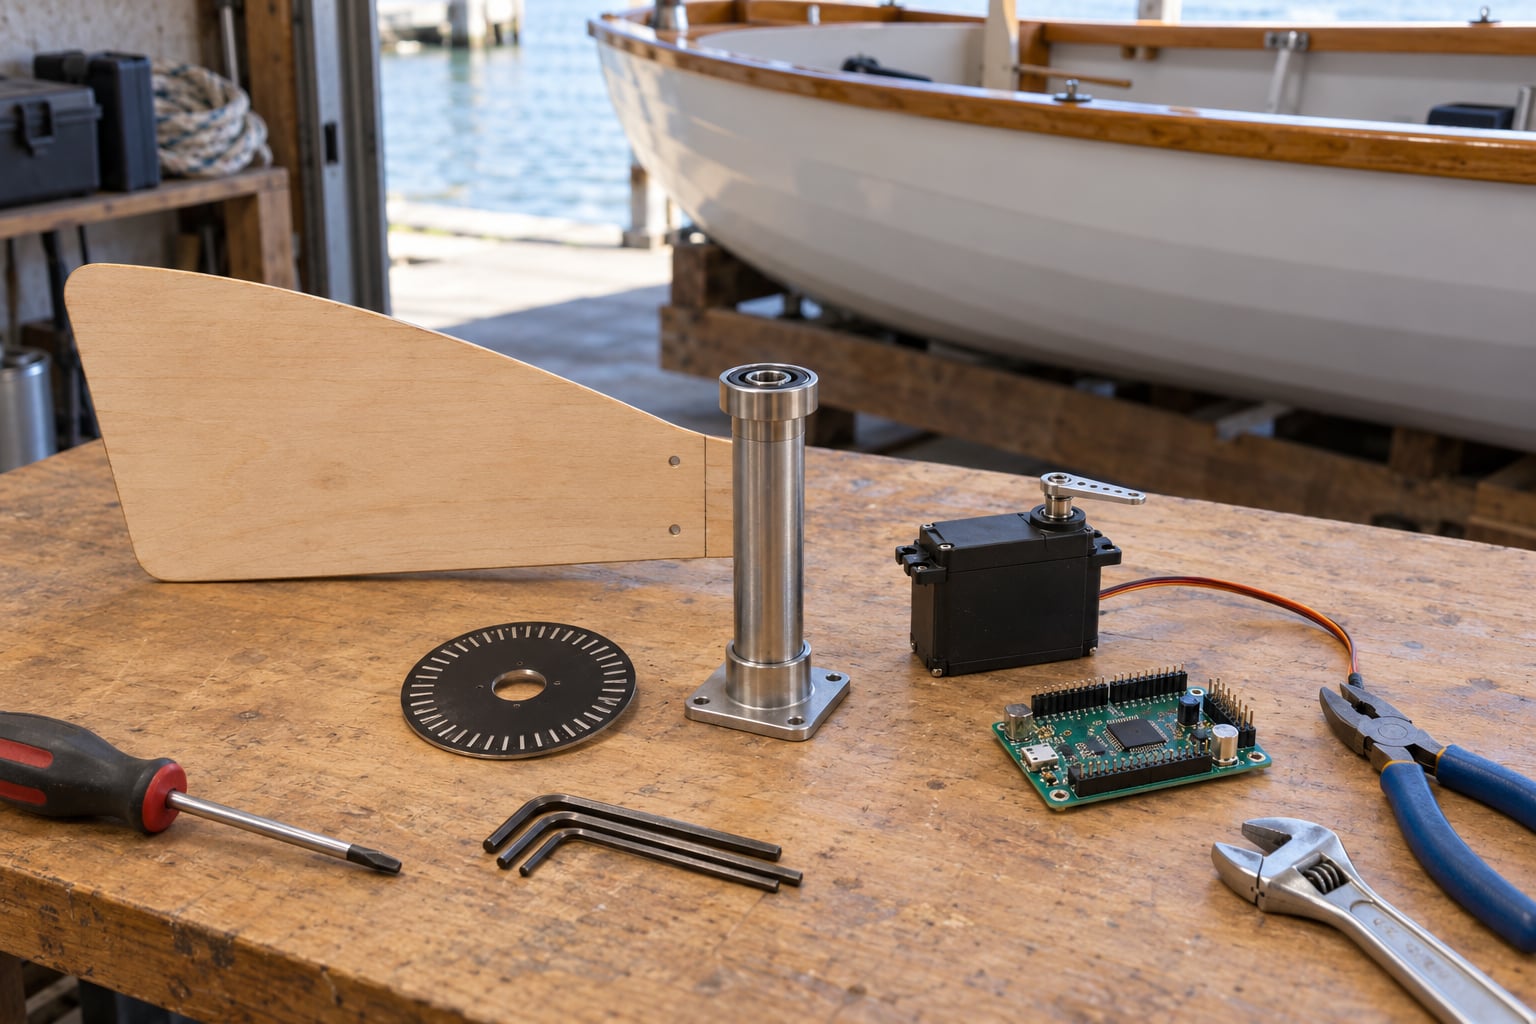
| Air vane blade | 6 to 9 mm marine plywood, sealed and painted | 400 to 700 mm chord, 250 to 400 mm height | Senses apparent wind and turns the top pivot |
| Pivot tube | 38 to 50 mm PVC or aluminium tube | 1.2 to 1.8 m long | Vertical axis carrying vane, blade and counterweight |
| Counterweight | Lead or steel bar | 150 to 400 g | Balances the immersed blade about the fulcrum |
| Servo blade | Aluminium, fibreglass or carbon | 350 to 500 mm span, 100 to 150 mm chord | Immersed foil that turns the flow and swings the arm |
| Pivot bearings | Sealed ball bearings or roller bearings | 38 mm bore | Carry the pivot with low friction |
| Actuator | Standard hobby servo, 20 kg class or larger | Standard 180 degree throw | Moves the steering output when the controller commands it |
| Angle sensor | Magnetic rotary encoder or absolute potentiometer | 12 bit or better, 0 to 360 degree | Feeds rudder or vane angle back to the controller |
| Controller | Microcontroller board with PWM output | Any 3.3 V logic board | Runs the deadband and proportional control loop |
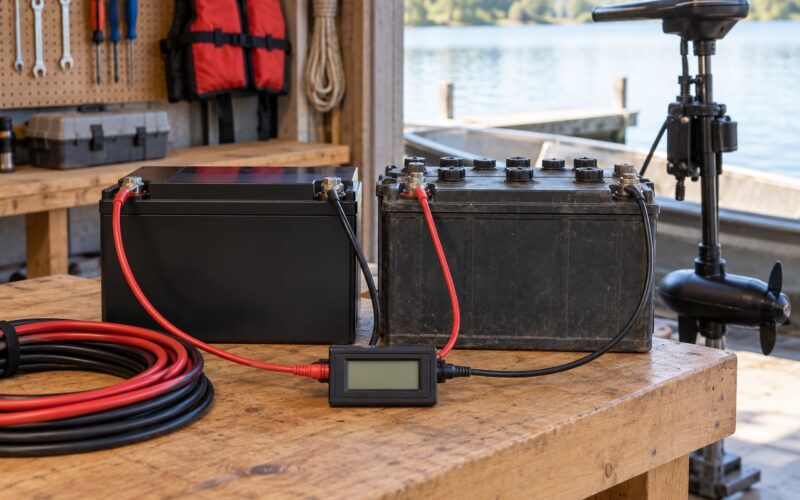
| Power | Sealed lead-acid or lithium pack with fuse | 12 V, sized for actuator current | Runs the electronics and actuator |
| Linkage | Stainless rod, heavy wire or low-stretch line | As short as the hull allows | Transmits force from the arm to the rudder or tiller |
Sizing follows the hull, not the other way round. Auxiliary-rudder arrangements, where the vane drives a second blade instead of the main rudder, are reliably matched to boats up to roughly 37 to 40 feet. Servo-pendulum arrangements, where the vane swings a lever that pulls on the main rudder, scale further and are used up to about 60 feet and 30 tonnes. Small production systems often stop around 27 feet and 2.5 tonnes, which is a sensible ceiling for a first home build.
Transmission line design is the biggest lever a builder controls. The shorter your lines and the fewer turning blocks you route them through, the larger the steering movement you get from a given vane angle. Every extra block multiplies friction and eats the small force a vane produces in light air.
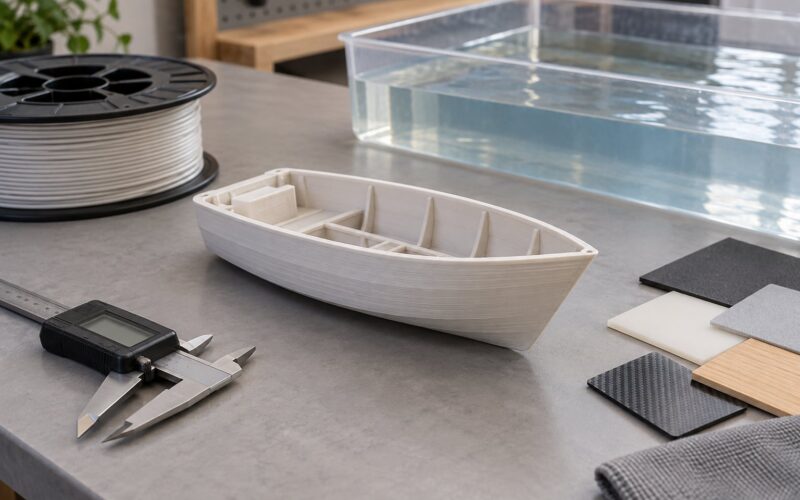
On materials, plywood and PVC gets a working system on a small boat for very little, and it is the right first choice. Aluminium is tougher and heavier. Carbon tube with 3D printed fittings produces the lightest assembly, and one builder reported a finished unit under 2,000 grams using a carbon tube, ceramic bearings and titanium bolts. Whatever you pick, plan the service side: gear you can repair with hand tools offshore is worth more than gear that is lighter on paper.
On the electrical side you also need a fuse sized to your actuator, a normally-closed spring return or a mechanical bias so the rudder centres itself when power drops, and a physical disconnect you can reach from the cockpit. Relying on software alone as your fail-safe is a common and expensive mistake.
Step-by-Step
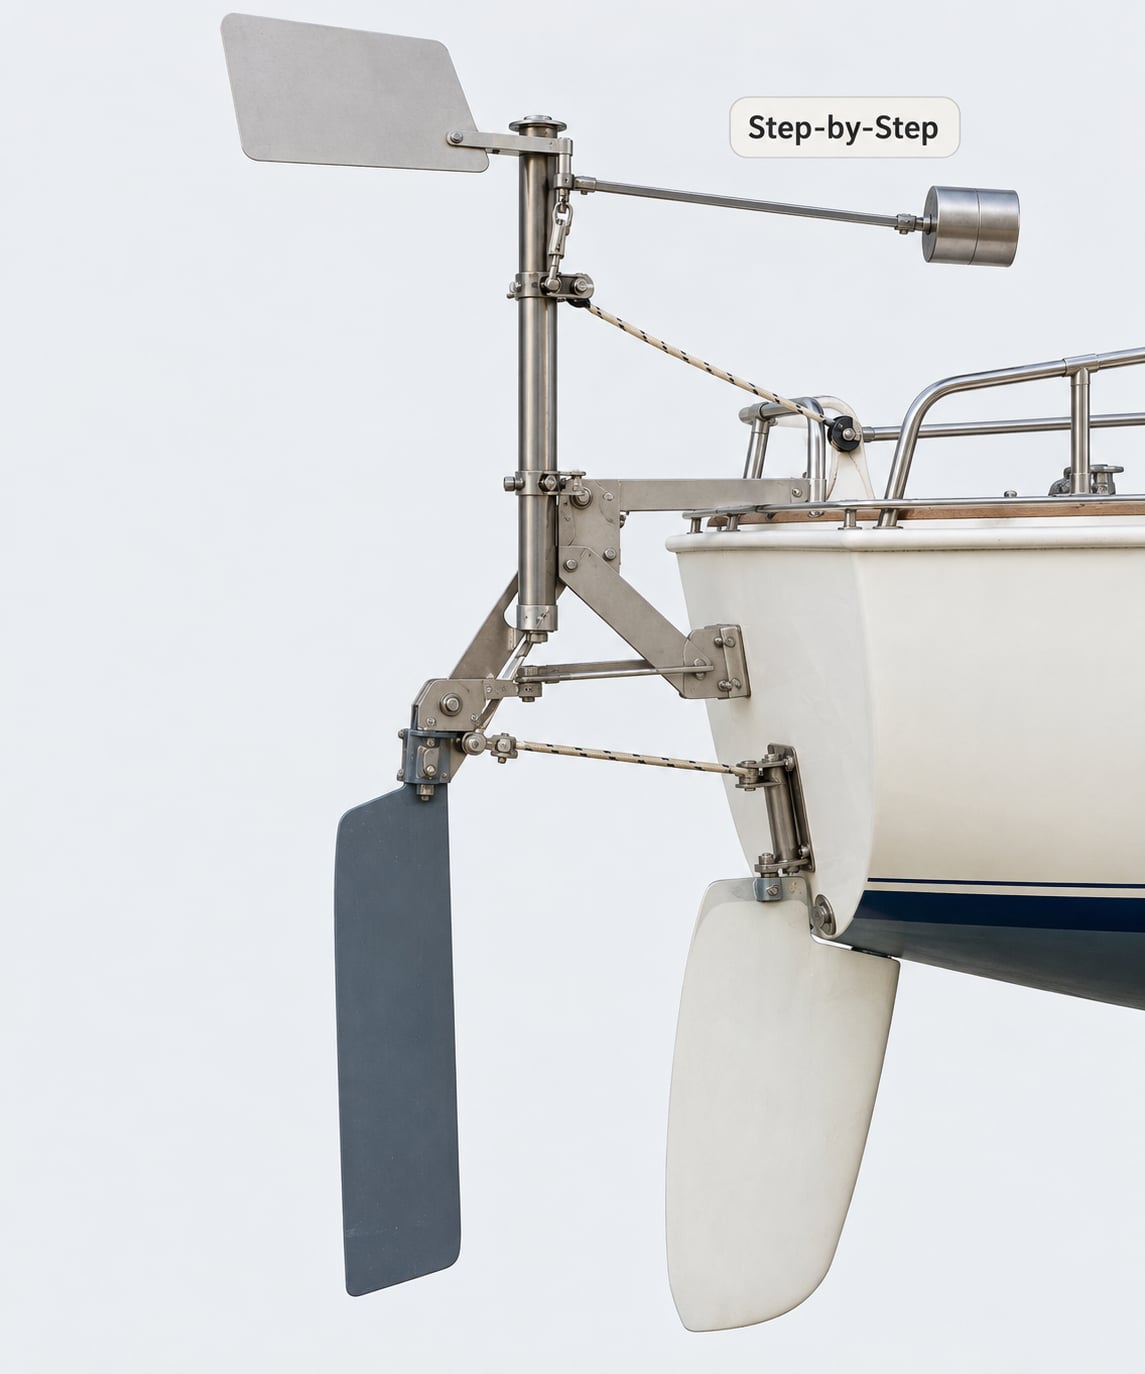
Work through these in order. Each step has a visible sign that it worked, so do not move on until you see it.
How to Build a Wind Vane Self-Steering System: Choose the Steering Mechanism
Pick the steering interface first, because it decides the linkage and the mounting. A tiller-steered boat takes a direct arm on the tiller and is the simplest possible arrangement. A wheel or quadrant needs a longer lever and often a bell crank. A hydraulic steering system needs a decision, and the cleanest one is to leave the hydraulics alone entirely and drive an auxiliary rudder.
Almost every hydraulic problem in this hobby disappears if you stop trying to move the main rudder. If you must use the main rudder, disconnect the hydraulic ram at the joint and add a bypass valve so the ram can be locked out rather than fighting your actuator.
Success sign: you can put the helm hard over with the mechanism disconnected, and the actuator has the clearance to reach that position without binding.
How to Build a Wind Vane Self-Steering System: Make the Wind Vane
Build the vane as a balanced blade on a low-friction vertical pivot. A 6 to 9 mm plywood panel, sealed on all edges and painted, works well. The area only has to be enough to produce a measurable torque at your target wind speed, and 400 to 700 mm of chord is plenty for a small boat.
Balance matters more than area. With the counterweight fitted and the assembly resting on its bearings, nudge the pivot and it should return to centre smoothly and stop there. A vane that hangs to one side is a vane that will steer one way forever. Use ball or roller bearings at both axes, and never grease or oil open bearings, because grease traps salt and grit and turns a smooth pivot into a hinge.
Success sign: the assembly swings freely through its full range, returns to centre, and shows no measurable friction from a fingertip push.
How to Build a Wind Vane Self-Steering System: Install the Rudder or Steering Output
Connect the vane arm to the rudder or tiller with the shortest, stiffest link you can manage. A stainless rod or heavy wire is better than line for a small boat, because it has no stretch and needs no tensioning. Fit turnbuckles or a threaded adjuster at one end so you can set the mechanical bias without rebuilding anything.
Set hard mechanical stops at about 10 inches of pendulum travel, roughly 25 cm, which is the working range for a servo-pendulum system of this size. You want the stops to be hit under extreme gust load and not before, so leave headroom for the boat to be knocked off course. A trim tab, or a small blade angled at the main rudder, buys back some of the sensitivity you lose to linkage friction.
Then confirm the direction. When the vane swings to port, the rudder must move so the bow falls off to port. If the bow swings the wrong way, swap the linkage ends rather than patching it in software.
Success sign: turn the vane by hand through its range on land and the output follows smoothly, hits both stops gently, and stays centred when released.
How to Build a Wind Vane Self-Steering System: Add the Encoder or Wind Sensor
Add feedback so the controller knows where things actually are. A magnetic rotary encoder on the rudder stock gives the cleanest signal; a potentiometer works if you keep its wiper off the wetted end and seal the case. A magnetometer on the masthead is the usual way to get true wind, and it is the only sensor that lets you steer to a heading instead of a wind angle, though it needs a hard iron compass nearby or a good calibration routine to avoid heading errors.
Wire with twisted pairs, keep sensor cables away from the actuator leads, and route every conductor through a gland or a potted joint rather than an open screw terminal. The common-mode problem to expect is the actuator’s current spike browning out the sensor mid-move, which the controller then reads as a real position change. Separate power and signal returns, add a bulk capacitor at the actuator, and a 100 nF decoupling capacitor at each sensor.
For an ocean drone or a small autonomous boat where the wind is the only reference, skip the magnetometer and steer to a fixed vane angle. It uses fewer parts and it cannot be confused by steel.
Success sign: you can read a steady angle on a serial console while the actuator is moving, with no flicker and no jumps when the motor runs.
How to Build a Wind Vane Self-Steering System: Program the Steering Controller
Keep the control law simple, because a wind vane is a slow, noisy plant and complicated logic makes it hunt. Read the vane or rudder angle, subtract your target, and drive the actuator from that error with a proportional term and a rate limit.
Add four things to that loop. A deadband, usually 3 to 5 degrees, stops the actuator dithering around centre in variable air. A rate limit on the actuator keeps the output from slamming the rudder when a gust arrives. A maximum command, capped at your mechanical travel, stops software from driving past the stops. And a timeout, so if no valid sensor reading arrives for a couple of seconds the controller commands centre rather than holding the last value.
On a tiller boat, drive the tiller to follow the vane rather than driving the rudder to a heading. Inverting that relationship is a frequent source of slow, hunting oscillation that looks like a control tuning problem but is really an inverted sign.
Success sign: the rudder tracks the vane angle with a small, steady offset and no overshoot when you sweep the target through its range on the bench.
How to Build a Wind Vane Self-Steering System: Calibrate and Test on Land
Calibrate in this order, on land, with the boat on a cradle and the rudder free. First, find vane zero by holding the assembly vertical and reading the sensor. Second, drive the actuator slowly to each end of its travel and record both endpoint values as hard limits in the controller. Third, move the vane to port and confirm the sensor’s direction of increase is consistent with the rudder’s, and flip the wiring or the sign constant if it is not.
Fourth, sweep the whole range slowly and log actuator response. Play in the linkage shows up here as a difference between commanded and measured position that changes with direction. Fifth, cut the power and confirm the mechanism does what you designed it to do: the spring return or mechanical bias should drive the rudder to centre without help.
Do not skip the power-cut test. It is the one test that tells you what happens when something fails at night, three hundred miles offshore.
Success sign: recorded limits match physical stops within a small tolerance, and a power cut leaves the rudder centred.
How to Build a Wind Vane Self-Steering System: Run Controlled Water Tests
Start in sheltered water on a short tether, with someone on deck, and run the boat lightly loaded. Log heading error, response time and any oscillation as you change conditions one variable at a time. A servo-pendulum system wants about 5 knots of apparent wind before it has real authority, and a plastic sheet or bag rigged as a wind catcher on the vane tip can bring that down towards 3 knots, which is the difference between steering and hand-steering in a calm.
Test the things that fail, not just the things that work. Cover up the vane with a cover and confirm the controller notices the loss of signal and centres. Spray the assembly with a hose. Check for lines catching on davits, stowage and pushpit hardware, which is a well known complaint from multihull owners dealing with sheet tangle. Then check that nothing has the wind shadowed by the outboard on the pushpit, a fault that makes a vane work happily on one tack and not the other.
Take the vane out of the water before you start the engine. Prop wash shakes an installed vane and auxiliary rudder hard enough to damage both, and no amount of engineering survives that on a long motor leg.
Success sign: the boat holds a steady course through a tack with no manual touch, returns to its wind angle after a disturbance, and survives a power cut with the rudder centred.
Common Mistakes
Almost every failed homebuilt vane fails the same way. Here are the symptoms worth recognising, with the fix that usually solves them.
The vane steers but not far enough. This is the most common failure by a distance, and the usual cause is friction or a shortage of force reserve, not a lack of blade area. Shorten the linkage, remove turning blocks, upgrade to sealed bearings, or add a trim tab. One tiller-coupled homebuilt with a horizontal-axis vane and no trim tab was reported as simply not powerful enough, and its builder concluded the design was the problem, not the workmanship.
The vane only works on one tack. Something is shadowing the air vane. Dinghy davits, a stowed outboard and pushpit hardware are the usual culprits, and a cover on one side of the boom is enough to ruin sensitivity on that side.
The vane hangs or drifts to one side. Imbalance at the counterweight. Re-balance with the whole assembly on its bearings and confirm it returns to centre before you install anything else.
Movement is stiff or gritty. Friction, almost always. Open ball and roller bearings at the vane and pendulum axes must never be greased or oiled, only rinsed with fresh water. Grease collects salt and sand and the pivot seizes within weeks.
Position readings jump when the motor runs. Common-mode noise from the actuator. Separate the returns, decouple the sensor, and add bulk capacitance at the motor. Do not paper over it in software with filtering that adds lag.
The actuator stalls or heats up. Overcurrent from stalling against a mechanical stop or from a linkage that binds. Check the fuse rating against the actuator’s stall current, and set the software travel limit below the physical stop so the stop is a backstop rather than a normal operating position.
The boat weaves slowly from side to side. Almost always excessive gain, an inverted sign, or a badly balanced boat. Confirm the direction convention first, then reduce gain before you add damping. If the boat is still weaving after that, the balance is the cause.
Readings drift or fail after a few weeks at sea. Water in a connector. Pot every joint that is not a sealed gland, keep sensor electronics above the waterline where you can, and rinse the assembly with fresh water after every salt spray session.
Nothing happens when the electronics die. A missing fail-safe. Fit a spring return or a weighted bias so the rudder centres itself passively, and add a cockpit disconnect that removes actuator power without killing the logging system.
Two more worth planning for before a long passage. Rig a safety line to the servo blade so a failed breakaway link cannot lose it over the side. And carry a spare pivot tube, a spare set of bearings, a length of linkage line and a multi-tool, because a repair you can complete with hand tools is the whole point of choosing a mechanical system in the first place.
Frequently Asked Questions
What sensor should I use to steer a wind vane?
A magnetic rotary encoder on the rudder stock is the best general choice: it is contactless, unaffected by salt and gives clean resolution. A potentiometer is cheaper but needs a sealed case and its wiper kept out of the water. A masthead magnetometer is the only way to steer to a compass heading, but it needs calibration and a hard iron reference nearby.
Do I need a battery to run a wind vane?
A purely mechanical vane needs nothing at all, because the wind provides the energy. A servo or actuator does need power, typically a sealed 12 V pack sized to the actuator’s stall current, with a fuse at that rating. Size for peak draw rather than idle draw, or your pack will brown out every time the rudder moves hard.
How big a boat can a homemade wind vane steer?
Keep a first home build in the 25 to 35 foot range. Auxiliary-rudder arrangements are matched to boats up to roughly 37 to 40 feet, while servo-pendulum systems scale to about 60 feet and 30 tonnes, but only with quality bearings, short linkages and real force reserve. Most small production units stop around 27 feet and 2.5 tonnes, which is a fair expectation for a weekend build.
Will a compass or magnetometer interfere with the rudder?
A conventional magnetic compass is disturbed by the actuator current, the motor magnets and any steel in the linkage, which shows up as heading error that grows as the rudder moves. A solid-state electronic compass and a magnetometer both suffer, so keep the two apart and calibrate away from the hardware. Alternatively steer to a fixed vane angle and let the rudder stay between finger and thumb in 10 to 15 knots of wind.
How much windage does the vane itself add to my boat?
The air vane is a flat plate, so it presents real area to the wind even when it is not steering. Keep the blade light, keep the mounting tube slim and mount the unit as low and as far aft as clearance allows, or put the sensor on a pushpit. A balance test with the vane installed and removed is the only reliable way to see the penalty your particular boat carries.
Can a wind vane steer a small sailboat on its own?
Yes, within limits. A small sailboat works well because it is light, easy to balance and usually has a simple tiller, which is the easiest interface to drive. Balance it first: if the tiller cannot be held between finger and thumb in 10 to 15 knots of true wind, no vane will help. Expect the system to need about 5 knots of apparent wind before it has authority.
Start with the balance test, not the parts order. Sail the boat in 10 to 15 knots and see whether the tiller can be held between finger and thumb; if it cannot, trim the rig or move weight before you cut any plywood.
After that, build the simplest arrangement your steering interface allows, with sealed bearings, the shortest linkage you can fit and a mechanical bias that centres the rudder when power drops. Calibrate on land, test in sheltered water with a tether, and only then think about longer passages.