A sailboat keel is the fin and ballast structure that hangs below the hull to provide righting moment, cancel leeway and turn the side force of the sails into forward drive. Designing one means working backwards from your loaded hull: measure displacement, pick a ballast ratio, choose a foil planform, set the draft, then verify strength and stability before you build anything. The paper work is a weekend’s job; the build and sea trials take considerably longer.
That distinction matters. Anyone can draw a plausible-looking fin, but a keel that is too light, mounted too high or bolted through a thin section of hull will fail or, more often, simply sail badly. The process below is a design sequence you can follow, not a template, because hull form, intended waters and trailer limits decide most of the answers before you touch the foil.
One boundary up front. If your boat is going offshore, carries crew who are not yourself, or is large enough that a structural failure would hurt someone, the attachment and strength work needs a qualified marine engineer or naval architect. The calculations are straightforward enough to lay out here, but signing off on a load path is not a DIY decision.
Table of Contents
- What You Need
- Step-by-Step: How to Design a Keel for a Small Sailboat
- Step 1: Measure the Hull and Record the Boat’s Loading
- Step 2: Decide How Much Ballast the Keel Needs
- Step 3: Select the Keel’s Fin Shape and Planform
- Step 4: Set the Keel’s Chord, Thickness, and Section
- Step 5: Position the Ballast and Set the Center of Gravity
- Step 6: Check the Keel for Strength and Structural Attachment
- Step 7: Build, Fair, and Protect the Keel
- Step 8: Test the Boat in Controlled Conditions
- Common Mistakes
- Frequently Asked Questions
- Conclusion
What You Need
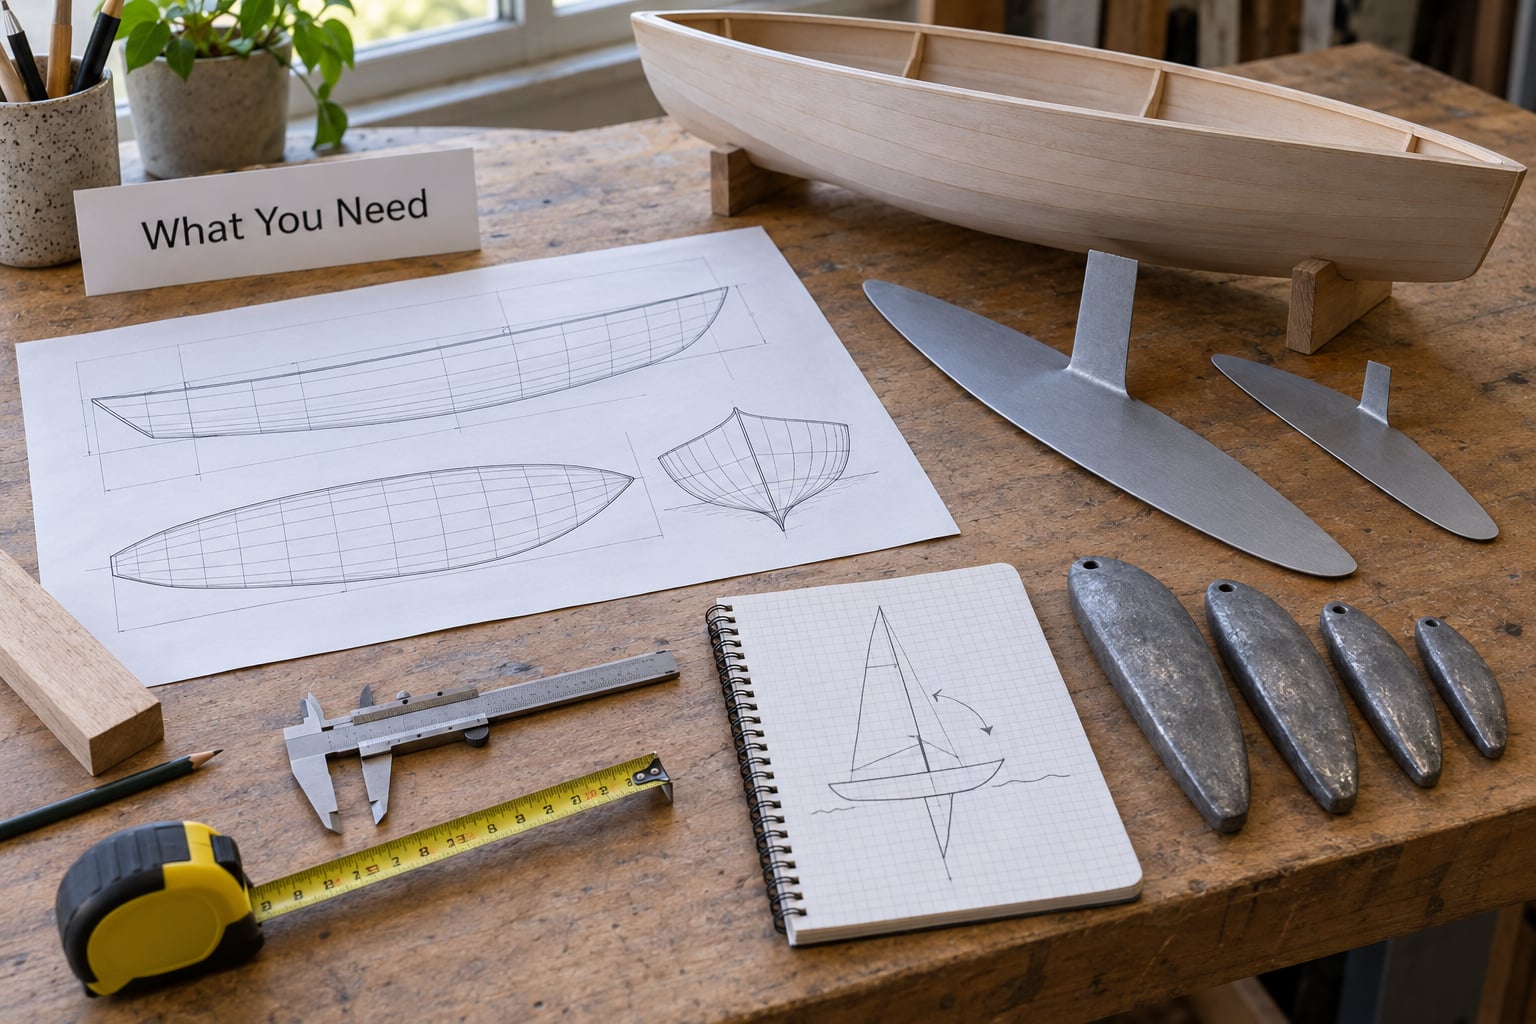
You need the boat’s real numbers before you need any software, and the numbers come from a loaded boat, not the brochure.
Design information
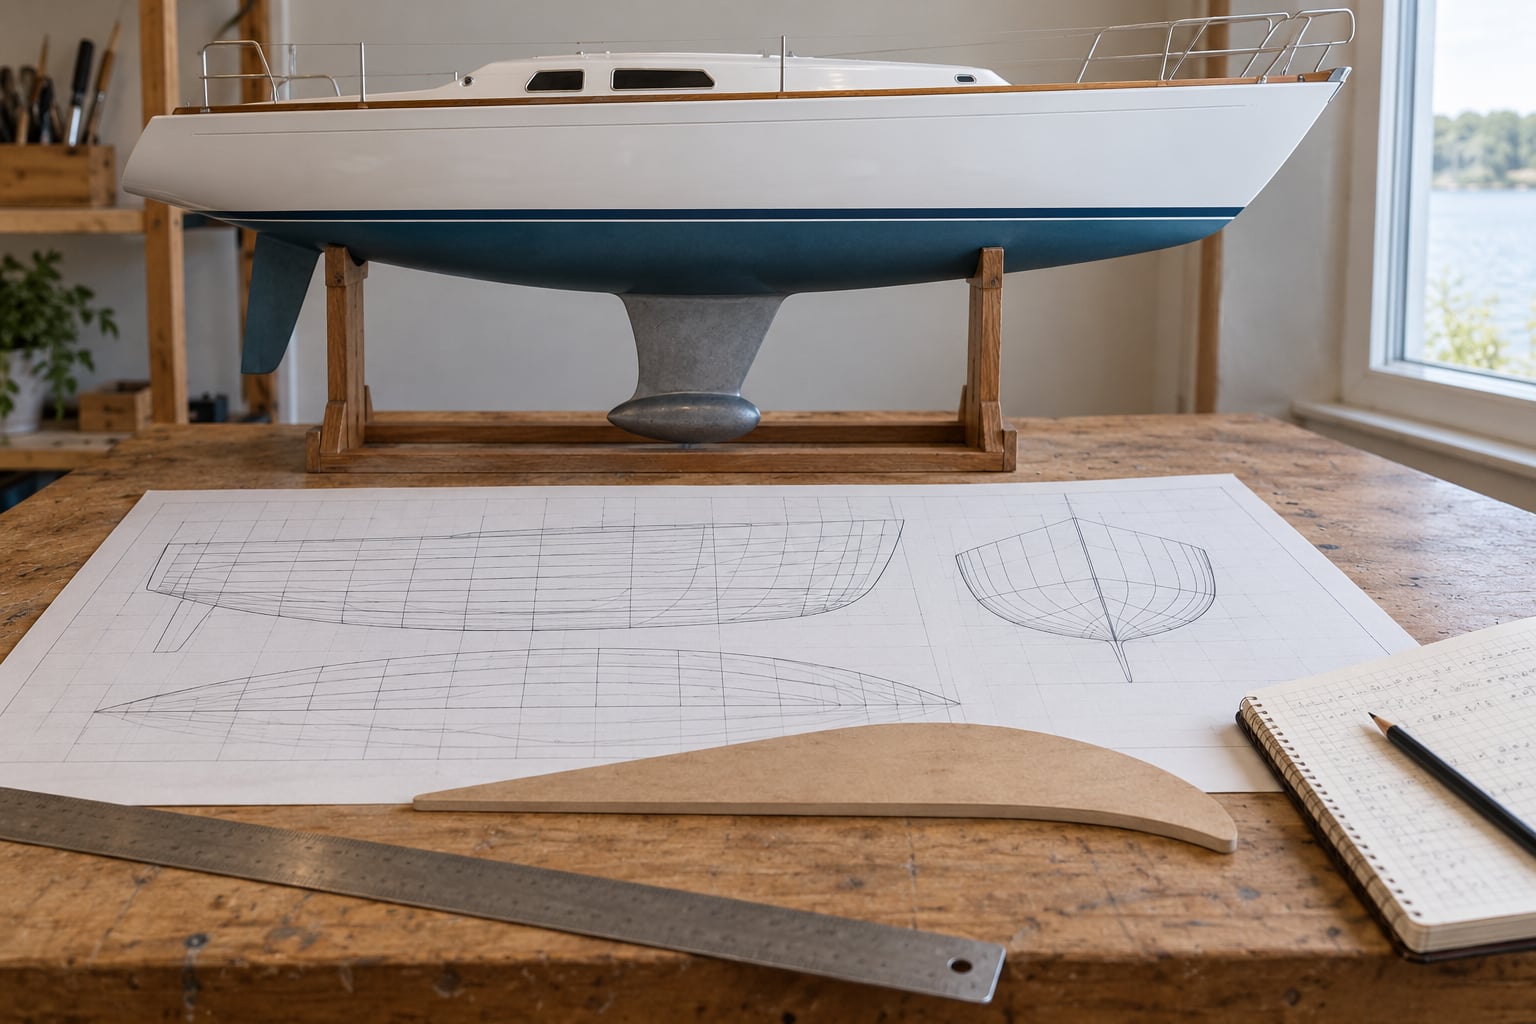
- Hull lines plan or offsets at several waterlines, plus the canoe body draft and the deadrise at the keel box.
- Loaded displacement, measured by weighing the boat with crew, water, sails, anchor chain, batteries and safety gear aboard.
- Waterline length at the intended cruise trim, not length overall.
- Design brief: minimum and maximum draft, the shallowest water you must float in, trailer weight ceiling, and whether the boat must self-right.
Calculation and measurement tools
- A hydrostatic analysis program that outputs a full GZ curve, ballast ratio, AVS and downflooding angles. Free and low-cost options cover hulls this size well enough to size a keel.
- Spreadsheet or notebook for the iterative numbers. Keep every assumption written next to the figure.
- Straightedge, set squares, battens and a spline or flexible batten for fairing curves.
- Calipers or a steel rule for section thickness, plus a tape for span and chord measurement.
Ballast reference data
Material densities, so you can convert a ballast mass into a volume and then into a bulb or fin that actually fits: lead at 11,340 kg/m³, steel at 7,850 kg/m³, cast iron at about 7,200 kg/m³, and water at 1,000 kg/m³. That last figure is why water ballast is a design decision, not a shortcut.
Safety and prototype equipment
- Eye protection, gloves and a dust mask for any grinding, cutting or handling of metal or resin.
- A fume extraction and a resin-safe workspace if you laminate anything.
- Lifting gear rated above the finished ballast weight, plus a plan for where the keel gets stored while it is not in the boat.
- Life jackets, a trailer rated for the finished weight, and a second person for any launch, recovery or heeling test.
Step-by-Step: How to Design a Keel for a Small Sailboat
Step 1: Measure the Hull and Record the Boat’s Loading
Start with the loaded boat, because a keel designed for a light boat will be overloaded the moment two people and a weekend of provisions are aboard.
Weigh the hull rig and all permanent gear, then add crew at realistic weights and the water, fuel and stores you will actually carry. A 24 ft trailerable boat in that condition often lands near 4,800 lb, which is well above the dry hull number most people quote when they size a keel.
From the offsets, pull the waterline length, the canoe body draft, the beam at the waterline and the wetted surface area. These four figures drive everything downstream. If the hull already has a deep fin, subtract its volume and area from your targets rather than adding to them.
Write the design brief in one paragraph and keep it in front of you. Minimum draft for a drying mooring, maximum draft for trailer launching, ballast ceiling for tow weight, and the required self-righting behaviour. Every later trade-off resolves against that paragraph.
Step 2: Decide How Much Ballast the Keel Needs
Ballast ratio is ballast mass divided by displacement mass, and for small trailerable sailboats it normally falls between 30 and 40 percent.
Day boats and racers sit at the lower end of that band. Cruisers that need to carry a lot of cabin gear, sail heavy and heel hard sit higher, because the gear is weight they cannot remove. A 4,800 lb boat at 35 percent needs roughly 1,680 lb of ballast, and that number is the one most home designs get wrong by cutting it in half to save tow weight.
Now convert that mass into a volume. Lead at 11,340 kg/m³ gives about 40 litres per 1,000 lb, steel about 58 litres, cast iron about 63 litres, and water about 454 litres, which is around 120 gallons. The gap between lead and water is the whole argument about ballast systems.
A heavier keel is not automatically better. Past the point where the boat is stiff enough to carry its sail area in a breeze, extra depth adds drag, forces more draft and adds tow weight. Add ballast for a specific reason, such as righting moment, feel or a heavy interior, and check the effect on AVS each time rather than adding it by feel.
Step 3: Select the Keel’s Fin Shape and Planform
The fin planform sets how much side force the keel makes for a given drag, and that is the efficiency question every small boat designer eventually argues about.
Fin and bulb keels give the lowest drag of the lot because only a narrow fin and a compact bulb sit in the water. They are the right default for anything that sails upwind in open water, and they cost you the deepest draft of the options.
Wing keels spread the weight horizontally, which is very stable but adds a large sideways wetted area. That suits cruising boats where self-righting matters more than reaching speed.
Canoe body and plate keels trade drag for shallow draft. A canoe body is an upside-down hull section; it works well and it is heavier for the same stability, because you pay with wetted surface and a low centre of buoyancy.
Twin and bilge keels split the lateral area into two foils so one stays vertical as the boat heels, and they let the boat float on a mud bottom. Asymmetric twins work best, with the leeward foil doing most of the work once the boat is over.
Wing keel variants and swing keels exist for boats that must go very shallow, at the cost of a hinged pin, a control line and a stiffer lateral load path into the hull.
Choose by asking one question first: where does this boat spend most of its time? Deep and fast on open water, or shallow and tidal? The fin area and ballast you end up with follow from that, not the other way round.
Step 4: Set the Keel’s Chord, Thickness, and Section
This is the step the forums keep open and nobody answers, so here is a workable approach for a low-aspect-ratio keel with a parallel mid-body.
Build the keel in horizontal slices, because that is how the planform and the waterline area fall out. Choose the required immersed lateral area for the displacement and speed, then get there with span and chord together rather than by making the fin enormous.
For a fin keel on a boat of this size, a span of around 1.5 m, a root chord near 1.2 m and a tip chord near 0.6 m gives a trapezoid planform of roughly 1.35 m² and a fin aspect ratio of about 1.7, calculated as span squared divided by planform area. Production cruisers of 20 to 30 ft sit in roughly the 2 to 3 range, while racing boats push well past 5. Those are sensible targets, not limits.
Now the section. A foil section needs a width-to-length ratio of roughly 10 to 15 percent, and a builder working on a long keel or skeg raised that as the practical minimum for avoiding flow separation on a home build. Below about 10 percent the section is slab-sided, the boundary layer breaks up early and leeway climbs.
Use a symmetric NACA four-digit section or a NACA 00-series thickness distribution with a closed trailing edge, sweep the leading edge aft so it stays roughly vertical through the heel angle, and keep a parallel mid-body for about 30 percent of the chord. Thickness-to-chord should run from 14 to 18 percent at the root down to 10 to 12 percent at the tip, with a leading edge radius of 1 to 2 percent of chord.
Sweep matters more than most builders expect. A vertical leading edge works at zero heel and stops working at 30 degrees; sweeping the tip aft by 15 to 25 degrees keeps the foil loaded and the leeway down when the boat is over. Keep the trailing edge sharp. A blunt edge on a small fin costs you power and it vibrates.
Step 5: Position the Ballast and Set the Center of Gravity
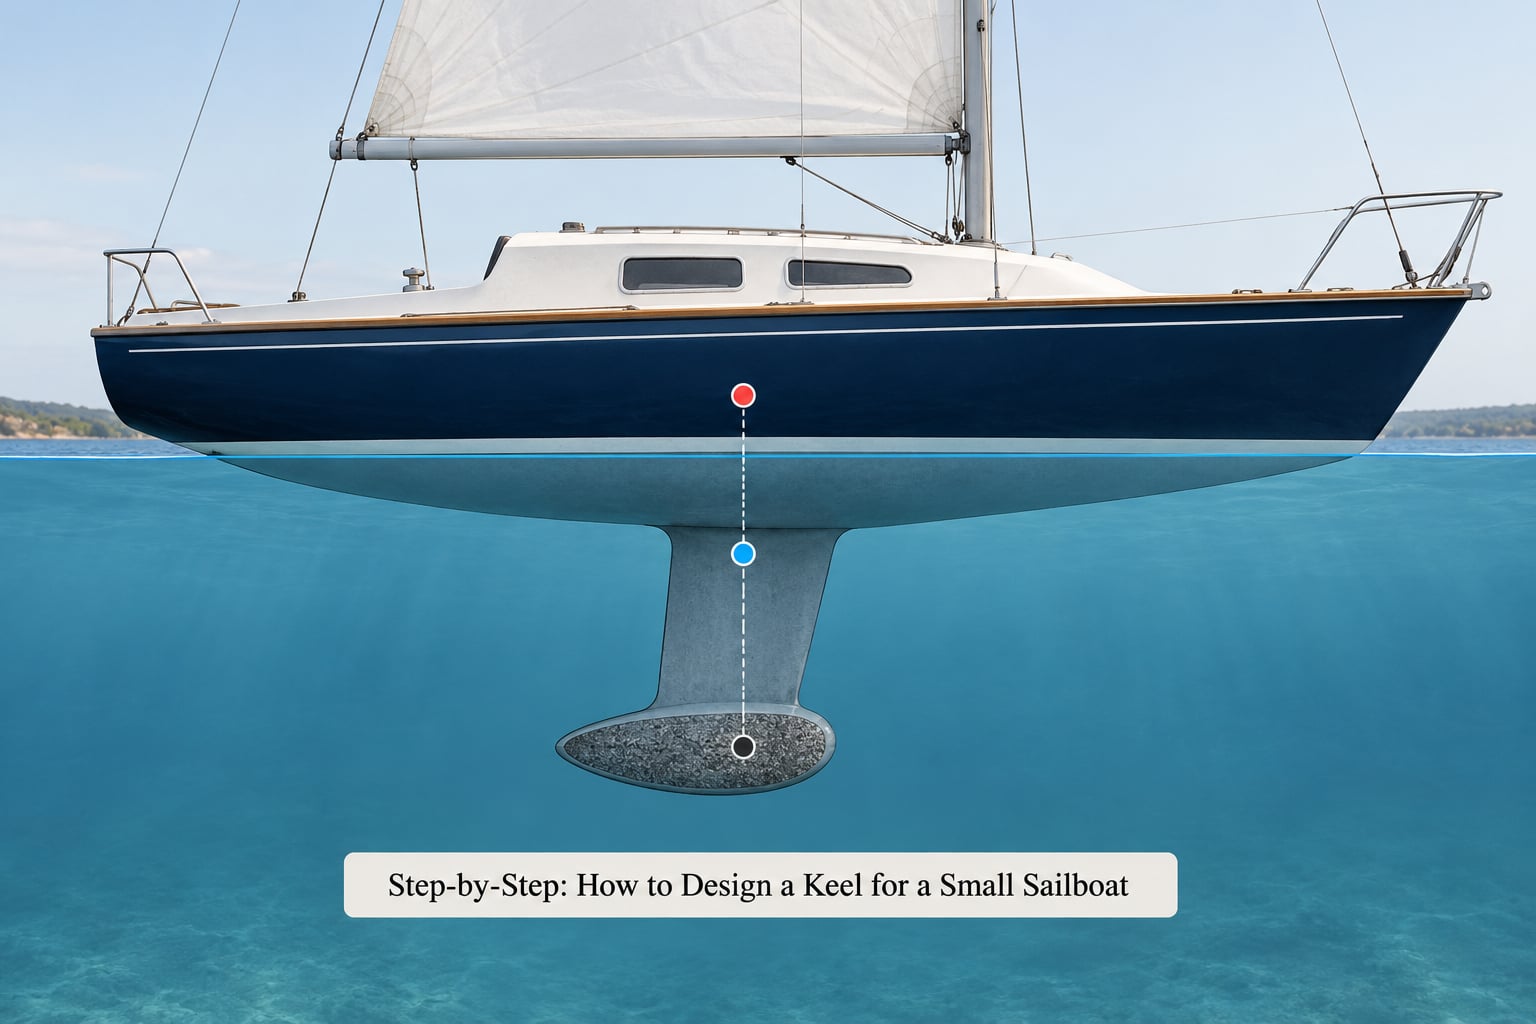
The ballast goes low, and the keel gets its stability from where that mass sits relative to the center of buoyancy rather than from how much of it there is.
Put the bulb or the cast mass as deep as the draft allows and the righting arm grows with it. Every inch of extra depth below the canoe body buys more stability than the same inch of extra ballast above it, and it costs only hydrodynamic drag.
Set the vertical center of gravity as high as the interior layout and rig allow. A high center of gravity increases form stability, which is the part of the righting moment that comes from the shape of the hull, and it makes the boat stand up sooner after a gust. A low center of gravity feels planted in light air and is tender and slow in a gust.
Then run a GZ curve and look at the shape of it, not just the maximum. You want maximum righting moment somewhere around 55 to 70 degrees of heel, an AVS in the region of 120 to 140 degrees for a cruising boat, and a curve that stays comfortably above zero across the working range. Also check the downflooding angle, because a keel that is beautifully stiff in theory is worthless if the companionway floods first.
Move ballast in small increments and re-run the numbers each time. A change of five percent of displacement in ballast position often swings AVS by fifteen degrees, which is far more than most people expect from a small adjustment.
Step 6: Check the Keel for Strength and Structural Attachment
The keel is a cantilever. Treat it like one and the loads stop being mysterious.
The bending load at the root comes from the righting moment, so peak root bending scales directly with the GZ value you just computed, multiplied by displacement. Through a heel of 60 degrees on a stiff boat that force is substantial, and it reverses every time the boat comes back up. Any design that has never considered cyclic loading is incomplete.
Then there is torsion, which arrives when the boat is close to head to wind with a large sail force at a distance from the centerline. This is why a fin keel attached to a flat-bottomed canoe body needs a substantial keel shoe and a long fore-and-aft spread of fasteners, not a short row concentrated near the leading edge.
Set the keel bolts through a doubler or backing plate that spreads the load into the laminate, and design the connection to develop the material strength of the shell rather than the bolt strength alone. Bedding compound, sealed tubes and a properly sealed top coat matter as much as bolt diameter, because a single leaking fastener in salt water will make a mess of the laminate around it.
If you cannot size the joint and the doubler yourself with confidence, stop and get it checked. The cost of an engineer’s hour is trivial against a mast coming down in a seaway.
Step 7: Build, Fair, and Protect the Keel
Build in an order that lets you fair the surfaces while they are still accessible, and keep the ballast captive so it cannot move under any circumstances.
Lead or cast iron in a cage. A welded stainless or painted steel cage running the full length of the keel is the classic home route, and one long-running Boat Design Net build used exactly that, holding roughly 3,000 lb of reclaimed lead wheel weights in resin. Clamp the mass mechanically as well as in resin so a lifting failure cannot drop it.
Steel plate. A folded and welded plate box is straightforward, needs no mould, and gives you a flat surface to machine the bolt flange on. Paint it inside and out, and consider sacrificial zinc or a dielectric barrier at the hull connection.
Composite. A moulded fin with a separate ballast bulb lets you optimise the two jobs independently. The bulb can be near the centre of effort while the fin is as slender as you like, which is the cleanest performance answer.
Fair the keel-to-hull joint with long stringers, not a short fillet. A small radius at the root traps a separation bubble that costs leeway; a long fairing keeps flow attached. Seal all fasteners, coat the whole appendage below the waterline with antifouling, and leave an inspection route to the keel bolts so you can check them annually.
Step 8: Test the Boat in Controlled Conditions
How to design a keel for a small sailboat properly means finishing with measurement, because the paper assumptions will be partly wrong and the numbers will tell you which way.
Work up in stages. First, static checks in a slip or on a hard cradle: confirm the boat floats at the intended waterline, sits level athwartships and floats with the rudder and prop clear. Then a short dock test at low power to check that nothing moves and the keel bolts stay dry.
Next, in shallow protected water, note the heel angle at a steady reach in a known breeze, record GPS track against heading to get leeway, and repeat at increasing wind. Heeling tests with crew deliberately moving to windward tell you the shape of the positive stability curve in practice, and they must only be done with the boat secured, in shallow water, with flotation and a second person aboard.
From those figures you can estimate the effective ballast ratio and the real AVS, and compare them with the design values. If the boat is tender early, the ballast is too high or too light. If it is stiff but slow, the fin is overpowered for the boat and a slightly smaller foil with the same mass may sail better. Adjust ballast, rig or foil in one variable at a time, and repeat the measurements after each change.
Common Mistakes
Most keel problems show up as a handling complaint rather than a failure, which is why they get lived with for years. Here are the seven I see most often, with the correction for each.
Ballast set too high in the fin. The boat feels responsive upright and then heels too far as soon as the wind comes through, because the righting arm collapses early. Symptom: large angle of heel in moderate breeze, tender feel when the wind drops. Correction: drop the mass into a bulb or the lower third of the fin, and re-run the GZ curve.
Fin area far larger than it needs to be. The symptom is a boat that makes almost no leeway, sails slowly in light air and drags badly in a seaway. Correction: reduce the planform area to match the displacement and keep the mass where it is. You lose nothing and the boat gets quicker.
Slab-sided section with a thick leading edge. The symptom is leeway that does not improve as speed builds, and a keel that feels dead in a jibe. Correction: rebuild the section to 10 to 15 percent width-to-length with a sharp trailing edge and a swept leading edge, and fair the root properly.
No bulb on a fin keel. The symptom is more heeling power than the boat can use, since the mass sits far from the centre of lateral resistance. Correction: move the mass down and aft into a compact bulb.
Poor fairing at the keel root. A short fillet or a proud sanded lump leaves a visible crease that separates flow at even small heel angles. The symptom is leeway that grows with heel. Correction: long stringers, checked with a straightedge across the fairing in several planes.
Enough chord, not enough span. A very short, wide keel is stable and slow. The symptom is a boat that is stiff but never accelerates. Correction: swap some chord for span, keeping the same area, and raise the aspect ratio until the drive improves without the heel angle rising.
Bolts through a single laminate layer with no doubler. The symptom is local softening, cracking or water ingress around the keel head, usually found at a haul-out. Correction: spread the load with a backing plate, reseal and inspect periodically.
A few closing habits help. Record the mass of the finished keel with a scale, not an estimate, because a handcart and a bathroom scale will get you close enough to catch a 100 lb error. Keep the design brief next to the drawings. And treat any change to ballast, rig or interior as a change to the stability calculation, not just a change to the boat.
Frequently Asked Questions
Why does a boat need a keel?
The hull alone provides buoyancy, but a keel supplies the righting moment that stops the boat lying over when the sails fill. Its weight sits far below the center of buoyancy, so as the boat heels the ballast shifts to leeward and pushes the hull back up. The same foil also cancels the sideways force of the sails, which is what converts sail power into forward motion instead of drift.
How much ballast does a small sailboat need?
Plan for 30 to 40 percent of loaded displacement as the ballast ratio. A 4,800 lb trailerable boat at 35 percent needs about 1,680 lb. That figure depends on cabin gear, rig and how much self-righting you want, so run a GZ curve rather than copying a ratio. In lead, 1,000 lb occupies roughly 40 litres, which sets the bulb volume.
What is the typical size of a keel?
On a 20 to 30 ft boat, total draft is usually between 1.2 m and 2.1 m, with the canoe body contributing 0.25 m to 0.35 m. The fin itself is commonly 1 m to 1.6 m of span with a 0.6 m to 1.3 m root chord. Verify against your displacement and intended water, since draft is the number that limits where the boat can go.
Should a small sailboat use water ballast or lead?
Solid lead or cast iron works from the first degree of heel, needs no plumbing and cannot shift, which is why most small cruisers use it. Water ballast is lighter to handle and adjustable, but contributes nothing until the tank rises above the waterline, leaving the boat tender at low heel angles. It suits shallow-draft cruisers where minimum draft matters more than early stiffness.
What is the best keel type for shallow water?
A swing keel, twin asymmetric keels or a bilge keel pair will let the boat float where a fixed fin would ground, and twins let it settle on a soft bottom. Canoe body keels trade drag for depth and are a good middle option. Fixed fin and bulb keels stay the fastest and stiffest, but they commit you to deeper water and harder launching.
How do I make a keel?
Pick a route that suits the material. Fold and weld a steel plate box for the simplest no-mould build, cast or pack lead into a welded stainless cage for a traditional home build, or mould a composite fin with a separate ballast bulb for the best performance. Every route needs captive ballast, sealed fasteners, a faired root and full antifouling below the waterline.
Conclusion
To design a keel for a small sailboat, work in one direction: loaded displacement, ballast ratio, ballast volume, draft, fin planform and area, then the section and the root connection. Each number feeds the next, and guessing any of them moves the stability and the handling somewhere you did not intend.
Begin by measuring the actual boat in the condition it will sail in, and check the shallowest water and the heaviest tow load it has to cope with. Those two constraints will decide the draft and the ballast mass before any foil profile is drawn. If the structure work at the hull is beyond what you can size confidently, take it to a naval architect before you cut a bolt hole.