Learning how to build a rudder for a model boat comes down to six jobs: measure the hull, pick a blade area, laminate or cut a blank, shape the profile, hang it on a straight stock, and seal it properly. Done well, it takes an evening at the bench and about 20 mm of flat marine plywood.
I have built and rebuilt more of these than I would admit to my wife, and the mistakes repeat. The blade warps because the laminate went in wet on one side. The steering feels vague because the stock is bent. The boat turns hard one way and barely at all the other because the servo horn popped off the ball link.
None of those failures needed a workshop. This guide walks through the whole build, from choosing a size to testing in a bathtub, and finishes with the faults that send boats back to the bench.
Table of Contents
What You Need
Here is the honest list. Most of it is cheap and most of it you can skip if you already own it.
- Marine plywood, about 9 mm thick. Three or four plies of 3 mm laminated together make a blade that will not flex. A single sheet of 9 mm works too, but a laminate holds a straight edge better and you can shape the leading edge without splitting it.
- A solid stock rod. 8 mm stainless or 10 mm aluminium is right for a boat up to about 3 ft long. 6 mm is enough under 2 ft. Do not go thinner than the rule below suggests, because the stock carries the side load in bending.
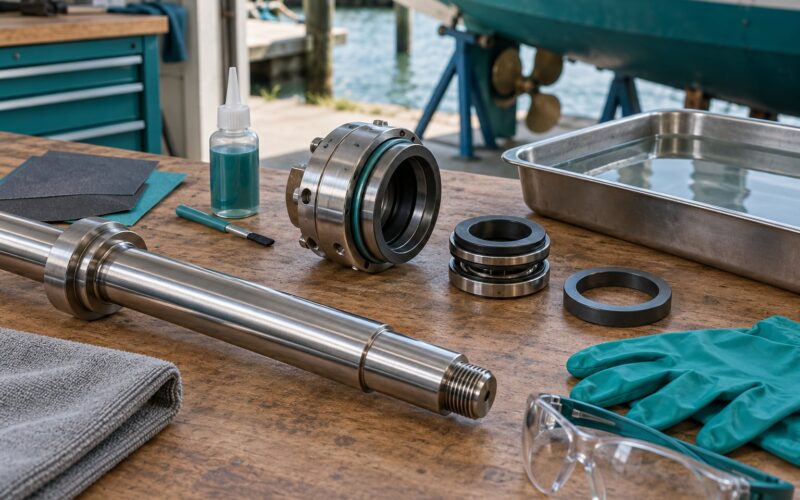
- Two thrust bearings. Delrin or PET-P is the good choice: it is dimensionally stable, it barely swells, and it survives the load. Nylon is cheaper and swells with water, which is why a nylon bushing often binds for the first few minutes after every launch before it settles. PVC trimmed from pipe resists UV better than nylon but can go brittle at the flanges after a few seasons outdoors.
- Od epoxy, glass cloth, and 120 to 400 grit paper. Two or three coats of epoxy with a single layer of cloth on each face seal the plywood completely.
- A servo, a servo horn, ball links, and stiff link wire. 17-4 PH stainless wire is better than piano wire for a fast RC hull because it does not stretch under a hard helm.
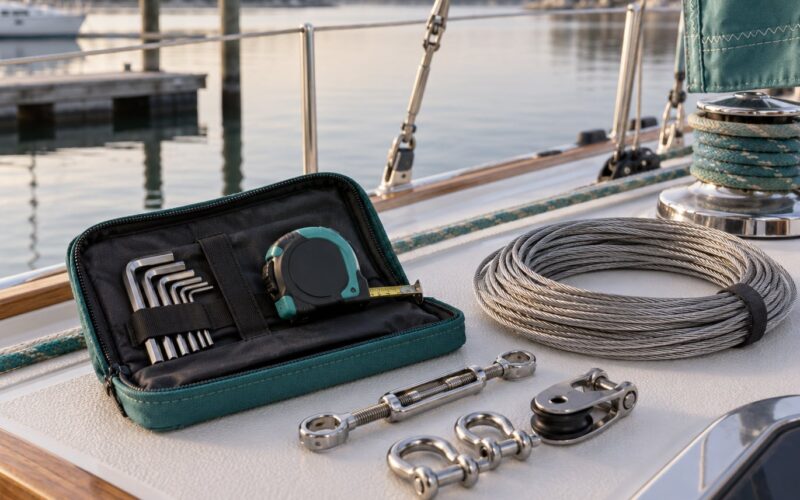
- Hand tools: a steel rule, a pencil, a fine hand saw or scroll saw, a sanding block, and a small vise. A drill press with a 45 degree angle attachment makes the hinge holes repeatable, but a hand drill with a jig works fine.
On sizing, two rules of thumb do most of the work. The first, widely attributed to Vic Smeed, is one to one and a quarter square inches of rudder area per foot of boat length. The second, used for RC sailing models, sets the rudder at about 10 percent of the total lateral plane. Both are starting points, not laws, and both assume a rudder placed in the prop wash. Keep the design references from building-model-boats.com and the fabrication detail from a Practical Boat Owner spade rudder build in mind, but scale the numbers to your hull rather than copying them.
Worth one warning before you start: a rudder that is too big is a real problem, not a safe one. An oversized blade loads up the steering servo, pushes the bow down at speed, and makes the boat twitch through tight turns. The rudder that suits your boat is the one that turns it without the servo complaining.
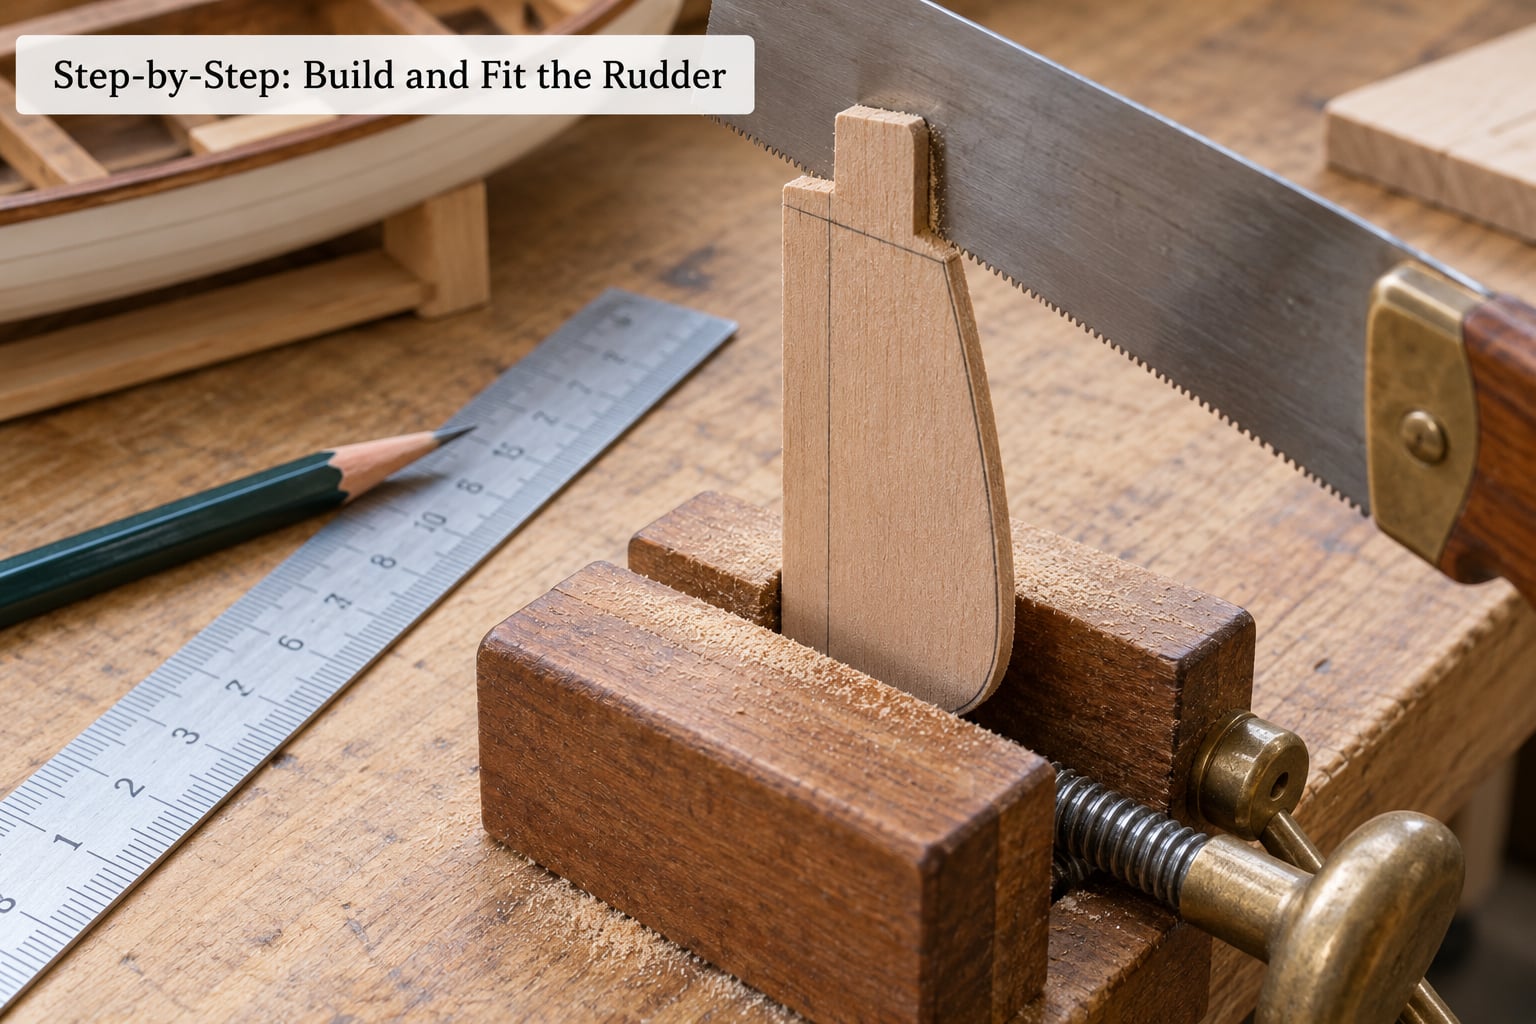
Step-by-Step: Build and Fit the Rudder
Measure the Boat and Choose the Rudder Size
Measure the hull length overall, not the waterline, because that is the number the sizing rule uses. Then measure the hull depth at the transom and check the space behind the propeller: the rudder needs the full sweep to rotate without touching the prop or the hull.
Work the area out before you cut anything. A 3 ft hull at one and a quarter square inches per foot lands somewhere near 40 square inches of blade, which is a shape of roughly 4 in chord by 10 in span. A sailboat is better sized from its lateral plane than from its length.
Two more things to note while the boat is on the bench. Where the rudder sits matters: on a single-screw model the blade usually wants to sit in the prop wash just aft of the prop, and on a monohull an outside-the-transom rudder is worth considering if steering response feels slow. And a vertical pivot with zero caster is the right starting point. Add no more than about 5 degrees of negative caster later, and only if the boat genuinely misbehaves.
Cut and Shape the Rudder Blade
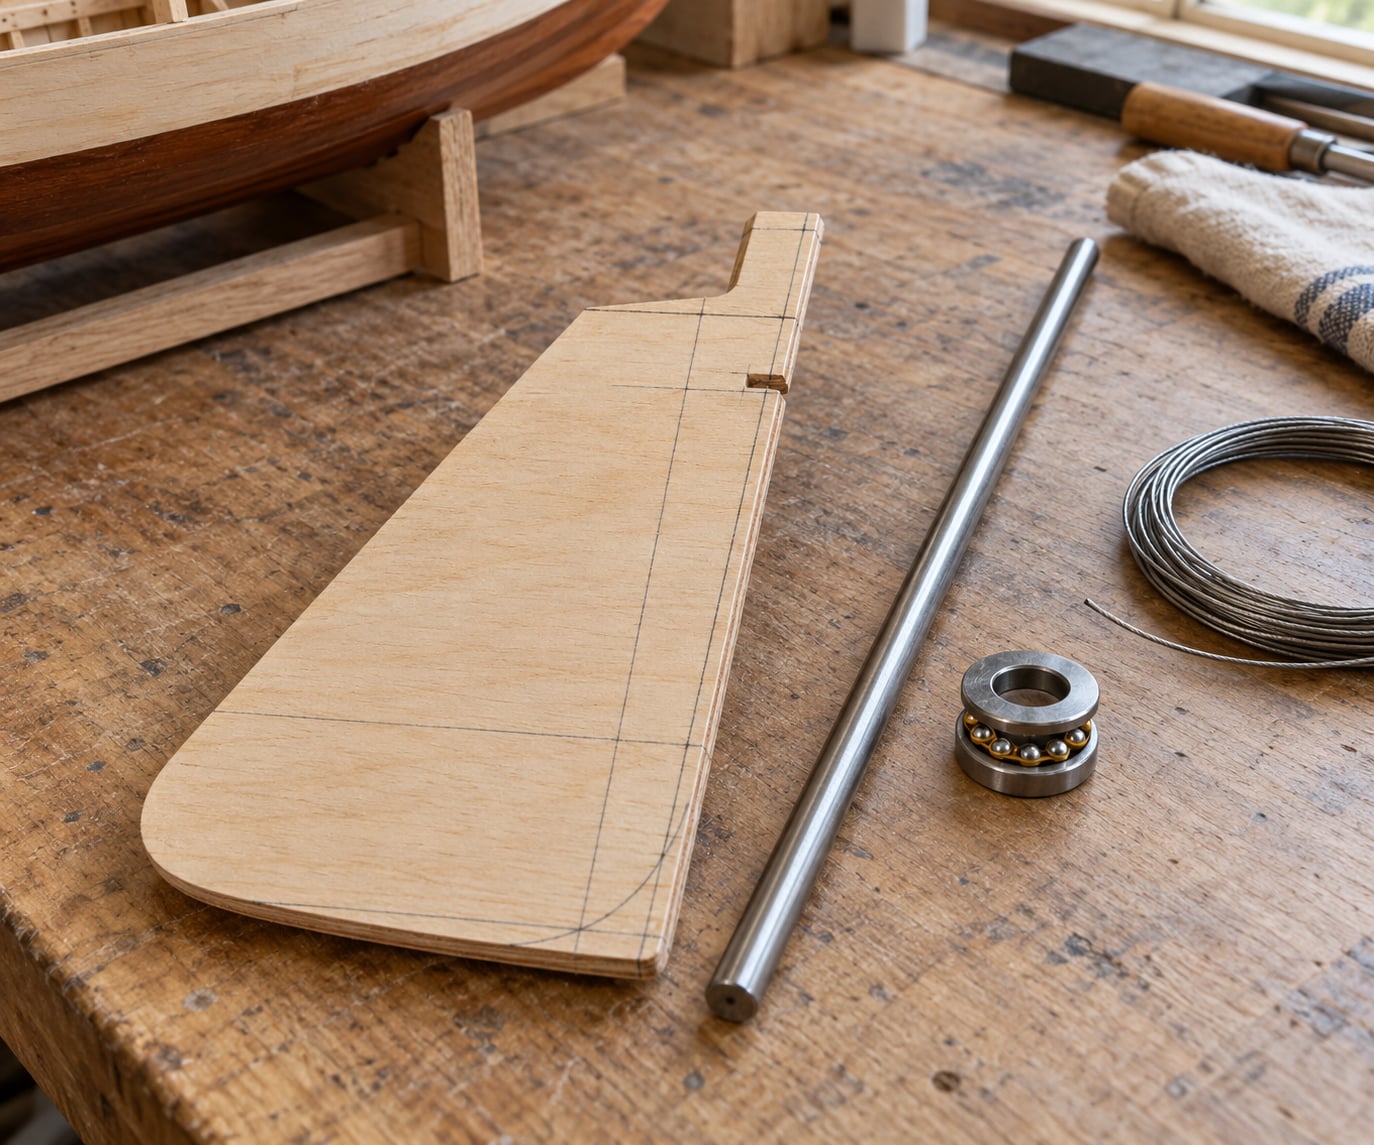
Make the blade from a card template before you touch wood. Draw the outline, cut it out, hold it against the transom, and check that the stock hole lines up with where the transom needs to be drilled. Expect to draw it two or three times; getting a profile right first time is unusual.
Glue up the blank. Clamp between two flat pieces of scrap and keep the clamps tight, then leave it overnight. Cut the outline with a fine saw, staying just outside the pencil line so the final sanding brings it to size. The pivot line sits at roughly 30 percent of the chord from the leading edge, which is where the laminate needs to be left thickest for the hinge.
Shape the trailing edge last and taper it to a blunt, not knife, edge. A sharp edge is fragile and it vibrates. The leading edge can be rounded a little. Deep and narrow beats wide and shallow on most RC hulls because the taller blade bites harder for the same area and puts less load on the servo.
Add the Hinge and Steering Arm
Drill the stock hole through the blade at the pivot line, then dress the hole so the stock slides in by hand with a light friction fit. Clamp the stock in a vise with a scrap block on each side and bore the hole straight through the blade, keeping the drill square to the face. A hand-drilled hinge is the number one cause of a rudder that never quite lines up.
Press the two thrust bearings into the transom or the blade, whichever arrangement you have chosen, and set the depth so the blade cannot touch the hull at full lock. Test for that by turning the stock hard over with the linkage disconnected. Leave a few thou of end float; a blade that bottoms out is a blade that will chip.
Fit the steering arm to the stock above or below the blade, whichever keeps the linkage angle shallow, and clamp it with epoxy and a wrap of glass cloth. Equal-length arms on the servo and the rudder give about 45 degrees of sweep, and shortening the servo arm to roughly three quarters of the rudder arm cuts that to about 33 degrees. That narrower sweep is usually the better choice on a fast model because the linkage stays near a right angle through the whole travel, so the servo works at its best leverage.
Sand, Seal, and Test the Rudder
Sand the blade to shape with 120 grit, then 220 and 400 to a fair surface. Round every edge you can feel with a fingernail. Keep the sealer off the stock hole and off any mating surfaces, because epoxy in a bearing is the fastest route to a rudder that binds.
Seal with two thin coats of epoxy and a single layer of glass cloth on each face, keeping the edges wrapped. Thin coats cure properly; a thick one goes exothermically and can bow a blade flat, which ruins the thing you just built. On odd shapes, build the peel-ply from small overlapping pieces so the edges stay crisp and you get the grip you need.
Now the part most people skip. Before the boat ever touches open water, tow the hull behind a slow boat or pull it through a calm pond on a line and watch whether it holds a line. Then test in a bathtub or a shallow pool: the blade should sweep freely through its full range with no binding, and the linkage should stay connected at both hard stops. If the boat already runs and steers well, leave the rudder alone. That advice comes straight from builders who have chased enough turning problems to know that drag is a poor tuning tool.
Common Mistakes and Fixes
Every one of these shows up repeatedly in model boat forums, and each has a specific correction.
Steering only one way, or it suddenly goes dead. The servo horn or a ball link has pulled off under a hard helm. Re-seat it, add a dab of threadlocker, and fit a small washer over the ball so the link cannot climb off. If it happens again, the horn is too short for the load. Move the servo outboard or use a longer arm.
Binding for the first few minutes after launch, then fine. Nylon bushings absorbing water. Replace them with Delrin or PET-P, or accept the pattern and lubricate the stock with a silicone spray before the first run.
Rudder flutter at speed. The blade is too thin, the laminate is starved, or the pivot is loose. Add a second skin of glass, stiffen the blade back, and close the play at the hinge.
Notchy or bumpy steering. The stock is bent or the bearing is not square to the transom. Clamp the bare stock in a vise over a block and straighten it by hand, then shim the bearing until the blade sweeps evenly. Keep Delrin parts well clear of any welding, because they melt at around 160 degrees.
Water getting into the blade. A poor seal on the trailing edge or a bare end grain at the top. Fill the end grain with epoxy first, and check the glass cloth coverage after the first few launches.
Weak stock that flexes under hard steering. Move up a diameter. If the stock is already the right size, add a second bearing lower down and support the blade more closely to the hull.
Blade warping during sealing. One face sealed and dried before the other. Wet both faces in the same session, or accept that a little bow is normal and sand it back true.
Frequently Asked Questions
What is the best material for a model boat rudder?
Laminated marine plywood is the best all-round choice for a beginner, and 9 mm of it will not flex in a small RC hull. Solid cedar or paulownia is lighter and easier to shape but needs more thickness for the same stiffness. Foam core with a glass skin suits a static model or a very light hull. Aluminium is tougher than you need and heavy; steel only makes sense for a race boat where weight is already accounted for.
How large should a rudder be for a model boat?
Use about one to one and a quarter square inches of blade area per foot of boat length, so a 3 ft hull lands near 40 square inches. For a sailing model, size the rudder at roughly 10 percent of the total lateral plane instead. Treat both as starting points, then reduce the size if the servo strains in a hard turn.
Should I use a wood or metal rudder?
Wood, almost always. A laminated plywood blade is light, cheap, easy to shape and forgiving of a bad cut, and it absorbs knocks rather than cracking. Aluminium or steel only pays off on a fast race hull where stiffness matters more than weight and you have the tooling to drill and align the hinge accurately. A steel blade on a beginner model is more trouble than it solves.
How do I attach a rudder to a model boat?
Drill a straight hole for the stock at about 30 percent of the blade chord, press a thrust bearing into the transom, then slide the stock through the blade and secure it with epoxy and glass cloth. Add a second bearing to spread the load, and fit a steering arm to the stock above the blade. Test the full sweep with the linkage off before you reconnect the servo.
How do I waterproof a wooden rudder?
Sand the blade fair, then apply two thin coats of epoxy with a single layer of glass cloth on each face, wrapping the edges. Seal the end grain first because it drinks epoxy fastest. Keep every coat thin, since a thick pour can generate heat and bow the blade. After curing, sand the outside smooth and add a coat of marine varnish or paint if you want extra abrasion resistance.
Why is my model boat rudder not steering smoothly?
Most cases come down to one of four things: play at the stock, a binding bearing, a linkage that has come loose, or a blade that is too heavy for the servo. Check the swing by hand first, since a stiff stock points to a bent rod or a badly seated bearing. If the swing is free, watch the servo horn and ball links under full lock, because a pulled-off ball link gives exactly this one-way steering.
Conclusion
Start with the tape measure, not the saw. Decide the blade area from the two rules of thumb, cut a card template and check it against the transom twice, then laminate the blank, shape the profile with the pivot line at about 30 percent of the chord, and seal it in thin coats. Fit the bearings square, keep the sweep modest, and tow the hull before you launch it.
Most rudders that disappoint were not badly designed. They were a little too big, sealed too thick, or hung on a slightly bent stock. Build the first one a touch conservative, watch how the boat actually responds on the water, and change one thing at a time from there.