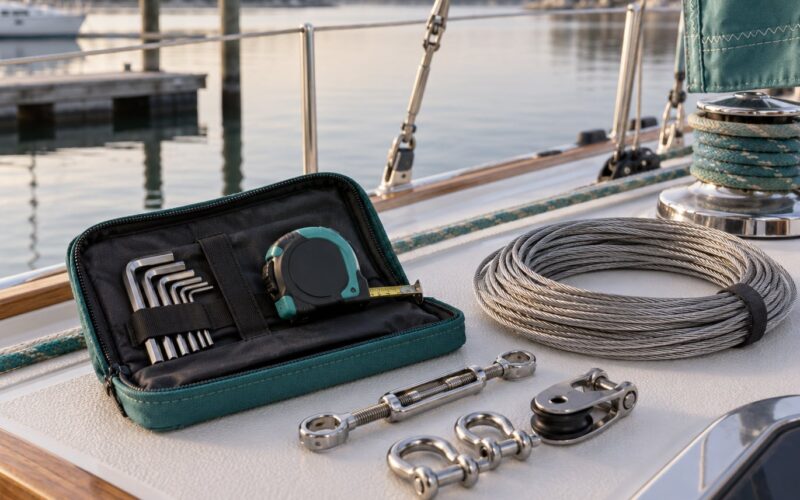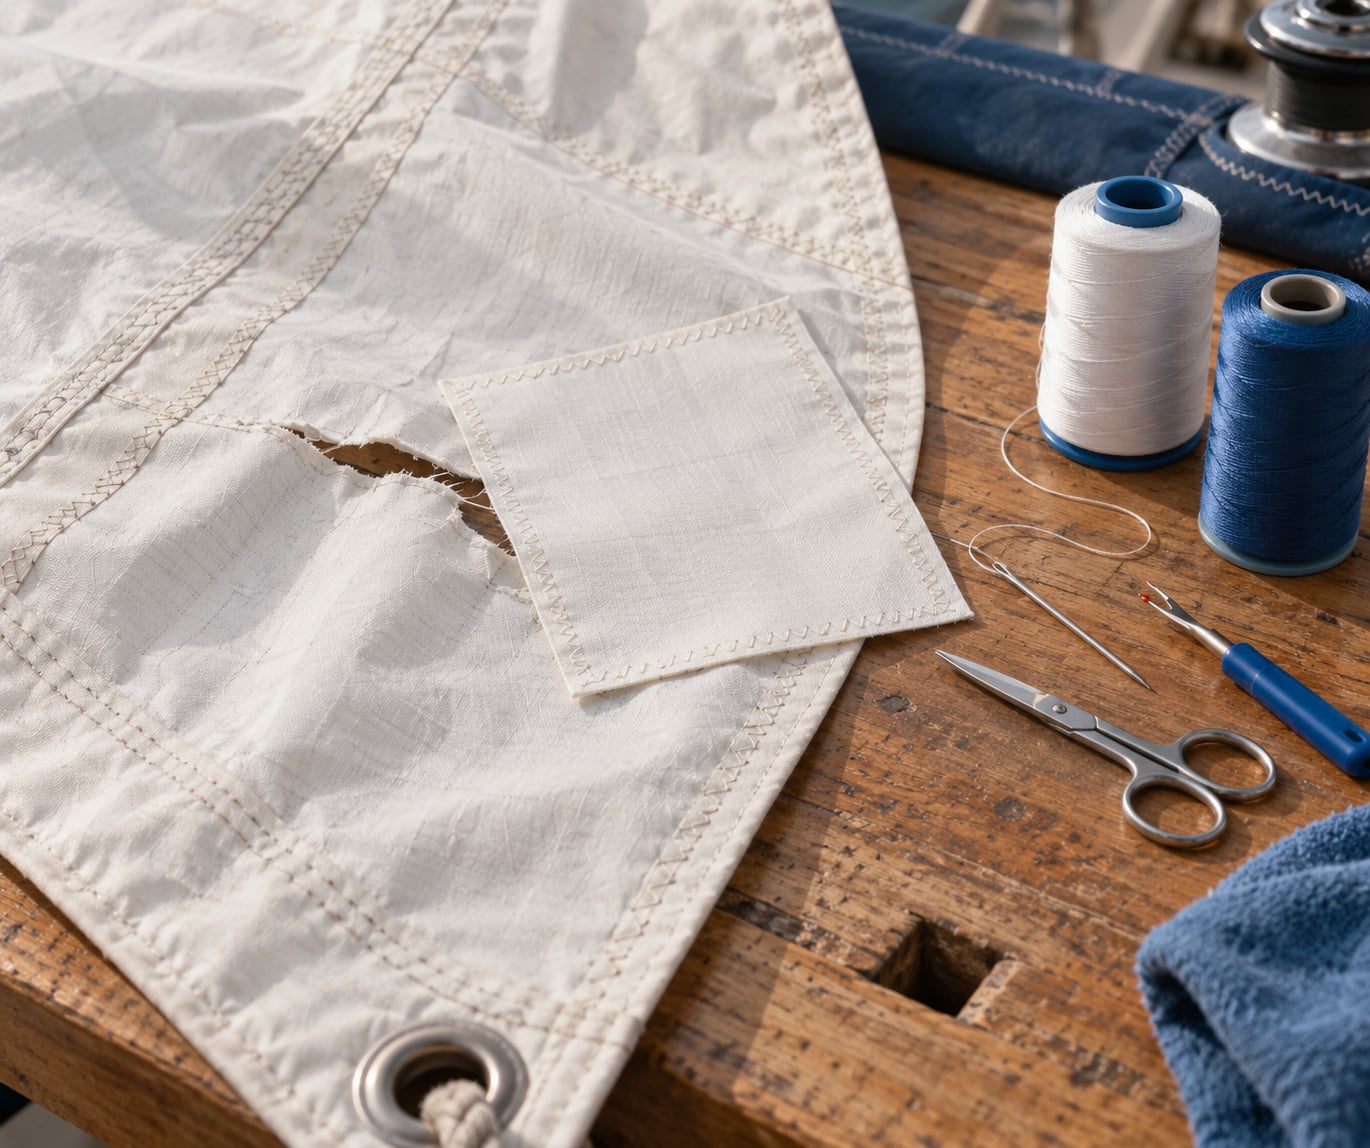
A torn sail is one of those problems that gets worse the longer you ignore it. Most rips start small, run along the load-bearing yarns, and reach a seam or a corner reinforcement in a season or two, at which point a patch stops being enough. The good news is that most tears are straightforward to fix: you clean the area, cut a patch that overlaps the damage by one to two inches in every direction, and either bond it with a pressure-sensitive adhesive patch for a temporary fix or stitch it on for a permanent one. Learning how to repair a torn sail properly takes about an hour for a small rip and a sewing machine, or a couple of hours by hand.
Which method you use depends on the cloth, the location, and how fast you need to be sailing again. Below is the process I would follow, including the parts people usually skip and the point where a repair is no longer worth doing.
Table of Contents
What You Need
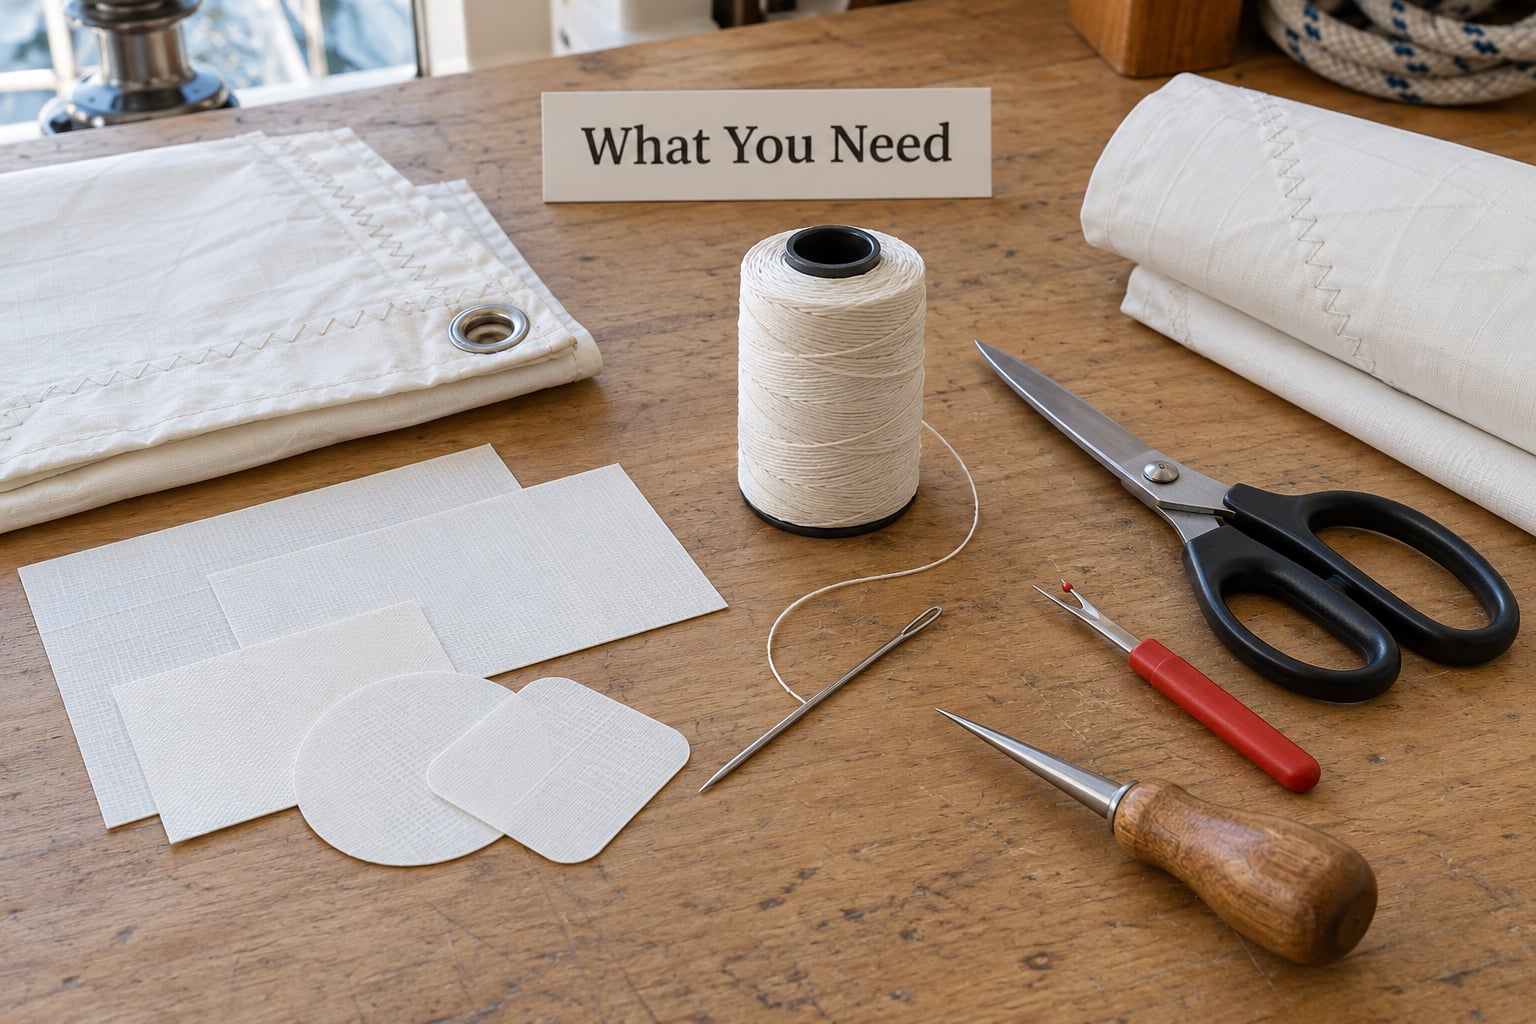
Start by reading the tear, not by opening the toolbox. What you need depends on whether the cloth is woven Dacron, a laminate film, or a nylon spinnaker, and each behaves differently under an adhesive and under a needle.
For a basic kit, gather the following:
- Patch material matched to the cloth. A PSA-backed Dacron patch (Sailrite recommends its 54-inch Insignia because the adhesive grips both woven Dacron and laminate sails) covers most cruisers. Film tape or a laminate-safe patch is better on Mylar laminate. Nylon ripstop plus a nylon-friendly adhesive is what a spinnaker wants.
- Thread. UV-resistant bonded thread for Dacron, a heavier tex for load-bearing seams. Regular all-purpose sewing thread has no UV resistance and is a common cause of the very failure you are repairing.
- Needles and a threader. A size 18 sail needle or a curved palm and hook needle for hand work in tight spots or up a mast.
- Seam ripper and small scissors for removing old stitching, glue residue, and the previous patch that is now under the tear.
- Isopropyl alcohol and clean rags to prep the surface.
- PU adhesive, seamstick, or the PSA patch itself for bonding. Some sailmakers add a thin coat of PU under the patch edge to slow water getting into the yarns.
- A palm, an awl, and a sewing machine if you own one. A machine is the difference between a repair that lasts a season and one that lasts a decade.
Before you cut anything, spread the sail flat in good light and find the full extent of the damage. A tear that looks like two inches on the table can be six inches when the cloth is relaxed and you follow every loose yarn.
Step-by-Step: How to Repair a Torn Sail
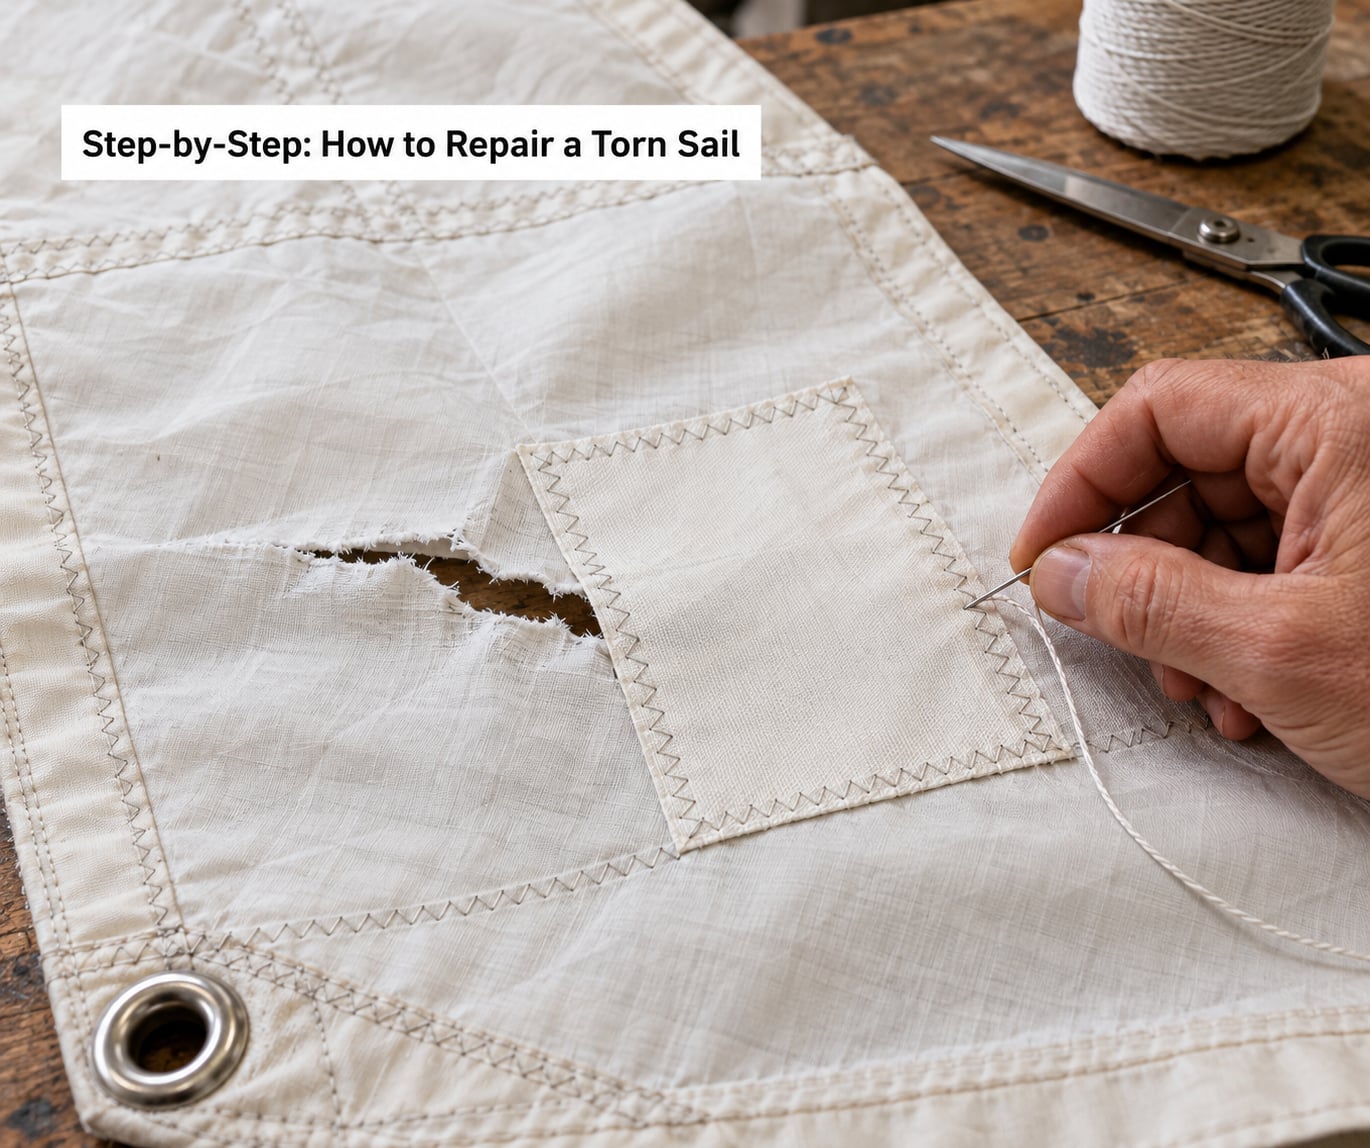
The sequence below goes from diagnosis to a loaded, cured repair. Work through it in order rather than jumping to the patch, because most failed sail repairs fail at the preparation stage rather than the stitching.
Step 1: Inspect and Document the Tear
Identify the cause before you identify the fix, since the cause tells you whether the surrounding cloth is still trustworthy. Four failure modes account for nearly every torn sail.
- Abrasion. Cloth worn through where the main rubs a stanchion, spreader, winch or furler. The hole is the smallest sign; the surrounding area is often thin and shiny, and patching over it just moves the failure along.
- Seam failure. The stitch line has pulled out but the cloth is intact. On the Sailboat Owners forums, experienced sailors point out that torn stitching with undamaged fabric often means the wrong thread was used when the sail was built, so a re-stitch with quality thread fixes the cause rather than the symptom.
- Puncture. A sharp point, hook, or shackle took a hole. Small and localized, and the easiest to repair properly.
- UV damage or coating separation. The laminate film lifts or the weave turns brittle and grey. This one needs a closer look, because a patch bonded to degraded cloth will peel off with the cloth attached.
Check for delamination by flexing the area gently: laminate that feels soft, splits into layers, or separates at the edge is not a candidate for a DIY patch. So is a tear running into a corner reinforcement, a batten pocket, or the luff tape, where the sail is carrying concentrated load. The Hobie forum makes the point bluntly that a proper repair of damage at the luff track is often more involved than slapping a patch over it with a hand needle.
Photograph the damage and note the date, the location, and the extent. That log line is what lets you tell next year whether the repair held or the cloth kept going.
Step 2: Choose the Right Repair Method
Match the patch to the cloth, because that is the decision most people get wrong. Bonding a solvent-based adhesive to the wrong coating can leave you with a patch that never adheres, or worse, one that takes the sail’s finish with it when it comes off.
- Woven Dacron. A PSA-backed Dacron patch bonds well and takes a stitch. Sew it for permanence; bond it if you need to be sailing tonight.
- Laminate (Mylar film). Use film or laminate-safe tape rated for the film type, or a PSA Dacron patch like Insignia. Do not stitch unsupported film: a needle makes a slit at every stitch hole and the film tears from there. The repair goes on both sides, and the edges get sealed with film tape.
- Nylon spinnaker. Nylon ripstop patch, sewn with light nylon thread. Keep the patch small; a big stiff patch on a spinnaker catches air and unbalances the sail.
On adhesives, the order of preference runs PSA patch, then PU adhesive or seamstick under a fabric patch, then nothing. Cyanoacrylate glues show up in the super glue and tape trick shared on sailing forums, and it does hold fabric to fabric. Treat it as a last resort, because those glues can craze or embrittle some PU coatings and laminate films, and a repair you have to cut off later can take coating with it.
Duct tape is not a sail repair. It has no UV stability, its adhesive softens in sun heat, and it fails exactly when the load is highest.
Step 3: Prepare the Tear and Patch
Every bond depends on a clean, dry surface, and every stitch depends on thread that passes through sound cloth. Clean both faces of the sail and both faces of the patch with isopropyl alcohol or, if the cloth is salted and grimy, fresh water followed by alcohol. Dry them fully; a trapped drop of water under a PSA patch becomes a bubble that lifts the bond.
Trim loose threads, but do not cut back so far that you shorten the yarns that are still holding the tear together. Remove any old patch, old adhesive, or glue residue in the area first, as sailmakers on Sailing Anarchy recommend when they describe the order of work for a DIY job. Overlapping old adhesive is the usual reason a new patch peels.
Cut the patch with rounded corners. A square corner creates a stress concentration and is the first place the patch tears through. Size the patch so it extends at least one to two inches beyond the tear in every direction, and considerably further if the cloth around the tear feels thin. For a load-bearing area, run the patch under the adjacent seam tapes so the reinforcement carries load across the seam rather than ending at it.
Step 4: Attach the Repair
For an adhesive patch, peel the release liner back a few inches at a time, align the patch, and press it down from the middle outward. Burnish the whole thing firmly, working to the edges, so the adhesive is squeezed out of the channels rather than sitting in ridges. On a sailing forum, the most-quoted field technique is to start at a re-stitched edge, wrap the edge, and mash the tape down with the back of a spoon; the point is cohesion, a fully matted bond, not a surface press. Let the bond sit undisturbed for a day before the sail is loaded, which is the same guidance Sailrite gives for its no-sew patch. On laminate, apply a matching film tape to the back over the patch and the tear, and press the edges down to keep water out of the film.
For a sewn patch, hold it flat under the foot or under a palm and work from the centre out so the patch cannot shift as you stitch. Keep an even seam allowance all the way round, and do not stretch the patch to fit; a pre-stressed patch will pucker and pull the tear open again.
Three stitch patterns cover most repairs:
- Three-step zig-zag for woven Dacron under a machine. It is strong, slightly elastic, and quick.
- Herringbone for seams and load-bearing patches, especially on laminate. The angled lockstitch resists a tear running along the seam and leaves less per-stitch hole in unsupported film.
- Straight double stitch with doubled thread for hand work. Thread the needle with about 1.5 metres doubled, wax it if you have wax, and pass the needle through every layer at 3 to 5 mm spacing with each stitch angled slightly.
Whichever you use, put a reinforcement on the back where the load runs into the patch, and take your stitches into sound cloth rather than into the damaged zone.
Step 5: Finish and Test the Repair
Trim the excess patch material to a neat, even border and secure any loose thread ends, since a frayed edge catching on a batten or a block is a new problem you created. Give a PSA or PU bond its full cure; Sailrite’s guidance of letting the patch sit for a day is a reasonable floor.
Inspect the repair from both sides under good light. Look for gaps at the edge, lifted corners, a visible halo of old adhesive, and stitches that skipped or landed in a hole in the cloth. Flex the patched area gently: a laminate patch that makes a cracking sound, or a Dacron patch that lets go at the boundary, is a failed bond and needs doing again rather than sailing on.
Then load it. Shake the sail out hard, or hoist it and pull the luff, leech, and foot on in a steady breeze before you rely on it in a real gust. A repair that holds a hand pull will hold trim. One that opens up needs a second patch, larger than the first.
Log the date, method, cloth type, and location. Check it at the next off-season inspection, and again at the start of every season, looking for the failure pattern rather than just for a hole.
Common Mistakes
Most bad sail repairs are one of a short list of things, and each has a straightforward fix.
- Using ordinary sewing thread. It has no UV resistance and no strength rating. Fix: bonded UV-resistant thread, sized to the load.
- Making the patch too small. A patch that only covers the hole leaves the weak cloth around it free to keep tearing. Fix: one to two inches of overlap in every direction, more in worn areas.
- Stitching unsupported laminate. Every needle hole becomes a slit. Fix: bond the film patch on both sides instead of sewing it.
- Bonding to a dirty or wet surface. Salt, sunscreen and moisture prevent the adhesive from gripping. Fix: alcohol clean, full dry, then bond.
- Ignoring a tear near a load-bearing seam, corner, or luff tape. This is how a small rip becomes a sail-loft job. Fix: run reinforcement under the seam tape, or hand it to a loft.
- Leaving old patches and adhesive in place. A build-up of glue is a weak layer between the new bond and sound cloth. Fix: strip it back before you patch.
- Repairing and sailing on immediately. PSA and PU bonds need time. Fix: a day before serious load.
Prevention is simpler than repair. Wash sails with fresh water after salt-heavy passages, inspect stitching, corner reinforcements, batten pockets, and UV strips each season, and reef before a squall rather than through it. Most UV damage happens on the leech, luff, and foot where the cloth is exposed and unstiffened, and those are the edges worth checking most closely.
Frequently Asked Questions
Can I repair a torn sail with glue alone?
Not reliably. A bonded-only patch on a small abrasion or pinhole in woven Dacron can hold for a season, especially with a PSA patch, and PU adhesive or seamstick adds useful water resistance. But glue carries almost no load across the weave, so a seam, corner, or luff-area tear will keep propagating without stitching. If you cannot sail without the tear, glue it to get home, then stitch or replace it dockside.
What is the best thread for repairing a Dacron sail?
A bonded, UV-resistant polyester or nylon thread in a tex matched to the sail’s weight. For most cruisers, a heavy tex bonded thread is the right pick; for light Dacron, a finer thread avoids needle damage to the yarn. Avoid general-purpose all-purpose thread, which has no UV resistance and is a frequent cause of the seam failure you are trying to repair.
How do I repair a small rip in a laminate sail?
Do not stitch it. A needle leaves a slit at each stitch hole and unsupported film tears from there. Clean and dry both sides, apply a film or laminate-safe patch, press it down firmly to burnish out air channels, then seal the back with matching film tape over the tear and patch. A PSA-backed Dacron patch also bonds well to laminate. Give the bond a full day before loading the sail.
How long does it take to repair a torn sail?
Allow about an hour for a small rip in Dacron with a sewing machine, plus overnight cure time for the adhesive. Hand stitching takes longer, roughly two hours for a 100 mm tear, and a hand job on a luff or batten pocket area runs much longer. A laminate film patch takes about fifteen minutes to apply but needs a day before serious load, so plan around the cure, not the patching.
When is a torn sail too damaged to repair?
Stop and see a sail loft when the tear runs into a corner reinforcement, a batten pocket, or the luff tape; when the laminate has delaminated or split into layers; when the surrounding cloth is thin, brittle, or UV-greyed; when the damage spans a seam you cannot reach or reinforce properly; or when the cost of the repair approaches a new sail. A loft can quote a panel replacement that you cannot.
What temporary patch can I use offshore?
A PSA sail repair tape or a Dacron repair patch, 75 mm or wider, is the standard offshore answer. Start at a sound edge, wrap the tear, and burnish hard with a spoon or the back of a knife handle so the adhesive fully mates. Mainsail, genoa, and UV strips can all be held this way. Curing a PSA patch fully needs about a day, so reef or furl while it bonds.
Start by reading the tear and matching the patch to the cloth, then clean and dry both surfaces before anything else. If you can get to a sewing machine, stitch the patch with UV-resistant thread and let any adhesive cure for a day; if the damage sits in a corner, a batten pocket or the luff tape, call a loft rather than compound it with another layer of tape.