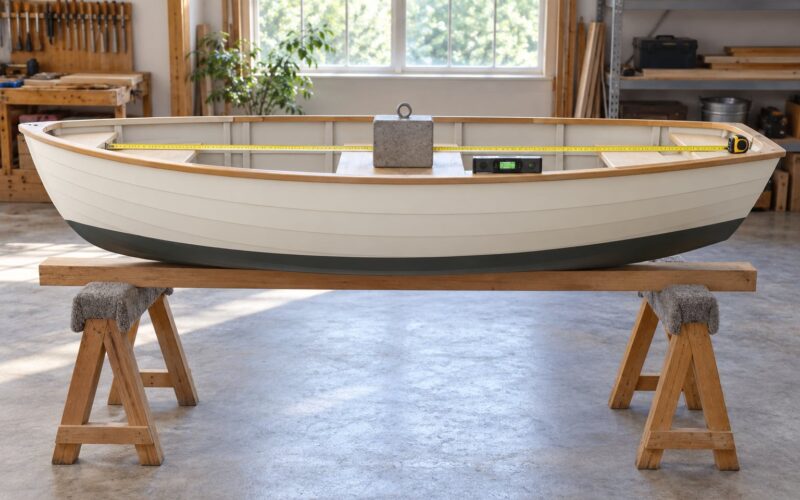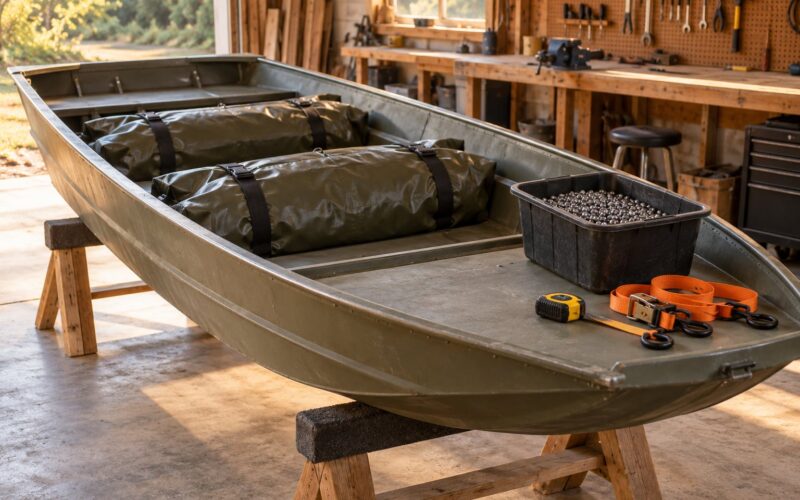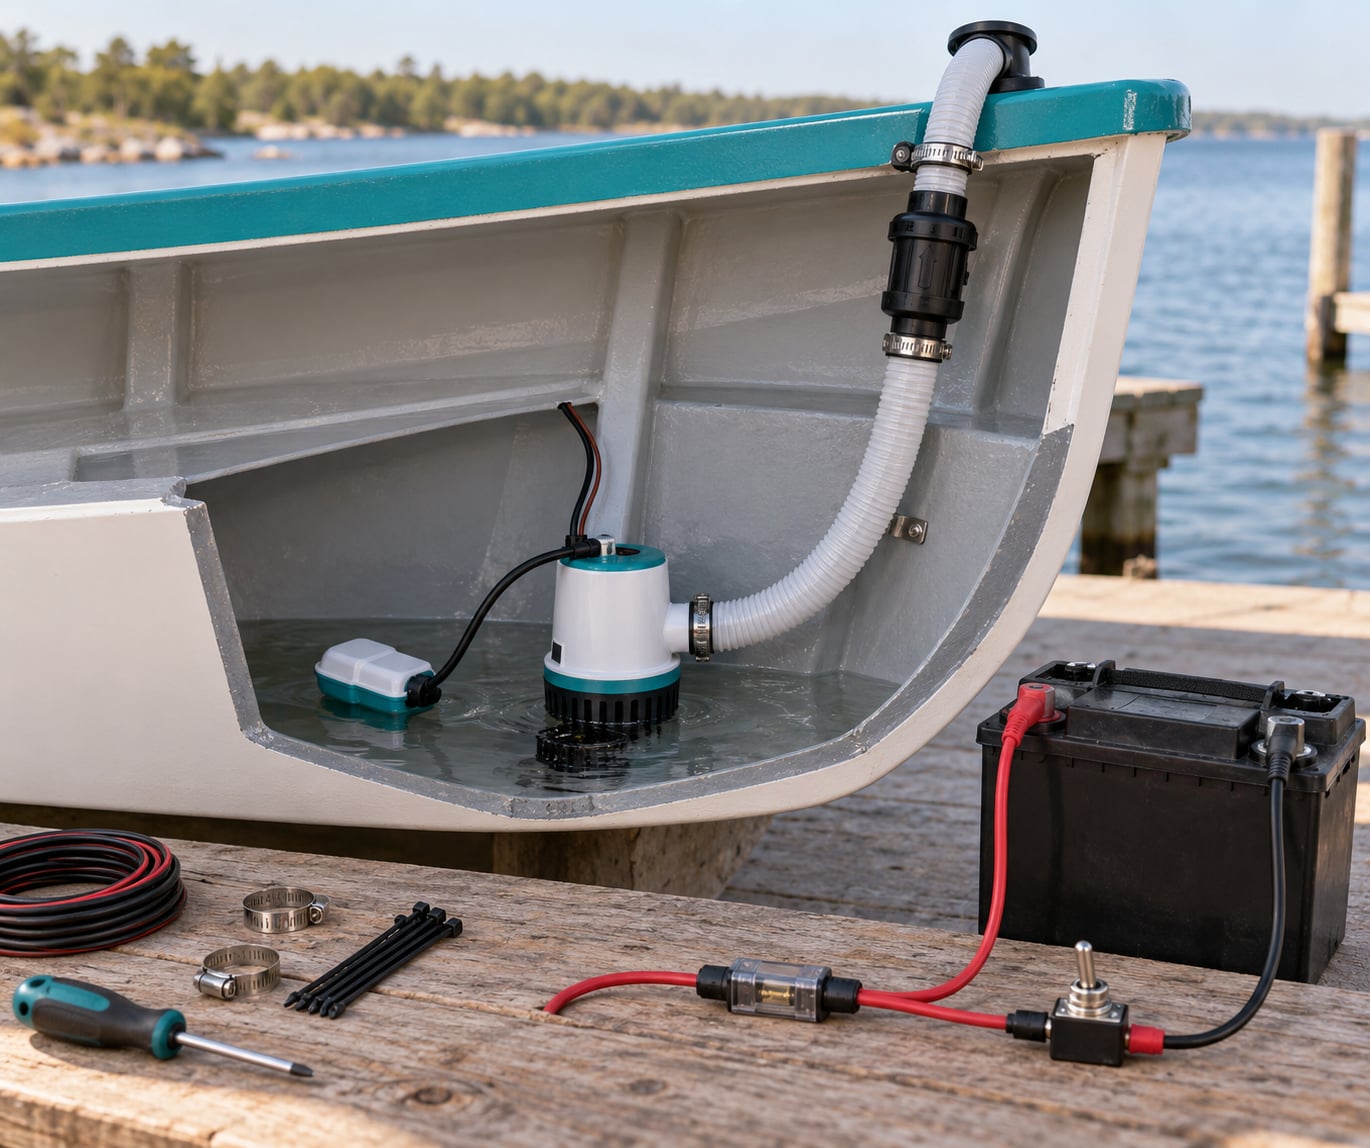
A bilge pump moves water out of the lowest part of a boat so the boat keeps floating when rainwater, spray or a small leak fills it up. You can build a complete automatic system for a small boat in a weekend: a submersible pump, a float switch, a discharge hose, and a fused circuit run straight to the battery.
Most small boats need far more capacity than their size suggests. A 16-foot skiff with a shallow flat bilge can collect several gallons in a squall, and that water arrives faster than a hand pump can ever clear it. Work through the seven stages below in order, and check the sizing table first, because the pump you choose determines how the plumbing and wiring have to be built.
A note before you start: no bilge pump saves a boat from a major hull breach. It is the last line of defence against accumulated water, which quietly adds weight, wrecks your trim, promotes rot and corrosion, and can freeze in winter.
Table of Contents
What You Need
Most small-boat bilge installs need the same short list of parts. Buy the pump with a base and strainer together, because replacement pump heads rarely fit a base bought separately.
- Pump sized to your calculated capacity, in gallons per hour, with a manual or self-priming diaphragm or submersible centrifugal design.
- Float switch with a sealed, protected switch mechanism and tinned copper leads long enough to reach past the pump base.
- Discharge hose matched to the pump outlet, smooth-wall inside so water does not slow down.
- Fittings and clamps — barb connectors, a through-hull fitting or scupper exit, and stainless hose clamps.
- Inline strainer or a pump with an integrated strainer to catch bilge debris.
- Anti-siphon valve for the discharge riser.
- Marine-rated tinned wire in the gauge your run length demands, plus heat-shrink and crimped terminals.
- Inline blade fuse or circuit breaker sized slightly above the pump’s rated amp draw.
- Three-position switch (OFF / AUTO / MANUAL), non-momentary, plus an indicator light if you want to see when the pump is running.
- Mounting hardware — a small steel base plate, stainless bolts, vibration isolators or a rubber mat.
- Marine sealant and a torch or heat gun for the heat-shrink.
- Test gear — a multimeter, a bucket, a hose, and a stopwatch.
How to choose the capacity number
Size for the worst realistic case, not the average. Three factors decide it: how much water can collect, how fast it arrives, and how long you are willing to wait before the boat is carrying dangerous free water. Small boats have small bilges, so a squall or a failed hatch fills them in minutes rather than hours.
Personal safety comes before the build. Disconnect the battery with the main switch off and confirm it with a voltmeter before touching any wire. Ventilate any area where you run a generator or a charger. Wear eye protection when cutting a hull penetration, and remember that drilling into a hull or a fuel tank is the point of no return — if you are unsure where the tank sits, have a surveyor or marine electrician mark it for you.
How to Build a Bilge Pump for a Small Boat, Step by Step
Work in this order. Each stage ends with a check, so a mistake shows up while it is still easy to fix.
1. Calculate the Required Pump Capacity
You need roughly 1000 gallons per hour for every 10 feet of overall boat length, then a reserve factor for hose losses and head. Measure the actual bilge volume of your boat if you can, because a shallow wide bilge holds far less than a deep vee.
Worked example: a 16-foot jon boat. Base capacity is 16 divided by 10, times 1000 GPH, so 1600 GPH. Add 50 percent for hose friction, fittings and the lift to the discharge outlet, giving 2400 GPH as the target rating on the nameplate.
| Boat length | Number of pumps | Minimum rated capacity |
|---|---|---|
| 10-12 ft | 1 | 1000 GPH |
| 14-16 ft | 1 | 1500 GPH |
| 16-18 ft | 1 | 2000 GPH |
| 18-22 ft | 2 | 2000 GPH each |
| Over 22 ft | 2 or more | 3000 GPH each |
Two more things go into the number. A pump that runs continuously drains a battery, so most small pumps are rated for intermittent duty — confirm the duty cycle on the nameplate, and do not exceed it. And every manufacturer publishes a sizing table for its own pumps; use the pump’s own table when you have it, because rated capacity is measured at zero head and your real installation always has some.
Check: the target number written down before you buy anything, and it must exceed the nameplate rating of the pump you selected.
2. Choose a Marine-Ready Pump
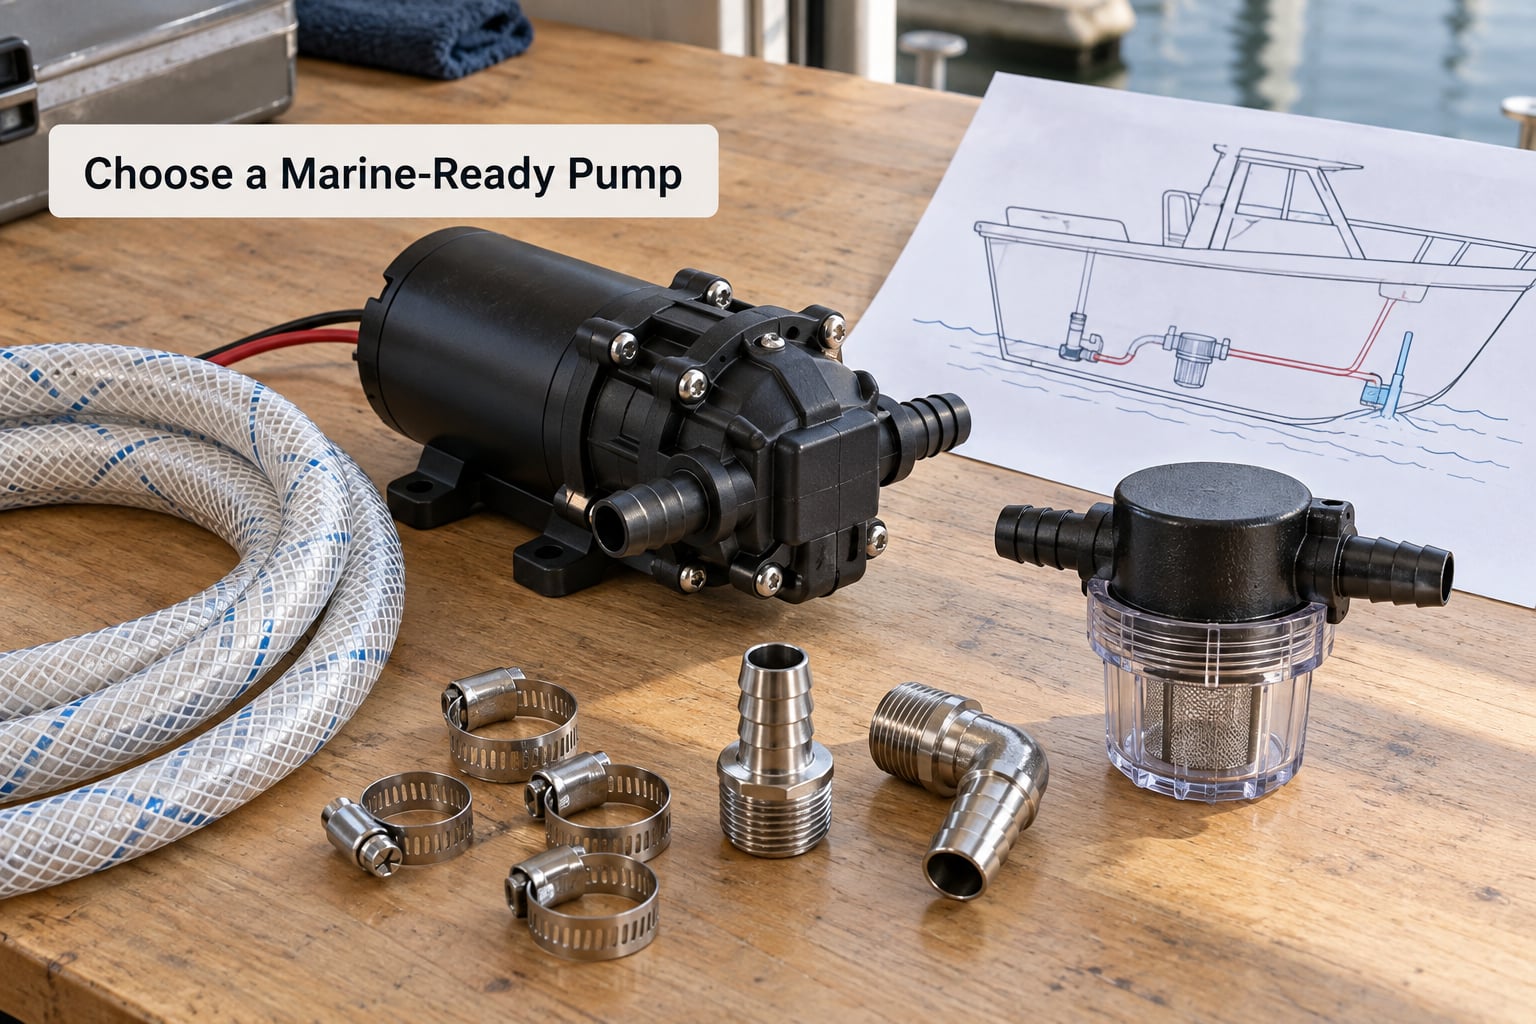
Three pump styles cover almost every small-boat installation. Pick the one that matches your bilge shape and how dry you need the bottom to end up.
A submersible centrifugal pump sits in the bilge and moves the most water. It handles a lot of debris, but it needs water around the impeller to cool and to prime, so it cannot fully drain a shallow bilge.
A self-priming diaphragm pump mounts above the waterline, can run dry without damage, and will pump a bilge down to nearly dry. It costs more and moves less per hour, and many models have a non-standard outlet that needs a reducer fitting.
A manual or hand-operated pump needs no power at all. It belongs on board as a backup, never as the primary system.
Whichever you choose, check five specs: the voltage, the amp draw, the outlet size, the duty cycle, and the materials. Marine housings are usually glass-filled polymer or bronze because aluminum and plain steel corrode fast in a wet, salty bilge. Look for a removable pump head on a fixed base so you can pull the pump out for service without dismantling the boat.
Check: the outlet diameter on the pump matches the hose inside diameter, and the pump’s rated GPH meets the number you calculated.
3. Build the Water Path
The water path runs from the lowest point of the bilge, through the strainer and pump, up the discharge hose, and out of the hull. Build it so the water never has to climb more than the pump’s rated lift, and so you can pull the pump out later.
Start at the hull. In a boat with a plug, remove the plug, fit a through-hull fitting and a deck or bulkhead plate, and seal both sides with the sealant rated for your hull material. In a boat with no plug, use an under-deck pickup that draws from the low point without letting debris in ahead of the strainer. The pump and strainer assembly then bolts to that plate, low enough that a few inches of water covers the intake.
Route the intake run with gentle sweeps, never a sharp bend or a kink. Kinks are the single most common cause of a pump that runs but moves nothing. Support the hose every foot or so with P-clamps or a nylon strap so vibration cannot chafe it, and keep it clear of the transmission, the steering, and the fuel line.
Take the manufacturer’s caution seriously on two points. Many hull manufacturers void the warranty if you drill a plug, and a jet boat’s hull is a pressure vessel you should not be drilling without a marine professional. Read the pump manual for the intake depth it expects, and check the same figure on the base plate drawing before you drill.
Check: pour a bucket of water into the bilge with the pump off and watch where it sits. It should pool at the strainer, not somewhere you cannot reach.
4. Install the Check Valve and Discharge
The discharge side decides whether your system empties the boat or quietly refills it. Three parts do the work: a check valve, a riser, and an outlet above the heeled waterline.
Install a check valve so water cannot flow backwards from the outlet into the bilge when the pump is off. The arrow on the body must point in the flow direction, away from the pump. Put it in a straight section of hose, not at the outlet itself, and keep it accessible for inspection. If the pump has no built-in non-return valve, this is the component that stops the hose siphoning your boat empty into the sea.
Run the discharge up through a riser so the outlet sits above the heeled waterline — the waterline with the boat over to one side. On a sailing boat that means heeled to the toe rail, and on a power boat about 7 degrees of heel. Fit the anti-siphon valve inside the riser, above the highest water level the hose will see. It is the last thing between a siphon and a reflooded boat.
Exit through a scupper if the boat has one clear of the waterline, otherwise through a small through-hull fitting positioned at least a few inches above the static waterline when the boat is empty. In freezing conditions, water left in the hose will freeze and crack the pump, so drain the low point of the discharge line after every use or add a plug you can open.
Check: with the pump off and the boat floating, the outlet must not discharge. Any water coming out means the check valve is missing, backwards or stuck.
5. Wire the Pump and Float Switch Safely
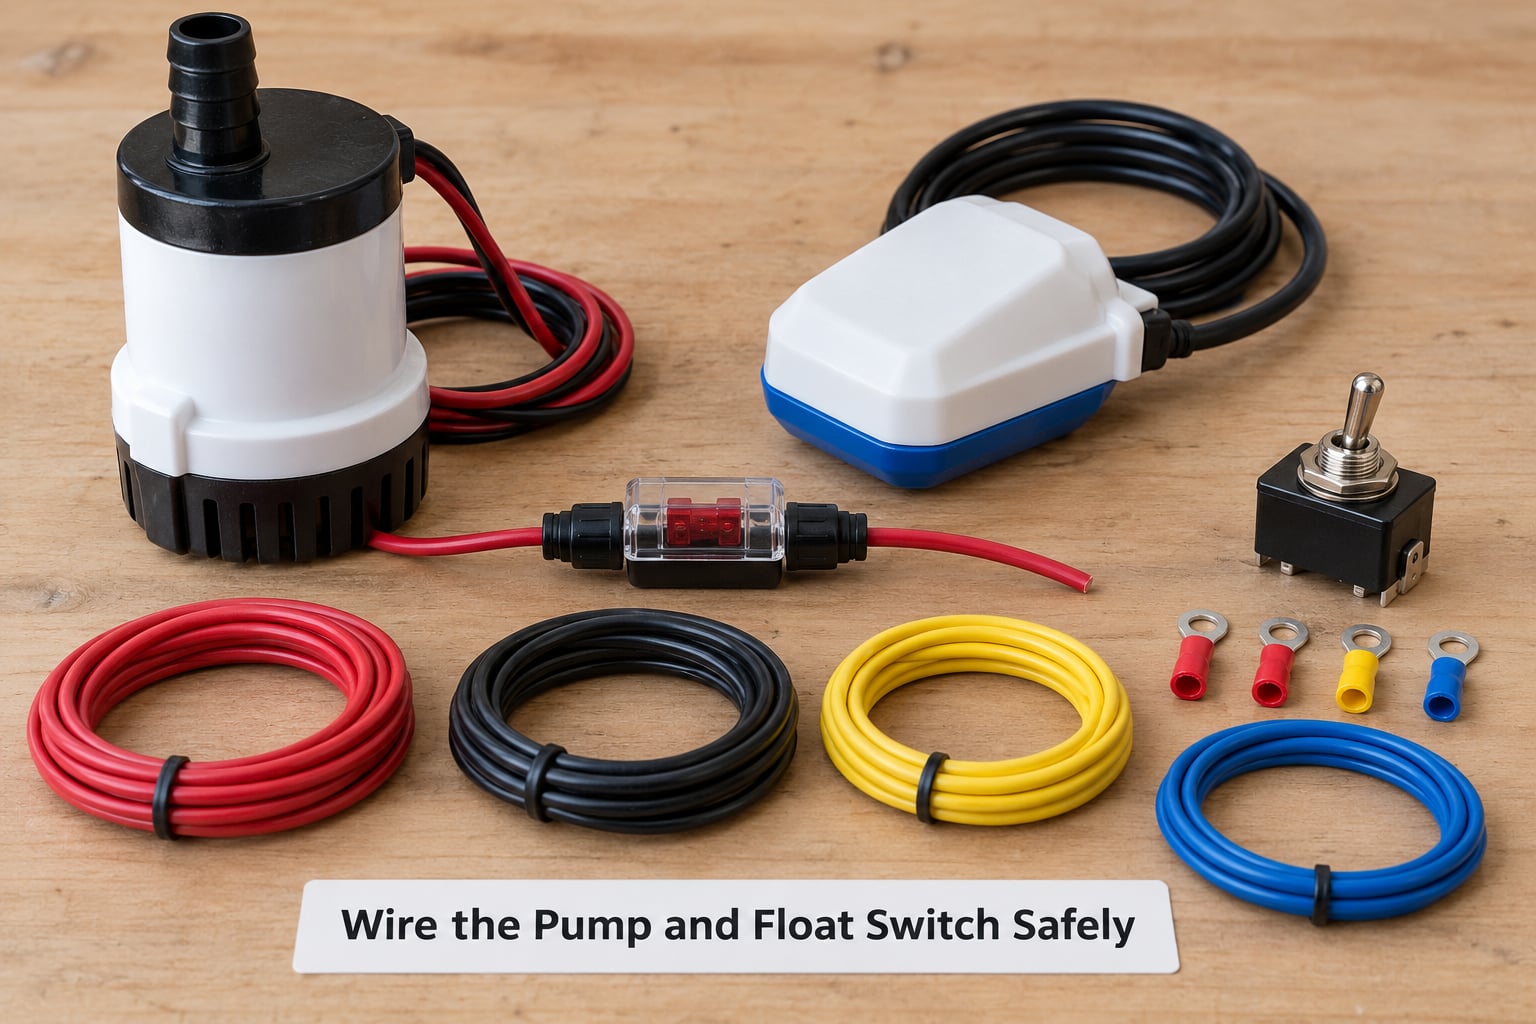
The single most repeated correction in every forum thread about bilge pumps: run the circuit directly to the battery with its own breaker, ahead of the main battery switch. Do not route it through a DC panel, and do not share a breaker with another pump. A flooded boat with a dead main switch still needs working bilge power, and a shared breaker means one fault takes out two pumps.
Three conductors run from the battery: positive through the breaker to the pump’s positive lead, negative from the pump straight to the battery negative terminal, and the float switch’s switched leg back to the switch panel. The float switch sits in the AUTO position of the three-way rocker switch, which is why the switch has three positions in the first place. A non-momentary MANUAL position matters too: it lets you override a failed float switch in an emergency.
Keep termination points at least 18 inches above the base of the pump, or make them fully submersible. Taped splices fail in a wet bilge — crimp and heat-shrink, and better still, solder and use adhesive-lined heat-shrink. Use tinned copper marine wire, not household wire, and add strain relief and drip loops at both ends so water runs off instead of into the connection.
Wire gauge comes down to one number: keep the voltage drop across the whole run under 3 percent at the pump’s rated current. ABYC treats 3 percent as the limit, and 10 percent as the point where a pump measurably loses capacity — which is exactly the moment you need it most.
| Pump amp draw | Run length | Minimum wire gauge |
|---|---|---|
| 3 A | 10 ft | 14 AWG |
| 3 A | 20 ft | 12 AWG |
| 5 A | 10 ft | 14 AWG |
| 5 A | 25 ft | 10 AWG |
| 8 A | 20 ft | 10 AWG |
| 10 A | 20 ft | 8 AWG |
Size the fuse above the pump’s rated draw, usually within 25 percent, so nuisance blowing does not happen on start-up while a dead short still opens the device fast. The pump manual and ABYC both call for protection on every conductor, positive and negative, and for the breaker to be within a few inches of the battery so it protects that whole length of cable.
Every connection must be above the waterline or sealed, and every wire needs a drip loop. If you are not certain about battery isolation, fusing, or anything involving a through-hull penetration, stop and call a marine electrician. That hour costs little next to a fire or a sunk boat.
Check: with a multimeter on the pump leads and the breaker closed, you should read close to battery voltage at the pump, within about 3 percent under load.
6. Mount and Protect the Components
Mounting is where a good build gets destroyed by vibration. A pump bolted rigidly to a hull panel will crack its own housing eventually, so use a rubber isolator mat or a small elastomer washer under each bolt head.
Strap or bolt the pump and strainer so the assembly lifts out in one piece for cleaning. Hoses need clamps at every joint, with no strain carried by the fitting itself. Leave clearance around the strainer so you can pull it and rinse it without dismantling anything, and keep it away from the drain plug so a routine washdown does not spray debris straight back into it.
On the wire run, add a drip loop at each end and strain relief where the cable leaves a fitting. Coat terminals below the waterline with an additional layer of sealant. Above the waterline, keep the run out of foot traffic and out from under a deck edge where water drips off it, and never block a drain with a hose run or a mount plate.
Check: grab the hose and wiggle it. If it moves more than a few millimeters at a clamp, tighten it. Then run the pump and listen for chafing against anything sharp.
7. Test the Finished Bilge Pump
Manually flicking the switch is not a test. A closed seacock, a stuck check valve or a reversed pump will fool you completely while sounding exactly like a working pump. The only honest test introduces a known volume of water and times the evacuation.
Start by putting the switch in MANUAL and running the pump with a light stream into the bilge. Confirm it starts, stays running, and that the discharge actually reaches outside the hull. Watch the outlet and the strainer for leaks at every connection.
Then measure real capacity. Add a known volume of water — five gallons from a marked jug is ideal — note the depth in the bilge, and time how long the pump takes to return the bilge to switching-off height. Divide gallons by hours and you have as-installed GPH. If that number falls well short of the nameplate rating, the causes are almost always a low battery, a long or kinked hose, a fouled strainer, or more lift than the pump was rated for.
Test the automatic side next. Fill the bilge to a level above the float’s switch threshold with the switch in AUTO, then step away. The pump should start on its own, run until the float drops, and stop cleanly. Confirm the float is not sitting where a slosh of water can bounce it on and off for hours, which will drain a battery flat.
Finally, test the failure cases deliberately. Kill the main battery switch with water in the bilge and confirm the pump still runs, since that is the whole point of the direct battery connection. Turn the rocker to MANUAL and confirm the float switch cannot start the pump while you have manual control. Check the breaker holds when the pump starts, and check the battery voltage recovery after a few minutes of running.
Check: the pump starts automatically, stops when the level drops, and measured as-installed output sits within a sensible margin of the nameplate figure.
Common Mistakes
Almost every failed bilge install comes down to one of these. Work down the list before you buy a new pump, because the pump is rarely the faulty part.
- Undersized pump. The fix is a higher rated unit and a second pump, not a bigger battery. Check the calculation before anything else.
- Kinked or unsupported hose. A kink at the strainer or a hard bend at the through-hull is the top cause of a pump that churns water and moves none. Re-route with sweeps and clamp it every foot.
- Check valve in the wrong place. Pointed backwards, or buried where you cannot reach it. Put it in a straight run, arrow toward the outlet, and leave room to pull it.
- Missing or oversized fuse. Missing protection is the serious case. Too large an inline fuse lets a chafed wire cook before the device opens. Size within about 25 percent above rated draw.
- Loose ground. A corroded ring terminal adds resistance that eats the pump’s voltage. Clean the terminal, re-crimp it, coat it, and torque it properly.
- Blocked intake. Bilge debris — shavings, wire clippings, sealant — is the most common cause of pump failure on a new build. Clean the bilge and strainer before every float test.
- Pump running continuously. Usually a switch bumped to MANUAL, a float switch stuck on, or a bilge that never really drains. Check the switch position first.
- Poor ventilation around a non-submersible pump. A self-priming unit running hot in a sealed compartment will fail. Leave clearance or move it to a cooler space.
- Assuming the float switch is a backup. It is not. A float switch, the rocker switch and the pump share a circuit, so one corroded connection disables the whole automatic system. Carry a manual pump and a bucket.
- Outlet below the heeled waterline. The hose siphons the boat and refills it while the pump is off. Raise the outlet and fit the anti-siphon valve in the riser.
On maintenance, check the strainer and float switch every season before launch, and look at the hose and connections while you are there. Flush the system with clean water after a trip in weedy or silty water so the impeller does not silt up. Replace the float switch on its own schedule rather than waiting for a failure, and treat the pump, hose, strainer and switch as separate consumables — they do not all wear out at the same rate.
ABYC and USCG guidance both treat the discharge as needing to exit above the heeled waterline and the circuit as needing its own protection at the battery. Offshore race rules go further and call for a strum box, a spare diaphragm and a second automatic electric pump, which is a reasonable target for a boat that goes out alone.
Frequently Asked Questions
How much bilge pump capacity does a small boat need?
Budget about 1000 gallons per hour for every 10 feet of overall length, then add roughly 50 percent for hose friction, fittings and the lift to the discharge outlet. A 16-foot skiff therefore wants a pump rated near 2400 GPH. Small boats need more than their size suggests because a shallow flat bilge fills in minutes during a squall, and a nameplate rating assumes zero head, which no real installation has.
Can a bilge pump run continuously while a boat is underway?
Only if the pump’s duty cycle allows it. Most small submersible pumps are rated for intermittent duty and will overheat if run for hours, which is the normal symptom of a float switch stuck on, a switch left in MANUAL, or a leak that never stops. A self-priming diaphragm pump is a better choice for continuous duty, and either way the fix is finding why the pump is not shutting off.
Should a bilge pump have a check valve?
Yes, unless the pump has a built-in non-return valve. The check valve stops the discharge hose siphoning water back into the boat while the pump is off, which is what prevents an outlet below the heeled waterline from refilling the bilge. Fit it in a straight accessible section with the arrow pointing toward the outlet, and pair it with an anti-siphon valve in the riser for extra protection.
What size wire and fuse does a 12-volt bilge pump need?
Size the wire so voltage drop across the whole run stays under 3 percent at the pump’s rated current, and protect it with an inline blade fuse or breaker sized within about 25 percent above that current. As a guide, a 5 amp pump 25 feet from the battery needs 10 AWG tinned marine wire. Protect both conductors and place the breaker within a few inches of the battery.
How do I test an automatic bilge-pump float switch?
Fill the bilge with a known volume of water, set the rocker switch to AUTO, and step away from the boat. The pump should start by itself once the level passes the switch threshold and stop when the float drops. To test the whole system rather than just the switch, time the evacuation of five gallons and divide by the hours taken to get your real as-installed output. See our step-by-step method for how to build a bilge pump for a small boat.
Conclusion
Start by working out the flow rate your boat needs, then check the pump’s manual and your hull manufacturer’s instructions before you buy a single part. Those two documents settle the capacity, the mounting method and whether you are allowed to drill the hull at all.
Once the system is built, flood-test it with a known volume of water, measure what it really moves, and keep the strainer clean. If the wiring or the hull penetration feels beyond your experience, have a marine electrician review it before you close the hull up.