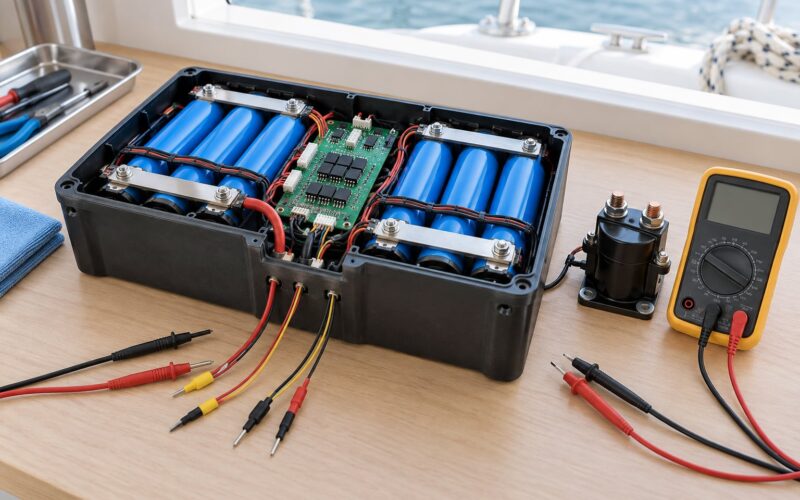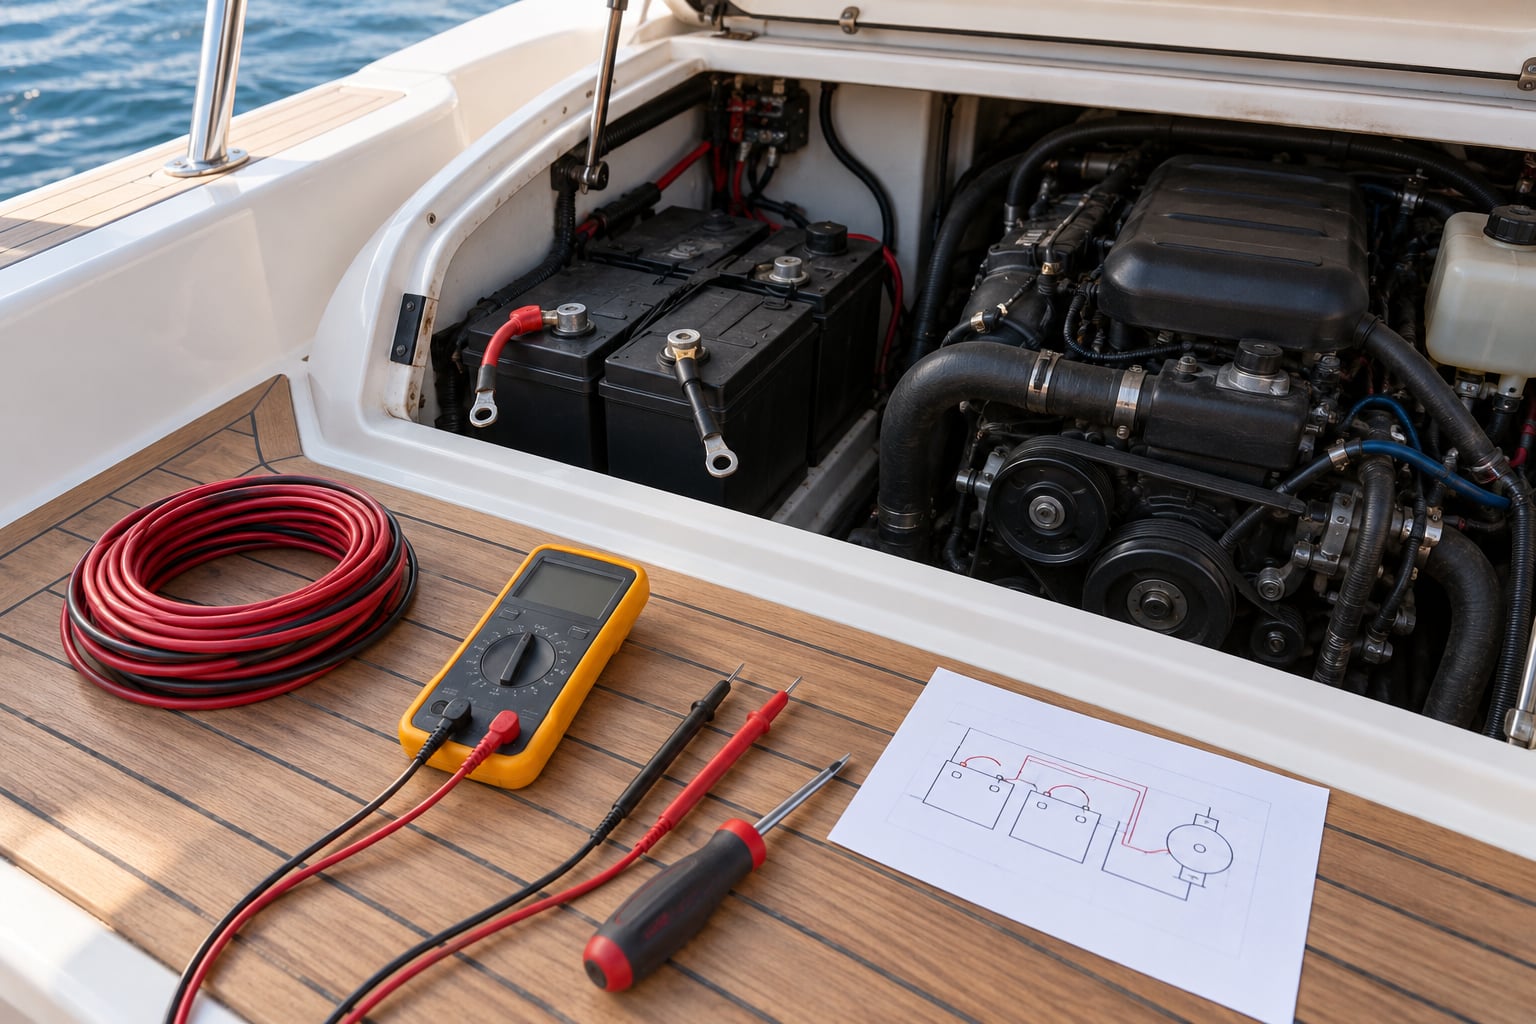
A dead boat electrical system is almost never a pile of failed electronics. It is a break somewhere in the path from the battery bank to the device, and nine times out of ten that break is a connection gone green with salt, a switch that has quietly stopped conducting, or wire that is too small and too long to carry the load. If you know how to troubleshoot a dead boat electrical system, you can find that break with an inexpensive multimeter and about an hour of patience.
The order matters more than the tools. Learn how to troubleshoot a dead boat electrical system by working downstream: confirm the failure, isolate power, measure the battery, then check every switch, fuse and breaker, then hunt the voltage drop, then suspect the load.
Before the full procedure, spend five minutes on triage. It decides everything that follows.
- Nothing works at all — no panel lights, no bilge pump, no electronics. The fault is upstream: battery, selector switch, main breaker, or the ground side feeding all of it.
- Only one or two circuits are dead — the rest of the boat is normal. The fault is local: a circuit breaker, a switch, a wire run, or the device itself.
- Several unrelated things failed at once — VHF, hatch lift and bilge pump together. That pattern points at a shared upstream point such as a bus bar, a common ground, or a main feed, not three separate failures.
- It works until you turn something on, then everything browns out. That is a capacity or charging problem, not a wiring break.
If the whole boat is dead, start at the battery and work toward the panel. If one circuit is dead, start at the device and work backward toward the battery. That single decision saves most people an entire afternoon of parts swapping.
Table of Contents
- What You Need
- Step-by-Step: How to Troubleshoot a Dead Boat Electrical System
- 1. Confirm the Failure and Check for Immediate Hazards
- 2. Turn Off and Isolate the Electrical System
- 3. Inspect the Battery Bank and Terminals
- 4. Test Fuses, Breakers, and Circuit Protection
- 5. Check Switches, Grounds, and Connectors
- 6. Measure Voltage, Continuity, and Current
- 7. Test Chargers, Alternators, and Shore Power
- 8. Isolate the Load and Restore Service Safely
- Common Mistakes
- When to Stop and Call a Marine Electrician
- Frequently Asked Questions
- Conclusion
What You Need
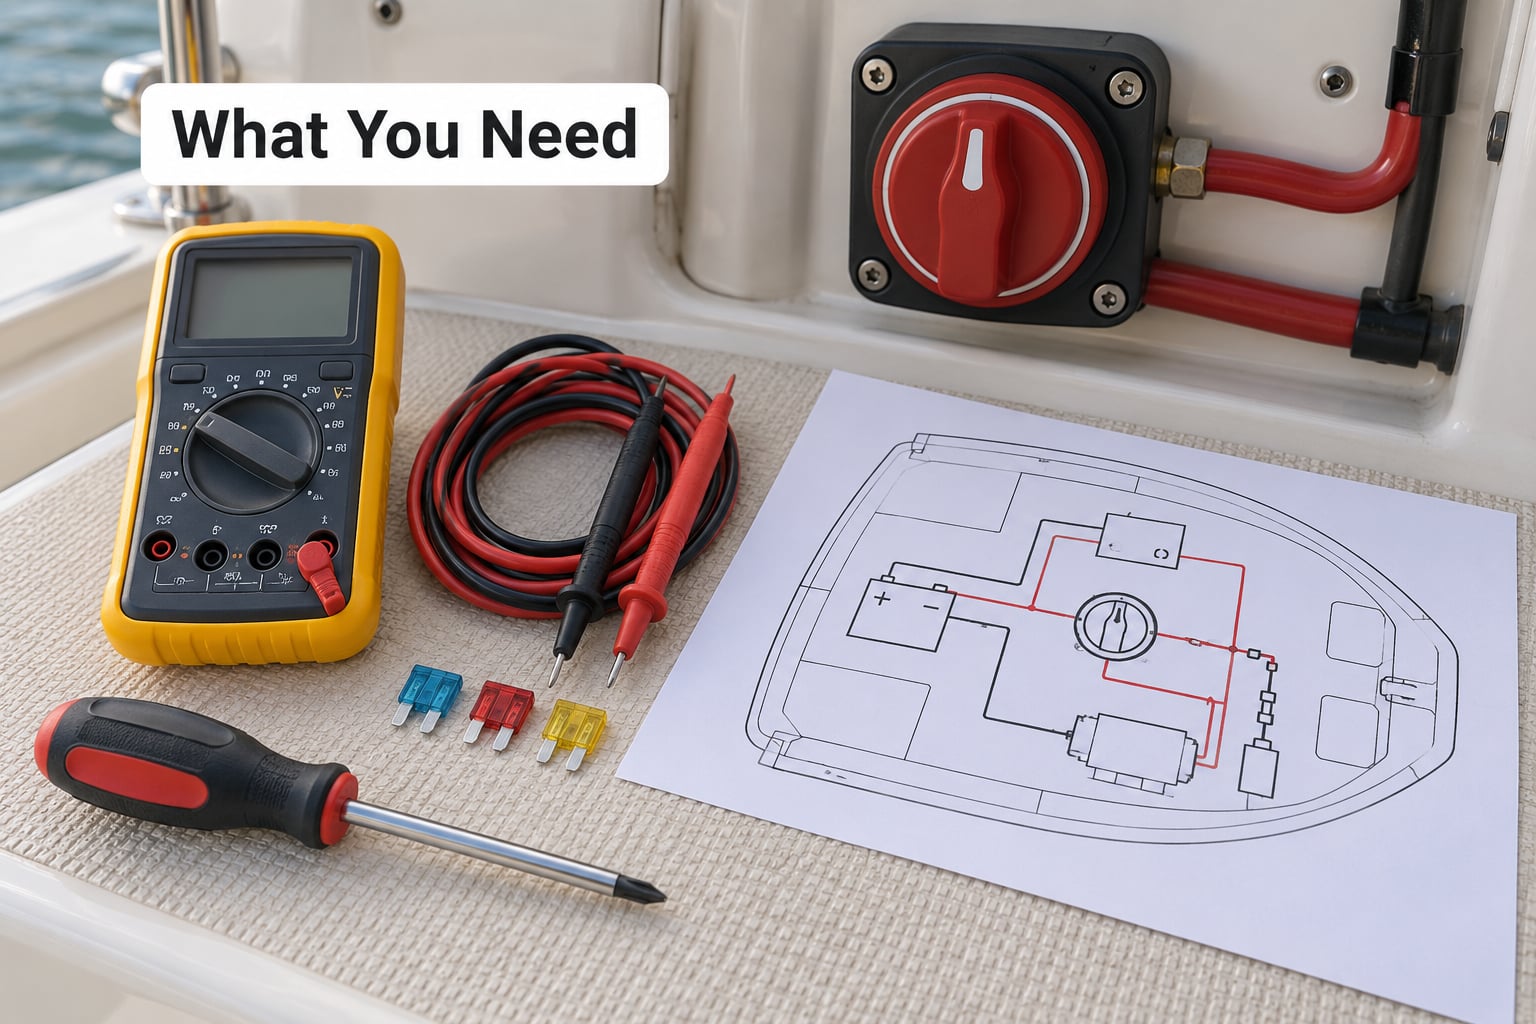
You need very little. A good digital multimeter that reads DC volts, ohms and continuity is the one tool that matters; a cheap one works, it just lies to you slightly more. Add a set of test leads, a small wire brush, terminal cleaner or a battery terminal tool, and a spare assortment of the correct fuses for your panel.
Then the paperwork, which most owners skip. Find the owner’s manual, the builder’s wiring diagram, and the fuse panel layout. The diagram tells you which breaker feeds which circuit and, more importantly, which circuits share a ground point.
Before you touch anything: a pair of insulated tools, eye protection, a rag, and something to mark fuses. Wear non-conductive gloves if you are working in a cramped engine compartment, and keep a battery charger within reach but switched off until you need it.
Batteries make explosive hydrogen gas, especially when they are charging, or when a dead one takes a load. Ventilate the compartment and know where the ignition source is before you connect a charger. And no sparks near a fuel tank or fuel vapors, ever.
Step-by-Step: How to Troubleshoot a Dead Boat Electrical System
1. Confirm the Failure and Check for Immediate Hazards
Before anything else, look and smell. A burning odor, melted insulation, a swollen or hot battery, smoke, or a fuel odor in the compartment all mean you stop, ventilate, and do not energize anything until the cause is understood. Salt water intrusion, green corrosion bloom, a rodent-chewed wire, and a loose terminal that arcs when you move the cable are all common, and all worth seeing with your eyes first.
Then characterize the failure. Is the entire boat dead, or one circuit? Does the panel light at all? Does the bilge pump respond to its manual switch? Write down exactly which devices work and which do not. That list is your map, and it prevents the classic mistake of replacing a battery that was never the problem.
How you know it worked: you can state the failure pattern in one sentence, and nothing in the compartment looks dangerous.
2. Turn Off and Isolate the Electrical System
Turn the battery selector to OFF, disconnect shore power, shut down any inverter, and kill the engine before working on the wiring. Then remove the negative cable from the battery bank and secure it out of the way so a stray tool cannot bridge it back to a post.
Isolating first means the circuit cannot surprise you mid-test, and it means a short you create while probing is a short in a dead system rather than a welding show. On a boat with more than one battery bank, parallel nothing while you test. Confusing which bank you are on is a top cause of “dead boat” symptoms that turn out to be a selector switch in the wrong position.
How you know it worked: the negative post is disconnected and the main battery cable sits loose, well clear of the terminal.
3. Inspect the Battery Bank and Terminals
Reconnect the negative, switch the selector to the bank in question, and measure DC voltage at the battery posts with everything off. A fully charged 12V battery rests around 12.6 to 12.7 volts. Roughly 12.4 is usable but wants charging, and 12.0 or below is the point where electronics start misbehaving, so you should not keep hunting elsewhere yet.
Look at the terminals while you are there. Corroded, green, heat-bled, or loose connections add resistance that a meter set to volts will happily walk straight past. Bulging cases, weeping acid, or a battery that is warm when nothing is charging it all point to a battery that needs replacement rather than more diagnosis.
Do not treat a single resting reading as final proof. A battery can hold surface charge and collapse the moment a load lands on it, and an open-circuit reading says nothing about how many amps it can actually deliver.
How you know it worked: you have a number, you have inspected the metal, and you know which bank the selector is actually using.
4. Test Fuses, Breakers, and Circuit Protection
Work from the panel outward. A breaker that trips will usually reset by flipping fully off, then back on, and if it holds, the fault is real and still present. If it trips again within seconds, leave it off. Resetting a breaker repeatedly on a shorted circuit is how panel boards melt.
For a fuse, pull it with the puller and hold it to the light. A blown element shows a gap, a darkened section, or a dull grey filament. A blown fuse is a symptom, never a diagnosis: it means the circuit drew more current than the rating allows, so a short, an overloaded device, or the wrong fuse went in previously.
Never fit a fuse rated above the wire or the circuit design. Oversized fuses are the number one cause of boat fires, and they are the one piece of advice you will find online that is actively dangerous.
How you know it worked: protection is intact, correctly rated, and no device is pushing current through a circuit sized for less.
5. Check Switches, Grounds, and Connectors
Follow the supply path: battery, selector switch, main breaker, bus bar, panel breaker, device switch, then the run to the device, then the return through ground. Every one of those joints is a candidate.
Grounds deserve their own pass. On a 12V system a corroded ground produces exactly the same symptoms as a bad positive feed, and experienced owners reach for the ground first as a rule of thumb. A ground should never look green or brittle. Feel for warmth after running the circuit, and flex the cables gently to expose an intermittent joint.
Panel breakers and rocker switches are cheap components that fail silently with no visible damage. On older boats, a switch that is simply open under test is a normal finding, not a surprise.
How you know it worked: you have physically handled every joint in the path, cleaned the green ones, and re-tightened the loose ones.
6. Measure Voltage, Continuity, and Current
This is where most DIY diagnoses go wrong, because a voltmeter at a dead spot only tells you that the spot is dead. You have to watch the reading change as you move along the circuit. Turn the device on, then measure at successive points: battery post, main breaker, panel breaker, then the device terminals. The reading holds until it doesn’t, and the last good reading is where you start looking.
Here are the thresholds worth memorising.
| What you are measuring | 12V system | 24V system | What it means |
|---|---|---|---|
| Fully charged, at rest | 12.6 to 12.7V | 25.2 to 25.4V | Battery is fine, look downstream |
| Usable, needs charging | about 12.4V | about 24.8V | Work on wiring, charge afterwards |
| Minimum before blaming electronics | 12.0V | 24.0V | Charge first, then retest |
| Healthy under load | 12.2V or better | 24.4V or better | Source and wiring are holding up |
| Engine running, charging | 13.8 to 14.4V | 27.6 to 28.8V | Alternator is working |
| Acceptable drop, one connection | 0.2V max | 0.4V max | Tighten and clean the joint |
| Acceptable drop, whole circuit | 0.4V max | 0.8V max | More than that means find the resistance |
Consider a typical case: the panel reads a healthy 12.4 to 13 volts, the breaker looks perfect, and the pump leads measure 9.01V. That 3V gap is a voltage drop, and it stays invisible unless you measure under load. The same corrosion that would be a nuisance on a 120V system starves a 12V load, because the load needs a large share of a small number to run at all.
To find where the voltage disappears, bisect. Measure at the far end of the run, then at the halfway point of the cable, then work in toward the source until the reading jumps. Each measurement narrows the search to one half of what is left, and a healthy run of a few feet should lose well under a volt end to end.
Set the meter to continuity or ohms with the circuit de-energized to find a short or an open switch. On the amp setting you can clamp or break the circuit and read actual draw, which tells you whether a device is loading the system beyond its rating. Remember to move the meter off volts before you break a live circuit; the meter fuse is cheaper than the meter.
Run length matters as much as amp draw. Voltage drop is driven by current, conductor length, and wire size, and marine practice targets about 3% drop over a circuit run, with 10% meaning the run is badly undersized. Wire gauge numbers run backwards: 10 AWG is thicker than 16 AWG, and thinner wire means more drop over the same distance.
How you know it worked: you can point to a specific reading that changed and a specific joint or length of wire responsible for it.
7. Test Chargers, Alternators, and Shore Power
Only after the battery and the wiring are proven good. With the engine running, measure at the battery: 13.8 to 14.4 volts means the alternator is charging. Anything lower means it is not, and a boat that will not start after an overnight on the dock is far more often an alternator that stopped charging than a dead battery. On many boats the alternator also runs through an isolator, and a bad isolator is invisible from the panel.
If the engine will crank but will not keep a light on, look at the voltage sense wire, the small wire from the alternator back to the battery or regulator. A broken sense wire tells the regulator the battery is full, so it stops charging, and the symptom is batteries that die overnight for no reason.
Shore power sits on the other side of the system. From the boat you can check that the pedestal breaker is on, that your inlet breaker has not tripped, and that the shore power cord is fully seated and undamaged. The 110V AC side, the transfer switch, the isolation transformer, and anything inside an outlet board are a different discipline. Owner-level diagnosis ends at the inlet. Beyond that, a 110V circuit mistake is not a project, it is an emergency with a fire risk.
How you know it worked: charging voltage sits in range and shore power is present at the inlet, or the non-charging source is identified.
8. Isolate the Load and Restore Service Safely
If the reading collapses the moment a device is switched on, the fault is in that load, its wiring, or its ground. Reconnect circuits one at a time and watch both voltage and current draw as each comes back. A single load that drags the whole system down while the others stay stable is your answer.
Replacing a device is a legitimate test. A known-good unit swapped in tells you immediately whether the original part is the problem, which is why component isolation is standard practice among marine electricians. Check the owner’s manual for the reset procedure first, because modern electronics have a master reset that solves more problems than owners expect, and check for an internal fuse on the unit itself.
Repair with the right wire gauge, the correct terminal lug, and a proper crimp that is heat-shrunk or sealed. Replace only the correct fuse rating, re-tighten every joint you touched, then reconnect the negative cable last. Write down what failed and what you did. That fuse logbook is the single most useful thing you will own six months later.
How you know it worked: the repaired circuit holds voltage under load, protection is correctly rated, and the fix is written down.
Common Mistakes
Testing while energized and hunting for a short. Probing a live circuit with a probe slip is how people get shocks and burns. Isolate the battery first, use continuity for fault-finding, and re-energize only when you are ready to read voltage under load.
Jumping terminals to see if it works. A jumper wire from battery to starter or battery to device bypasses every protection device on the circuit. Owners do it once as a proof test and it is genuinely useful; leaving it there is how a short becomes a burned harness. Run a temporary lead, prove the fault, pull it out.
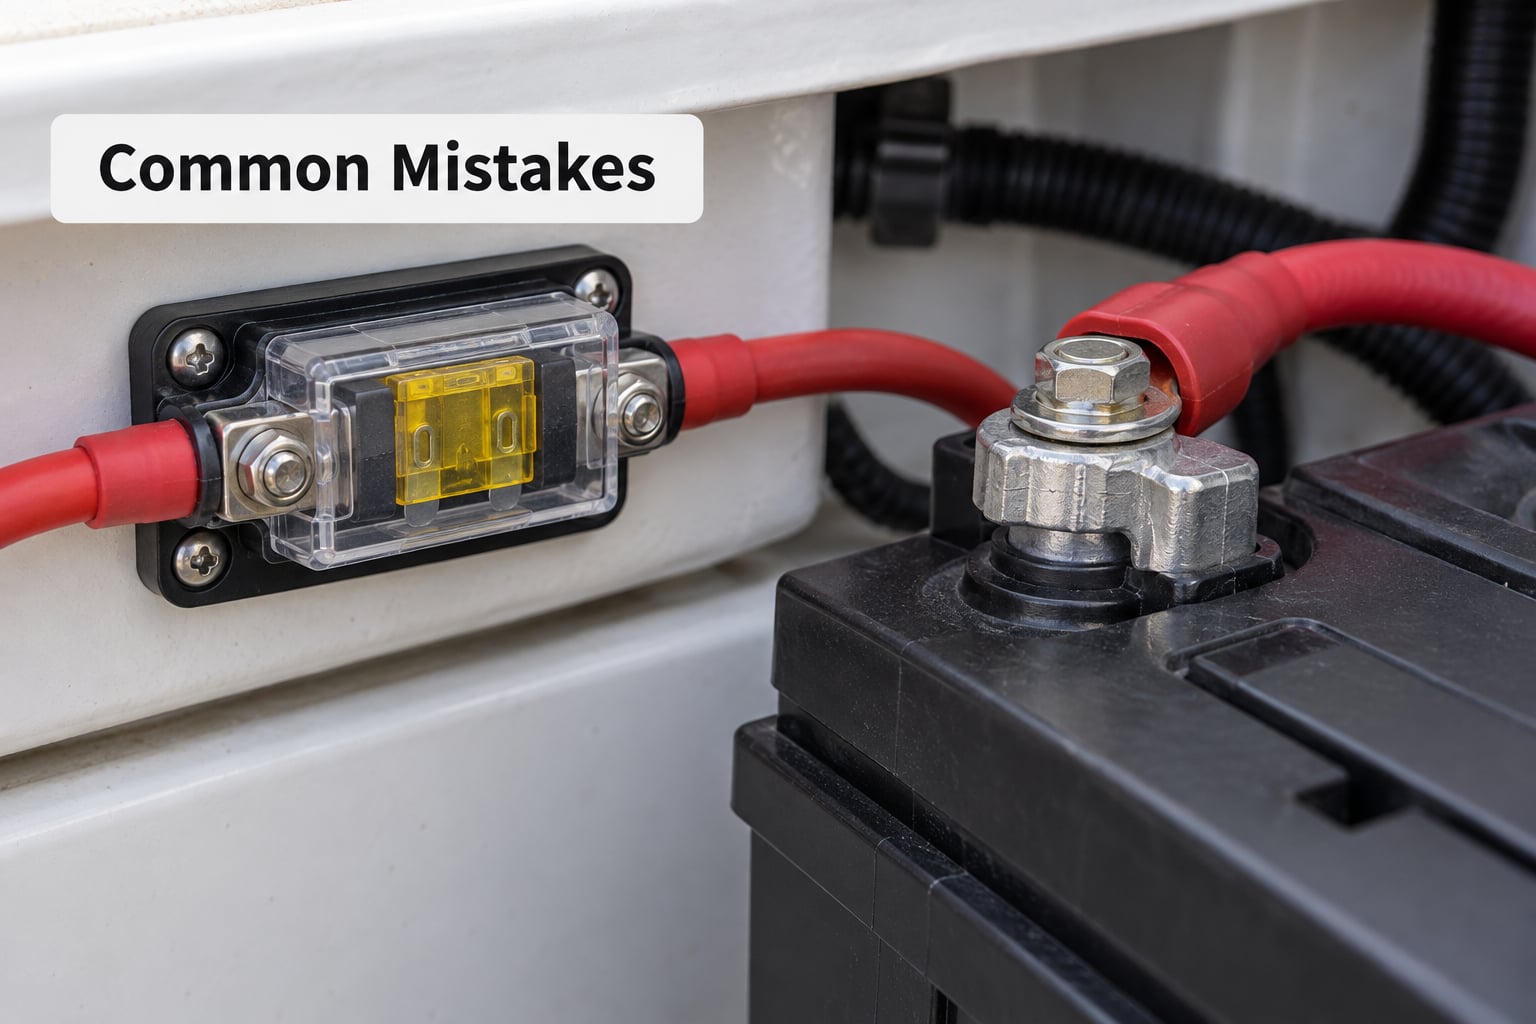
Replacing a fuse with a higher rating. If a 10 amp fuse blew, the circuit drew more than 10 amps. A 15 amp fuse does not fix that, it delays the failure until the wire heats. Find the short or the overload.
Ignoring grounds. A cable that is green, brittle, or loose adds resistance that looks identical to a bad positive feed. Clean it, tighten it, and coat it with a proper corrosion protectant. This is the most skipped step and the most common fault.
Misreading a partially charged battery. A rested reading of 12.6 volts does not prove capacity. A surface-charged battery will pass a voltage check and fail the moment a load lands on it, and the same reading appears on a battery that has been sitting for weeks with a small parasitic load draining it. Verify under load before you condemn a bank.
Reconnecting loads before finding the fault. Turning everything back on and hoping for the best either hides the failure or causes a second one. One circuit at a time, with the meter on it, every time.
Two more habits pay for themselves. Never trust a fuse panel with no labels — write one for every circuit the day you have the boat apart, and you will not need an electrician to trace it later. And keep spares aboard: the correct fuse rating, a spare 10 amp blade fuse, a handful of terminal lugs, and a spare rocker switch for the circuits you use most.
When to Stop and Call a Marine Electrician
Some faults are not owner-level work, and knowing which ones is part of the skill. Stop and get a professional when you find arcing, smoke, or any fire damage; a battery that is hot, swollen, hissing, or leaking; seawater that has entered the wiring or any electronics; a lithium bank that has been damaged or has had a thermal event; or repeated unexplained overcurrent where resetting the breaker is the only thing keeping the boat alive.
Also stop for anything behind a finished panel, inside a sealed engine harness, or on the 110V AC side beyond the shore power inlet. Modern boats with electronic engine controls, digital switching, network-connected instruments, and integrated charging management are properly the work of a certified marine technician, and in the US, ABYC and GLP-33 work defines the scope. A low-voltage sense wire on a lithium bank, for example, is not a job to experiment on.
The honest test: if you cannot state what a specific reading proves, and your next action involves cutting, crimping, or energizing a circuit you do not understand, that is the point to make the call.
Frequently Asked Questions
How can you tell if a boat fuse is blown?
Pull the fuse with the proper fuse puller and hold it up to a bright light. A blown element shows a visible gap, a darkened bridge, or a dull grey filament where a new one is uniform and bright. Also look for heat discoloration or a cracked body. Remember a blown fuse is a symptom: it means the circuit drew too much current, so you still need to find the short or the overload before fitting a replacement.
How do I test a boat for a ground fault?
With the circuit de-energized, set the multimeter to continuity or ohms and check from the battery negative post to the chassis or engine block, and from the device ground to the same point. Then restore power and measure the voltage from the meter probe to a known-good ground while the device runs. A high or unstable resistance, or a reading that swings, points at a corroded, loose, or undersized ground.
Why are my boat navigation lights not working?
Start at the panel: check that the nav light breaker is pushed in fully and has not tripped, then look at the bulb or LED module and the toggle switch for continuity. Salt water makes these two the usual failures. If several unrelated circuits are dark at once, suspect the shared bus bar or ground instead of the lamp itself, and measure voltage at the light with the circuit loaded.
How do I reset the circuit breaker on a boat?
Switch everything on that circuit off, then flip the breaker fully off and back on. Some breakers need a firm push toward the panel first to reset them. If it trips again within seconds, do not keep resetting it. That repeated trip means a real short or overload is still present, and repeatedly re-arming it can melt the panel board.
How do I test a boat switch with a multimeter?
Disconnect power from the switch, set the meter to continuity or ohms, and touch the probes to the common terminal and each switched terminal. Turn the switch through its positions and listen for the beep. A good switch closes cleanly on every position; a bad one reads open even when clicked on, or reads open intermittently as you work the lever.
What are the basic electrical troubleshooting steps?
Confirm whether the whole boat is dead or one circuit, isolate power, then measure the battery at rest. Work downstream in order: selector switch, main breaker, panel breaker, device switch, wire run, ground, then the device itself. Turn the load on and watch the voltage at each point, because a fault shows up as a reading that changes. The last point showing correct voltage is where the fault begins.
Conclusion
When a boat goes dead, resist the urge to buy a battery. Isolate the power, look for heat, melt, salt and corrosion, confirm whether the whole boat or one circuit failed, and measure the battery with the meter. Then walk the path one joint at a time: selector switch, main breaker, panel breaker, device switch, wire, ground, device. Turn the load on and watch the reading change, and the fault will tell you where it is.
Most of these faults are a corroded connection, and a small amount of patience fixes them. The ones you cannot measure your way to are the ones worth paying a marine electrician for.