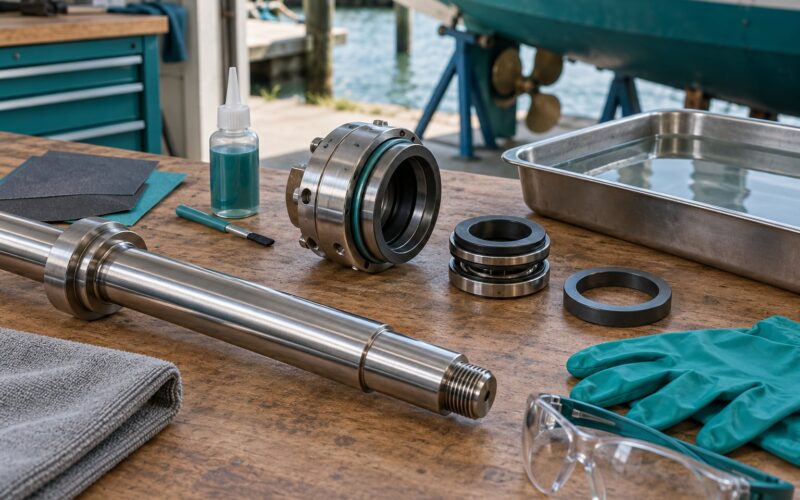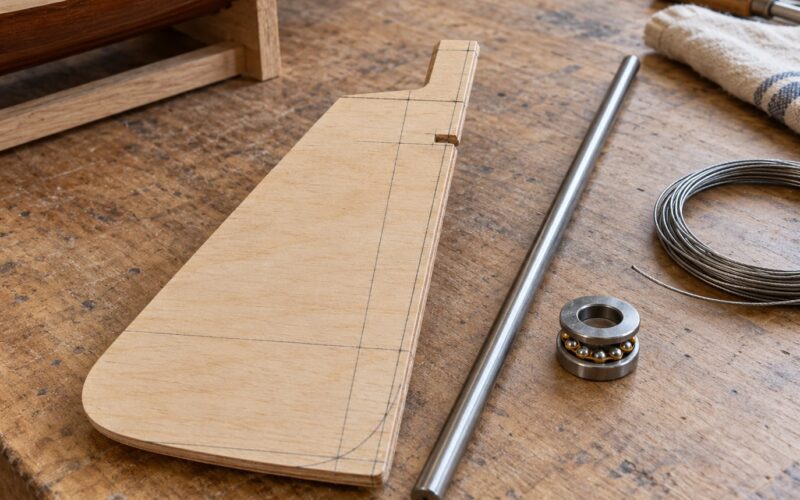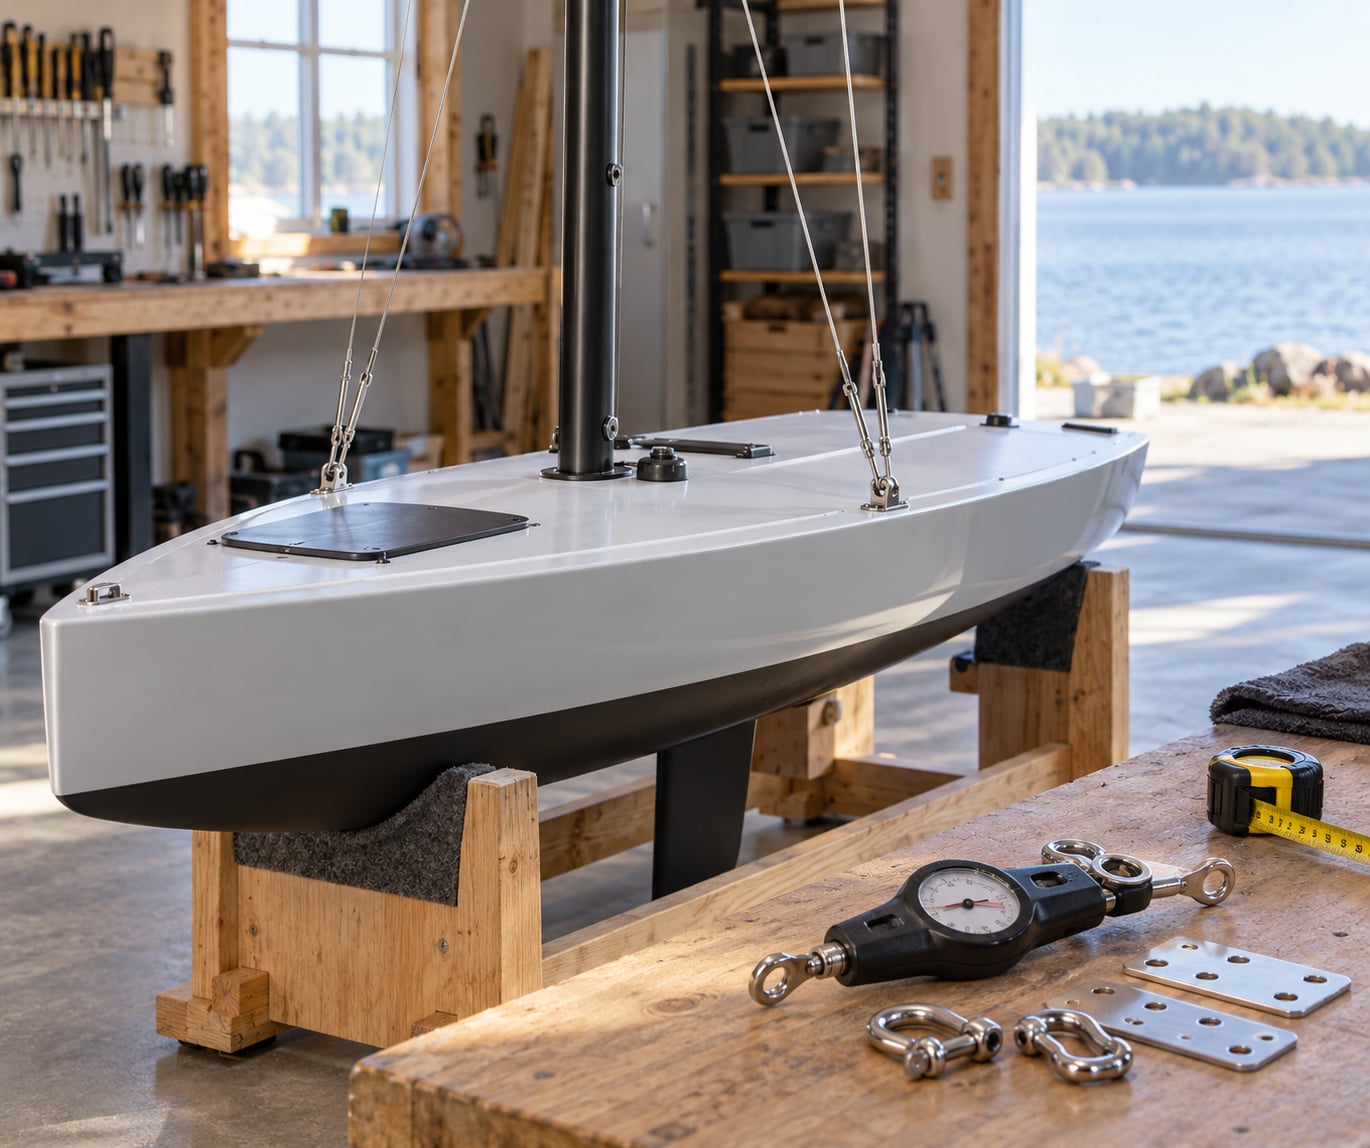
How to set up standing rigging properly means working in one fixed order: confirm the approved geometry, hang every tension member from the mast outward to its chainplate, straighten the spar on measured reference points, then tension matched pairs to a percentage of the wire’s breaking strength until the mast stands vertical with the bend the design calls for. Do it in that order and the job takes most of a day. Skip the order and you end up with a mast that leans, a cabin door that will not shut, or a chainplate pulled out of the deck.
On a small autonomous sailing platform the stakes are the same as on a full-size boat. A sailing robot carries its ballast low and its rig light, which makes it twitchy in gusts and quick to show a bad tune. Plan a full day, work on a sheltered hard or in a calm berth, and treat every figure in the build documents as binding rather than advisory.
Table of Contents
- What You Need
- Step-by-Step: How to Set Up Standing Rigging
- 1. Confirm the Rigging Geometry and Load Limits
- 2. Inspect the Spar, Hull Connections, and Hardware
- 3. Position the Spar Safely and Center It
- 4. Attach the Lower Shrouds and Support Lines
- 5. Fit the Upper Shrouds, Spreader Loads, and Remaining Lines
- 6. Set Alignment Before Applying Final Tension
- 7. How to Set Up Standing Rigging Under Even Preload
- 8. Secure Terminals and Complete a Static Load Check
- 9. Perform Controlled Water and Systems Trials
- Common Mistakes
- Frequently Asked Questions
- Should standing rigging be tensioned before or after the mast is stepped?
- Can a slightly bent mast be corrected by adjusting the shrouds?
- How does wind and temperature affect standing-rigging tension checks?
- What signs indicate that chainplates or backing plates are undersized?
- How often should a sailing robot’s standing rigging be inspected?
- Conclusion
What You Need
Gather everything before the mast moves. Working with the spar half-supported and a missing tool means climbing a ladder with gloves on.
- The vessel’s construction or class documents. These give mast height, chainplate positions, shroud angles, spreader configuration and the permitted working load of each member. A sailing robot’s hull, ballast and sail plan set these numbers. Generic sailing advice does not.
- The correct wire or rod specification. Match diameter, construction and material to the design. Dyform and similar stranded wire behaves differently from solid rod, and sleeved composite stays will not take a swaged terminal.
- Backing plates, terminals, clamps, turnbuckles and shackles rated for the design load, plus the specified split pins or collars. Several terminal types are single-use. A re-used swaged or Norseman-style fitting is a trap that has sunk boats.
- A calibrated tension gauge sized for the wire. Cheap gauges are marginal on small diameters, and none of them matter if you have not matched the range to the wire.
- A rigging lever or screwdriver that fits your turnbuckle or bottle screw, plus wire cutters, swaging tooling if you are terminating on the spot, and a second pair of hands.
- Measuring equipment: tape measure, straightedge, spirit level where appropriate, and a reliable centreline reference.
- Safety gear: gloves, eye protection, non-slip footwear, a boom restraint or crutch, and padding for every place a line can chafe or a fitting can strike.
- The builder-specified instruments for any load or deflection measurement the design calls for. If the documents name a method for the static check, that method is the one to use.
Step-by-Step: How to Set Up Standing Rigging
1. Confirm the Rigging Geometry and Load Limits
Read the geometry out of the documents before you touch hardware: mast height, chainplate positions, shroud angles, spreader configuration and permitted working load. Check that these match the robot’s actual hull, ballast, sail plan and expected conditions rather than a generic boat of similar size.
Result of this step: you can name the angle each shroud will sit at and the load each member is meant to carry. If the documents and the deck fittings disagree, stop and resolve that before anything is tensioned.
2. Inspect the Spar, Hull Connections, and Hardware
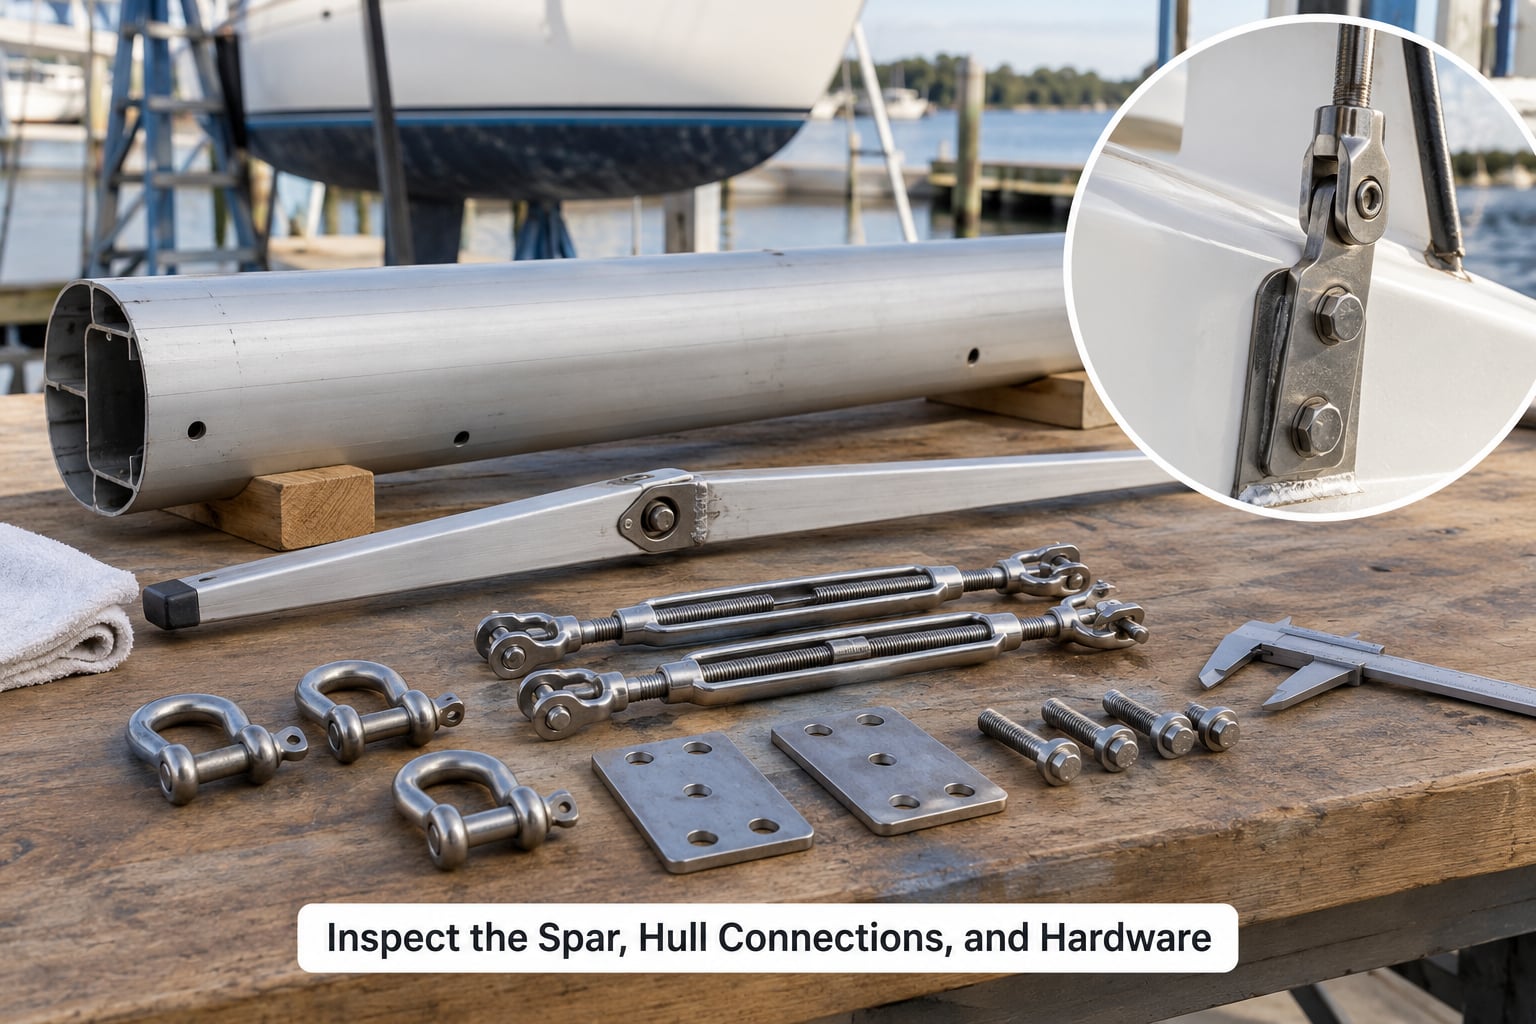
Inspect the mast, spreaders, chainplates, backing plates, fasteners, terminals and connectors for damage, corrosion, cracks, distortion and incompatible metals. Aluminium and stainless steel in direct contact will corrode; a spreader bracket with a visible crack is not a tuning problem, it is a dismasting problem.
Replace any questionable structural part before load is applied. The criterion is simple: if you would not sail with it loaded, do not tension it.
3. Position the Spar Safely and Center It
Support the mast using the approved lifting method. Never take the full weight on a shackle or a chainplate, and never stand where a dropped spar would land. Centre the spar fore-and-aft and side-to-side, align the masthead fitting over the centreline, and confirm the step or support point sits inside the planned geometry.
Verify by measurement, not by eye. A mast that is off-centre at the step will pull one side of the chainplates harder no matter how evenly you tension the shrouds.
4. Attach the Lower Shrouds and Support Lines
Install the lower tension members first, one side at a time, keeping the spar supported throughout. Route lines through their blocks or guides so they run straight and do not touch anything sharp. Set each eye so the load pulls along the intended axis rather than sideways against the terminal.
Add chafe protection wherever a line crosses an edge or passes a fitting. Confirm each lower shroud reaches its intended chainplate or deck attachment and that the turnbuckle or rigging screw has a full turn of thread available in each direction.
5. Fit the Upper Shrouds, Spreader Loads, and Remaining Lines
Attach the upper tension members next, along with the spreader heels, halyards and any topping lift or vang lines. Work down the spreader so the load path stays inside the fitting rather than crossing it at an angle, and keep halyards and other running lines clear of the standing rigging so they cannot chafe or foul it.
Check that running lines have enough travel, that sheaves are oriented to run without binding, and that nothing crosses a sharp edge. A halyard led across a spreader tip wears in a season and will part under load.
6. Set Alignment Before Applying Final Tension
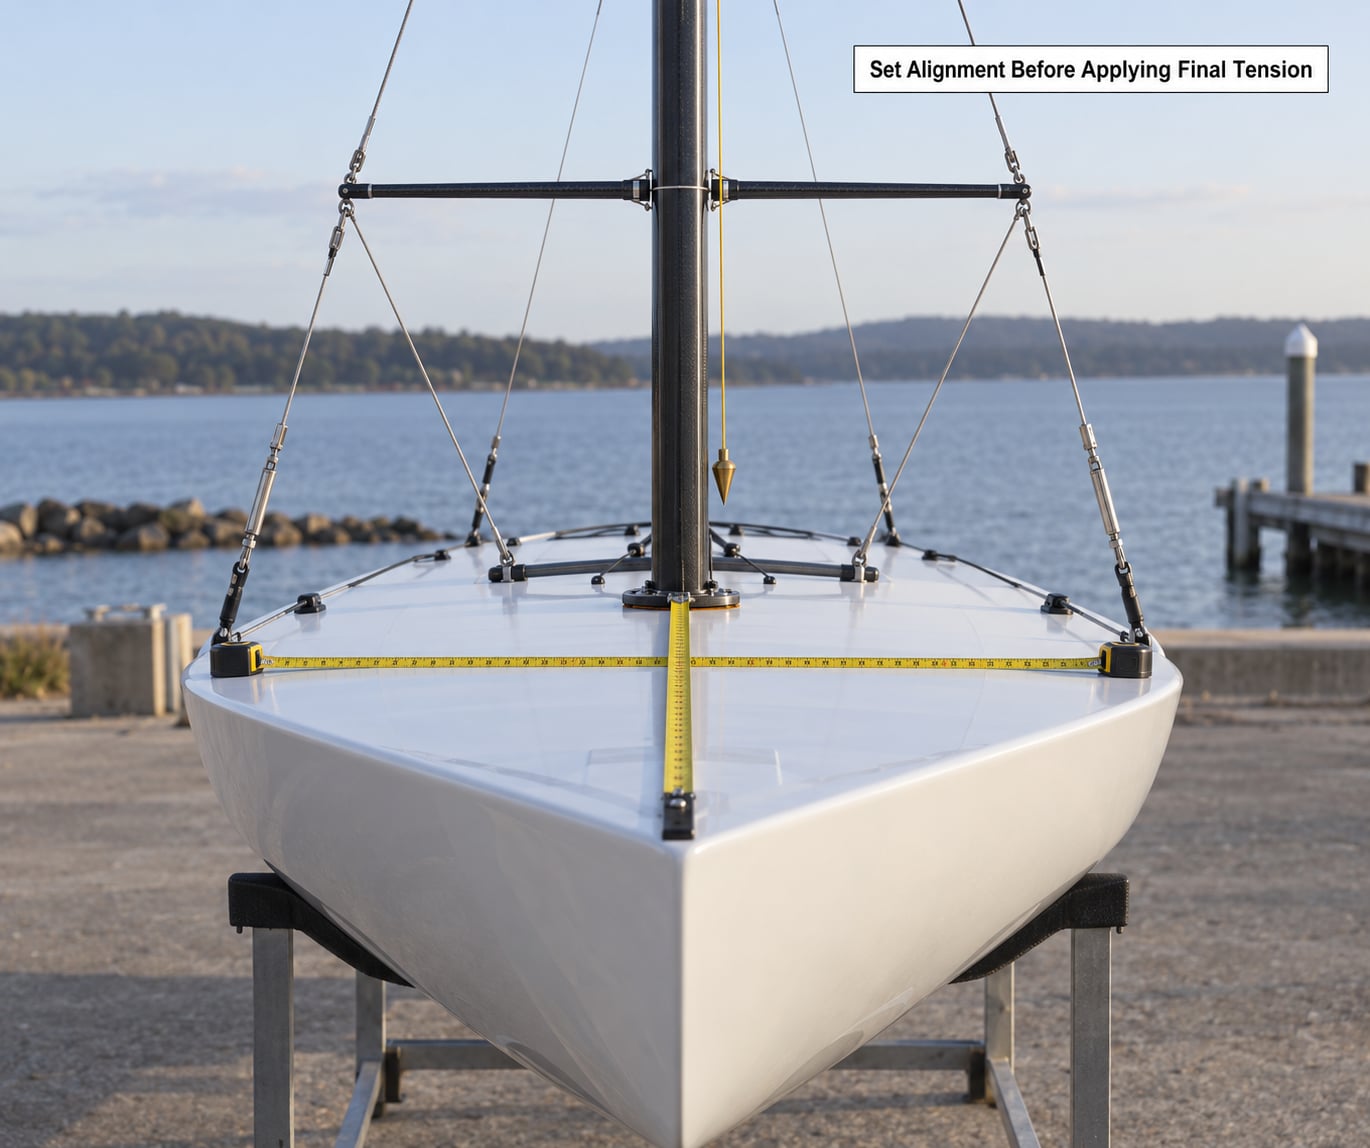
Adjust the standing rigging symmetrically so the mast is straight in both the fore-and-aft and athwartships planes and the spreaders sit as designed. Use a trusted centreline, a weighted line as a plumb reference, a spirit level where appropriate and measured reference points rather than visual alignment.
Two things make this measurable. Mark a reference point at the masthead and one at the sheer, then measure the offset fore-and-aft to set rake and athwartships to set heel. Do this before the final tension pass, because the next step will move the mast slightly every time you turn a screw.
7. How to Set Up Standing Rigging Under Even Preload
Tension to a common target rather than by feel. The working figures used on production rigs are around 10% of the wire’s breaking strength in light weather and around 15% in stronger wind, with the lowers generally set lighter than the cap shrouds. Where the builder specifies a number, that number wins.
- Cap (upper) shrouds: about 10% of breaking strength in light air, around 15% in stronger wind. On a masthead rig they carry the biggest share of side load.
- Lower shrouds: set lighter than the caps in both conditions. Over-tensioning the lowers is what bends masts and cracks decks.
- Forestay: per design, set the sag first. It sets headstay sag and fore-and-aft mast bend.
- Backstay: per design, often adjustable. It controls side bend on fractional rigs.
Work in matched pairs. Set port and starboard to the same reading on the same stroke of the same turnbuckle, then move both together, never one and then the other. Make small increments and re-check alignment after every change. Port and starboard loads that differ by more than your gauge’s resolution mean the rig is crooked somewhere, not that one side needs more tension.
Record every final value and the number of turns of thread showing. That written record is what you will compare against next season, and it is the fastest way to spot a member that has quietly lost tension.
8. Secure Terminals and Complete a Static Load Check
Lock the split pins, pins and collars, or fit whatever terminal locking the design specifies. Mark each adjustment position with a paint pen or tape so a small change is visible later. Then inspect every connection again, including the ones you cannot see without a torch.
Run the builder’s approved static check and watch for mast bend past the designed range, movement at a chainplate or backing plate, cable stretch, fasteners working loose, or any load arriving somewhere unplanned. On a robot, also confirm the load path does not fight the sensor mounts, antennae or instrument booms you added after the rig was designed.
9. Perform Controlled Water and Systems Trials
Commission in stages: dock checks with the rig unloaded, a sheltered power-up test, a controlled first sail, then progressively stronger conditions. Sail in roughly 8-12 knots of breeze for the first real tune. Dock tuning set before first use relaxes as the cable takes its full load, and a second tension pass under load is part of the procedure, not an afterthought.
Before each stage, set your weather limits and your abort criteria in advance. If alignment shifts, a cable changes shape, a terminal moves or a chainplate starts to deform, come back to a sheltered position and re-inspect rather than continuing. Re-check tension after the first few sails and again after any trip where the rig was loaded hard.
Common Mistakes
Tensioning one side at a time. You will chase the mast all the way across the boat. Tighten port and starboard alternately in equal increments.
Guessing tension instead of using a specification. A percentage of breaking strength is a real number you can check. Feel is not, and it is why professional dock tunings often need correcting.
Routing lines across moving spars. Anything crossing a spreader tip or a track chafes, then parts. Reroute it before tensioning, not after.
Skipping chafe protection. Padding at every edge, guide and fairlead costs almost nothing compared with a replacement cable at sea.
Undersized or mixed hardware. Mixing a small shackle into a high-load path, or pairing incompatible metals, moves the failure to the weakest link. Size every fitting for the line it carries.
Standing beneath an unsupported mast. Support the spar until the standing rigging is attached and taking load. Hand protection matters here more than anywhere else on the boat.
Ignoring hull and chainplate distortion. Rigging stress often shows up as a jammed cabin door or a cracked deck before it shows up as a rigging failure. If those appear, the rig is too tight somewhere.
Not documenting final settings. Record tensions, turn counts and terminal positions. Without that baseline you cannot tell a stable rig from a slowly relaxing one.
Between trips, re-tension on a six to ten month cycle and book a full inspection around the six-year mark or roughly 40,000 miles, whichever comes first. Sleeved composite stays are usually called in on a shorter mileage figure, around 30,000 miles. Replace single-use terminals every time they come off. Before each launch, run the whole set by hand once: no sharp edges, no loose turns, no hardware showing damage, no line crossing a load path.
Frequently Asked Questions
Should standing rigging be tensioned before or after the mast is stepped?
Attach the standing rigging before the mast is stepped wherever the design allows, so each line reaches its chainplate or deck fitting without being made to stretch or cross a fitting at the wrong angle. The rig is then tensioned symmetrically once the spar is supported and centred. A few builders require the opposite sequence, so the construction documents settle it. Never tension a rig that is not properly supported.
Can a slightly bent mast be corrected by adjusting the shrouds?
Sometimes, and only if the bend is within the design’s allowance. Loosening the cap shrouds straightens a mast that bends too much fore-and-aft, and easing the lower shrouds can help a mast bending to leeward. A bend larger than the manufacturer allows cannot be tuned out, because the load is already beyond what the section is designed to carry. Measure the bend against the specification before adjusting anything.
How does wind and temperature affect standing-rigging tension checks?
Read tension in the conditions you intend to sail in, because a setting made in a flat calm tells you little about a fresh breeze. Wind loads the rig from the leeward side and can pull a slack wire taut, exposing slack that a dock check missed. Temperature changes cable length, and wire shortens noticeably in cold conditions. Record the conditions with every reading so a later comparison is meaningful.
What signs indicate that chainplates or backing plates are undersized?
Look for movement at the chainplate when the rig is loaded, elongated fastener holes, movement of the plate under hand pressure, and stress marks or cracking in the surrounding deck or laminate. A backing plate that is not spreading the load into sound structure will do the same job on a smaller area every time you sail. Interior symptoms such as a cabin door that binds or a deck that flexes under a shroud usually point to the same problem.
How often should a sailing robot’s standing rigging be inspected?
Give it a hands-on walk-around before every launch and a full inspection about every six years or 40,000 miles, whichever comes first, with sleeved composite stays often called in earlier at around 30,000 miles. Between inspections, re-tension every six to ten months and after winter lay-up. Look for corrosion at terminals, broken strands, distortion at the spreaders, and any change in measured tension compared with your written record.
Conclusion
Three things first: confirm the approved rigging geometry against the hull, ballast and sail plan, inspect every structural connection and terminal, then tension matched pairs in small measured increments and record what you get. Sail it in moderate conditions, re-check under real load, and treat any change in alignment or cable shape as a reason to stop and look.