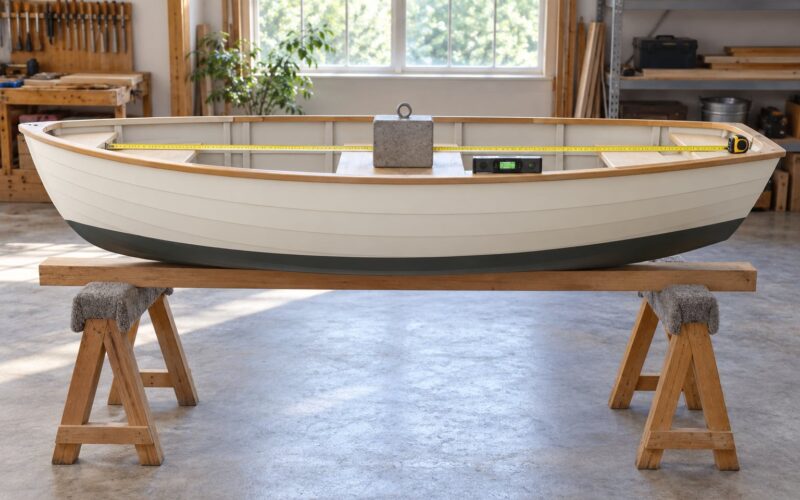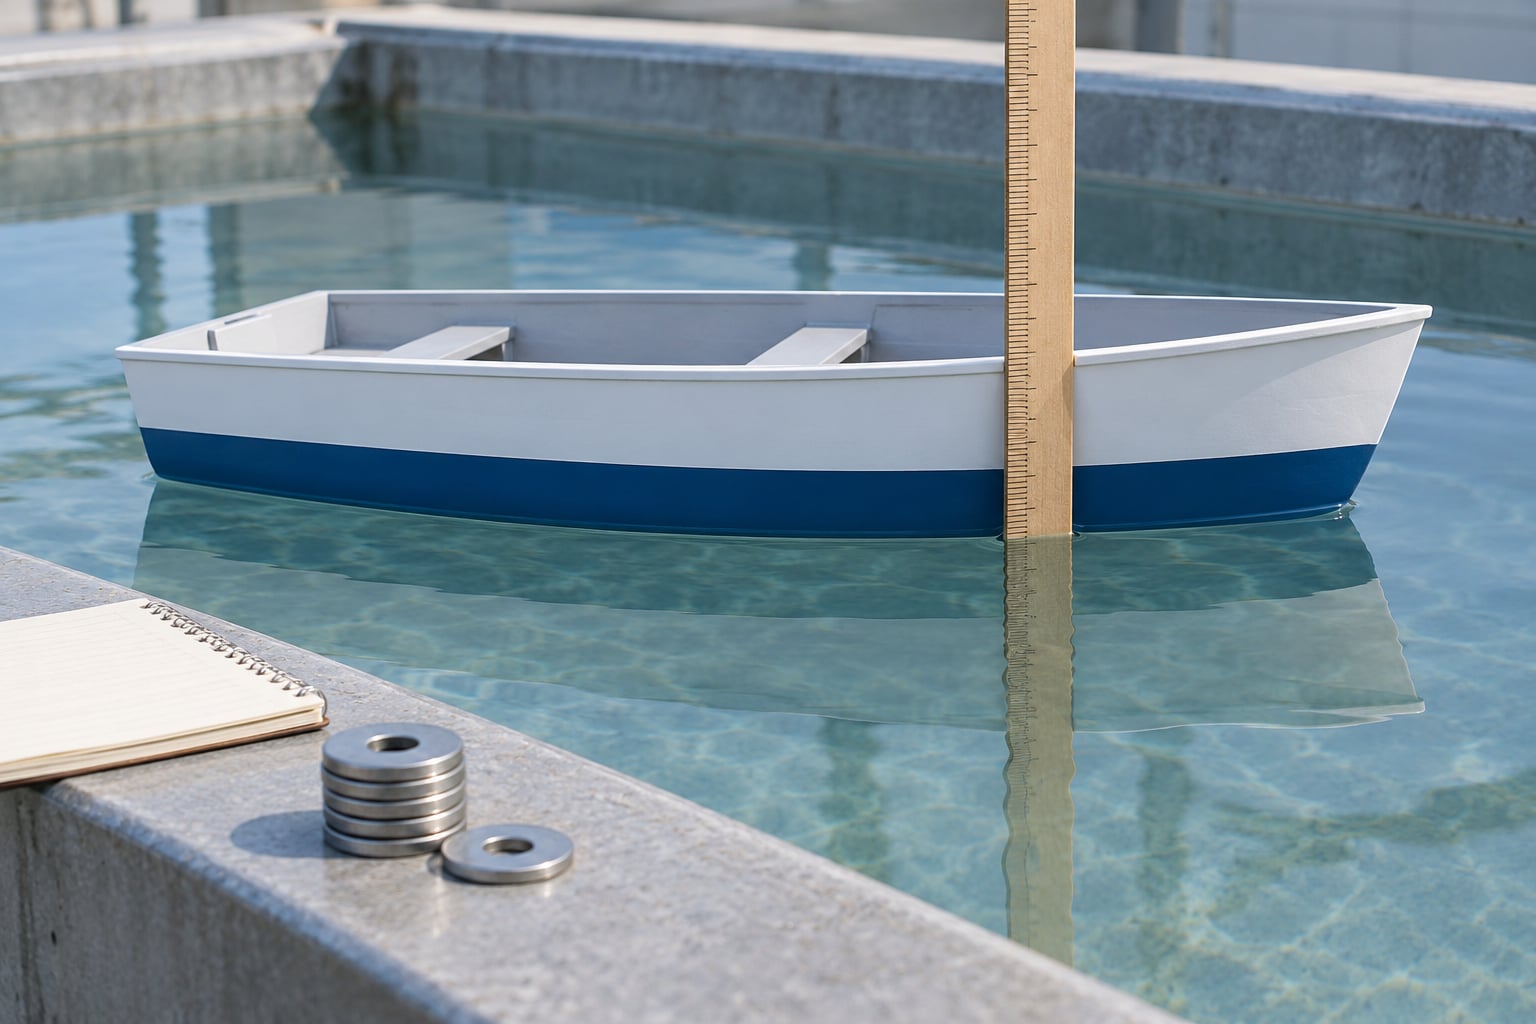
To do a stability test on a model boat, place a known weight a measured distance from the centreline, let the hull settle, and measure the heel angle. The angle tells you where the centre of gravity actually sits and how much righting reserve remains before the boat flips over.
The whole procedure takes 30 to 60 minutes for a first run, and you need a calm tank, a kitchen scale and about 20 grams of steel washers. Very few guides set out an ordered protocol for this, so most builders end up with three contradictory methods and no idea which reading to trust.
What the test actually checks is simple physics: your boat’s weight acts downward through its centre of gravity while displaced water pushes up through its centre of buoyancy. Tip the boat and the centre of buoyancy moves toward the low side, building a righting moment that pulls the hull back upright. How strongly it resists depends on how far the centre of gravity sits below the centre of buoyancy, and that is the number you are trying to measure.
Table of Contents
- What You Need for a Model Boat Stability Test
- Step-by-Step: How to Do a Stability Test on a Model Boat
- Step 1: Inspect the Boat and Prepare a Safe Test Area
- Step 2: Establish the Baseline for a Model Boat Stability Test
- Step 3: Add Known Loads Gradually
- Step 4: Perform a Controlled Heel Test and Read the Heel Angle
- Step 5: Check Recovery and Residual Stability
- Step 6: Repeat the Test in Different Conditions
- Model Boat Stability Tests at a Glance
- Common Mistakes in a Model Boat Stability Test
- Frequently Asked Questions
- What water conditions do I need for a model boat stability test?
- How much ballast should I add to my model boat, and where should it go?
- How do I measure heel angle without buying an inclinometer?
- How do you calculate the rolling period of a model boat?
- How long should a full model boat stability test take?
- What does it mean if my boat stops self-righting after I add ballast?
- Conclusion: Start With One Change at a Time
What You Need for a Model Boat Stability Test
Gather this before the boat goes in the water, because half of a stability session is lost to fetching things with wet hands.
- The model at finished weight. Battery, radio gear, running gear, ballast and the fittings you will actually sail with. A bare hull gives you a result you cannot use later.
- Known weights in small increments. Steel washers, fishing sinkers, coin blanks, lead strip cut into known lengths, or a bag of aquarium gravel weighed in advance. Washers are ideal because you can add one at a time and they do not roll off a wet deck.
- A scale that reads in grams. A kitchen scale is fine. Weigh the finished model, then weigh every ballast increment you plan to use.
- A tape measure and a datum card. A rigid index card taped to the deck gives you a vertical reference you can sight heel angle against without buying anything.
- A phone inclinometer app, or a protractor. The phone is more sensitive for small angles. Mount it flat on a rigid deck panel so you are measuring the hull, not the flexing of a balsa covering board.
- Calm, shallow water. A test tank, a paddling pool, a farm pond corner out of the wind, or a sheltered stretch of canal. Nothing else matters if the surface is moving.
- A log sheet. A clipboard with columns for load, offset distance, heel angle, trim and notes. Anything you cannot write down, you cannot compare later.
- Personal protection. A buoyancy aid if you are testing anywhere you could fall in cold water, plus gloves. Keep the ballast in a tub on the bank, not in a pile on the deck.
Step-by-Step: How to Do a Stability Test on a Model Boat
Step 1: Inspect the Boat and Prepare a Safe Test Area
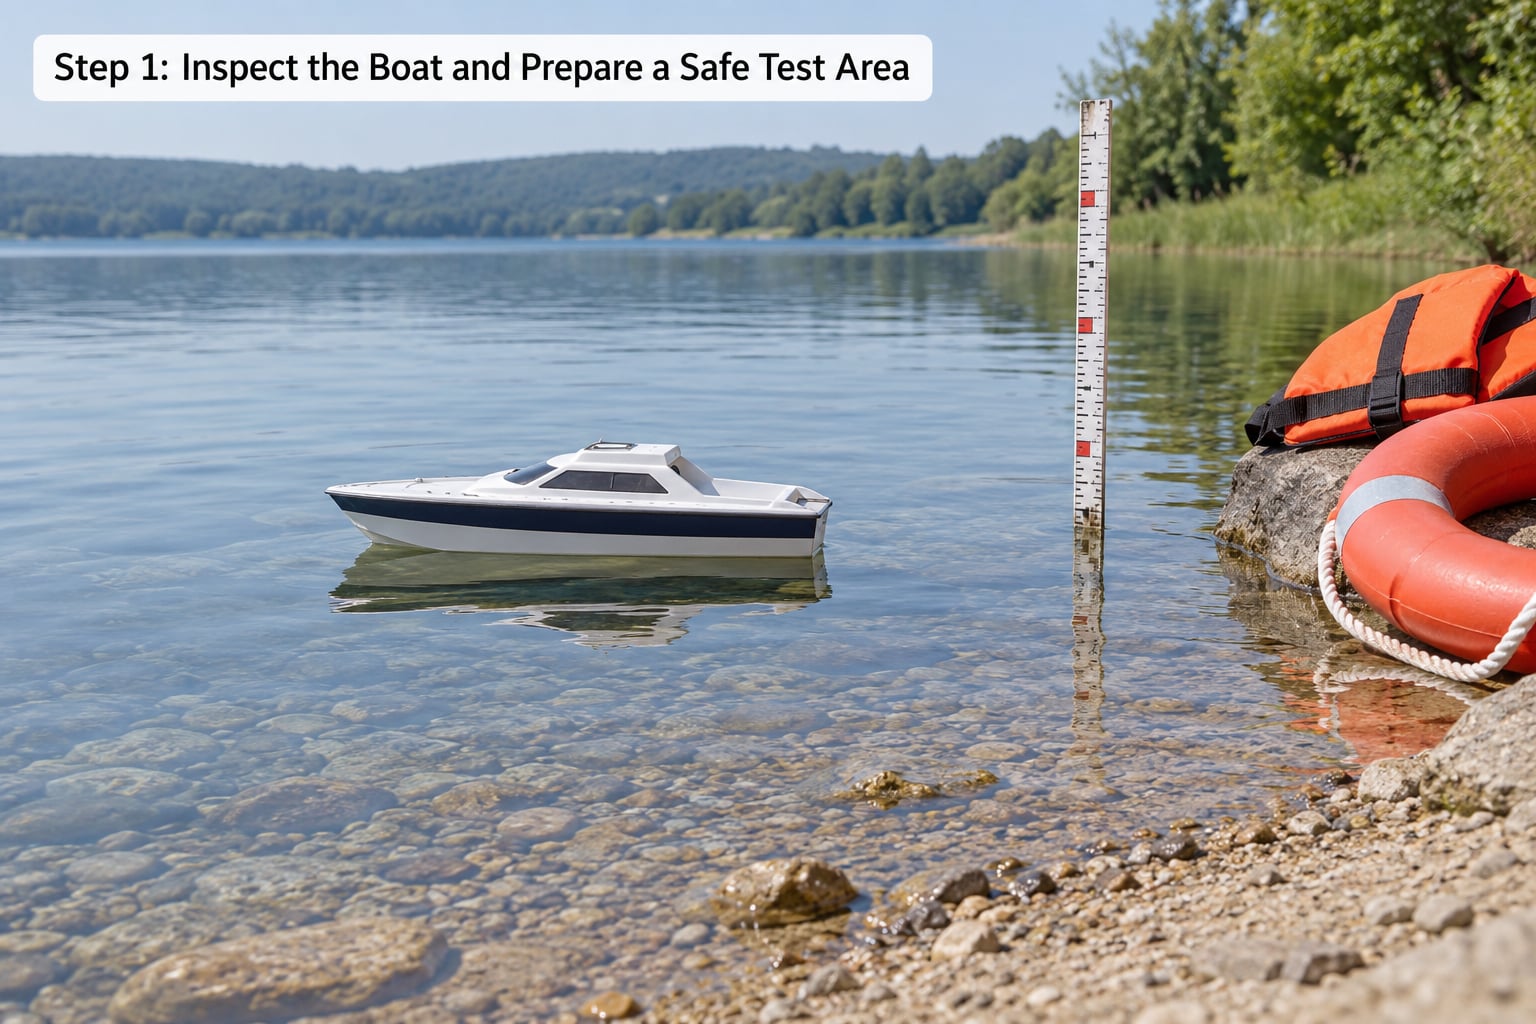
Walk the hull first. Check every seam, joint and glued surface for a hairline gap, confirm any foam or buoyancy bag is bonded in permanently rather than wedged, and make sure the battery and radio gear cannot shift a millimetre once the boat is moving.
Run the propulsion briefly at the bank. A folding prop shaft, a loose ESC lead or a steering arm that binds can throw the boat sideways mid-test, and you will log the movement as instability that does not exist.
Then pick the water. Shallow and calm beats deep and sheltered. Look for a spot screened from the wind, check there is no boat wake within a minute’s sail, and confirm you can reach the model from the bank if it stops responding to the throttle.
The single most common reason a first test gives bad numbers is water movement you did not notice. Ripple from a passing paddle is enough to add three or four degrees of false heel. If you can see the surface shifting, wait.
Step 2: Establish the Baseline for a Model Boat Stability Test
Weigh the finished model and write the number down. Then check it against what you expect the finished displacement to be. Hobby practice is to get within about 2% of finished displacement before running a stability test, because ballast figures calculated from a hull that is 200 grams light will be wrong by 200 grams.
Measure the draft at the bow, the stern and the centreline. Compare bow and stern draft and you have your trim; a level boat has roughly equal figures at both ends, and anything else is already biasing your stability readings.
Measure freeboard at midships, from the waterline to the lowest point of the deck edge. Record the balance point along the hull by resting it across two thin blocks or a knife edge and sliding it until it balances, then marking that spot with tape. That mark becomes your fore-and-aft datum for every load you place later.
Finally, note the attitude before you add anything. A boat that sits crooked at rest, with one rail lower than the other, has asymmetric flooding, a twisted deck or uneven ballast. Find that before you start measuring heel, because every reading afterward will be wrong by a constant offset.
Step 3: Add Known Loads Gradually
Start with a load you can easily remove, taped or clipped low on the centreline. Add it in small increments rather than one lump, and after each increment let the boat settle, re-read trim and freeboard, and note how far it has moved.
Moving the same ballast fore and aft is the fastest way to find out whether your model is nose-heavy. A few grams forward that trim the bow noticeably tell you the longitudinal balance point is further aft than the tape mark suggests, and the fix is a fraction of ballast, not a hull change.
Move ballast athwartship only after the fore-and-aft balance is settled. Placing weight outboard toward the cap rail increases form stability because more of the beam is immersed, but it also lifts the centre of gravity, and that is a trade-off hobby builders regularly miss. Watch freeboard on the loaded side as you load outboard; when the rail approaches the waterline you have gone too far.
Change one variable per trial. Load, position or propulsion setting, not two at once, or you will not know which one produced the result.
Step 4: Perform a Controlled Heel Test and Read the Heel Angle
This is the core measurement. With the boat floating level, place a known mass a measured distance x from the centreline, let it settle, and read the heel angle. Heel the other way with the same mass and same distance as a check; if the two readings differ by more than a couple of degrees, something is asymmetric and you need to fix it before going further.
The relationship behind it is straightforward. The offset weight creates a heeling moment equal to its mass times its distance from the centreline, and the hull’s righting moment balances that at the angle the boat settles to. For small angles, the tangent of the heel angle equals the offset weight-distance divided by the displacement times the metacentric height, which is the distance between the centre of gravity and the point about which the hull pivots as it heels.
That metacentric height, usually written GM, is the practical output of the test. A high GM means a stiff boat that snaps upright; a low GM means a tender boat that rolls lazily and slowly. Both extremes cost you something in real use, so the goal is a middle value, not a maximum.
The full-scale version of this test, run under ORC measurement rules and in guides such as ASTM F1321 and ASTM F3052, heels a boat by sliding weights along a horizontal spar and reads the angle from a pendulum or electronic inclinometer. The geometry is identical at model scale. The same procedure appears in the small fishing vessel heel test guidance published by the UK government, so the method you use in a paddling pool is not a rough approximation, it is the real thing made small.
Read the angle against your datum card, not by eye. Sighting down a vertical line from a string held above the deck works well, and a spirit level taped to the deck tells you when you are back at level. Repeat at three offsets on each side and write every reading down; a single angle is an anecdote, a set of three is a measurement.
Step 5: Check Recovery and Residual Stability
Remove the offset weight and watch what the boat does next. A sound hull comes back upright in a few seconds with a couple of damped swings and no drama. Count the swings; that number is a free roll period reading you will use in the next step.
Then look for damage and for changes you did not intend. A permanent lean after the weight comes off points to water inside the hull, which is the single most serious result a stability test can produce. Look for a wet mark on the interior of the deck, run a dry tissue around the seams, and check the hull sits level again on the next float.
Stop the test rather than pushing on if anything opens up, if the hull flexes visibly as it rights itself, or if the rail goes under with a modest load. Those are signs the boat is outside the range you designed for, and continuing only risks the model.
Step 6: Repeat the Test in Different Conditions
One clean reading is a starting point, not a result. Repeat the heel test with a second and third ballast position, then repeat in the conditions your model will actually meet: a breeze across the water, a little chop, and a powered run with the rig fitted.
Keep the variables comparable. If you test at 15% of finished weight at zero offset, do the next run at 15% at 40 millimetres and note only the offset as the difference. Changing load, position and wind together produces numbers that look like data and mean nothing.
Two trials of the same test that differ by more than two degrees mean your setup is not repeatable, which usually points to wind, current or a weight that is not where you think it is. Fix that before drawing conclusions, because an unrepeatable test cannot tell you whether your design changed.
Model Boat Stability Tests at a Glance
| Test | What it measures | Equipment | Typical time | Best for |
|---|---|---|---|---|
| Offset-weight heel test | Heel angle per gram of offset load; where the centre of gravity really sits | Known weights, tape, datum card, inclinometer | 20 to 30 minutes | Every hull; run this one first |
| Inclining test at model scale | GM, the righting arm curve, and the angle at which the righting moment vanishes | Weights at two or more measured offsets, inclinometer | 1 to 2 hours | Ballasted and sail models before finishing |
| Roll period test | How fast the boat returns upright, which tracks roll stiffness | Stopwatch, calm water, one known offset load | 10 minutes | Comparing design iterations |
| Windage and beam-sea test | How far the boat heels before the rail submerges | Sail or superstructure fitted, steady breeze or a fan | 20 minutes | Sail models with large sail area or high topsides |
| Swamping and self-righting test | Behaviour once the hull is flooded and the freeboard is gone | Container of water, or a slow hose stream | 10 minutes | Open hulls, launch models, lifeboat-style designs |
| Deck edge immersion test | How much heel the freeboard can absorb before it ships water | Weights applied at the deck edge, low freeboard model | 15 minutes | Fast RC and planing hulls |
Run them in that order if you have the time. Each one depends on the boat floating level and sitting at the right weight, so testing them out of sequence wastes an afternoon.
Common Mistakes in a Model Boat Stability Test
- Changing several things at once. Adding ballast, shifting it forward and opening the throttle in one trial produces a number you will misread for months. One variable per run.
- Testing in moving water. A model boat stability test in chop is not a tougher test, it is an unreadable one. Wind ripples add false heel, and a passing wake can roll the boat harder than your ballast ever would.
- Uneven or loose ballast. Washers loose in a bilge shift during the heel test and quietly change your result. Tape them down. The same goes for a loosely ballasted keel bolt on a working model.
- Measuring from the wrong datum. Sighting heel against a deck that is itself twisted or covered in tape gives you the wrong number. Sight from the keel centreline, or from a card held vertical against the deck.
- Ignoring leaks. If the hull takes water during the run, every subsequent reading is invalid and the boat may be heavier at the end than at the start. Check for wet marks inside the hull before and after.
- Testing the wrong weight of boat. A hull tested at half its finished displacement will look wonderfully stable and behave badly once loaded. Get within about 2% of finished displacement first.
- Treating a rolling boat as a broken boat. Plenty of healthy models roll a lot in a gust. What matters is whether the boat returns upright, and whether it does so without a wallow.
Reading the result is where most guides stop, so it is worth being blunt about the two patterns you will meet. A short, jerky, snappy roll with the hull barely dipping means the model is stiff: metacentric height is high, often because ballast is too low or too concentrated. A long, slow, lazy roll with the hull lingering over at an angle means the model is tender, usually because the centre of gravity is too high or the beam is too narrow for the displacement.
Weathercocking, where the bow swings hard into the wind direction, is a different problem entirely and has nothing to do with roll stiffness. It usually means the lateral resistance aft is too small relative to the sail area forward, and the fix is a shift in weight distribution or a deeper fin rather than more ballast.
Frequently Asked Questions
What water conditions do I need for a model boat stability test?
You want shallow water that is completely calm, sheltered from wind and free of boat wake. Ripple of a few millimetres adds several degrees of false heel, which is enough to ruin a reading. A test tank, a large paddling pool or a sheltered pond corner works well. If you can see the surface shifting, wait for it to settle or move to another spot.
How much ballast should I add to my model boat, and where should it go?
Add ballast low and central, in small increments, and stop as soon as the boat stops rolling lazily. Adding a lump and checking is the common mistake. Before deciding, run the offset-weight heel test: if the boat is stiff and snappy, add a little more low ballast or move existing weight down. If it is tender, take weight out of the top before you add lead to the bottom.
How do I measure heel angle without buying an inclinometer?
Tape a rigid index card vertically to the deck as a datum, draw a horizontal reference line on it, and sight the deck edge against the card. A plumb line or a weighted string hung from a fixed point above the boat works as well. For small angles, a free phone inclinometer app laid flat on a rigid panel is more sensitive than any of these, and costs nothing.
How do you calculate the rolling period of a model boat?
Displace the boat with a known offset weight, release it, and time complete oscillations from port to starboard and back. Divide the total time by the number of cycles. At full scale, a rough comparison is that the roll period is about 1.0 to 1.1 times the beam in metres, but that rule does not scale cleanly to models, so treat it as a trend between your own designs rather than a target.
How long should a full model boat stability test take?
Allow 30 to 60 minutes for a baseline plus one offset-weight heel test, and nearer two hours if you are running the full inclining sequence with several ballast positions at both ends. Add 10 minutes each for the roll period and swamping tests. Test early and often in short sessions rather than saving it all for one long afternoon at the water.
What does it mean if my boat stops self-righting after I add ballast?
It almost always means water is getting in. A boat that is heavy enough should still right itself when flooded, so a change in behaviour after a ballast change points to a leak around the new ballast tray, a sealing strip that has lifted, or weight sitting where it blocks a drain. Float it empty, check for wet marks inside the hull, and look for a permanent lean before adding anything else.
Conclusion: Start With One Change at a Time
The safest first stability test is a float test at finished weight, followed by a single offset weight held a known distance from the centreline and one heel angle written on a log sheet. That gives you a baseline everything else is measured against.
From there, change one thing per run, keep the water calm, and repeat any test whose readings do not agree with each other before you believe them. Add ballast low and central, lower the keel, widen the beam or add flare when the boat is tender, and stop adding lead the moment the roll turns short and snappy. Test before you paint, while a change is still a bag of lead and an afternoon rather than a stripped hull.