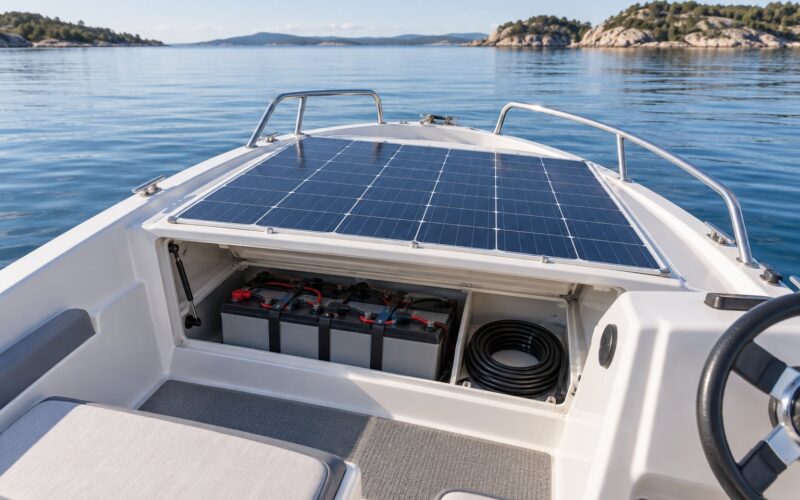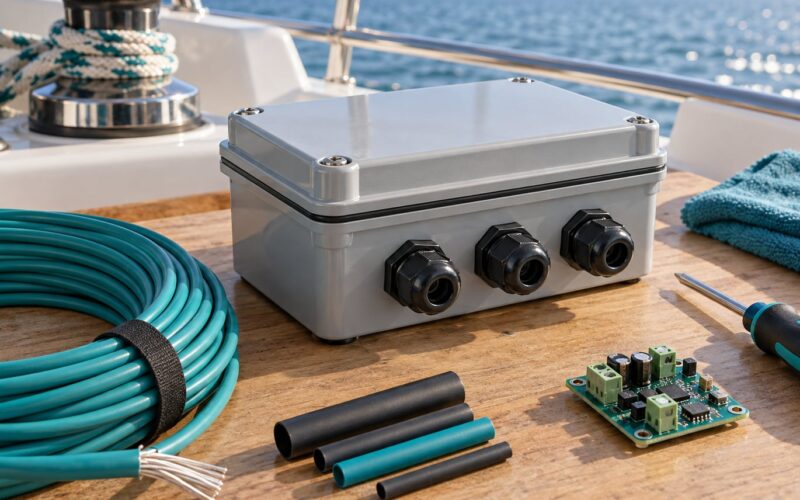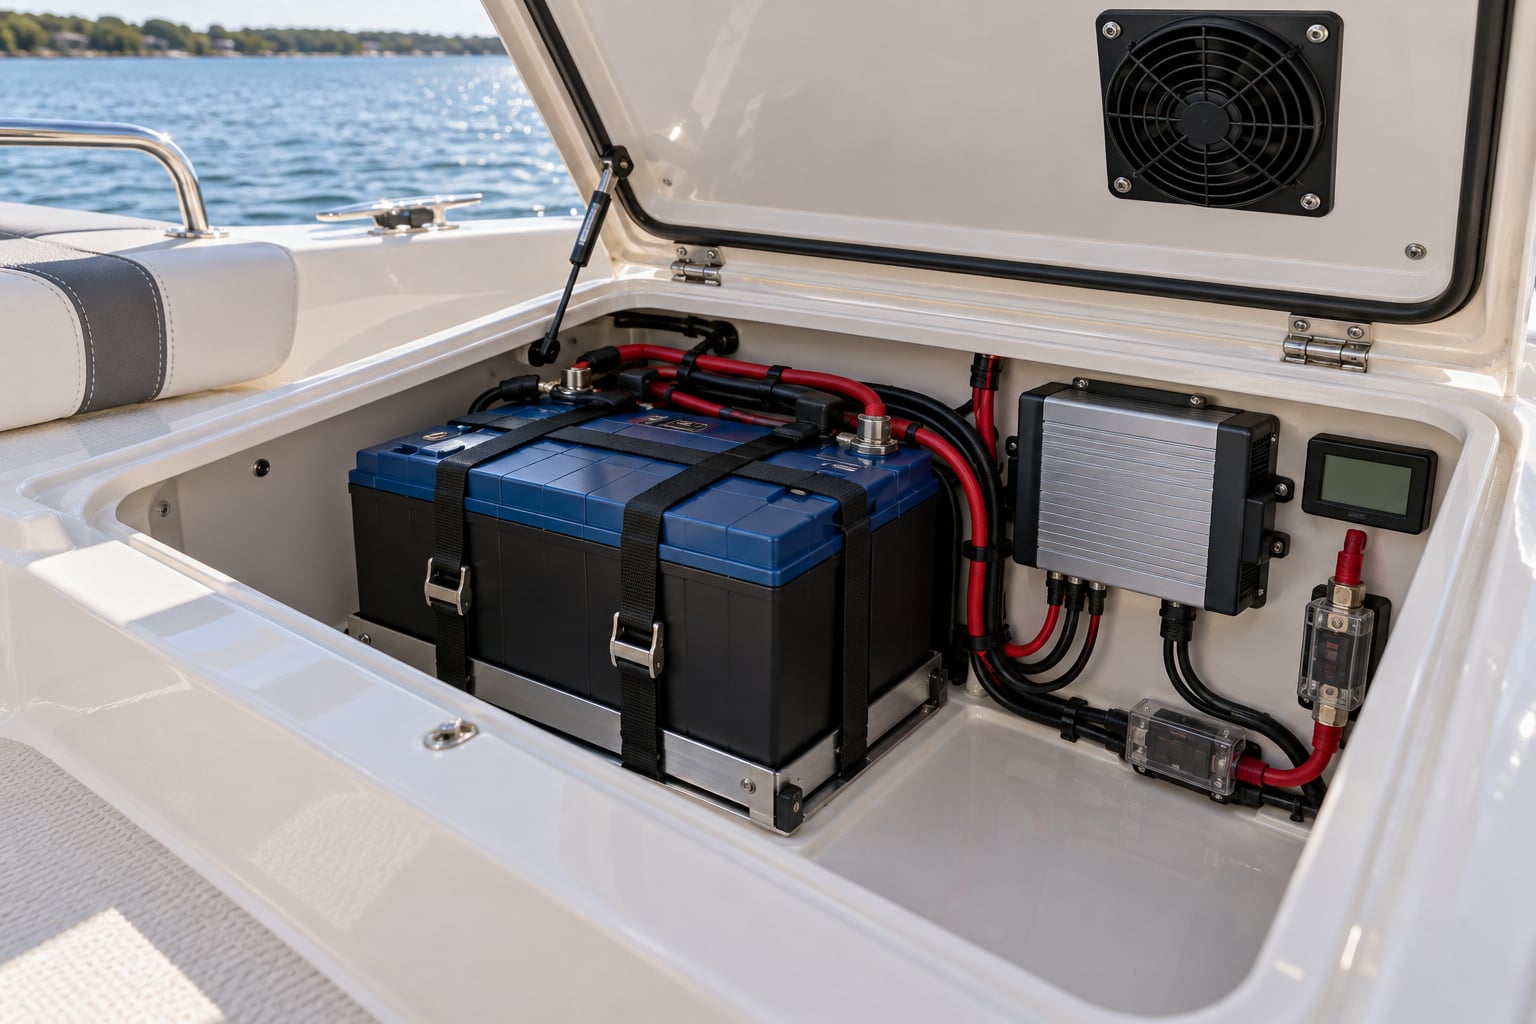
To charge lithium batteries on a boat, confirm the chemistry first — almost all marine packs are LiFePO4 — then run them from a charger with a lithium profile using a constant-current, constant-voltage (CC/CV) curve. Never charge below 32°F (0°C), keep the bank in a ventilated space, and stay with it while it charges. A full charge of a 100Ah bank at 20 amps takes roughly three to six hours.
Most battery problems on boats trace back to a charger that was never asked to speak lithium. A lead-acid profile will trickle along at the wrong voltage and leave a lithium bank chronically undercharged, and a bare alternator connection can do real damage in a few minutes of engine runtime. Getting the charge source right is what turns the chemistry’s long cycle life into something real instead of a brochure number.
Table of Contents
- What You Need
- Step-by-Step: How to Charge Lithium Batteries on a Boat
- Step 1: Confirm the Battery Chemistry and Charge Profile
- Step 2: Inspect the Battery, Charger, and Wiring
- Step 3: Provide a Safe Place to Charge Lithium Batteries on a Boat
- Step 4: Connect the Charger Correctly
- Step 5: Start Charging and Monitor the Battery
- Step 6: Disconnect Safely and Check the Bank
- Common Mistakes
- Frequently Asked Questions
- Conclusion
What You Need
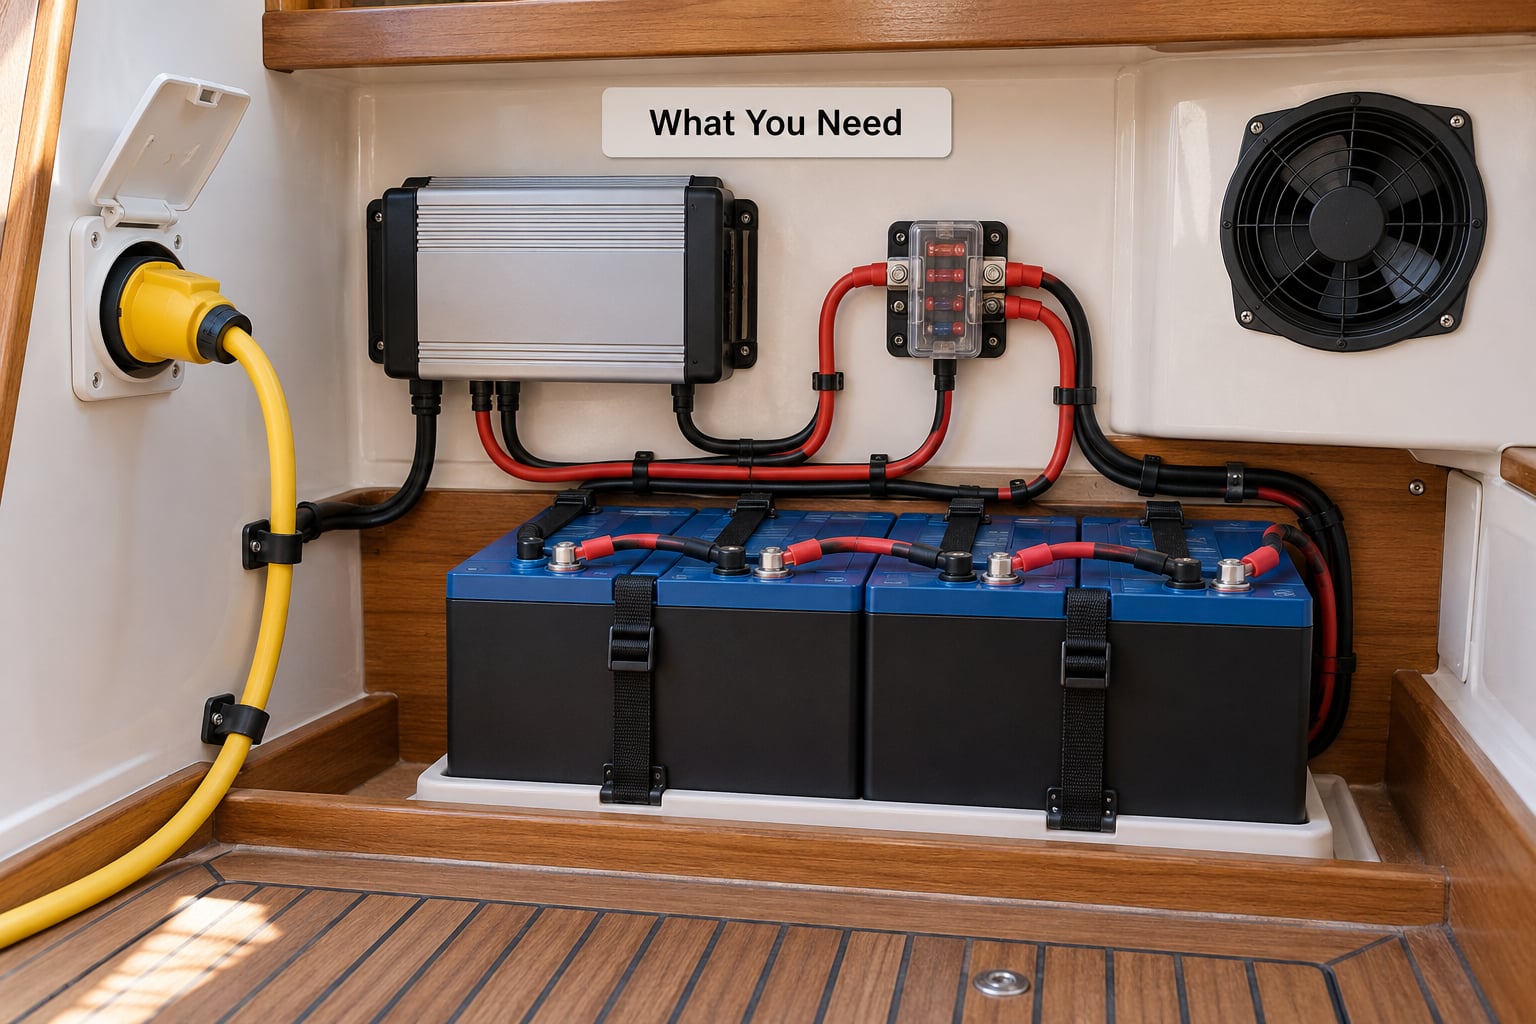
Charge the bank, not just the cells. Before anything gets plugged in, gather the following.
- The battery bank with its datasheet, so you know the nominal voltage, amp-hour rating, chemistry and any parallel-bank limit the manufacturer allows.
- A charger with a LiFePO4 charge profile. Not a label that says “lithium” in passing — check the manual for the actual setpoints.
- Marine-grade cable of the right gauge for the current and the run length, plus terminals you can crimp properly rather than a roll of loose twist-on connectors.
- A fuse or breaker within a few inches of the positive terminal. Every positive lead needs one, including any you add later.
- Ventilation. A compartment hatch, a forced-air fan, or open access to the compartment so gases and heat can move.
- A monitor — a battery monitor with a shunt, a multimeter, or a charger with a display showing voltage, current and stage.
- The manufacturer’s documentation for the battery, the charger, and if you are charging from the engine, your alternator or DC-DC unit.
Matching is straightforward once you read the labels. The charger’s output voltage has to equal the bank’s nominal voltage — a 12V charger on a 12V bank, never a 24V unit on 12V. Current rating is a ceiling rather than a target, so a charger rated above what the bank can safely absorb needs to be turned down or paired with a limiter.
Connector type is the detail that catches people out. Anderson plugs, ring terminals and screw posts all look serviceable and all behave differently under a wet, vibrating environment. Match what the battery already uses rather than adapting with an improvised joint.
Step-by-Step: How to Charge Lithium Batteries on a Boat
The sequence below assumes a LiFePO4 house or trolling bank being charged from a shore-powered smart charger, a DC-DC charger, or an MPPT controller. If your source is something else, the safety steps still apply.
Step 1: Confirm the Battery Chemistry and Charge Profile
Start by identifying the chemistry. LiFePO4, or lithium iron phosphate, is the standard in marine housings and trolling applications. Lithium cobalt, lithium manganese and NMC chemistries turn up in portable electronics and in older packs, and they use different charge voltages — the wrong one is genuinely dangerous.
Read the datasheet and write down three numbers: the charge voltage, the maximum charge current, and the allowed temperature range. For a 12V LiFePO4 bank, the usual charge voltage is 14.4V, though some manufacturers permit 14.6V. The widely used ceiling for charge current is 0.2C, which means a 100Ah bank takes about 20 amps.
Check what your charger actually does. A charger with selectable profiles for flooded, gel and AGM is not automatically lithium-capable, and a “lithium” mode on an older controller may target LiCoO2 rather than LiFePO4. If the manual does not state the LiFePO4 setpoints, treat the charger as unsuitable and replace it rather than guessing.
Step 2: Inspect the Battery, Charger, and Wiring
Look at the bank before you connect anything. Swelling, bulging case sides, weeping electrolyte, a hot terminal or a burnt smell mean the battery is done — do not charge it. On a sealed LiFePO4 pack the case should be flat and the corners square.
Check the wiring for corrosion, frayed insulation under the loom, loose ring terminals and damaged chafe points where cables pass through a frame or a bulkhead. Make sure the terminals are dry and the polarity markings are legible. Any cable you cannot account for in a schematic is a cable you do not want energizing at 30 amps.
Confirm the charger itself is undamaged: intact housing, no scorch marks at the output terminals, no salt corrosion in the vents, no heat damage to the AC lead or the shore-power plug. On a unit that has lived in a damp locker, moisture inside the case is reason enough to stop and get it serviced.
Step 3: Provide a Safe Place to Charge Lithium Batteries on a Boat
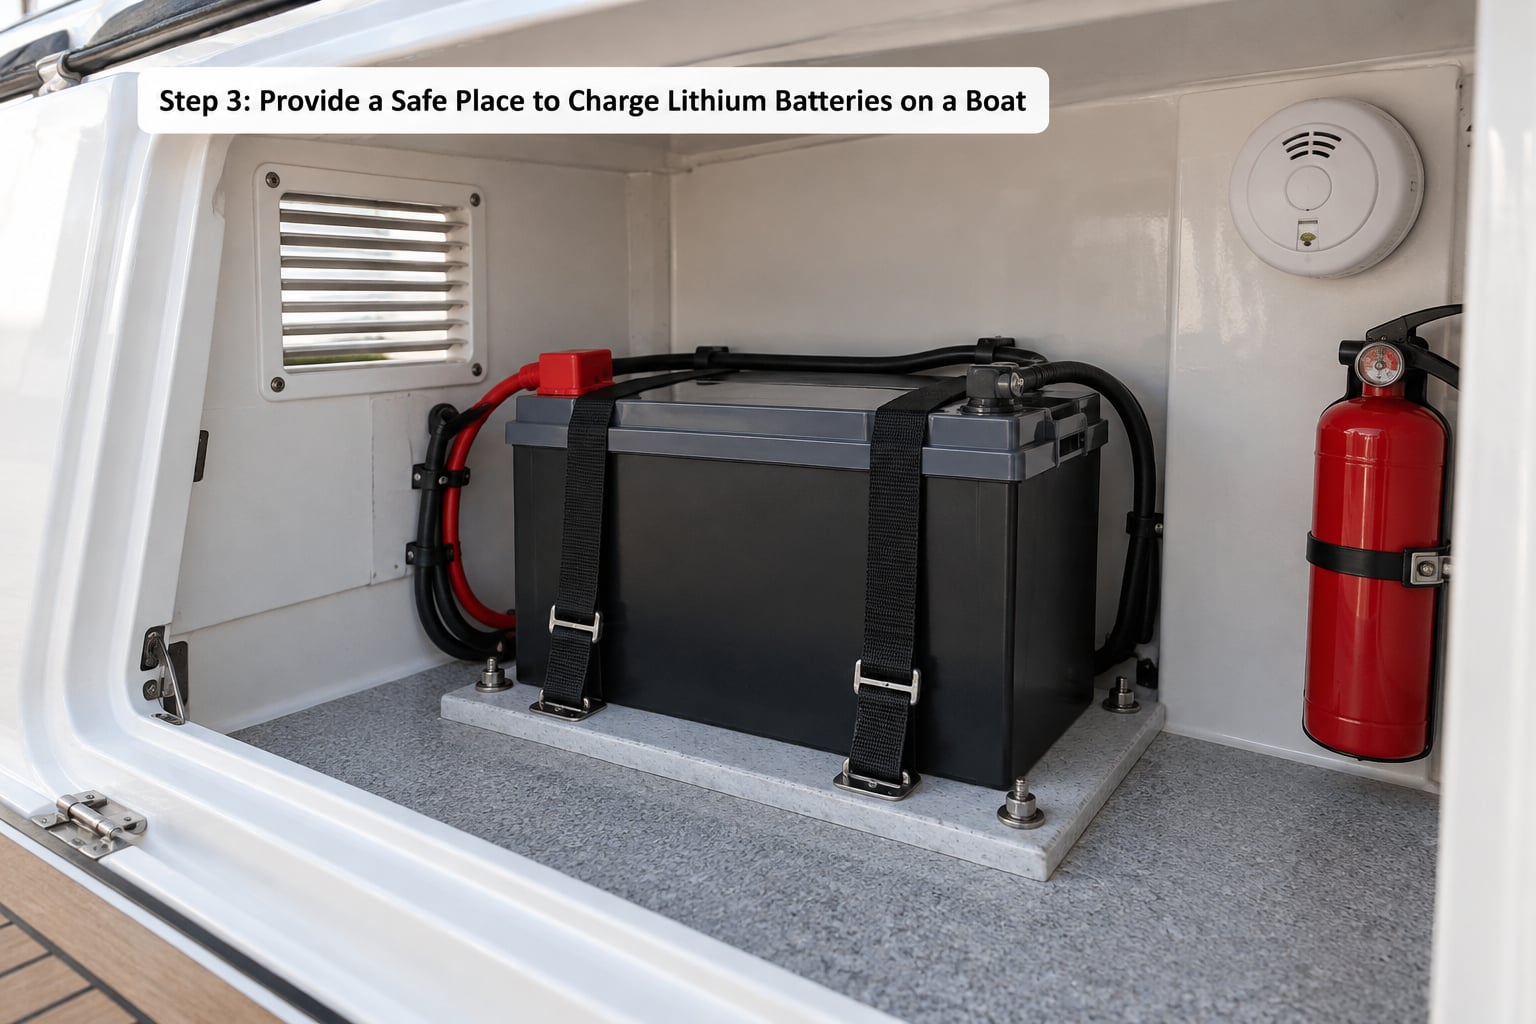
Charge in a dry, ventilated, supervised location. Away from fuel, away from bilge vapors, away from heat sources and away from anything that makes a spark. No direct sun on the bank, and nothing stored next to it that burns easily.
Do not enclose the battery and charger in a sealed compartment. Combustion equipment needs air, and so does a battery that is dissipating heat during the CV stage. On most boats the workable answer is a compartment with a louvred hatch and a thermostatic fan, or simply charging with the hatch open and someone on board.
Never leave charging unattended overnight. LiFePO4 is far more thermally stable than the portable electronics that cause most boat fires, and a well-made bank with a competent BMS is low risk — but “low risk” is not “no risk,” and a charger fault is exactly the sort of thing that announces itself while you are asleep. If nobody is on board, disconnect the charger.
Mount the battery on a noncombustible surface and secure it so it cannot shift with the boat. Fire and Rescue NSW guidance for lithium-ion equipment generalises well here: contain the energy, keep the battery from heat sources, and give it air. The Australian Maritime Safety Authority makes similar points about electrical equipment in enclosed spaces.
Step 4: Connect the Charger Correctly
With the charger switched off and unplugged from shore power, wire it in. Most single-output chargers connect positive to positive and negative to negative; a few multi-bank units want the negative connected first, so follow the terminal diagram rather than assuming. If the charger has an ignition-sense or enable lead, wire it as specified.
Check polarity twice, once before and once after tightening. A reversed connection on a lithium bank is not a nuisance fuse blow — on packs without a reverse-polarity BMS it is a dead battery. Most BMSs do block reverse input, but do not lean on that as your protection.
Confirm the fuse is in place, un-fused or switched off, before you seat the final connection. It belongs within a few inches of the positive terminal, sized to the cable, not to whatever the charger happens to be rated for. Cable runs get the same treatment: marine-grade tinned wire, proper crimps with adhesive-lined heat-shrink, and strain relief so a working anchor does not work a terminal loose.
Watch what you do not do. Do not bypass the factory protection to make a charging problem go away. Do not parallel more packs than the manufacturer allows — four is a common ceiling. Do not extend the run with a domestic extension lead or a roll of household wire. And do not add a second charging source into the same bank without isolating it, because two outputs tied together will fight each other and the loser can be the alternator.
Step 5: Start Charging and Monitor the Battery
Energise the charger, confirm the selected profile reads LiFePO4, set the current to at or below the datasheet maximum, and start. Then watch it rather than walking away.
Expect two visible stages. During bulk, current is steady and rising, which for a 100Ah bank at 20 amps looks like around 4 to 5 hours. During the second stage the charger holds roughly 14.4V and current tapers steadily downward as the bank fills, adding another hour or so. A lithium bank is full when that taper finishes, not when the charger decides a clock ran out. There is no float stage to hold it at the top, because sitting at 13.6V for weeks stresses the cells for no benefit.
Track four things: voltage, current, battery temperature and the charger’s own status light. Roughly 45°F (7°C) or above is the normal cell temperature during charge, and anything approaching 140°F (60°C) at the case means stop immediately.
Several signs mean the charging stops right there: unusual heat rising from the pack, a sharp or chemical smell, hissing or popping from the cells, voltage jumping rather than tapering, or a fault indication on the charger. In any of those cases disconnect at the source, move away from the compartment, and let the battery sit. A lithium fire produces jet-like flame and toxic vapour, and the practical advice from fire services is that extinguishers are often ineffective — the goal is stopping propagation, which is another reason the battery lives in a ventilated, accessible space and not behind cabinetry.
Step 6: Disconnect Safely and Check the Bank
Finish by following the charger’s shutdown sequence rather than yanking cables to see what happens. Most units need the AC side opened first, then a period at no load, then the battery side. Cutting battery current under a heavy charger output is how MOSFETs die in these devices.
Once it is dead, disconnect the negative first and the positive last — reverse of the connection order, and the same reason the sequence exists. Then look at the bank as a whole.
Check that the modules or cells are balanced: at full charge a healthy 12V LiFePO4 bank should sit near 14.4V with each cell inside the pack close to the others. A pack that fills to 13.2V and refuses to go further usually has one weak cell, and a bank whose monitor shows a noticeably different state of charge from its neighbours has a balancing problem worth investigating before it spreads.
Before you reconnect shore power or the engine, make sure you are not creating an uncontrolled parallel path. If the DC-DC charger already links the start bank and house bank, plug nothing else into that pair. The charging system should have one clear source feeding the lithium bank at a time, unless the manufacturer has designed the unit for load sharing.
Common Mistakes
Almost every call I have read about lithium charging comes back to one of these. Each has a straightforward correction.
- Using the existing lead-acid charger. Fix: confirm the manual lists LiFePO4 setpoints, and if not, replace the charger as part of the battery swap.
- Charging in cold weather. Below 32°F (0°C), lithium plating forms on the anode and the damage is largely permanent. Fix: use a self-heating battery, a charger with a low-temperature cutoff, or wait for a warmer window. Repeated sub-zero charging is the single most common self-inflicted failure in cold regions.
- Wiring lithium directly to the alternator. Fix: use a DC-DC charger or a lithium-compatible smart external regulator.
- Ignoring ventilation. Fix: hatch open, fan running, compartment accessible.
- Reversing polarity. Fix: check twice, tighten, then recheck. Some BMSs block reverse input; many cheap ones do not.
- Undersized cable or no fuse. Fix: size cable for the run and the current, fuse within inches of the terminal, crimp and heat-shrink the joints.
- Charging unattended overnight. Fix: charge on a timer switch and tell someone, or unplug when you go below deck.
- Leaving the charger on float forever. Fix: unplug at termination. Lithium does not need a float stage and long float periods waste cycle life.
For maintenance, keep the top surfaces dry and the vents clear, tighten terminals to the manufacturer spec twice a year, and check the monitor’s state of charge against a known reference. Off-season, store at roughly 50 to 80% state of charge in a cool place, top up every couple of months, and disconnect shore power entirely. A bank that reads zero volts after a winter in storage has usually tripped into BMS sleep — the usual fix is a lithium-aware charger on a low current until the BMS wakes, and a pack that still will not wake after that has lost cells.
Frequently Asked Questions
How long does it take to charge a lithium boat battery?
A 100Ah LiFePO4 bank charging at 20 amps takes roughly 4 to 5 hours in bulk plus 1 to 2 hours in the constant-voltage taper, so about 3 to 6 hours in good conditions. A 200Ah bank at the same current needs roughly twice that. The taper is the last quarter of the charge and the slowest part, so cutting a charge short leaves more capacity on the table than the numbers suggest.
Do I need a special charger for a lithium marine battery?
Yes, you need a charger that states LiFePO4 setpoints in its manual — usually 14.4V charge voltage for a 12V bank, no float stage, and a charge current limit around 0.2C. A lead-acid charger undercharges lithium and a pure float setpoint stresses the cells over time. Many multi-chemistry chargers do include a usable lithium profile, so check the manual before buying a replacement.
Can I charge a lithium boat battery with solar panels?
Yes, through an MPPT charge controller set to the LiFePO4 profile. A 100W panel produces roughly 5A to 8A in good sun and much less in overcast conditions, so expect a full 100Ah bank to take several sunny days rather than hours. Size the array to your daily amp-hour deficit, mount it clear of shading, and never connect a panel straight to the battery without a controller.
Is it safe to charge lithium boat batteries overnight at the dock?
Only with supervision or a timer switch. A healthy LiFePO4 bank with a competent BMS is low risk, but a charger fault can develop while you are asleep and the compartment may be full of fuel vapors. The safer pattern is to plug in, confirm the charge has started properly, close the isolation breaker or fit a timed outlet, and check back when you are aboard in the morning.
Can I charge a lithium battery while it powers boat electronics?
Most lithium banks are set up for charging while loads are present, and a shore-powered smart charger or DC-DC unit will simply supply both. Two caveats: keep total draw within the charger’s current budget, since the charge current falls as the load rises, and never add a second charging source into the same bank without isolation. Confirm your charger states whether it supports charging with load applied.
Conclusion
Start with the datasheet, not the charger. Confirm the chemistry is LiFePO4, note the charge voltage, the current ceiling and the temperature limits, and match your charging equipment to those three numbers before anything is plugged in.
Everything after that is discipline: a fuse at the terminal, cable sized for the run, a ventilated compartment, and someone watching while the charge runs. Charge only above 32°F, unplug when the taper finishes, and inspect the bank on a regular schedule. Get those right and charging lithium batteries on a boat stops being the part of the system you worry about.