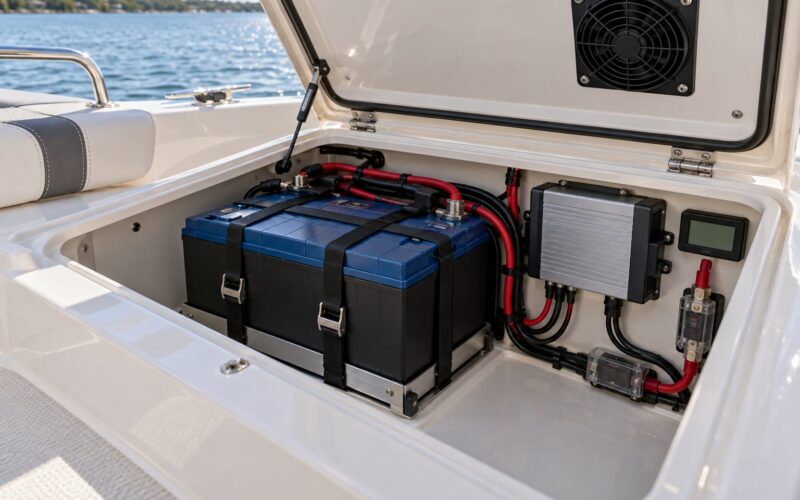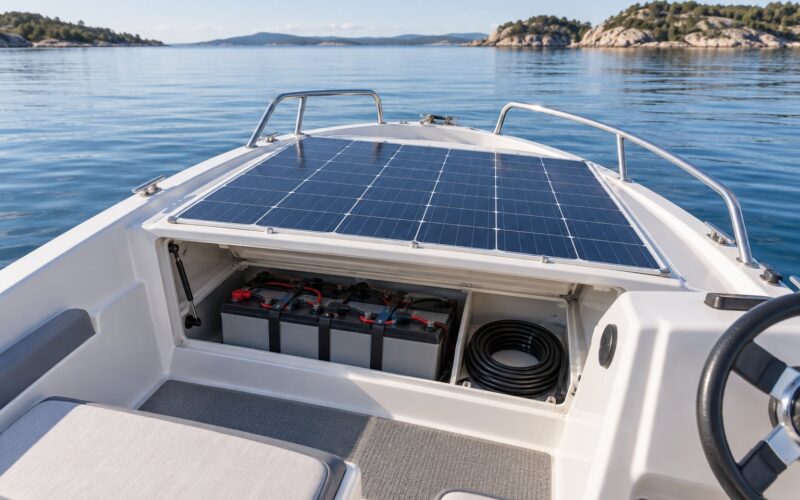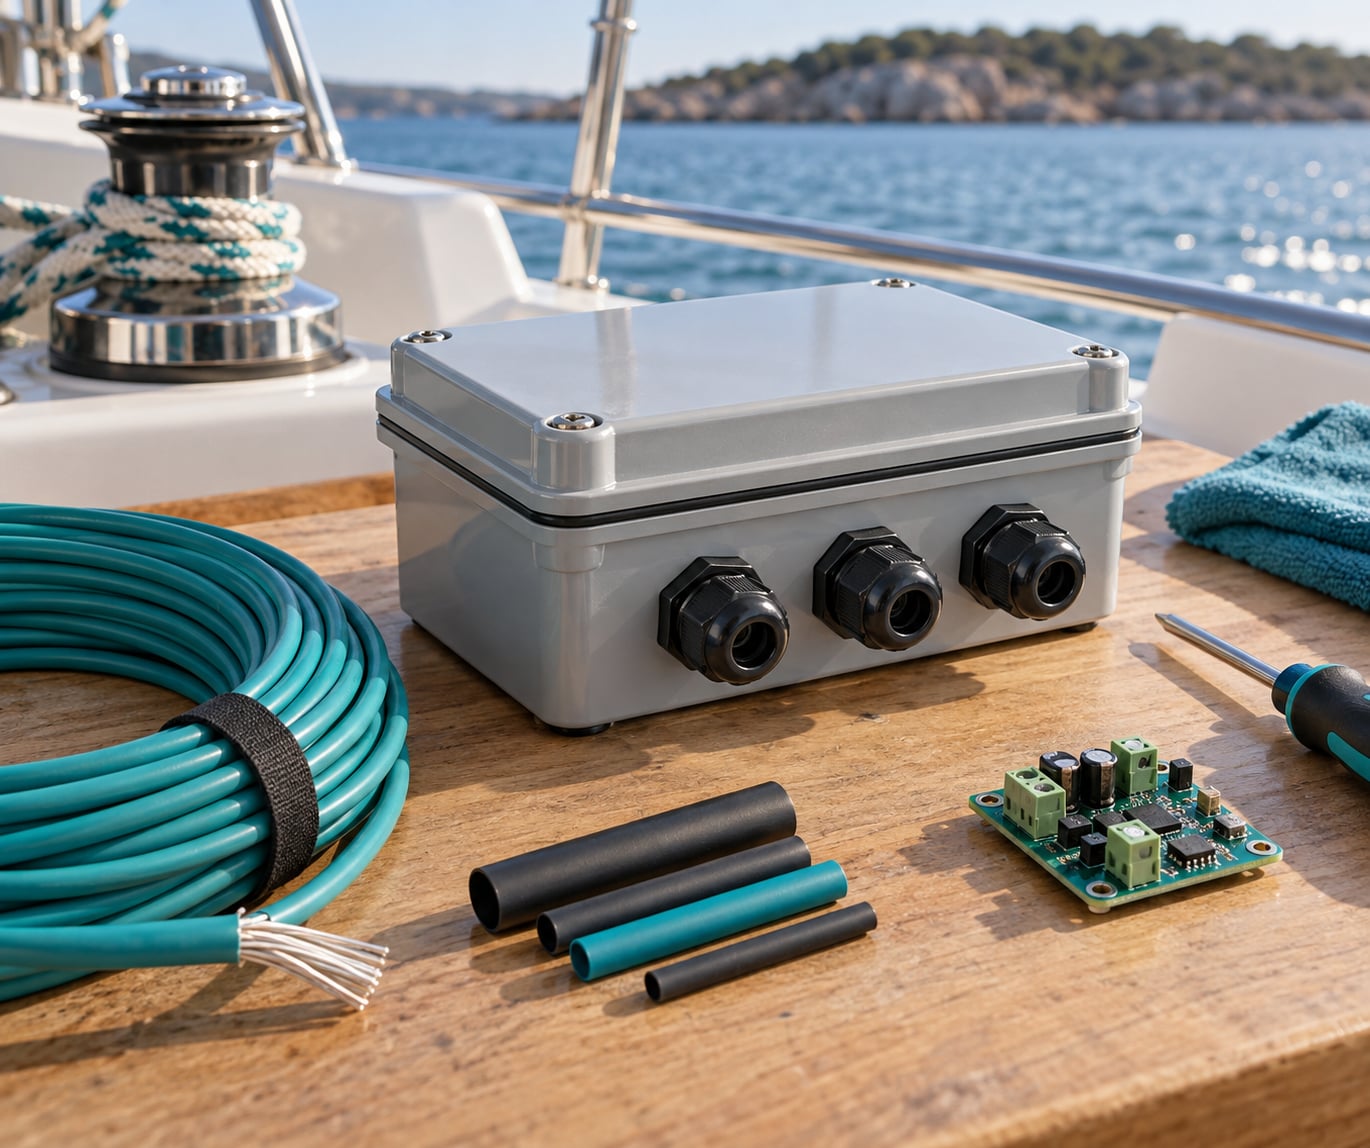
How to waterproof electronics for marine use comes down to three layers working together: a correctly rated enclosure with sealed cable entries, a board treatment such as potting compound or conformal coating, and properly sealed connectors. One of the three is never enough, because salt water and trapped condensation will find the weakest layer you left out. Budget a weekend for a sensor node and most of a day for a junction box.
Before anything else, the correction that saves the most money: conformal coating is not waterproof. It is a semi-permeable moisture barrier, roughly 25 to 127 microns thick, that slows water vapour and contamination on a bare board. It will not survive immersion on its own. If you have read that a coat of spray makes a circuit board waterproof, that is where most marine failures start.
Table of Contents
- What You Need
- Step-by-Step: How to Waterproof Electronics for Marine Use
- Common Mistakes
- Frequently Asked Questions
- Can I waterproof any electronics enclosure for marine use?
- Do I need conformal coating if the electronics are inside a waterproof enclosure?
- How do I waterproof wires and cable entries without weakening the enclosure seal?
- Is an IP67 enclosure suitable for a boat or ocean drone?
- How should I test a marine electronics enclosure before putting it in the water?
- What maintenance does a waterproof marine electronics assembly need?
- Conclusion
What You Need
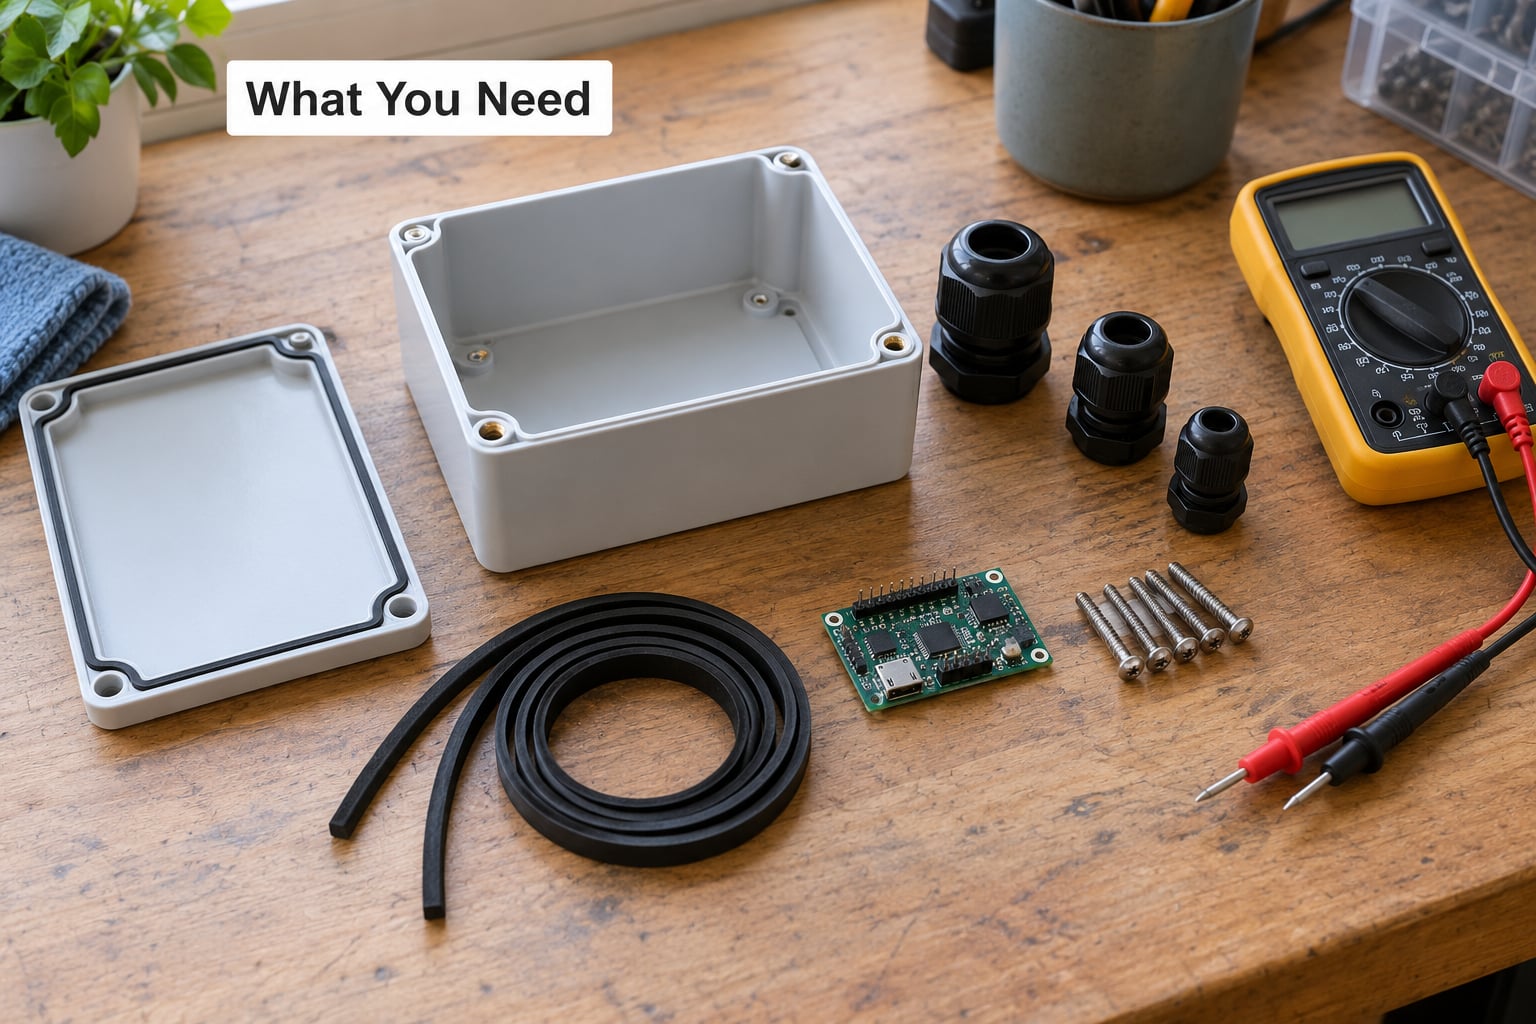
Most of the list is consumable, and you can buy all of it from an electronics supplier without a special order. The one part worth getting right first is the enclosure.
Enclosure and fasteners
A polycarbonate or fibreglass ABS box with a gasket, or a pressure-rated housing with a proper O-ring face seal. Pick the ingress rating to match the exposure rather than the price tag, using the table further down. Stainless steel or marine-grade bronze fasteners, not plated steel, and a size that matches the enclosure’s bosses so you are not forcing a screw into a raised hole.
Sealing
Gasket strips or O-rings supplied with the enclosure, marine-grade silicone sealant rated for below-water use, and thread compound for threaded entries. Household kitchen silicone is the wrong material. It is not rated for continuous submersion, and it peels away from the joint under vibration and thermal cycling, which is exactly what a hull or a ROV thruster does to it.
Coating and potting materials
A conformal coating such as MG Chemicals 422B acrylic, Chemtronics Konform, or Krylon 658 silicone, plus masking tape and a solvent for cleaning. For potting, Loctite 3160 epoxy or a polyurethane compound. A corrosion inhibitor such as Corrosion-X is useful on connectors, though it is a preservative, not a seal.
Connectors and cable
Tinned copper marine wire, heat-shrink tubing with an adhesive liner, cable glands sized to your cable diameter, crimp contacts with proper open-barrel or ferrule terminations, and dielectric grease. Marine connectors with a positive lock beat a spliced joint every time.
Moisture control and test gear
Desiccant packs or a breather valve, a small humidity indicator card, a multimeter, and a bucket or tank for a soak test. Add a borescope or a small camera for inspecting a sealed assembly later, which is cheaper than pulling the whole thing apart.
Step-by-Step: How to Waterproof Electronics for Marine Use
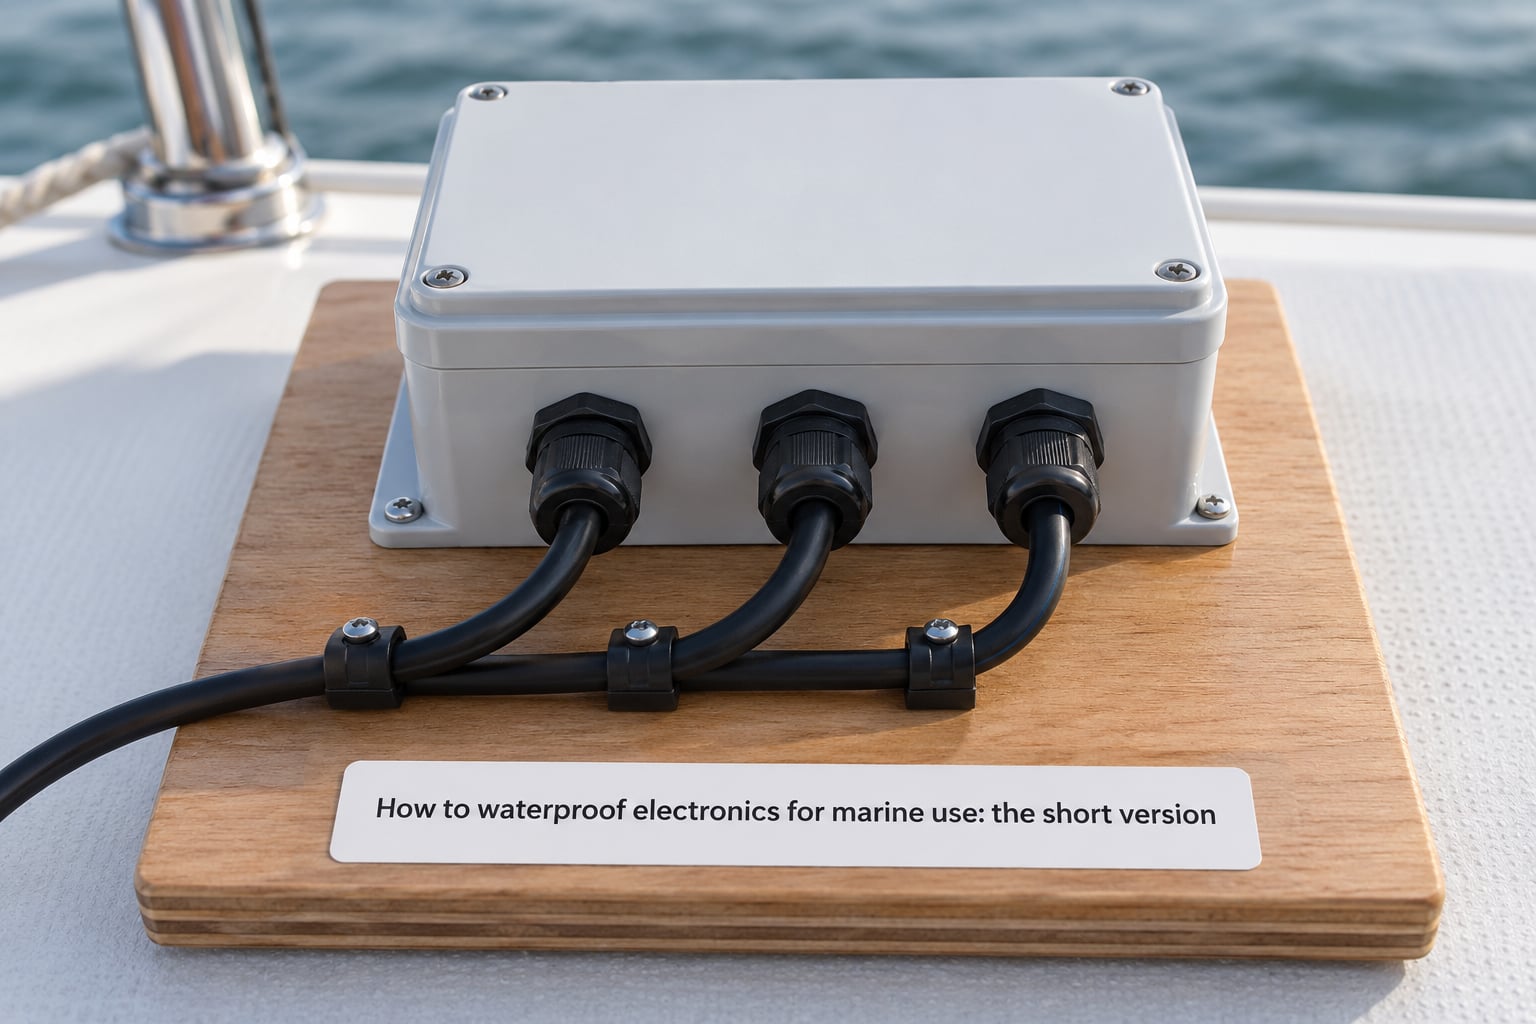
How to waterproof electronics for marine use: the short version
Define the exposure. Choose the enclosure rating. Dry and inspect the board. Coat or pot it. Seal the cable entries. Fit strain relief. Torque the lid evenly. Soak-test the finished assembly. Log the configuration. Inspect after every deployment.
That list only works if each step is judged against a pass criterion, which is what the rest of this section gives you.
1. Define the marine exposure and choose an enclosure
Write down the actual conditions before shopping. Splash zone on a console is a different problem from a permanently submerged pressure housing on a float, and a bilge that floods once a year is not the same as an engine bay that heats to 80 C in the afternoon. Note salt spray exposure, UV, vibration, thermal cycling, and the depth and duration of any immersion.
Then match the conditions to a rating. IP67 is the common working choice for splash and temporary immersion: dust-tight and protected against immersion in one metre for 30 minutes. IP68 is the continuous immersion rating, but the number after it varies between manufacturers, so read what the depth and time actually are. A gasket compression set, an aged O-ring, or a cable gland torqued wrong can all void the rating, which is why a rating is a specification and not a guarantee.
| Rating | What it means | Where it fits on a boat |
|---|---|---|
| IP65 | Dust-tight, protected against water jets | Dry compartments and console-mounted instruments only. Not a splash-zone choice on its own. |
| IP66 | Dust-tight, protected against powerful water jets | Deck instrument cases and exposed junction boxes in a washdown environment. |
| IP67 | Dust-tight, immersion in 1 m for 30 minutes | Bilge, hull low points, splash zones, and any sensor that gets dunked but not left down. |
| IP68 | Dust-tight, continuous immersion to a stated depth | ROV and AUV housings, shaft-mounted transducers, permanently submerged floats. Check the stated depth and time. |
| NEMA 4X | Corrosion-resistant, dust and water ingress | Useful shorthand for salt and washdown duty. Pair it with a real IP figure for immersion. |
Materials matter as much as the rating. Polycarbonate is tough and transparent, which helps you spot a leak, but it scratches and can be attacked by some solvent cleaners. Anodised aluminium handles heat and impact well and gives you a solid ground point, at the cost of weight and of galvanic pairing against every other metal in the box.
2. Prepare the electronics and enclosure
Work on a clean, dry bench with the board still unpowered. Inspect first: look for cracked solder joints, lifted pads, and any pin that will touch the case when the board goes in. Fix those before you coat anything, because a joint you cannot see is a joint you cannot diagnose later.
Clean the board properly. Isopropyl alcohol at 90 percent or better, a soft brush, and patience. Then apply the board treatment. If you are potting, mask off connectors, buttons, antennas, and pressure ports with a good gasket tape, mix the compound to the manufacturer’s ratio, degas if you can, and cure it fully. If you are coating, the same masking applies, spray from about 20 cm in thin passes, and follow the full cure schedule before you flood, sink, or soak it.
What you must not coat: connectors and their pins, tactile switches and buttons, antennas and any RF window, pressure sensor ports, microphone or sensor openings, and heat sinks. Coating a connector is the single most common self-inflicted failure reported on r/diydrones and arrmaforum threads, and coating an antenna can detune it right out of specification.
Keep the interior bone dry before sealing. A gasket seals two dry surfaces. If condensation is already on the lid, wipe it down and let the assembly sit overnight before you close it.
3. Install components, seals, and strain relief
Mount the board on standoffs so vibration cannot flex it against a sharp edge, and keep metal hardware away from exposed traces. A screw head a fraction too long is enough to short a rail, so check clearance with the board powered off and a meter on continuity.
Fit the gasket or O-ring evenly. Seat it flat, clean, and uncompressed in its channel. Never roll it into place and never push it in with the lid at an angle, because a pinched ring will pass a visual check and still leak. The lid should close with a visible, even compression line all the way around.
Route cables so that a tug on the loom pulls on nothing. Adhesive-lined heat-shrink over the cable jacket, a bonded strain-relief clamp, or a P-clam inside the box, all of them better than a wire held only by the solder joint. This is the failure point boat owners on r/boating and boatdesign.net name far more often than the instrument face itself.
At the entry itself, use a cable gland of the correct size for the cable diameter, or a grommet plus sealant if the design calls for it. Never leave a hole in an enclosure filled with a blob of sealant as the primary seal.
Watch the metals. Inside a damp sealed box, dissimilar metals sitting in contact electrolytically corrode each other fast, and you get galvanic corrosion whether or not the water came from the sea. Keep one metal as the reference for contact, isolate the rest with nylon washers or standoffs, and if you must bond to the case for shielding, make it a single point and make it deliberate.
4. Close and pressure-test the assembly
Close the lid, then tighten the fasteners in a star pattern in stages rather than snugging each one fully in turn. Even, incremental torque is what keeps gasket compression uniform, and overtightening cracks the enclosure or flattens the gasket into a leak path. Torque-sensitive housings have a specified value; use it.
Test before the boat goes in the water. A repeatable home protocol: run the assembly for an hour on the bench and record current draw, submerse it in fresh water for 24 hours, then repeat in a saltwater solution mixed at roughly the salinity of seawater for 24 to 72 hours, checking at 24 and 72 hours. Log insulation resistance or at minimum confirm there is no leakage to the case and no drift on the sensor readings. Open the box after the soak, look for water, look for a fogged lens or a damp desiccant, and dry everything before you close it again.
Add a thermal cycle: cold storage then a hot soak, repeated a few times, because seals that pass a static test can fail at the transition. Reject the assembly if there is any water inside, any corrosion bloom, or any reading drift beyond your tolerance. A failed test is cheap information. Salt water inside an ESP32 or Arduino node that failed in the bilge is an expensive lesson, and a coated board that reads 2 percent high is a bug you want to find on a workbench.
5. Deploy, document, and maintain it
Commission in stages: bench first, then dock power, then a controlled first trip in protected water, then open water. Each stage is a chance to see an effect that would be invisible in a lab. The video SERP for this topic is almost entirely ROV and RC build footage, which tells you the community checks these assemblies in the water on purpose rather than waiting for a season to find out.
Put a humidity indicator card and fresh desiccant inside, and decide in advance whether you are running a desiccant and a fully sealed box, or a breather valve and a box that can breathe. A breather valve lets pressure equalise so a sealed box does not pump moisture in and out on every temperature swing, which is a common cause of internal condensation in boats. If you go fully sealed, desiccant and periodic replacement become part of the service interval.
Write down the configuration: enclosure part, rating, gland torque, coating and thickness, test dates, and results. If you rebuild, you start from known-good documentation instead of guessing. Then inspect after every deployment, checking the seals, the cable entries, and any corrosion on exposed metal.
Common Mistakes
Almost every saltwater failure traces back to one of these, and most of them are cheap to avoid.
Relying on coating alone. Conformal coating is a semi-permeable barrier that protects a board from moisture and contaminants, not from immersion. The fix is to treat the coating as layer three, on top of a sealed enclosure and properly terminated connectors.
Using household silicone. Kitchen and bathroom sealant is not rated for continuous submersion and peels off under vibration and thermal cycling. Use a silicone or sealant rated for below-water service, and treat it as a secondary aid to the mechanical seal rather than the seal itself.
Pinching or misaligning the gasket. A rolled or pinched O-ring looks fine until it leaks. Seat it flat in a clean channel, close the lid straight on, and confirm an even compression line before tightening.
Leaving a cable entry unfinished. A hole with a bead of sealant around the wire is the weakest point in the whole build, and it is where most field failures start. Use a correctly sized gland and a bonded strain relief, and pull-test the cable gently by hand after assembly.
Overtightening the screws. Excess torque cracks the housing or crushes the gasket out of shape, turning a good seal into a bad one. Tighten in stages, in a star pattern, to the specified value.
Ignoring condensation. A sealed box in a warm humid bilge can produce internal moisture with no water ever entering. Use a desiccant and indicator card, or a breather valve, and remember that a trapped-air box pumps vapour in and out as the temperature swings.
Potting something you may need to repair. Potting removes the air and the moisture, and it also removes the evidence. A potted board that fails is usually scrapped rather than diagnosed, which is the trade-off people on r/electronics and quora threads describe most plainly. Pot the parts that fail often, and leave a serviceable architecture around them.
Coating connectors, buttons, and antennas. Mask them out. A coated connector is an unreliable connector, a coated button may not press, and a coating over an antenna window changes the tune.
Skipping the test and the notes. Untested assemblies fail at sea where nobody can reach them, and undocumented builds get rebuilt from scratch on the next failure. Soak-test, and write down what you did.
Frequently Asked Questions
Can I waterproof any electronics enclosure for marine use?
No. Household plastic boxes, project boxes, and consumer plastic housings are not rated for salt spray or immersion, and the salt crystallises in the moulded seams and screw bosses. Marine adhesive seals from bathroom and kitchen shelves are not continuous-immersion materials either. Start with an enclosure that carries a published ingress rating, and choose the fasteners, glands, and gasket to match it. Adding sealant around a seam of an unrated box improves nothing you can rely on.
Do I need conformal coating if the electronics are inside a waterproof enclosure?
Usually yes, as a third layer rather than a first. A rated enclosure plus sealed cable entries stops bulk water, but vapour still moves through the box and condenses on cooler surfaces during temperature swings. Coating a clean, masked board slows that moisture reaching the copper and reduces the risk of electrochemical migration between biased contacts. It is not a waterproof seal on its own, so treat it as insurance inside the enclosure, not as a substitute for it.
How do I waterproof wires and cable entries without weakening the enclosure seal?
Use a cable gland matched to the cable diameter, or a grommet designed for the panel thickness, and let that part of the assembly do the sealing. Terminate the wire inside with a crimp or soldered joint covered by adhesive-lined heat-shrink, add a bonded strain-relief clamp inside, and tighten the gland to its specified value. Sealant is a backup around the outside of the gland, not the primary barrier. Pull the cable gently after assembly to confirm the entry carries the load, not the wire.
Is an IP67 enclosure suitable for a boat or ocean drone?
For splash zones, bilges, hull low points, and a sensor that gets dunked but not left down, IP67 is the workhorse rating. It covers dust-tight sealing and immersion in one metre for 30 minutes. For a permanently submerged housing on an ROV, AUV, or float, you want IP68 with a stated depth and duration, plus a pressure-rated face seal. Either way the rating only holds if the gasket, glands, and torque are right, so keep the sealing hardware untouched in service.
How should I test a marine electronics enclosure before putting it in the water?
Run the assembly on the bench for an hour and log current and readings, then soak it in fresh water for 24 hours. Repeat in a solution mixed to roughly seawater salinity for 24 to 72 hours and check at 24 and 72. Confirm there is no leakage to the case and no reading drift, then open the box and look for water, a fogged lens, or a damp desiccant. A thermal cycle from cold storage to a hot soak exposes seals that a static test misses.
What maintenance does a waterproof marine electronics assembly need?
Inspect it after every deployment, not once a year. Look at the gasket line for movement, check the glands and cable entries for seepage, and look for corrosion on exposed metal and connectors. Replace the desiccant and read the humidity indicator card each time you open the box, and check the seal surfaces for abrasion or set. Keep the torque value in your notes, and log every result. Salt and vibration are slow problems, and the damage accumulates well before a symptom shows up.
Conclusion
If you do one thing differently, choose the enclosure for the exposure you will actually have rather than the one that is easiest to find, then treat the sealing system as something you do not undo. Once the cables, board treatment, and glands are in place, the assembly is finished and should stay finished.
Test the complete unit on a workbench before it goes anywhere near salt water, and inspect it after every deployment. That is the whole of how to waterproof electronics for marine use: correct rating, preserved seal, verified board, and a maintenance habit. No coating, sealant, or enclosure on its own carries a marine build, and the ones that fail usually failed at a cable entry or a connector rather than at the instrument face.