An autonomous sailboat is a small robotic vessel with a sail, a rudder, a sensor suite and an onboard autopilot that steers itself to waypoints with nobody at the helm. Learning how to build an autonomous sailboat for beginners is mostly a matter of keeping the boat simple: a one-metre plywood sharpie hull, two servos, a GNSS module, a wind sensor and a single-board computer will sail a short lake circuit on the first afternoon you test it in open water.
The hard part is not the code. It is making a hull that stays dry, keeping magnetic clutter away from the compass, and sticking to a staged test plan so you find out about a leak before the boat is a kilometre from shore.
Table of Contents
- What You Need
- Step-by-Step
- Common Mistakes
- Frequently Asked Questions
- What size sailboat is best for a beginner autonomous project?
- Do I need to know how to code to build an autonomous sailboat?
- Which sensors are essential for autonomous sailing?
- How much battery power does a small autonomous sailboat need?
- Can an autonomous sailboat operate without GPS?
- How should beginners test an autonomous sailboat safely?
- Where to Start This Weekend
What You Need
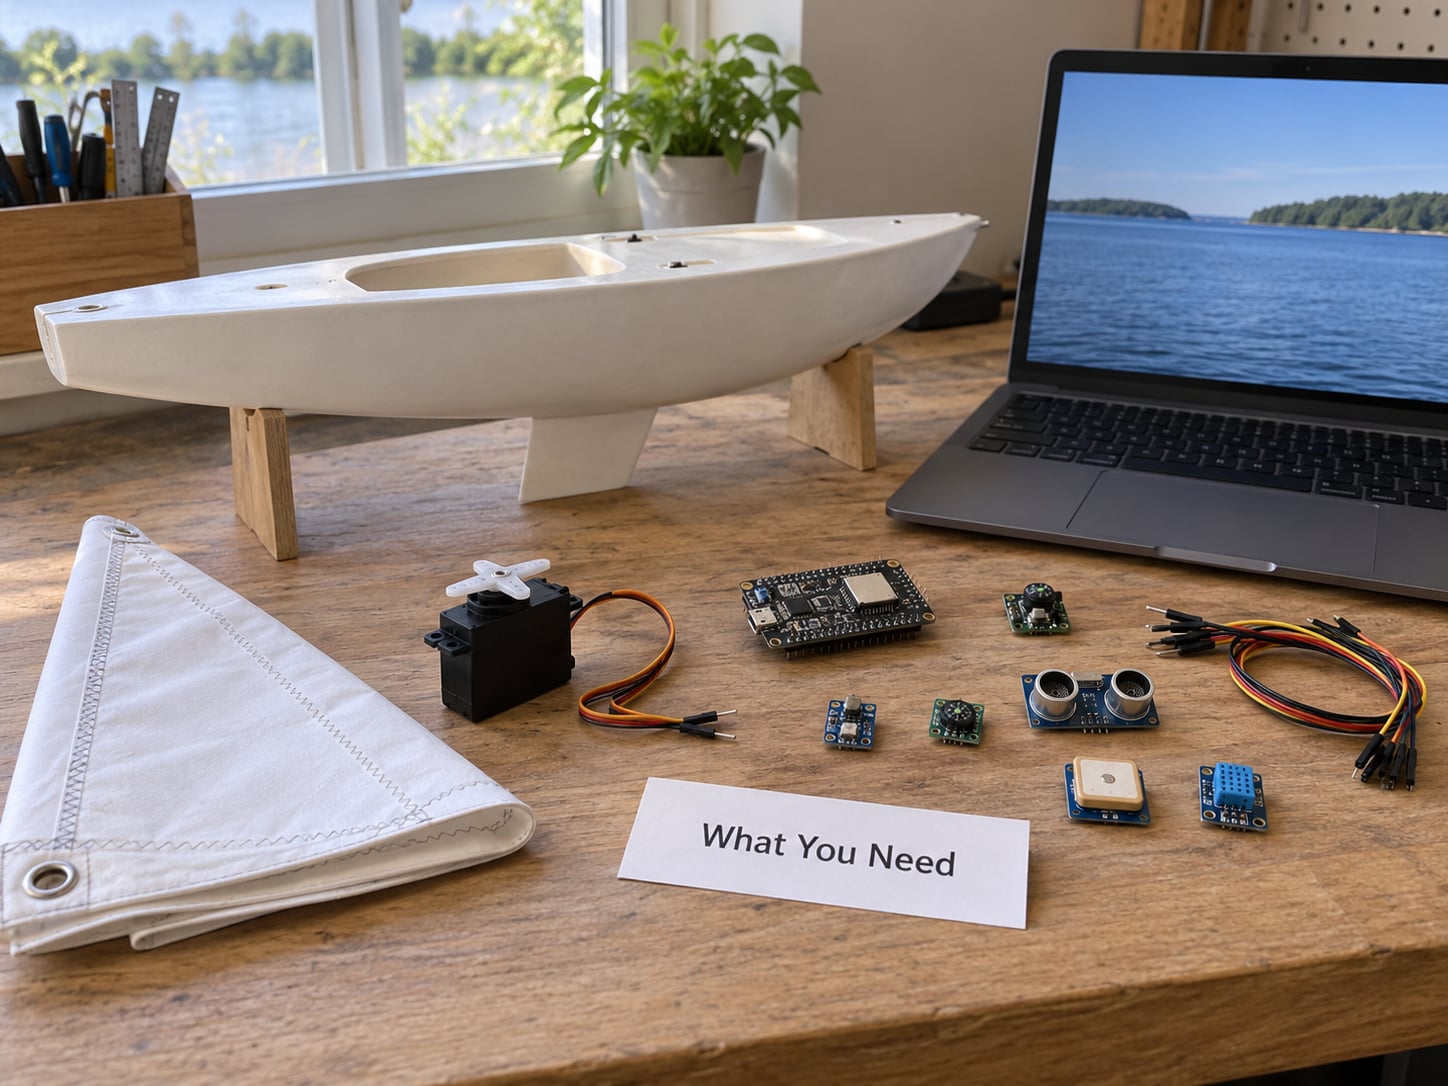
Work through the list below and you have a complete boat. Buy nothing more until the hull floats and sails under radio control, because every extra actuator is another thing that can bind in salt water.
Hull and rig. A displacement monohull around 1 to 1.2 m long, flat-bottomed with hard chines, built from 3 mm plywood, or a foam block carved to the same shape. Sail area matters more than anything else: begin with roughly 0.25 square metres of mainsail on a rig you can trim by hand, and a freestanding mast so you can skip rigging wire and turnbuckles.
Steering and sail handling. One rudder servo and one sail servo (or a small winch with a servo) are enough for a first build. Standard hobby servos in the 20 to 40 kg torque range handle a boat this size, as long as the load is on the horn arm and not on the spline.
Propulsion. Sail only for the first version. A sailboat that can motor is far easier to recover from a bad tack than one that depends entirely on wind, so if your mission needs station keeping in light air, add a small brushless motor and propeller later.
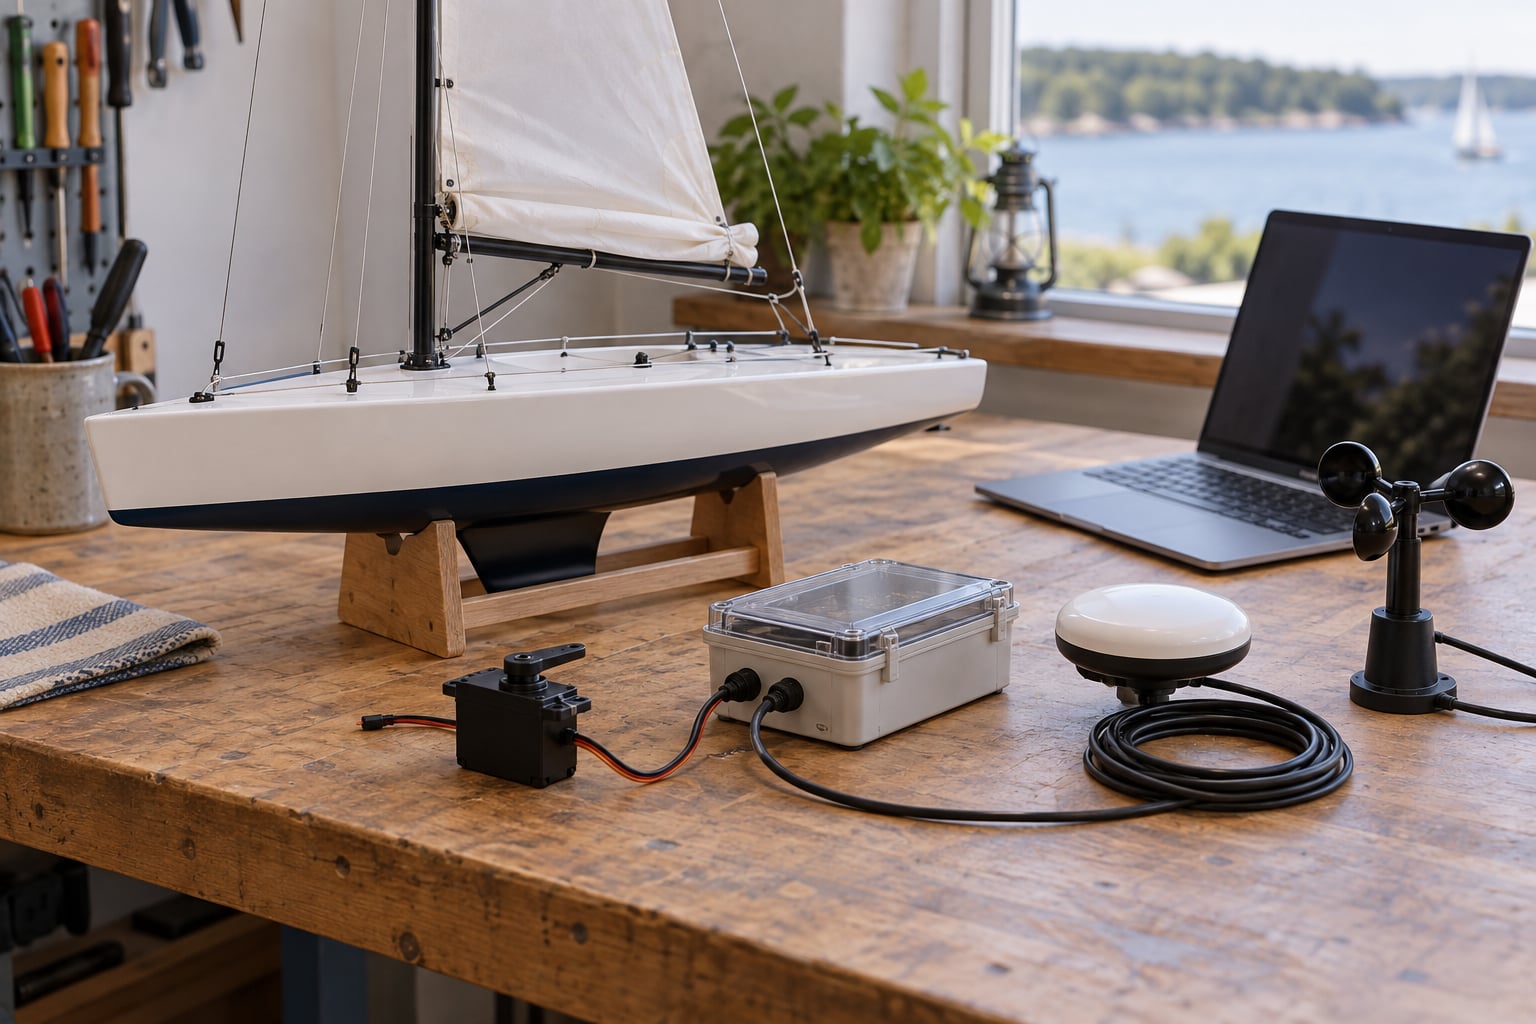
Sensing. A GNSS receiver with an antenna that sees sky, a magnetometer and accelerometer, and an anemometer on a short mast at the stern. Optional but useful: water ingress, temperature, pressure and a light sensor to detect a capsized boat.
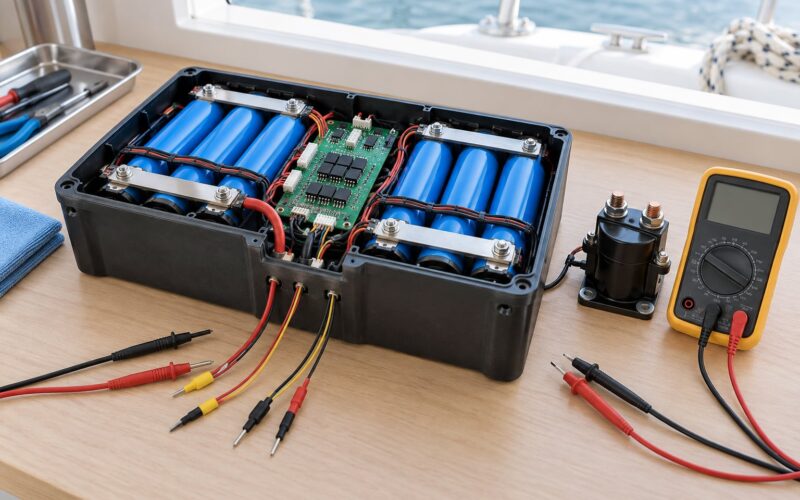
Control and power. A Raspberry Pi or similar single-board computer, an Arduino-class microcontroller for real-time servo pulses, a 3-cell LiFe pack or a sealed AGM battery, a buck converter for 5 V rails, marine-grade connectors, and a hardware watchdog. The microcontroller and the computer are not redundant: the microcontroller keeps the rudder holding a steady angle even if the higher-level program hangs.
Communication and safety. An RC receiver for manual override, a telemetry radio, a physical power switch reachable from the dock, and a latching means of recovery (a lifting eye or a bailer line) that does not depend on any electronics working.
The numbers below come from design guidance published by robotic sailing teams and are worth keeping in your notebook while you draw the hull.
| Design rule of thumb | Beginner value | Why it matters |
|---|---|---|
| Rudder area | 5 to 10 percent of sail area | Too small and the boat cannot hold a course in gusts |
| Keel (or centreboard) area | Around 4 percent of sail area | Supplies the side force that stops leeway |
| Length to beam ratio | 4 to 5 | Below 4 the hull is tender and easily swamped |
| Freeboard at the bow | At least 6 inches | Keeps the bow from burying in a wave |
| Freeboard at the stern | At least 4 inches | Holds reserve buoyancy when the boat is heeled |
| Hull speed | About 1.34 x the square root of waterline length in feet, in knots | Sets the realistic speed ceiling for a displacement hull |
If you want to reuse something rather than build a hull, a plastic kayak or sit-on-top hull with solid deck fittings is a legitimate shortcut. It trades some speed and sail carrying ability for a boat that is watertight on day one, which is a good trade for a first build.
Step-by-Step
The order below is deliberate. Each stage assumes the one before it works, and the boat stays under radio control until step five.
1. Choose a Stable Beginner Hull
Pick a hull you can launch, lift and carry alone. Boats up to about 20 kg can be handled by one person from a dock, and that limit will shape your whole project more than any other single decision.
For a first prototype, a flat-bottom sharpie built stitch-and-glue from 3 mm plywood works well: three station forms, chine logs and sheer clamps, then a layer of glass cloth and epoxy inside and out. A concrete example is a 1 m hull carrying about 6 kg of electronics, battery and rigging, with roughly 0.25 square metres of sail.
Leave the deck open while you build and fit a proper deck hatch later, and make sure the hull has hard points for the rudder shaft tube, keel and mast. Confirm the freeboard numbers above before you cut anything, and check that the boat floats with a passenger-equivalent load before you install a single wire.
2. Install the Sail and Steering System
Fit the mast first, in the longitudinal centre of the boat, and keep it as light as you can. A heavy mast raises the centre of gravity and turns a stable hull into a wet one in a gust; many first builds suffer entirely from this.
Mount the rudder servo on a sealed box inside the hull, driving the rudder through a short pushrod with a linkage arm at the servo horn. Test the full servo travel with the rig removed, checking that the rudder reaches its stops smoothly without the servo stalling or the linkage binding at either extreme.
Then add the sail mechanism. The simplest reliable arrangement is a servo-driven boom that swings across the stern, with the mainsail attached by a simple sheet. Fit a wind vane or sail-angle sensor on the same mast and confirm the linkage moves freely through its whole range on the bench.
How it worked out for most teams, per the SailBot design notes: sail the boat under RC for several hours before any autonomous code runs, and fix whatever the manual sailing exposes. A boat that is hard to sail by hand will be worse under autopilot.
3. Add Power, Electronics, and Environmental Sensors
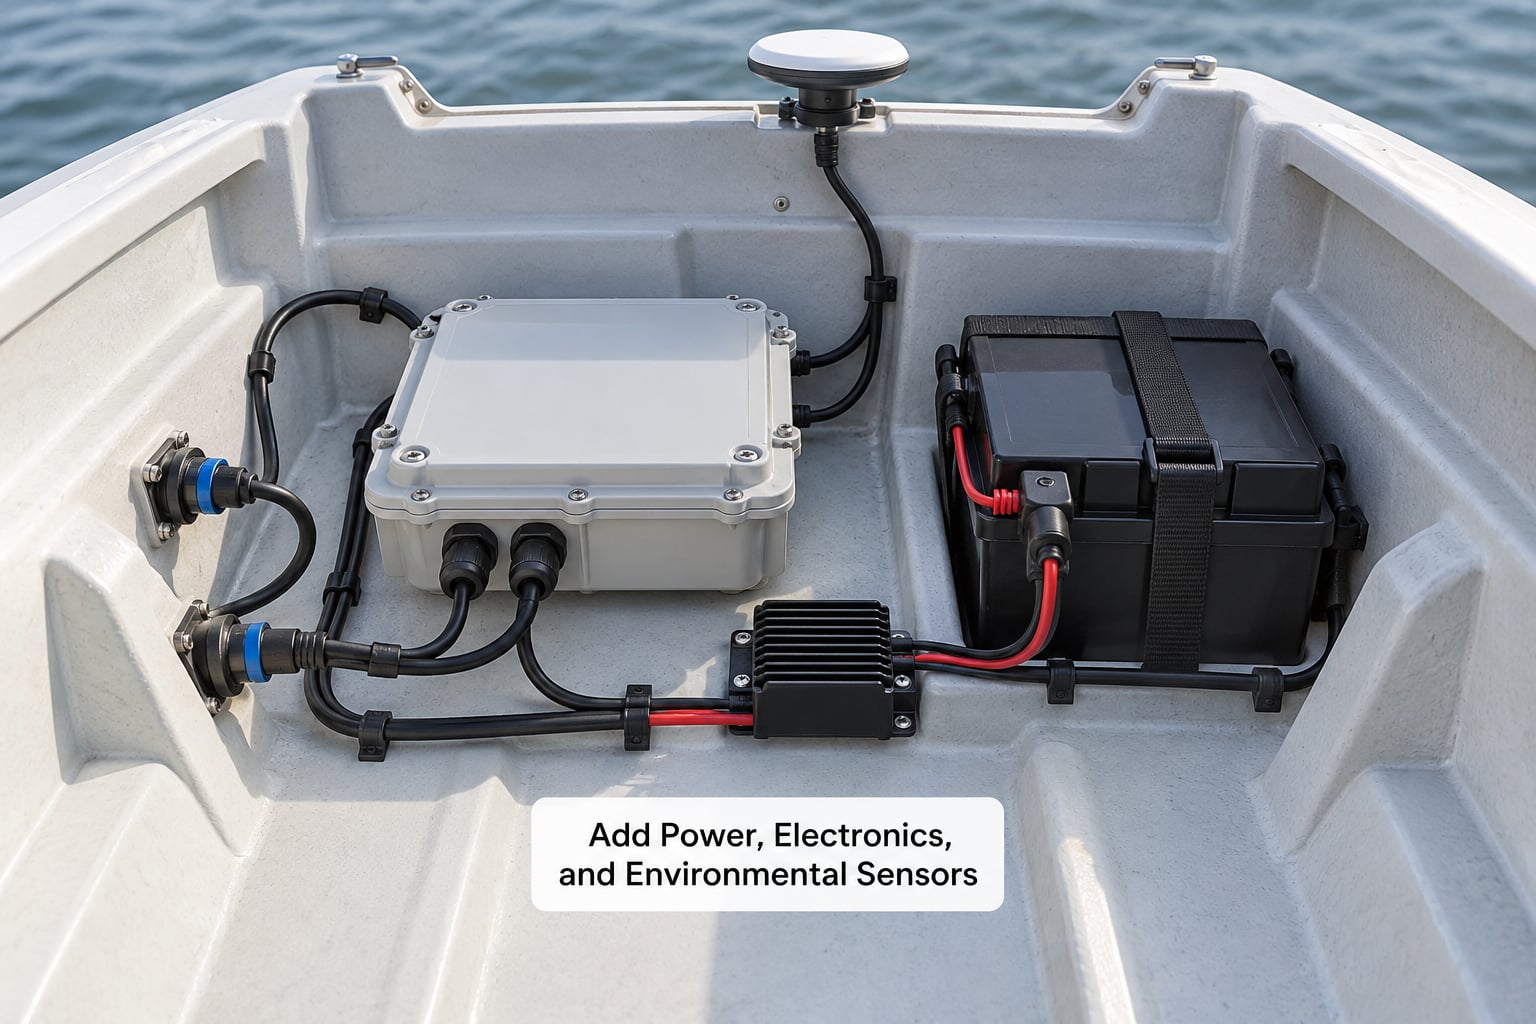
Choose one battery chemistry and stick with it. LiFe is heavier but tolerant of abuse and a good default for marine work; LiPo gives more capacity per kilogram but wants careful monitoring; small sealed AGM batteries are heavy and dull but very hard to kill. Work out a power budget from measured current draw, then add 30 percent headroom.
Run everything through a fused power bus with a buck converter for the logic rail and a separate regulator for the servo rail. Servos brown out logic when they stall, and a voltage dip that resets the GNSS receiver looks exactly like a flaky antenna.
Position sensors before you seal anything. The compass goes as far from the servos, steel hardware and power wiring as the deck allows. The anemometer wants clear air about 1 to 2 feet above the deck at the stern. The GNSS antenna needs sky and must sit outside the hull, not inside it; carbon fibre laminates act as a Faraday cage and will kill the signal entirely.
Mount everything on standoffs or Velcro inside a sealed enclosure, with connectors you can reach without dismantling the boat. Off-the-shelf inspection ports beat homemade hatches because you will open them dozens of times in a single session.
4. Wire the Autonomous Controller
Give each subsystem its own labelled connector and route every cable through a strain-relieved gland with a drip loop. Water follows gravity into the lowest point of a cable run, so the loop should hang below the entry point, not sit above it.
A workable wiring plan looks like this: sensors to the microcontroller over I2C or serial, microcontroller to the computer over USB serial, servo pulse-width outputs to a signal conditioner driving the rudder and sail servos, plus a hardware emergency stop switch in the power line and a brownout detector feeding the watchdog.
Power the boat on the bench with the servos disconnected and confirm each device draws what the budget predicted. Then connect one actuator at a time and check direction before the other is powered. Reversing a servo direction later with the boat in the water is a bad afternoon.
5. Program Basic Navigation and Sail Control
You have two reasonable routes. An autopilot stack such as ArduPilot Rover gives you waypoint navigation, failsafes and ground station tooling out of the box, and it is the faster path for a beginner who wants results rather than a software project. A custom stack, typically an Arduino-class board for real-time control plus a Raspberry Pi running ROS for planning, gives you full control but asks you to write the control loops yourself.
Whichever you pick, the beginner control loop is the same. Read heading and position, compare them with the waypoint, decide whether to steer or to trim the sail, enforce safety limits, and log telemetry so you can see what happened afterwards.
Start with heading hold. Set a target heading, drive the rudder proportional to the heading error, and keep the sail trimmed to the apparent wind. Add a position-keeping layer that steers to a fixed point, then waypoint navigation with a cross-track term. Enforce the limits at every stage: rudder angle clamp, maximum heel, a compass-versus-GNSS sanity check, and an RC override that takes priority over everything.
Finish with fail-safe behaviour. A watchdog should return the boat to a neutral or return-home mode if the high-level computer stops sending heartbeats, and the RC link loss should drop you into manual rather than continuing on stale sensor data.
6. Test on Land, in a Controlled Basin, and at Sea
Run the test programme in stages, and do not skip a stage because the weather is good. Each stage has a measurable pass condition, and you stop when the condition is met rather than when you feel ready.
- Bench test on a cart. Put the boat on a wheeled cart in a car park. Command full rudder travel and confirm the correct direction and smooth movement. Manually tilt the hull to validate tilt compensation. Pass condition: no stalling, no binding, no resets on the power rail.
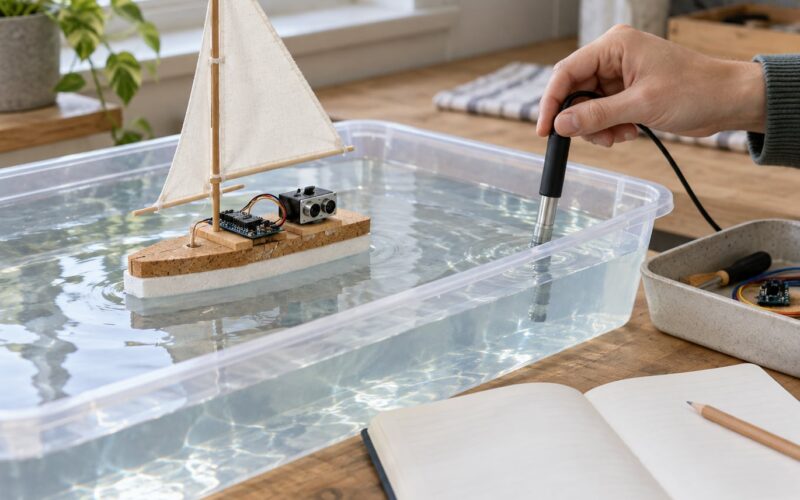
- Controlled basin. A swimming pool, a sheltered harbour corner or a calm lake. Sail it under RC first, then enable heading hold while you hold the RC override in your hand. Pass condition: it holds a heading for ten minutes and returns to manual on link loss.
- Autonomous station keeping. Set a waypoint 50 metres away and let it go. Pass condition: it reaches the waypoint and holds within a few metres without circling or luffing.
- Short open-water run. Start close to shore with a person watching, and keep the RC transmitter with a second person on the dock. Pass condition: it completes the planned route and the log shows no unexplained heading jumps.
- Extended endurance. Only now add a larger sail, solar charging or overnight running. Pass condition: it returns with battery margin to spare in the expected conditions.
If you want to iterate without launching, a simulation environment is worth setting up before the boat is finished. It costs an evening and saves a lot of wet afternoons.
Common Mistakes
Almost every failed first build comes down to one of these. Each one has a straightforward fix and a simple habit that prevents it.
Compass near servos or steel hardware. The heading readout drifts and turns itself on command, which looks like a software bug for weeks. Move the magnetometer away from current-carrying parts, test the heading with the servos energised, and calibrate in the position the sensor will actually sit in. Safety habit: verify heading accuracy with servos live before trusting any autonomous run.
Antennas inside the hull or inside carbon fibre. GNSS fix quality collapses and telemetry drops out. Put the antenna on a short mast above the deck, keep carbon away from it, and check fix quality in the open before you rely on it. Safety habit: do not enter open water without a confirmed GNSS lock and a live telemetry link.
Weak power distribution. Brownouts reset the computer mid-tack and, in the worst case, corrupt the firmware. Fuse each branch, separate servo and logic rails, and use a brownout detector. Safety habit: run the low-battery cut-off test deliberately and confirm the boat returns to a safe state.
Incorrect servo calibration. The rudder hits its stop, the servo buzzes and draws peak current, or the sail linkage pulls the boom past its range. Calibrate end stops in software before mounting the horn arm, and re-check after every linkage change. Safety habit: keep a finger on the physical disconnect during the first powered test.
Unstable control loops. A high-gain loop makes the rudder hunt from side to side and wears out servos in an afternoon. Tune with a low gain first, add damping, and increase the gain only while the boat is calm. Safety habit: tune on the cart, never on open water.
Unprotected connectors and cable entries. Salt water gets in and stays there, corroding pins quietly. Use marine-grade connectors, strain relief, drip loops, and a periodic rinse with fresh water. Safety habit: inspect and reseal connectors after every wet session.
Too much sail or too much speed for the hull. A large sail overwhelms a small displacement hull and swamps it. Start with conservative sail area and grow the boat only after it has proved itself. Safety habit: keep the RC override live whenever the boat is within sight of shore.
Skipping the RC stage. The urge to get to autonomy is strong, and teams that skip it end up debugging steering faults through a GNSS track. Sail it by hand first, for hours. Safety habit: never hand the boat to autonomous mode on a course you have not already driven yourself.
Frequently Asked Questions
What size sailboat is best for a beginner autonomous project?
Aim for 1 to 1.2 metres long, with a displacement monohull and around 0.25 square metres of sail. Below 1 metre the hull is tender and gets swamped easily, and much above 1.2 metres you will struggle to launch and recover it alone. Stay under about 20 kg so one person can carry it from the dock.
Do I need to know how to code to build an autonomous sailboat?
Not much, if you use an existing autopilot stack. A ready-made rover autopilot handles waypoint navigation and failsafes through configuration rather than programming, and many builders start there. Writing your own control loops in Arduino or Python is where the real learning happens, and that part comes after the boat is sailing under radio control.
Which sensors are essential for autonomous sailing?
Three are essential: a GNSS receiver for position, a magnetometer and accelerometer for heading and heel, and an anemometer for wind direction and strength. Without wind data the boat cannot trim a sail intelligently and will luff or stall. Water ingress, temperature and pressure sensors are cheap additions worth adding once the essentials work.
How much battery power does a small autonomous sailboat need?
Build the budget from measured draw rather than guesswork. A short lake mission usually needs a few amp-hours, while multi-day endurance depends on sail area, wind and how much you are willing to carry. Choose a chemistry, add roughly 30 percent headroom, and add solar charging before attempting overnight runs. Log voltage and current from the first test onward.
Can an autonomous sailboat operate without GPS?
Technically yes, using dead reckoning from an IMU and wind sensor, but the position error grows fast on a small displacement hull where leeway changes with every gust. GNSS is cheap, so treat it as essential for waypoint work. A sensible fallback is a dead-reckoning mode that returns the boat to its last known good heading when the satellite fix drops out.
How should beginners test an autonomous sailboat safely?
Progress through the stages in order: bench cart, controlled basin, short autonomous station-keeping run, then open water. Keep the RC transmitter with a second person on the dock and keep the override live until the boat is beyond sight of shore. Test alone, with a clear recovery line, and check local rules on launching an unmanned craft before you go.
Where to Start This Weekend
Start with the hull, and make it match the numbers in the table rather than the shape you find coolest. Get it watertight, sail it by hand for a couple of hours in a sheltered basin, and only then add electronics.
The moment a beginner tries to build an autonomous sailboat by adding sensors and code to an untested hull is the moment the project stalls. Hull first, radio control second, autonomy third, and solar and long-range missions last.