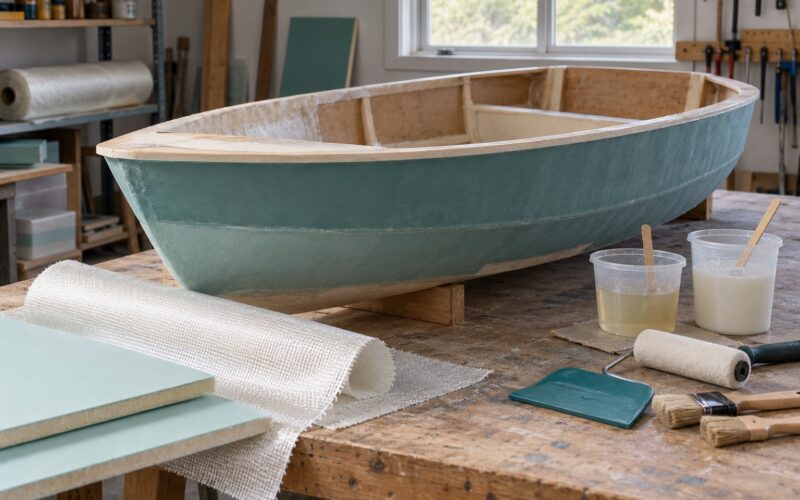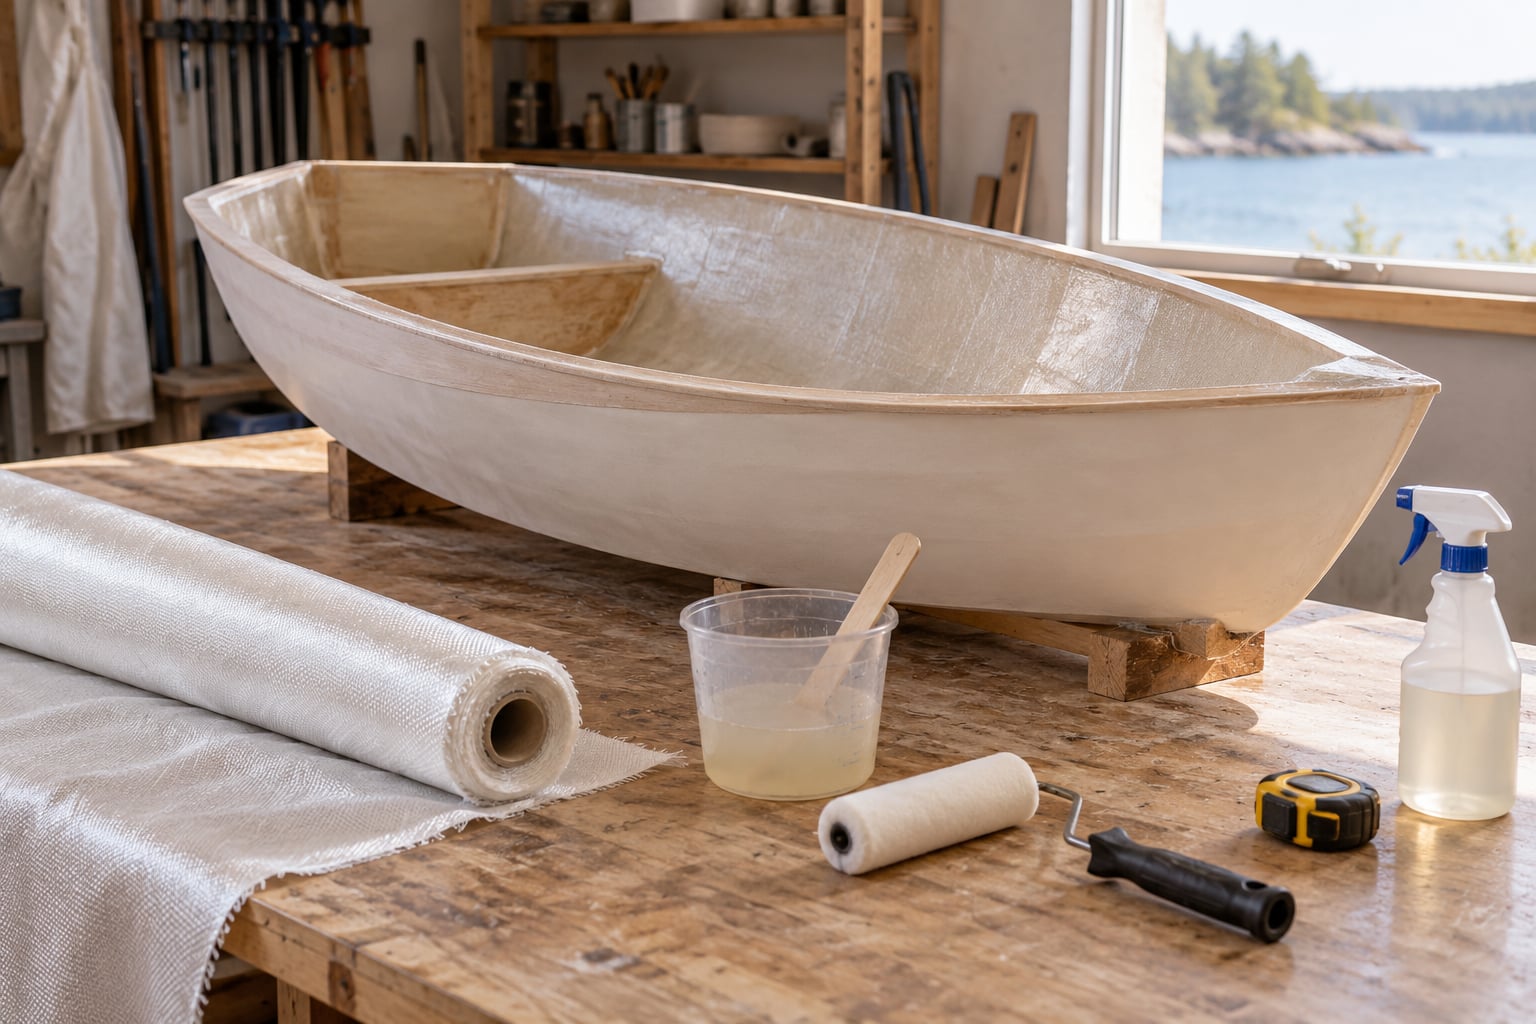
To make a mold for a boat hull you need a rigid female tool whose gelcoated inner face becomes the outside of every hull you lay up in it. You build or borrow a plug in the exact hull form, seal it, coat it with a release system, then glass it over. Get that right and one mold makes several identical hulls for years.
The reason builders spend a weekend on tooling is simple. A hull shape cannot be corrected after it is molded, so the mold fixes the fair lines, the finish, and the accuracy permanently. Hand-lofting a second boat to match the first is slower and rarely lands in the same place twice.
There are two broad routes. The classic one builds a male plug first, then a female mold off the plug. The shortcut is a plywood basket or frame mold that follows station lines and needs no lofting at all. Which one you pick depends on how many hulls you want and how much accuracy you need.
Table of Contents
- What You Need
- Step-by-Step: How to Make a Mold for a Boat Hull
- How Thick Should a Fiberglass Boat Mold Be?
- Common Mistakes
- Frequently Asked Questions
- What is the easiest way to make a mold for a boat hull?
- Can I make a fiberglass boat hull mold over foam?
- What release agent should I use between fiberglass layers?
- How thick should a reusable boat hull mold be?
- How long does a fiberglass boat hull mold take to cure?
- Can one mold be used to make more than one hull?
- Conclusion
What You Need
For a plug-and-mold build on a small hull, expect a shape to mold from, a way to hold it rigid, a release system, and a resin and reinforcement stack. Working in resin is only half the job. Ventilation, gloves, and a respirator matter as much as the materials list.
Your route choice drives most of the list. Builders on the boat design forums split cleanly here: timber and fiberglass are the default DIY materials, CNC-cut or hand-shaped foam plugs are common, and a plywood basket mold suits a single hull where accuracy matters less than getting on the water.
Materials and tools
- A plug in solid hull form: laminated timber, CNC-machined or hand-shaped foam, or an existing hull or half model to take off from
- Filling compound, a hard surface primer, and 1200 grit wet-and-dry paper
- Polyester or epoxy resin, general purpose or tooling grade
- Gelcoat for the mold face, pigmented to whatever color the hulls should wear
- Fiberglass reinforcement: chopped strand mat, woven cloth, and optionally heavier cloth for the stiffener runs
- Release wax, PVA release agent, and a plastic spray bottle for water
- Paddle roller, disc roller, mixing cups, stirrers, measuring scales, and a wide brush
- Plywood, framing timber, and marine plywood for a basket mold or backing form
- Surgeon’s latex gloves, eye protection, a P2 or P3 respirator, and organic-vapor cartridge filters
- Thermometer for the room, plus a dehumidifier if you are working in a cold garage
Skip the respirator and the article stops there for you. Polyester resin vapor is styrene, it is heavier than air, and it collects at floor level in a closed shop. Open the door and use a fan before you uncap the bottle, not after.
Workspace and safety preparation
Give yourself clear floor space roughly twice the length of the hull, with the mold surface reachable from both sides. Resin and solvents do not belong near a wood stove, a gas heater, or any ignition source.
Work between 15 and 25°C (60-77°F). Below about 15°C gelcoat turns thixotropic, thickens in the can, and drags instead of flowing. Cold shops are the single most common reason a first layup looks bad.
Wear gloves you can change often, eye protection, and a respirator with organic-vapor cartridges whenever you mix resin or brush gelcoat. Dispose of resin waste and styrene-contaminated rags where they will not soak into soil or a drain. Do not pour leftover resin into a container and seal it; it can go exothermic on its own.
Which mold route should you take?
You can make a boat mold from a timber or foam plug and then a female shell, straight off an existing hull or half model, or as a plywood basket frame that follows the plans. The table below compares the four common routes by what each one gives you.
| Route | What it is | Tooling time and skill | Accuracy and output |
|---|---|---|---|
| Timber plug plus female mold | Laminated or carved solid plug, glassed into a female shell | Highest. Lofting or carving experience, plus layup skill | Very accurate lines, gloss finish straight from the mold. Many hulls per mold |
| Foam or CNC plug | Machined or hand-shaped foam block, filled, sealed, then glassed | Medium. Milling help or a long hand-shaping session | Good accuracy. Good fit for prototype and test hulls |
| Take-off from an existing hull | A shell molded directly onto an old hull or half model | Low to medium, but risky to the original | Exact copy of the original. One good shell, or a few pulls |
| Plywood basket or frame mold | Ribbed plywood form cut to the plan dimensions | Low. Cutting and assembly, no lofting required | Fair enough for one hull. Panel seams show on the finish |
One rule from experienced builders on boatdesign.net is worth repeating: nothing you do to a mold is a one-time cost. Re-waxing and re-gelcoating are part of owning the tool, whether you built it or bought it.
Step-by-Step: How to Make a Mold for a Boat Hull
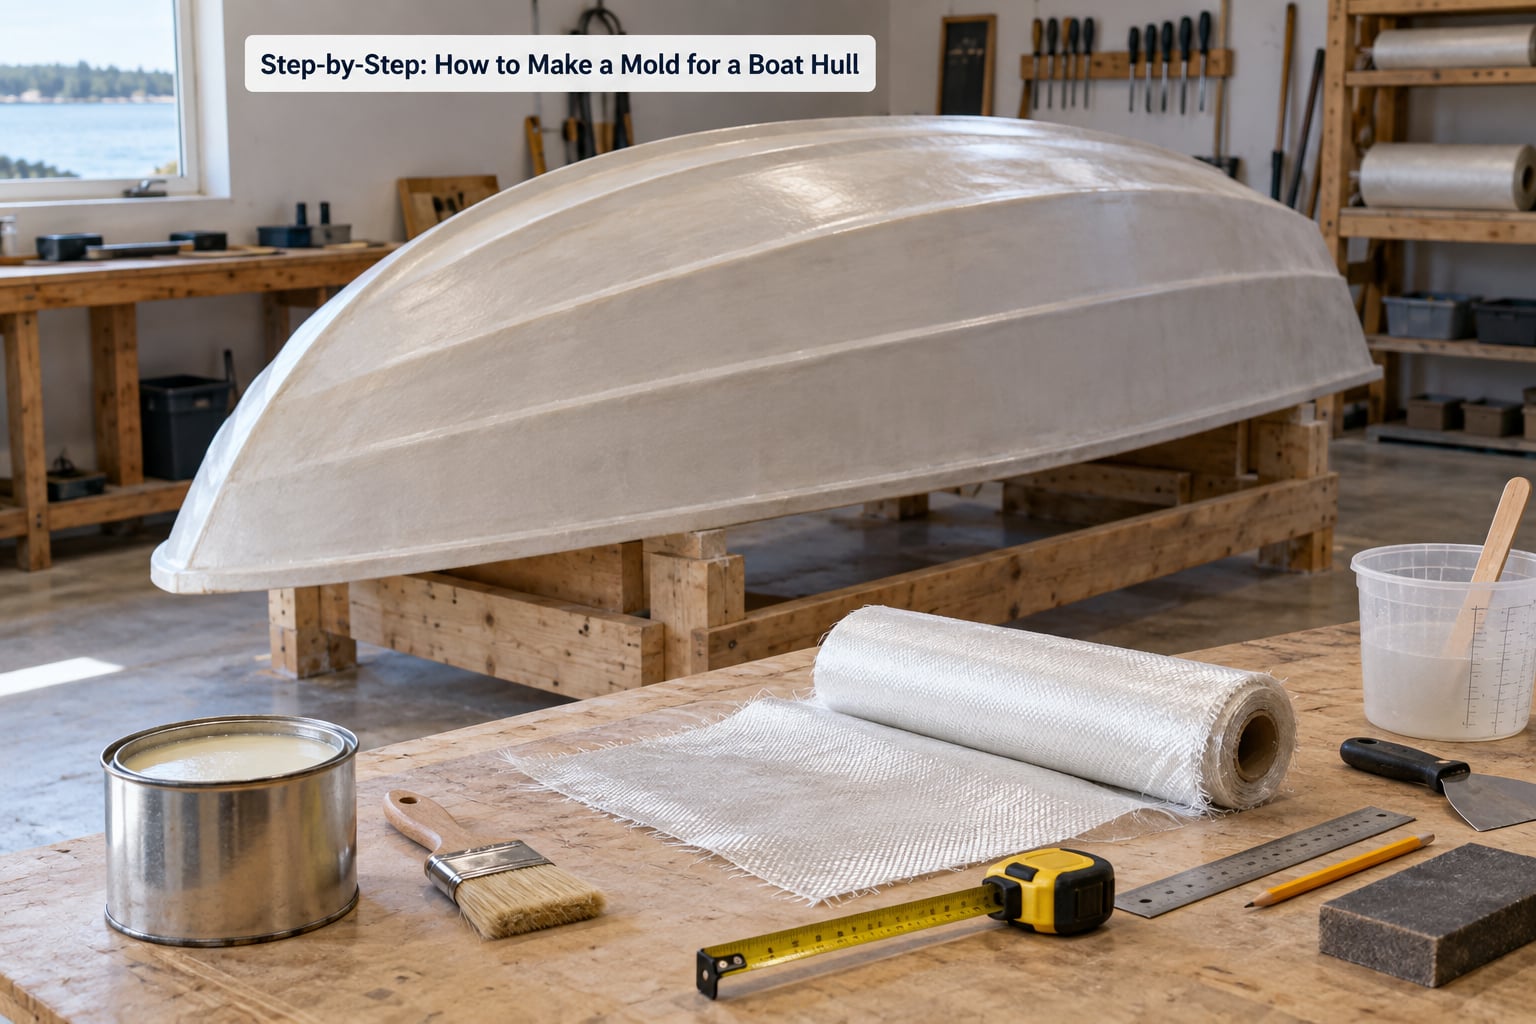
The full sequence, in order, is short enough to memorize. Define the hull form, choose your route, build and seal the plug, prime the surface, apply wax then PVA, lay gelcoat, add plies, cure, trim, then break the mold in with a sacrificial skin.
- Define the hull form and the mold route.
- Build the plug or frame and check it against your station lines.
- Fill, sand, and seal the surface completely.
- Apply a surface primer, then two or three coats of release wax.
- Add PVA release over the wax in thin, dried coats.
- Lay gelcoat, then the fiberglass plies in the designed schedule.
- Cure at 15-25°C for several days before touching it.
- Demould, trim the flash, polish, and break the mold in with a thin skin.
1. Decide How to Make a Mold for a Boat Hull
Pick the route before you cut anything, because it determines every later step. One hull and a tight budget points to a basket mold. Several hulls, or a classic form worth copying, points to a plug and a female mold.
Foam plugs sit in the middle. A CNC-machined foam plug gives accurate lines cheaply if you have milling access, and filling and fairing it with epoxy paste is a weekend of work. Builders are split on trusting a printed or 3D plug for a final hull, and that caution is reasonable: check one station against your drawing before committing.
For a take-off mold, the constraint is the original. If the hull or half model is irreplaceable, latex is the low-damage option because it peels off; a vacuum-formed shell is gentler still. A sprayed polyester shell is faster but takes the most chances with fine details like a rudder outline or an embossed cove stripe.
2. Prepare the Hull or Plug Surface
Clean the plug, fill every pore, and sand back to a surface primer will hold. On timber, use filling compound, then a hard surface primer, then 1200 grit wet-and-dry.
Do not use a car spray primer. Release agents and gelcoat carry solvents that attack ordinary automotive primer, and the layer softens and lets the laminate print through later. This mistake is the most common one people make on a foam plug.
At this stage, set up your reference lines. Scribe the waterlines and mark datum points on the plug before any coating goes on, because once the mold is glassed those lines are the only way to square it up on the base later. Builders reviving an old mold make the same point: the scribed lines are the setup reference, and polishing them away is a small loss you cannot undo.
3. Build a Rigid Supporting Form
The supporting form is what holds the mold surface in the right shape while the resin is wet and the exotherm is running. A plug that is sound but unsupported will sag under six heavy plies, and a sagging mold makes a sagging hull.
Mount the plug to a flat melamine or plywood base board, check it level with a spirit level, and brace from underneath with ribs or blocking at the stations. The back of the mold shell needs its own structure once the glass comes off the plug, and you are much better off adding it now than trying to laminate a curved unsupported surface later.
4. Apply the Release System
Apply wax first, then PVA on top. The wax seals the surface against the water-soluble PVA, and the PVA is what lets the shell separate with no force at all.
Work the wax into two or three coats, buffing each off when it haze-dries. Then mist on roughly ten thin coats of PVA, letting each one dry before the next. A hair dryer speeds this up. Thick coats bead up and create pinholes, which is exactly how a part ends up fused to the mold.
| Release system | Typical coverage | Best used for |
|---|---|---|
| Release wax | Two or three buffed coats | Sealing the plug and every turnaround between pulls |
| PVA release | About ten misted coats, dried between each | The actual release barrier for the new mold and each layup |
| Semi-permanent release | Applied per label, often several coats | Production runs where you want more pulls per wax cycle |
5. Lay Up the Mold Surface
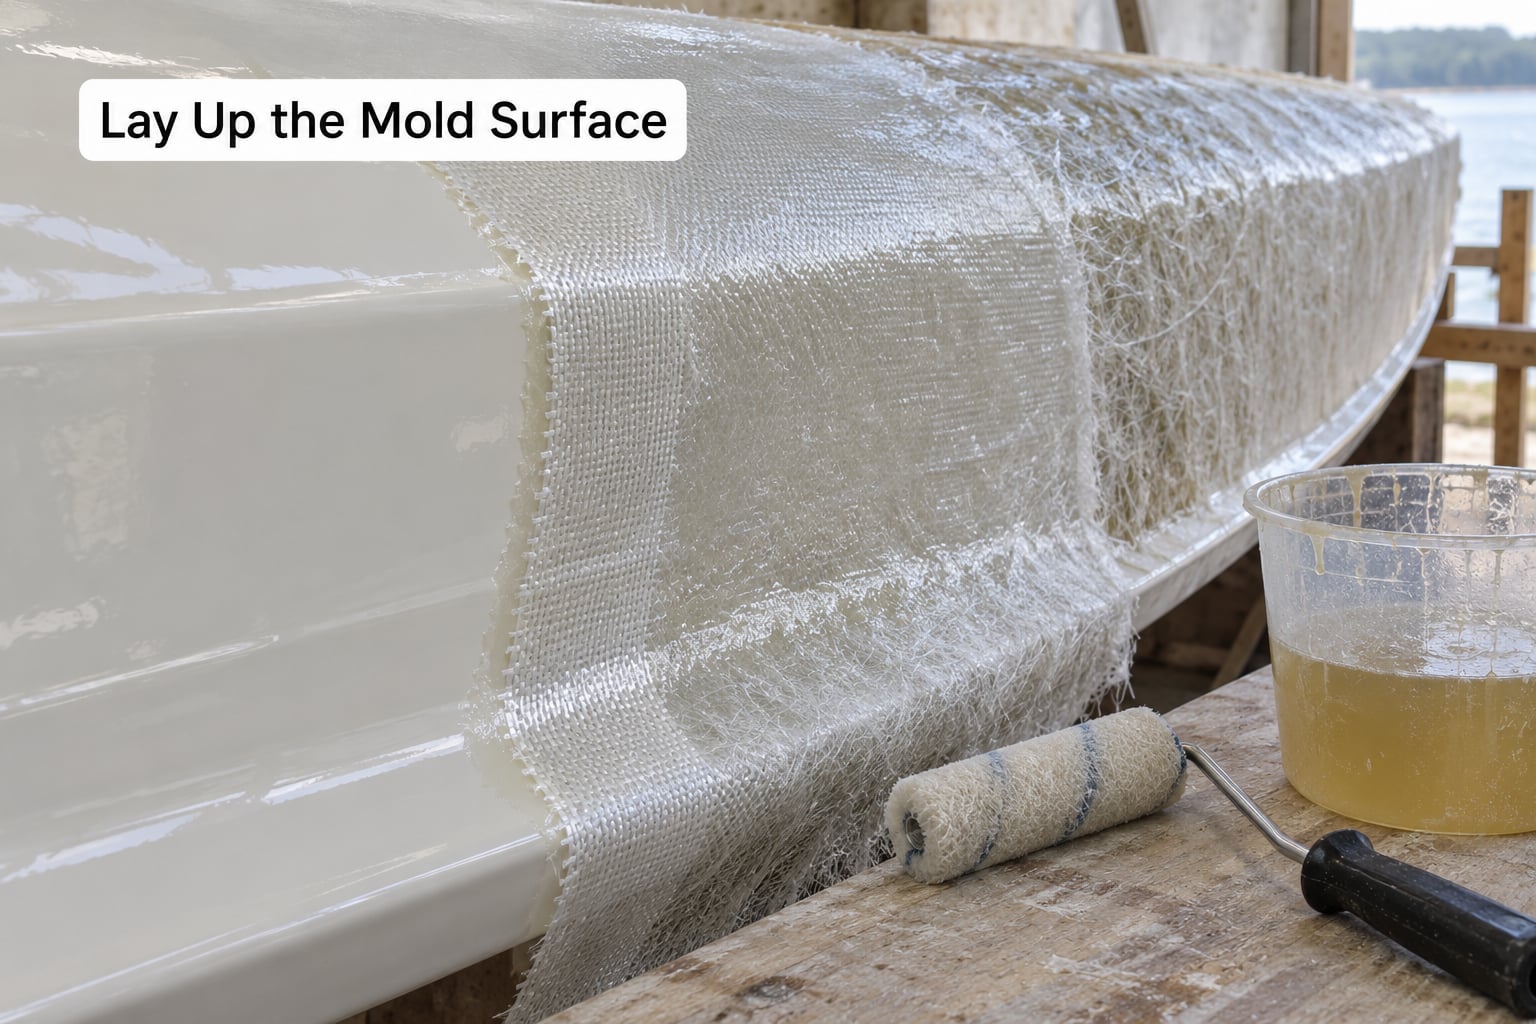
Brush on gelcoat in two thin coats at 15-25°C, letting the first go tacky before the second. Then wet out each ply fully, roll it out with a paddle roller, and work corners with a disc roller until the air is out.
Stagger every ply edge from the one below it, and leave a small overhang all round so you have something to grip when you demould. Whether you need a separate coupling layer between resin and cloth is debated; plenty of builders go straight to cloth without one, and it works on a mold surface that is properly primed.
Control the heat. Most guides cap a cure at about three heavy plies, because stacking more lets an exotherm run hot enough to distort the laminate. Cure in stages rather than one thick build-up.
6. Add Structural Reinforcement
A mold shell is stiffest when the material sits far from its neutral axis, which is why a return flange beats a thicker shell. Extend the laminate past the hull line into a flat lip, and that lip carries most of the rigidity for very little added weight.
Run heavier cloth in the stiffener positions rather than adding more mat everywhere. Keep all reinforcement outside the mold cavity. Anything that crosses the return flange or hangs into the hull line will have to be cut back before a part will come out.
7. Cure, Trim, and Finish the Mold
Give it three to four days at room temperature, and a week is better. Rushing the demould is the most common cause of torn gelcoat, and torn gelcoat on a mold means every future hull carries the scar.
Trim the flash at the green stage, while the laminate is still slightly soft, then fair the edges and sand the mold smooth. Wipe the PVA off with water and a clean cloth, polish out any oxidation, and seal any porous surface that still drinks resin.
Photograph the finished mold, measure the critical dimensions, and write down the ply schedule you used. When something goes wrong on pull number four, you will want the record.
8. Test the Mold and Make the First Hull
Do not put your good hull in a brand-new mold. Lay up a small test panel first, usually gelcoat plus one ply of mat, and pull it. That sacrificial skin finds your pinholes, your thick spots, and any place the release failed while the mold is still cheap to fix.
After the test part comes out clean, wax the mold and start the first real hull. Between every pull, wash the surface, re-wax, and apply a fresh coat of PVA. Expect a well-built mold to hold up across a small production run; how many hulls you actually get depends more on how you release parts than on how thick the shell is.
How Thick Should a Fiberglass Boat Mold Be?
Most of a small hull mold is around 6 to 10 mm (about 1/4 to 3/8 inch) of laminate, with a return flange adding the real stiffness. Very large hulls need thicker tooling, but the honest answer is that flange depth beats shell thickness almost every time.
| Ply type and weight | Number of plies | Resulting thickness |
|---|---|---|
| 300 gsm (9 oz) chopped strand mat | 1 | About 3 mm (1/8 inch) |
| 450 gsm (14 oz) mat or cloth | 5 to 6 | About 8 to 10 mm (5/16 to 3/8 inch) |
| Return flange of 450 gsm cloth | 2 plies, 50 to 75 mm wide | Adds most of the mold’s rigidity |
| Hull over 30 feet | Heavier cloth plus timber backing | 12 mm (1/2 inch) or more |
Thin molds come up as a complaint on forums rather than a specification, and a thin mold is not automatically a bad one. A thin shell with a generous return flange and solid backing will outlast a thick shell that was never stiffened where the load actually is.
Common Mistakes
Almost every failed mold traces back to one of six things. Here is what goes wrong and what to do about it.
| Mistake | What happens | Fix |
|---|---|---|
| Poor surface preparation | Primer softens under solvents, print-through shows on every hull | Fill, sand, and use a hard surface primer, never car primer |
| Weak or misplaced reinforcement | Mold flexes, hull comes out out of shape | Add a proper return flange and put heavy cloth in the stiffener runs |
| Excessive mold thickness in one cure | Exotherm distorts the laminate and the mold | Limit to roughly three heavy plies per cure |
| Trapped air in the layup | Dry patches, pinholes, weak spots that fail later | Wet out fully, roll with a paddle and disc roller, check the PVA for pinholes |
| Premature removal | Part sticks, or the mold gelcoat tears | Wait the full cure and pull with no force; a rubber hammer is how old molds get cobweb cracks |
| Incompatible release system | Part welds itself to the mold | Wax first, then PVA, several thin dried coats, buffed between pulls |
Two more worth naming. Working below 15°C gives you thick, dragged gelcoat that never levels out. And skipping the test skin on a new mold is how a small pinhole turns into a ruined first hull.
Frequently Asked Questions
What is the easiest way to make a mold for a boat hull?
For a single hull, a plywood basket or frame mold cut to your plan dimensions is the easiest route: it needs no lofting and no plug, just accurate cutting and assembly. The finish will show panel seams. If you want several identical hulls with a gloss finish, build a male plug in timber or foam, seal it, and glass a female mold off it. That route costs more time but pays for itself on the second hull.
Can I make a fiberglass boat hull mold over foam?
Yes, and it is a normal way to build tooling. CNC-machined or hand-shaped foam plugs are common, but the foam has to be filled, faired, and sealed with a hard surface primer before any glass goes on. Ordinary car spray primers are a mistake: solvents in release agents and gelcoat attack them, and the layer softens and prints through into the finished hull.
What release agent should I use between fiberglass layers?
Use a wax and PVA system. Apply two or three coats of release wax, buffing each until it haze-dries, then mist roughly ten thin coats of PVA over the top, letting each dry before the next. Thick PVA coats bead up and pinhole, which is how a part ends up bonded to the mold. Semi-permanent releases are worth considering for production runs where you want more pulls per wax cycle.
How thick should a reusable boat hull mold be?
Most small hull molds run 6 to 10 mm (1/4 to 3/8 inch) of laminate, with a return flange doing most of the structural work. Two plies of 450 gsm cloth in a 50 to 75 mm flange add far more stiffness than the same material spread as extra shell thickness. Hulls over about 30 feet need 12 mm or more, usually with timber backing behind the shell.
How long does a fiberglass boat hull mold take to cure?
Allow three to four days at room temperature, and a week if you can wait. Working temperature matters as much as clock time: between 15 and 25°C the cure progresses predictably, while a cold shop slows it down badly and thins the working window. Do not try to accelerate a cure with extra catalyst, because the extra heat adds distortion to the mold you are trying to keep fair.
Can one mold be used to make more than one hull?
That is the whole point of building it. A properly made female mold should produce a run of identical hulls, provided you re-wax and re-apply PVA between every pull and never lever a part out with force. Lay up a small sacrificial test skin first, since it finds pinholes and release failures while the mold is still cheap to repair.
Conclusion
Start by deciding your route, not by buying resin. If you want one hull this season, build the plywood basket. If you want a run of them with a finish you would be happy to sail, spend the extra days on a sealed plug and a female mold.
Whichever way you go, lay up a small test section and pull it before you commit a full hull. It is a cheap afternoon that catches pinholes, bad release, and a warped shell while the fix is still simple. And if you are molding from a published design, check the designer’s terms before producing hulls from it. Royalty obligations on reproduction builds are the one part of mold ownership nobody enjoys discovering late.