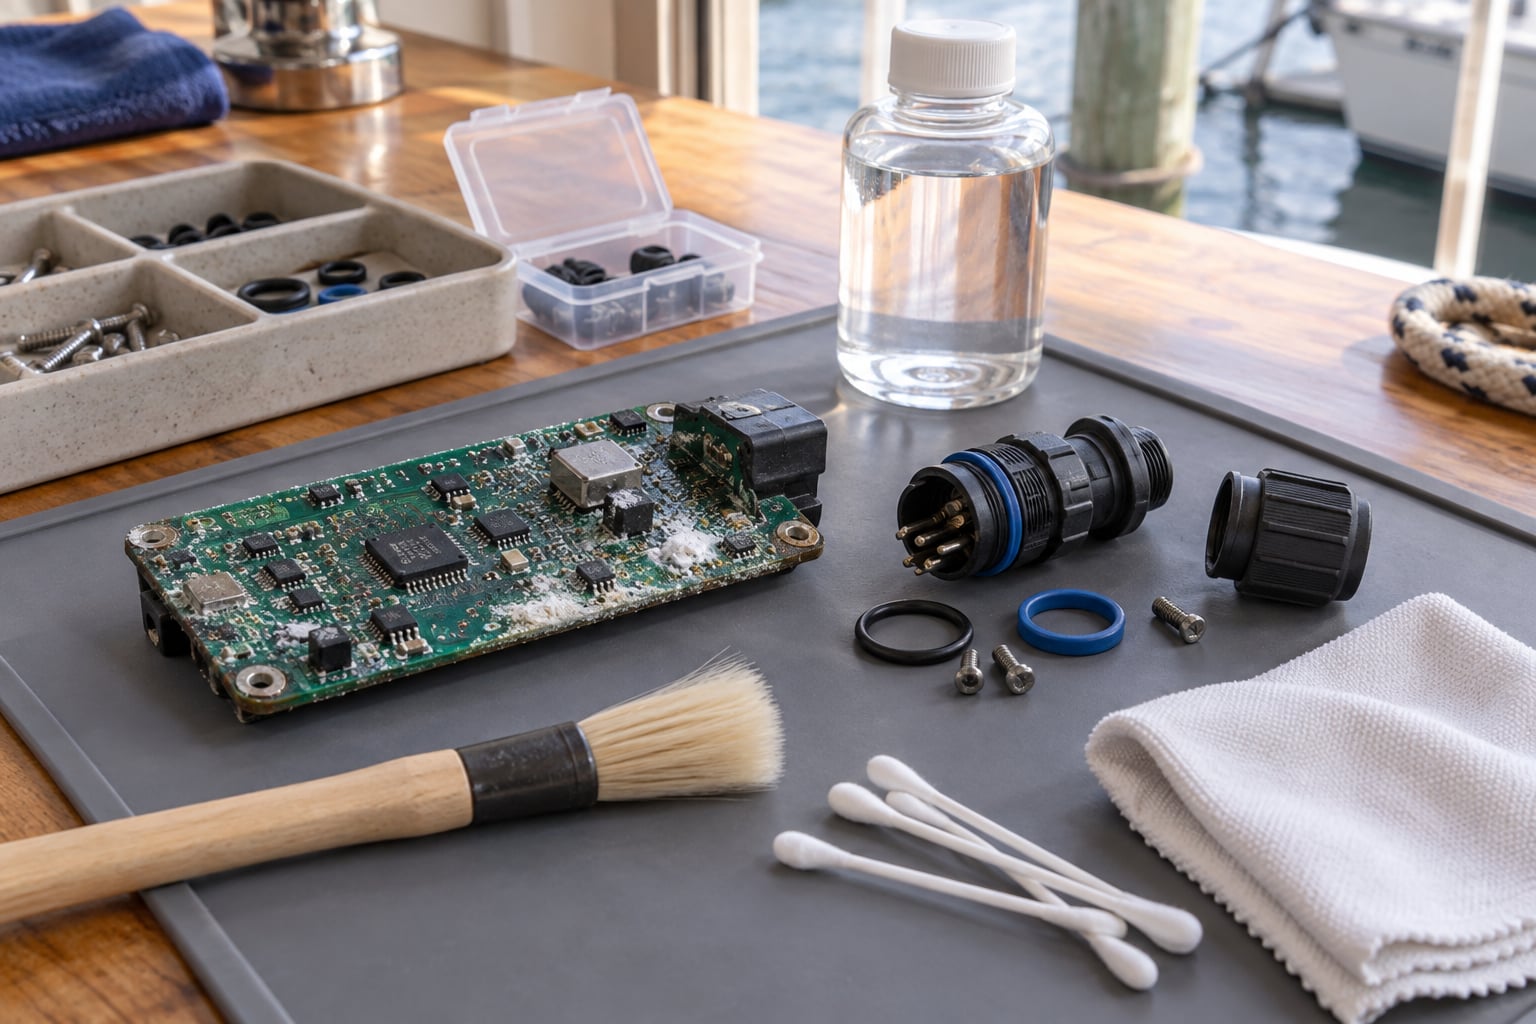
Salt water damage is what happens when seawater gets inside a device and does two things at once: it carries current between powered parts, and the dissolved sodium chloride keeps eating copper and solder long after everything feels dry. To clean salt water off electronics you cut power, flush the chloride away with distilled or deionized water, then dry the assembly for a full 24 to 48 hours before you power anything up. Rinsing early is the single biggest factor in whether the device survives.
If the board looks like it works a week later and then dies, that is not a fluke. Corrosion under a shield can, a connector can, or inside a sealed housing keeps advancing quietly. This guide covers the full cleanup for a dunked phone, a recovered marine sensor, a drone pulled from the water, and anything else that took a saltwater bath.
Most of this takes 15 minutes of active work plus a day of waiting. The waiting is the hard part.
Table of Contents
- What You Need
- Step-by-Step: How to Clean Salt Water Off Electronics
- Common Mistakes That Ruin Salt-Damaged Electronics
- Frequently Asked Questions
- Can electronics be saved after salt water gets into them?
- Is rice an effective way to dry salt-water-exposed electronics?
- How long should electronics dry before turning them back on?
- Is vinegar safe for cleaning salt corrosion from a circuit board?
- Should I use tap water or distilled water to rinse electronics?
- What should I do if a saltwater-exposed connector is already corroded?
- Conclusion
What You Need
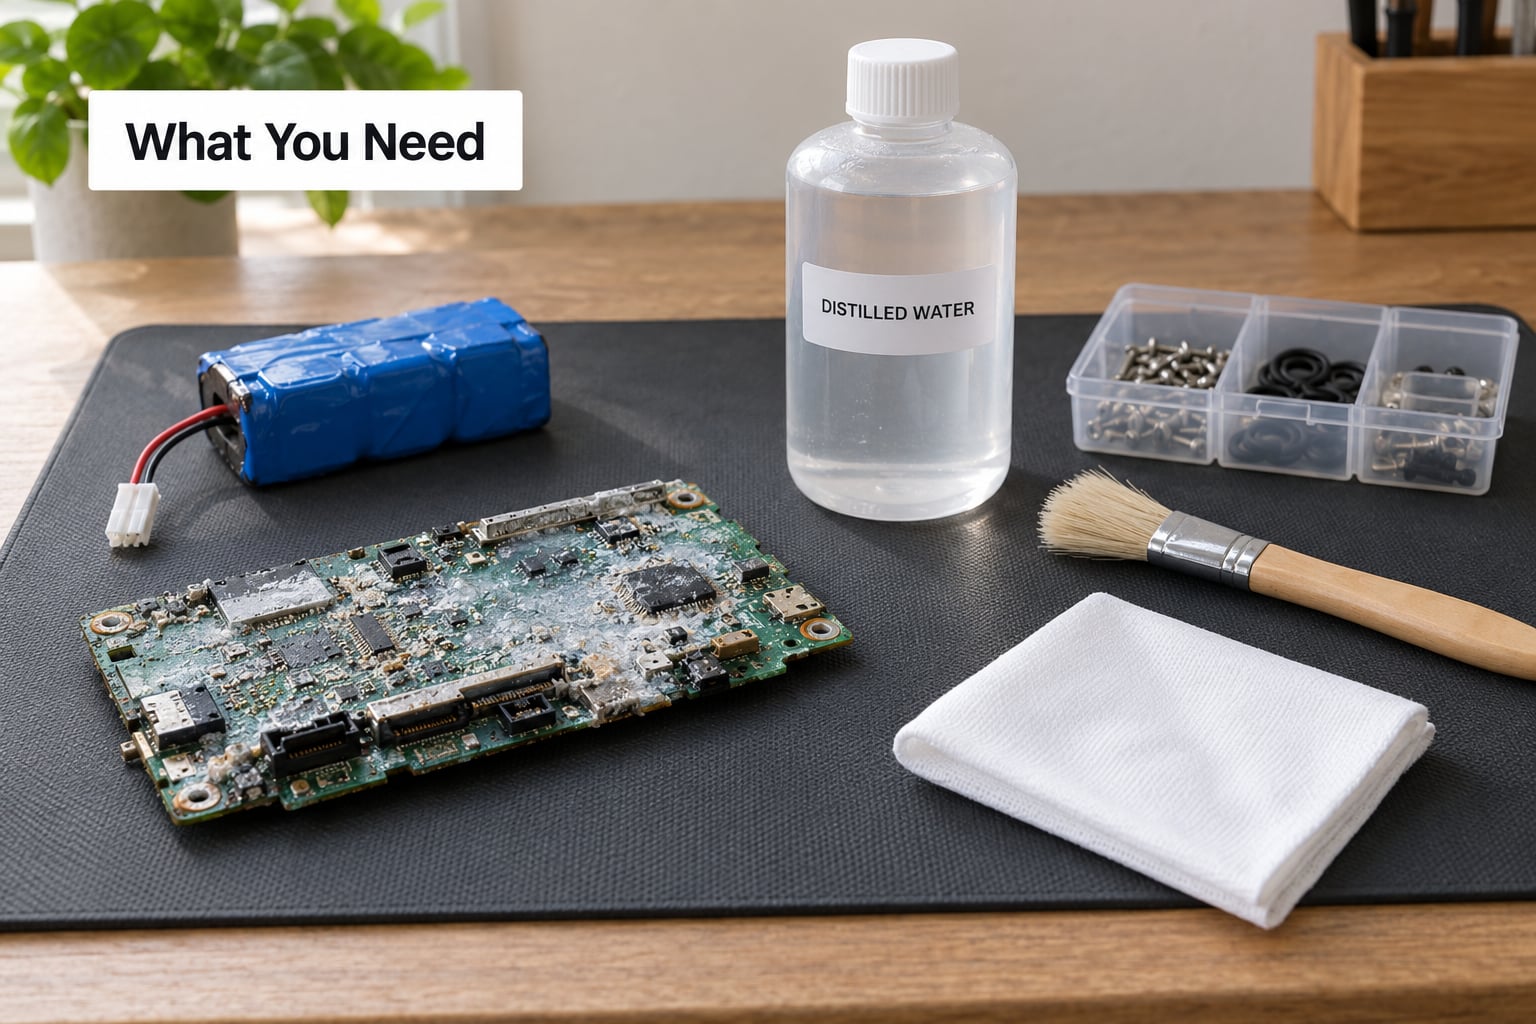
Gather everything before the device comes out of the water, because the clock is already running once salt and power share a board.
- Power-isolation tools — insulated screwdrivers, plastic or nylon pry tools, and an antistatic wrist strap with a proper ground. Metal tools short a wet board the moment they bridge two pads.
- Distilled or deionized water — enough to rinse the assembly several times over. Keep it in a container you can pour slowly.
- 90% or higher isopropyl alcohol — the professional grade displacing step. Higher concentration evaporates faster and leaves less water behind.
- Soft-bristled brush — a clean, soft toothbrush works. Never use anything with stiff or metal bristles.
- Lint-free materials — microfiber cloth, cotton swabs, and lint-free wipes. Ordinary tissue leaves fibres in the moisture you are trying to remove.
- Clean, dry, low-pressure air — a bulb blower or a low-pressure air gun set well below its maximum. A shop vac is too aggressive.
- Desiccant — silica gel packets, or a vacuum desiccation setup for sealed housings you cannot open.
- Small containers — one per part, so salt solution from a connector never gets poured across the logic board.
- Magnifier or loupe and a soft pencil — for marking corrosion you find on pins and pads.
Plan for a dry, ventilated bench with good light. Salt crystals hide in shadows, and you cannot clean what you cannot see.
Now the list of what not to reach for. Tap water brings more dissolved minerals to the part you are trying to protect. Abrasives, scouring pads, and stiff brushes cut conformal coating and scratch solder pads. Compressed air at high pressure drives water further inside, where you cannot reach it. A hot hair dryer or heat gun can cook flux, lift pads, and craze the epoxy in a laminate board while the moisture is still there. And leave WD-40, silicone sprays, and any aerosol coating off the board entirely, because they add an oil film over the salt you were trying to remove.
Step-by-Step: How to Clean Salt Water Off Electronics
The process runs in three phases: isolate power, flush the salt, then displace and remove the water. Do them in that order and the order does the work for you.
1. Disconnect Power and Protect Yourself
Kill power before anything else. Unplug chargers, disconnect USB and external power leads, and switch off the host or board. On a device with a removable battery, open it and pull the battery connector before you open the case any further. On a sealed unit you cannot open, assume it still holds a charge and treat it as live.
Work with your wrist strap clipped to a grounded surface, and handle the board by its edges. If the device has fused or waterproof connectors, note their position and orientation before disconnecting them, because putting one back in the wrong way is a second failure on top of the first.
How do you know this step worked? The board sits dead and silent in your hands, and nothing lights up when you move it. If you cannot confirm power is off, keep going with power isolation until you can. That is the one thing not to rush.
2. Remove Excess Saltwater Without Spreading It
Blot what is visible first. Tilt the device so the liquid drains away from openings rather than deeper into them, and absorb the runoff with a lint-free cloth. Never shake it, and never pour water over a sealed housing hoping it will find the wet spot.
A soft brush helps with pooled liquid on exposed boards and in the crevices around a connector. Work with a low-volume stream aimed along the board, not straight into it, so you push salt solution off the edge instead of across the components.
You know it worked when there is no standing liquid and no visible brine running between components. Salt still on the board at this stage is fine, because the next step dissolves it.
3. Rinse Corrosive Residue with Fresh Water
This is the step that decides the outcome. Use distilled or deionized water, and use enough of it to dilute what is on the board rather than merely wetting it. Here is how the common liquids compare.
- Tap water — leaves ions behind, and hard water adds more. Only a last resort, and not something you control.
- Distilled water — leaves minimal residue, safe on a wet board with the power off, and the standard choice for rinsing salt residue.
- Deionized water — the same low-residue result, used for the rinsing and the final flush.
- 90%+ isopropyl alcohol — leaves no ions, safe on unpowered parts, and used for the final rinse and water displacement.
- Vinegar — adds acetate and acidity and is not for a powered board. It has a place on heavy mineral scale on metal hardware only.
- WD-40 or oil sprays — leave an oil film over the board and belong nowhere near it.
- Rice — leaves starch dust and has no effect on salt. It does nothing for either job.
For a bare board, run a slow stream of distilled water over it for 30 to 60 seconds and let it run off the edge into a sink or container. For sealed or potted housings, immerse the whole assembly in a container of distilled water for 15 to 30 minutes, then swap the water and repeat until it runs clear. Change the water whenever it turns cloudy, and keep each part in its own container so you know which one is still salty.
Stop when the water leaving the board looks and tastes like plain water with no trace of salt in it. Over-rinsing a fully cleaned board just risks pushing water into places you cannot drain.
4. Clean Connectors, Contacts, and Enclosures
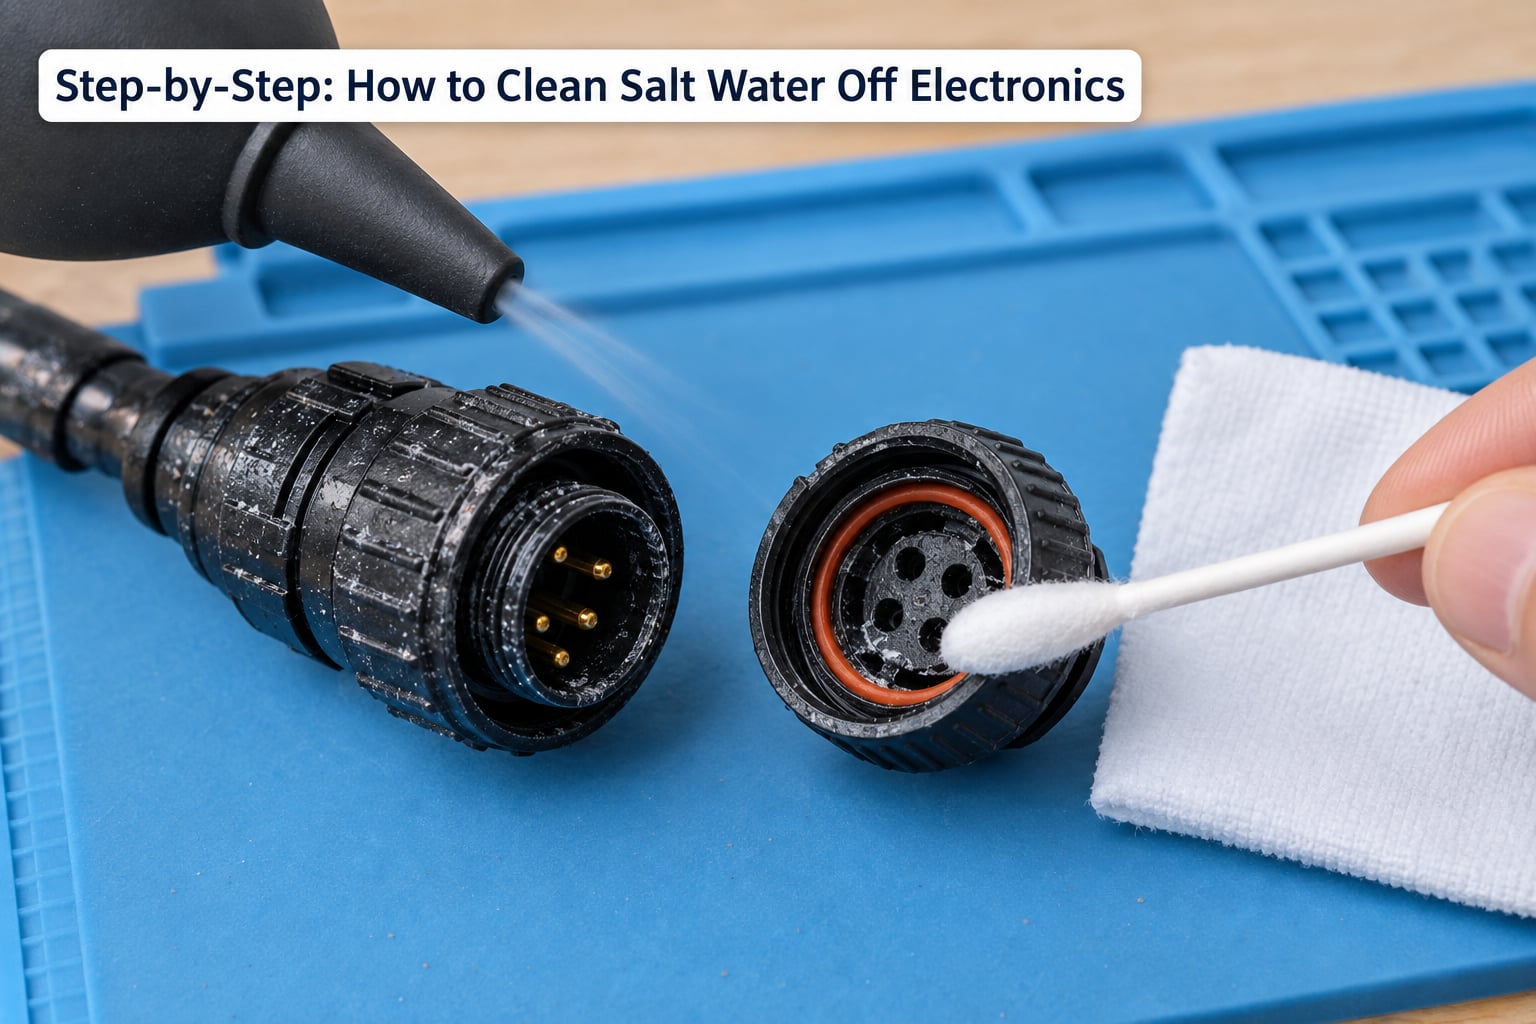
Connectors take the worst of it, because the salt concentrates exactly where metal meets metal. Back off any locking collar, rinse the pin bundle on its own, and work a soft brush through the contacts in the direction of the pins rather than across them.
A cotton swab dipped in 90% isopropyl alcohol works well on removable connector shells and on exposed contacts that are already dry. If the manufacturer lists a specific contact cleaner, that product beats a general solvent. Skip the alcohol on anything marked as a sealed or factory-potted module, on displays, and on any part with an intact conformal coating you do not intend to remove.
Marine housings need their own pass. Open the pressure housing only if you are trained to do it, and never force a seal. Rinse the cable entry, the gland, and the O-ring grooves with fresh water, then dry them separately and inspect the O-rings for splits and flat spots. Salt crystallises inside the gland bore and hides below the packing, so flush it until the outflow runs clear rather than wiping the surface you can see.
You know this step worked when the pins look like bare metal with no white or green crust and the mating surfaces slide together without feeling gritty.
5. Dry the Electronics Completely
Drying is not one step, it is a set of them, and the fastest method is often not the safest.
- Air dry, open, ventilated bench — 24 to 48 hours. Good for open assemblies, slow for sealed housings.
- Clean low-pressure air — 5 to 10 minutes. Reaches surfaces and connector cavities; the risk is that high pressure pushes water deeper.
- 90%+ isopropyl alcohol displacement — 15 to 30 minutes. Replaces water in surface cracks, and must never be applied while powered.
- Silica gel desiccant — 24 to 48 hours. Works well inside sealed camera bodies but needs a closed container.
- Vacuum desiccation — 4 to 12 hours. The best option for fully sealed housings, if you have a vacuum chamber.
- Warm oven, then off — around 3 hours. Good for bare boards, and overheating lifts pads and cures damage.
Work through them in order. Blot with lint-free swabs, then displace what you can with 90% or higher isopropyl alcohol over a nonconductive surface, then let it air dry. For anything you cannot open, seal it in a container with silica gel or run a vacuum desiccation cycle.
Set aside at least 24 hours for a bare board and 48 hours for anything sealed or heavier than a phone. Bare boards can also go in a warm oven that you heat to about 170°F, switch off, and leave for around three hours, but only once every visible water is gone, and never on a sealed assembly with a display, a battery, or a pressure housing in it.
The surface lies to you. Trapped moisture under an EMI shield, inside a connector, or under a display can sit for weeks. If you want proof before power, an insulation resistance meter on the board and a steady voltage-current draw on a current-limited supply both tell you far more than a touch test ever will.
6. Inspect, Reconnect Conservatively, and Test
Look at the board before anything goes back together. You are hunting white or green crust on pads and pins, brown or black staining around solder joints, swollen or leaking capacitors, cracked or lifted components, and any insulation that has broken down. Mark what you find before you clean it, so you can compare later.
Corrosion on a connector pin is a mechanical problem as much as an electrical one: the deposit can stop the pin seating fully, and a half-seated pin reads as an intermittent fault for months. Clean it until the metal is bright, and replace a pin that stays pitted rather than forcing it.
Test conservatively. Use a current-limited bench supply so a short draws a few hundred milliamps instead of trying to weld a trace, or follow the manufacturer’s documented procedure if there is one. Keep the current limit low and watch for heat, fishy or burnt odour, readings that drift across the display, or a supply that keeps cutting out and retrying. Those four signals mean stop, not try again.
If the board passes, then monitor it. Corrosion that hides under a shield keeps moving, and a device that works today can fail in three weeks from moisture that never fully left. Recheck the pins and any moisture indicator after a week and again after a month, and keep treating it as a salt-exposed device rather than a normal one.
A note on timing
Corrosion does not wait politely. In the first minute, salt solution bridges powered contacts and shorts them. Over the first hour, current runs through the brine and starts attacking copper wherever two different metals sit close together. Over 24 hours, the water evaporates and leaves a concentrated salt crust that keeps drawing moisture from the air. Days later, that crust attacks solder joints underneath, which is why a board can run fine for a week and then stop.
Common Mistakes That Ruin Salt-Damaged Electronics
Almost every permanent saltwater failure traces back to one of these.
Powering on a wet device to see if it still works. This is the single most damaging move, and people do it because they want good news. The board may even light up. You then bake salt into the corrosion path and convert a recoverable board into a scrap one. The check comes after a full 24 to 48 hour dry.
Rinsing with tap water. Tap water is loaded with the same dissolved minerals you are removing. Use distilled or deionized water, and if nothing else is available, tap water with the power off beats no rinse at all.
Rubbing salt crystals off a dry board. Dry salt is abrasive. It scratches the mask off copper and grinds it into the trace. Dissolve it with water first, then brush gently.
Hitting it with a hot hair dryer or a heat gun. Heat while moisture is still inside drives it further in, lifts pads off the laminate, and can crack epoxy-coated parts. Warm, not hot, and only for bare boards with no visible water.
Rice as a drying agent. It does nothing measurable and pushes starch dust into ports and connectors where you will find it later. Silica gel in a closed container does the job; rice does not. Forum threads on camera recovery keep making this point, and it keeps costing people their gear.
Vinegar on the board. It is mild enough for mineral scale on metal hardware, but the acetate and acidity are not welcome next to a powered or recently powered board. If a corroded part needs acid, that part is usually a replaceable connector shell rather than the board.
Opening a sealed pressure housing casually. Once the seal is disturbed, that housing may never seal again, and a housing that leaks is worse than one that got wet once. Field technicians describe saltwater recovery as hit or miss, and half of that variance is enclosure damage done during the rescue.
Prevention is easier than any of this. A freshwater rinse immediately after every dive, a proper conformal coating on the logic board, correctly rated waterproof connectors, cable glands sized for the cable, and sacrificial anodes nearby on metal fittings will keep most field problems from starting. Write the rinse down in your deployment checklist, because the people who skip it are always the ones who had a bad afternoon.
Frequently Asked Questions
Can electronics be saved after salt water gets into them?
Often yes, and the odds drop fast with every minute the salt sits on a powered board. Cut power, rinse repeatedly with distilled or deionized water until it runs clear, dry for 24 to 48 hours, then test on a current-limited supply. Batteries, displays and connector shells usually fail before the logic board. No outcome is guaranteed, and heavily corroded or safety-critical marine equipment belongs with a qualified technician.
Is rice an effective way to dry salt-water-exposed electronics?
No. Rice does almost nothing measurable for trapped moisture, and it can push starch dust into ports, buttons and connector cavities where it later causes trouble. Close the assembly in a container with silica gel packets instead, or use a vacuum desiccation setup for housings you cannot open. What removes salt is fresh water, not a drying agent.
How long should electronics dry before turning them back on?
Give a bare circuit board at least 24 hours of open air drying, and 48 hours for anything sealed, heavy, or housing a battery. Displacing water with 90% or higher isopropyl alcohol speeds the surface work but does not replace the wait. Powering on early is the most common cause of permanent damage, and a board can pass the test then fail weeks later from corrosion underneath.
Is vinegar safe for cleaning salt corrosion from a circuit board?
Not on the board itself. Vinegar is an acid, and the acetate it leaves behind is not something you want next to powered components or fine-pitch traces. On a bare, unpowered board, rinse with distilled water and brush instead. Vinegar has a place on metal hardware such as a corroded bracket or a stainless fitting that carries scale, kept well away from the electronics.
Should I use tap water or distilled water to rinse electronics?
Distilled or deionized water, always, with the power disconnected. Tap water carries dissolved minerals that redeposit as scale the moment it evaporates, which is the same problem you are trying to remove. If you have nothing else and the board is powered off, a quick tap rinse is better than leaving salt in place, but do it now rather than after it has dried into a crust.
What should I do if a saltwater-exposed connector is already corroded?
Disconnect it, rinse it on its own in distilled water, then work through the pins with a soft brush and a cotton swab dipped in 90% isopropyl alcohol. Clean until the metal is bright rather than crusty. If a pin stays pitted, flexes loose, or will not seat fully in its mate, replace the connector rather than forcing it, because a half-seated pin causes faults that look like something else entirely.
Conclusion
If you take one thing from this, make it the first action: cut the power, then get the salt off with distilled water. Everything after that is patience and inspection.
Do not power the assembly until it has been rinsed, dried for a full 24 to 48 hours, inspected under magnification, and brought up on a current-limited supply. Keep monitoring it afterwards, because corrosion under a shield does not announce itself.
If the board shows heavy crust, a swollen battery, damaged insulation, or corrosion inside a pressure housing, stop there and hand it to a qualified technician. Safety-critical marine electronics deserve the same judgement as the boat gear they sit next to.