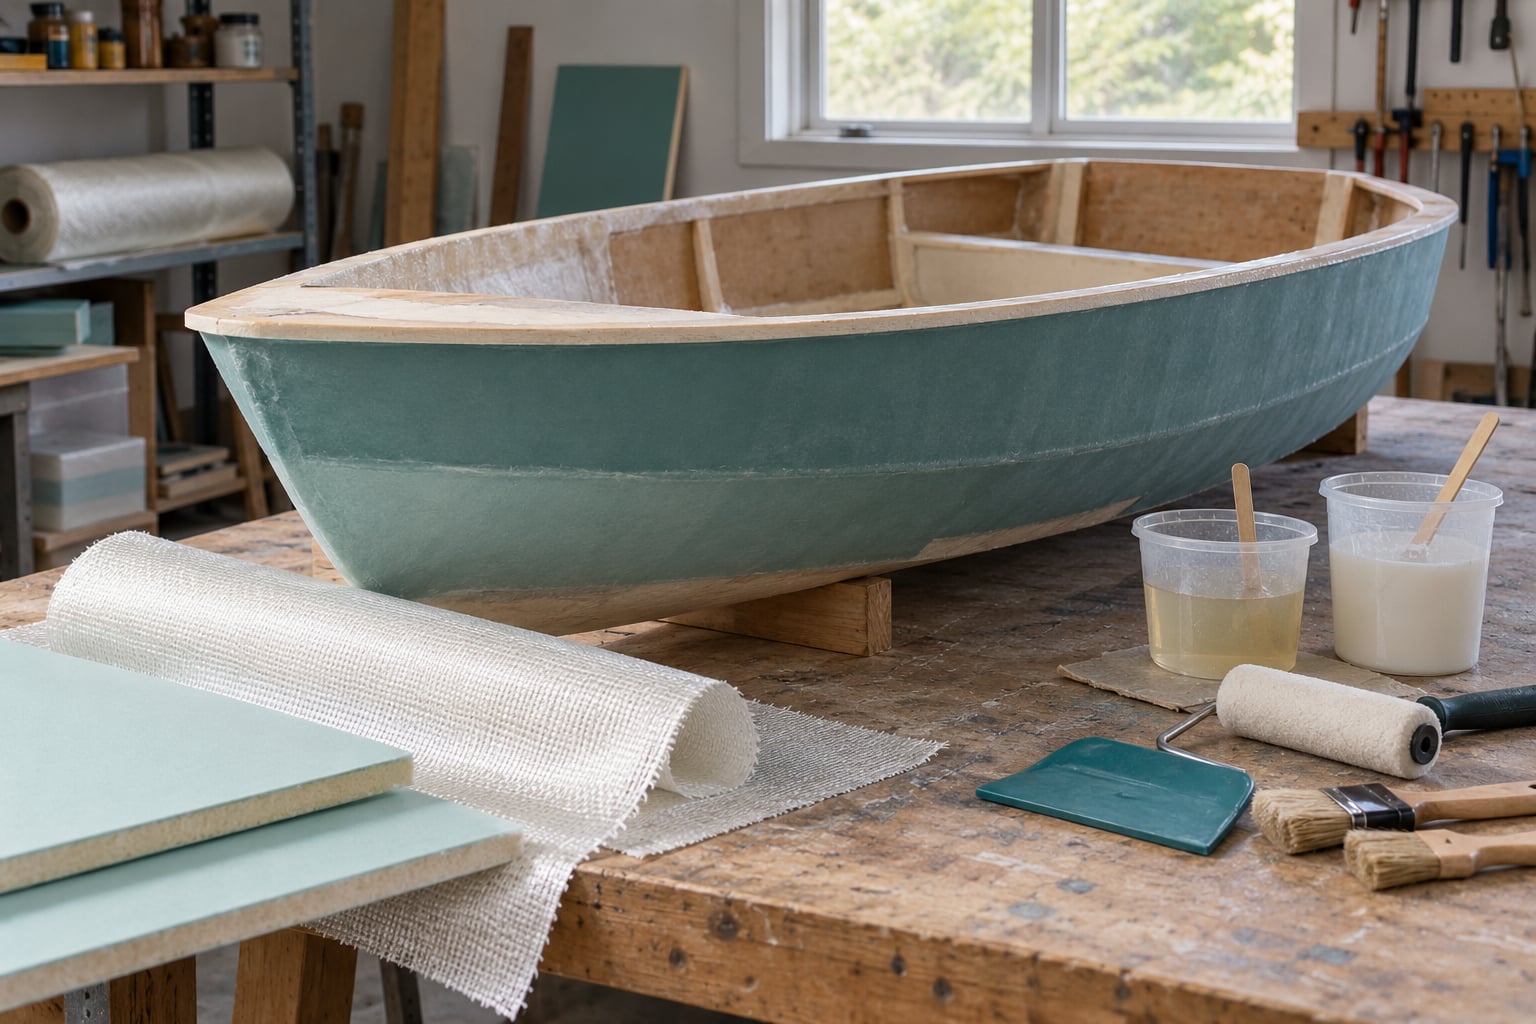
To fiberglass a small hull for beginners, you bond layers of glass fabric to a prepared shell with epoxy or polyester resin, roll out the trapped air, then let it cure, sand it fair, and seal it. A cored plywood or foam hull skinned inside and out is the version most first-time builders should attempt.
The work is tedious rather than clever. Nearly all of it is preparation, and the part that actually feels difficult, laminating a compound curve, takes about ten minutes once the cloth is cut and staged. Budget a couple of weekends for a hull the size of a dinghy or paddle craft, plus drying time between coats.
Two things decide whether your first attempt succeeds: picking one resin system and staying with it, and measuring resin properly instead of guessing. This guide walks through both, updated for current materials in 2026.
Table of Contents
- What You Need
- How to Fiberglass a Small Hull: Step by Step
- 1. Inspect, Repair, and Prepare the Hull
- 2. Choose the Right Resin, Cloth, and Laminate
- 3. Measure, Cut, and Dry-Fit the Fiberglass
- 4. Mix Resin Safely and Apply the First Layer
- 5. Add the Core and Structural Plies
- 6. Saturate, Roll Out Bubbles, and Cure
- 7. Trim, Sand, and Fair the Hull
- 8. Finish, Seal, and Inspect the Result
- Common Mistakes
- Frequently Asked Questions
- Conclusion
What You Need
Start with the resin, because it dictates the surface prep, the temperature you can work in, and everything that touches the laminate afterwards. Mixing systems is the most common beginner mistake and it cannot be undone once resin is down.
Resin Systems and How Much You Need
Epoxy, polyester, and vinylester are the three systems you will see recommended. They are not interchangeable, and you should never mix a polyester hardener into an epoxy or vice versa.
| Resin | Mix ratio by volume | Typical pot life | Best for |
|---|---|---|---|
| Epoxy | 3 parts resin to 1 part hardener, or 5:2 depending on the product | 20 to 45 minutes at 70F | Bonding to plywood, foam, or metal, and for the strongest secondary joints |
| Polyester | 50 ml resin to 4 ml catalyst, or by weight | 15 to 30 minutes at 70F | Cheapest way to skin a mould or a foam hull, if you are comfortable with the fumes |
| Vinylester | 100 parts resin to 1.5 parts catalyst | 15 to 25 minutes at 70F | Permanent immersion work where water resistance matters more than bond strength |
Read the ratio off your own product’s data sheet rather than trusting a number you found somewhere. Pumping is better than measuring by eye, and for epoxy the pot life shortens noticeably as room temperature drops, so warm the workshop if you can.
For coverage, manufacturers give roughly 0.3 to 0.5 lb of resin per square foot for a single light ply, and closer to 0.75 lb for a heavy cloth wetted out properly. Multiply that by the actual surface area of your hull, add 20 percent for waste and the mixing pot, and buy in one container so you are not mixing systems mid-job.
Cloth Weights and Core Material
Cloth weight is quoted per square yard, and heavier is not better everywhere. A laminate that is mostly heavy cloth is heavy and hard to wet out, which is where beginners get into trouble.
- Mat, about 4 oz for the first layer. It wets out easily and holds filler well during fairing.
- Woven cloth, 6 to 8 oz as the main structural plies on the bottom, transom, and around hard corners.
- Roving, 16 to 20 oz only in thick localised patches, because it is floppy and needs a coat on both sides to hold shape.
- Core material such as closed-cell foam, cork, or end-grain balsa, cut slightly proud of the hull so the glass skins stand off the substrate.
Coring a plywood hull is the route builders on boatdesign.net and r/boatbuilding recommend most often for a first boat. A cored sandwich panel gets its stiffness from the core rather than from thick glass, so it stays light and the skins can be thin.
Tools and Equipment
You can do this with a short list, and most of it is cheap. The best tool to cut fiberglass cloth is a proper oversized steel straightedge and a new utility blade, drawn in one confident stroke; scissors fray the weave and cut skin. Long rubber gloves are non-negotiable, and the glass fibres will find every gap in your clothing.
- Oversized steel straightedge and sharp utility blades for cutting cloth
- Wide nylon or polypropylene brushes, plus a foam roller for the large panels
- Aldrich or W210 plastic squeegees for wet-out and bubble removal
- Mixing pots, a drill with a paddle mixer, and resin pumps with calibrated marks
- Acetone, clean rags, paper towels, and masking tape for edge masking
- 120, 180, and 320 grit paper, a sanding block, and a vacuum or dust mask for sanding
- Digital thermometer, and a heat gun or blanket for cold-weather epoxy work
Safety and Ventilation
Styrene from polyester, and the amine hardeners from epoxy, are things you do not want concentrated in a small garage. Ventilate by cross-flow, not a fan pointed at your face, and keep the work going so fumes never pool. A respirator is useful but do not treat one as permission to work in a closed shed, and no respirator makes an unknown vapour safe.
Wear nitrile gloves that you change often, splash goggles, and a long-sleeved shirt. Keep flames away from epoxy and from polyester, which is highly flammable while wet. Sand under dust extraction or a P100-rated mask, and read the safety data sheet for whatever resin you bought rather than the ones you remember.
How to Fiberglass a Small Hull: Step by Step
The finished target is a laminate that is continuous, fully wetted, free of voids, and the same thickness you designed. Real hull dimensions and the resin system you picked both change how much material you use and how long each stage takes, so treat every number here as a starting point.
One distinction matters before you start. A skin-only laminate is a single skin of glass on a shell that carries its own structure, used mostly for sealing and fairing. A load-bearing composite laminate has skins plus a core, or thick enough plies, to carry bending and impact loads. The steps below cover both, and the difference is a decision, not a technique.
1. Inspect, Repair, and Prepare the Hull
Start by confirming the substrate is sound. Probe for soft spots, check the seams, and look for a hull that flexes more than you expected when you press on it. A structure that is weak in the wrong place is worth finding now rather than after the glass is on.
Remove failed coatings, loose filler, dirt, and any wax, then round sharp edges and sand the surface. Builders repeatedly report grinding back to solid, dry material before resin goes on, because filler and body filler will not carry a bond. Clean with acetone, let it dry fully, and you have a mechanical tooth that epoxy can grab.
You know preparation worked when the surface is uniformly matte, smells of nothing, and water beads on it. If you can wipe a fingerprint off with a dry rag, keep going.
2. Choose the Right Resin, Cloth, and Laminate
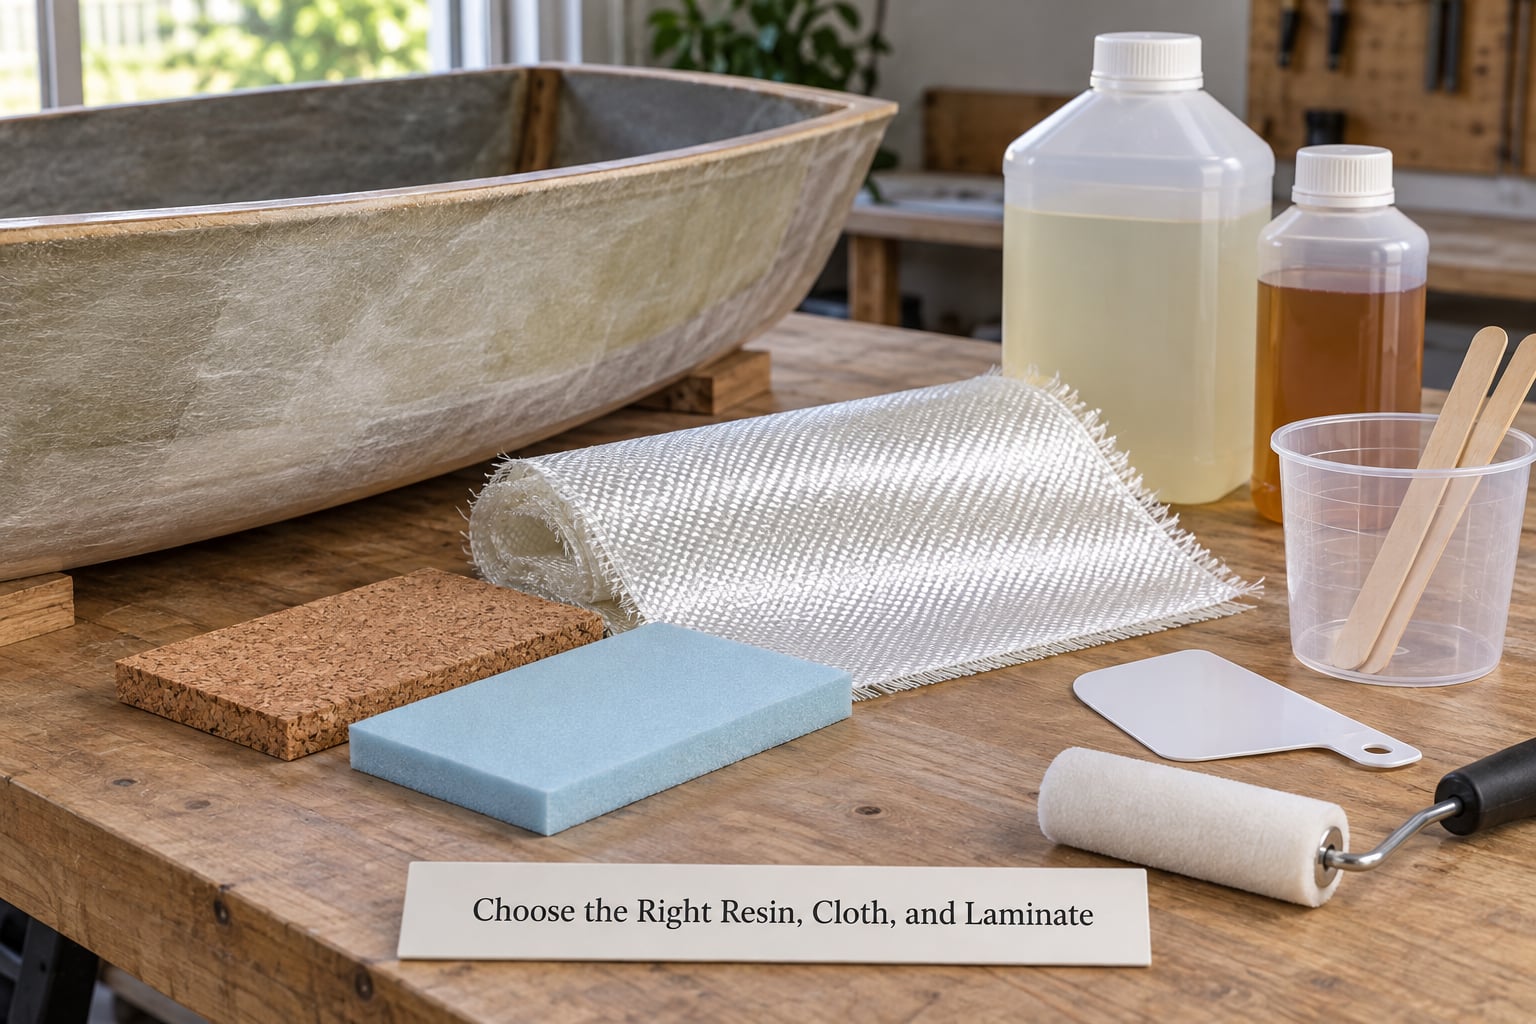
Match the resin to the substrate. Epoxy bonds to wood, foam, and metal, and is the forgiving choice for a first build because it saturates the cloth fully and grips whatever is underneath. Polyester and vinylester need glass, metal, or a well-sealed surface, and they are harder to use well on plywood.
For cloth, woven is easier than chopped strand mat for a beginner because it holds a shape and shows you when it is dry. A practical starting schedule is one layer of mat, the core, then one to two woven plies on each side, tapering the extras into high-load areas like the transom, keel, stem, and chine.
Draw a fillet at every hard inside corner before you laminate. A radius of resin-reinforced glass at the corner is far stronger than the same glass with a sharp crease in it. Where a hull is genuinely load-bearing, safety-critical, or carries an engine, have a composite engineer review the schedule before you commit.
3. Measure, Cut, and Dry-Fit the Fiberglass
Measure the hull at several points rather than trusting the tape once. Cut every piece at least 2 inches larger than its finished area, since the extra becomes your overlap onto adjacent zones and your sanding margin.
Dry-fit each piece on the hull and mark the orientation with a small piece of tape. You are looking for flat panels over a compound curve, which means more plies rather than one stretched sheet, and for overlap where a panel ends.
Dry fitting catches every fit problem at zero cost. Once resin is in play you cannot reposition a stretched or buckled piece without tearing it, and restarts cost hours.
4. Mix Resin Safely and Apply the First Layer
Mix by volume or weight exactly as the data sheet says, and never by pouring straight from one container to another for anything other than polyester, which is often specified that way. A small test batch first teaches you the feel and the timing.
Stir the resin and hardener together thoroughly, scrape the sides and the bottom of the pot, and pot life starts from the moment they touch. Then spread a first thin coat, called a fill coat, over the prepared surface and let it become tacky but not cured. This seals the substrate and gives the first structural layer something to bond to.
Work in ventilated space, out of the wind, and keep a rag handy for drips. A skin-only hull just needs the fill coat plus one or two plies, and curing it to a hard film first is fine on a cosmetic job.
5. Add the Core and Structural Plies
Bed the core into the tacky fill coat, stagger its joints so seams never line up across a panel, and add extra plies at the transom, keel, stem, and chines. Where the core is cut, keep a generous margin of cloth onto the flat so the skins stand off rather than sinking in.
Low-density foam has enough buoyancy to lift and float during cure, so constrain it with weights, straps, or tape and keep it down until the resin grips. Cork and balsa stay put on their own. Do not bridge a gap between core pieces with a short of resin, because that creates a dry bridge that shows up as a crack later.
6. Saturate, Roll Out Bubbles, and Cure
Wet out the cloth from the middle outward with a brush or squeegee, pushing resin through the weave until the fabric goes uniformly translucent and no dry white patches remain. Saturate rather than flood, since excess resin creates a heavy, weak, printthrough-prone laminate.
Roll gently across the wet ply with a foam roller to press the cloth down and drive air out along the surface. Keep the tension light; over-stretching thins the glass and gives up strength. Resin-rich glass, pooled corners, and stiff streaks behind the roller all mean the roller went too far or too hard.
Follow the manufacturer’s cure schedule and let it cure rather than rushing it with forced heat. Cold slows everything; an epoxy that is not fully cured sands like cheese and dents under your hand.
7. Trim, Sand, and Fair the Hull
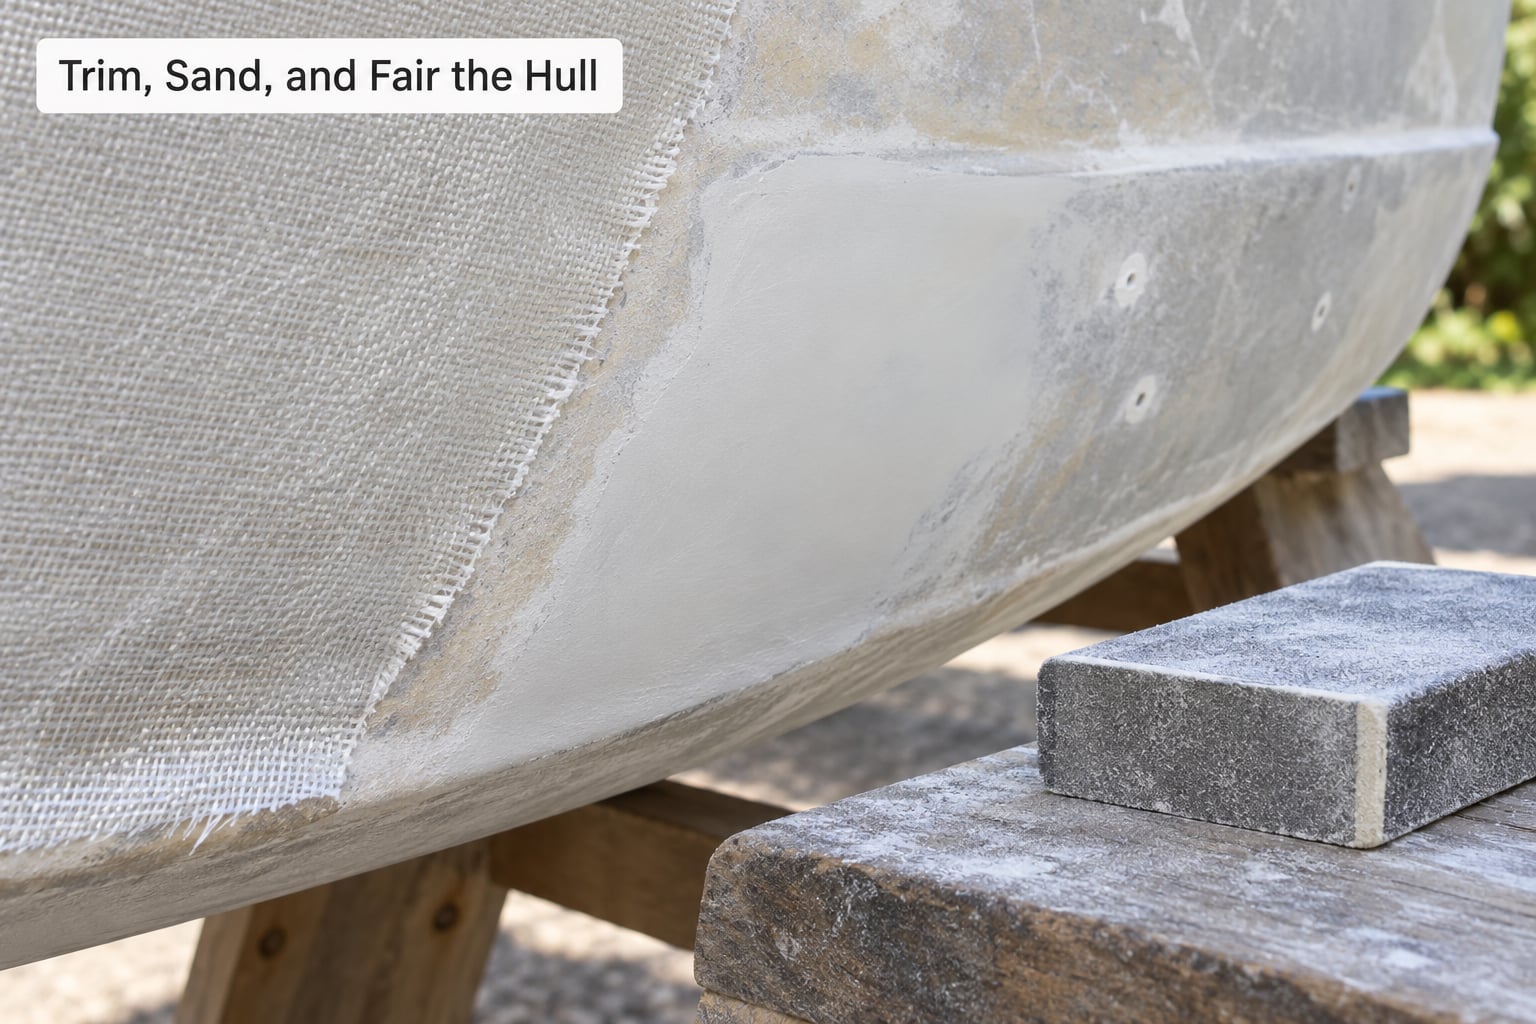
Trim the overhang once the laminate has hardened, and trimming while the resin is still soft is much easier than cutting it hard. Find a test area, usually an out-of-the-way spot, and press a fingernail or a coin against it to decide whether the resin has hardened enough to sand without gumming.
Sand progressively, from 120 to 180 to 320, and never through the structural cloth. Watch for exposed glass threads, which mean you are too deep, and for soft spots, which mean voids below the surface. Fill pinholes and low areas with a filling compound or epoxy filled with lightweight filler, then feather the repair edges and wet-sand the final coat.
Dust is a serious hazard here. A respirator and extraction matter, and a grinder without a shroud is a bad trade for a slightly faster surface.
8. Finish, Seal, and Inspect the Result
Pick a finish the cured laminate will actually accept. Epoxy generally does not take gelcoat reliably, so if you want gelcoat you should be building with polyester or vinylester from the start, or painting the epoxy with a compatible epoxy coating. Check the data sheet rather than assuming compatibility.
Clean the cured surface with a suitable solvent, apply thin controlled coats, and observe the stated cure and recoat windows. Thick coats trap solvent and stay soft, so more thin coats beat one thick one every time.
Inspect the whole hull in good light. Look for missed bubbles, exposed fibers, a chipping or lifting edge, or anywhere the finish dulls differently. Then be conservative on first use: float it in shallow, calm water, keep the load light for several trips, and let any new flex or softness in the laminate be a signal to stop and find out why.
Common Mistakes
Nearly every failed first hull comes down to one of these. Work through the list before you start, not after the laminate goes soft.
- Poor surface preparation. Filler, dirt, and wax under the laminate. Sand back to solid material, then clean and dry.
- Mixing resin systems. One hardener into another manufacturer’s resin. Use one system end to end and dispose of the leftovers as local hazardous waste.
- Guessing the mix ratio. Pouring back leftovers into the pot. Use pumps and mix the exact quantity you can use in the pot life.
- Over-wetting the cloth. The most cited beginner error. A resin-rich laminate is heavy, weak, and prone to printthrough. Add resin only where the fabric is still white.
- Trapped air. Fish eyes and bubbles where the cloth did not sit down. Roll from the middle outward and check from both sides.
- Stretching a single sheet over a compound curve. Cut narrower developable panels and add a seam, and let a coat cure to a tacky film between layers when you need time.
- Sanding too early or too deep. Undercured resin gums, and over-sanding takes out the structural plies. Test a spot and follow the grit sequence.
- Skipping fillets at hard corners. The crease becomes a crack. Radius it and run extra cloth down both sides.
- An incompatible finish. Gelcoat over cured epoxy is a common source of blistering. Match the finish to the resin system you used.
Two habits catch most defects early. Check the wet-out from underneath before the resin sets, because that is the last moment to fix it for free, and sand the whole hull in one direction so any printthrough reads as a consistent line rather than a random patch.
Frequently Asked Questions
Do I need to fiberglass the whole hull?
Usually you skin the wetted surface completely and concentrate plies where loads concentrate, at the transom, keel, stem, and chines. Some builders glass only the outside and use paint or varnish inside, which works on a protected interior. On a foam or cored hull, both skins matter: the inner skin is what stops the core from absorbing water. Any surface that stays wet gets glass, and any surface that carries load gets more glass.
Can I fiberglass a wooden, metal, or plastic hull?
Yes, but each substrate has a catch. Epoxy is the right choice for plywood, and it bonds to metal after thorough abrasion and cleaning. Bare ABS or polyethylene plastic will not hold a reliable bond without flame treatment, sanding and a bonding promoter, and gelcoat will not stick to it either. Learn how to fiberglass a small hull for beginners by testing the bond on a hidden offcut first, and treat vinylester on plastic as a specialist job.
What fiberglass cloth should a beginner use?
Start with chopped strand mat for the first layer because it wets out easily and holds filler, then use woven cloth in 6 to 8 oz for the main structural plies. Keep off heavy roving until you understand wet-out, since it is stiff, floppy, and easy to leave dry underneath. One weight of woven cloth, cut into narrow panels rather than one big sheet, is far easier to manage on a curve.
How much resin do I need for a small hull?
Manufacturers cite roughly 0.3 to 0.5 lb of resin per square foot for a light ply and closer to 0.75 lb for heavy cloth wetted out well. Multiply by your actual wetted surface area for both skins, add 20 percent for the pot and the waste, and buy one container. If you mean a hardener ratio, most epoxies are 3:1 by volume and some are 5:2, so read the label rather than assuming.
How do I know when the fiberglass laminate has cured?
Cure time is not when the surface stops looking wet. The practical test is hardness: press a fingernail firmly into an out-of-the-way spot. A mark that dents means keep waiting, and one that barely shows means you can start trimming. Follow the manufacturer’s schedule and temperature curve, since cold nights stretch cure times considerably, and do not force the schedule with concentrated heat.
Conclusion
Pick one resin system, check the substrate is solid and clean, and dry-fit every cloth piece before a drop of resin is mixed. That single afternoon of preparation decides whether the lay-up is easy or whether you spend the weekend cutting laminate out.
Then work slowly through wet-out and cure, keep the room ventilated, and get a composite professional to look at any hull that carries real loads or a motor.