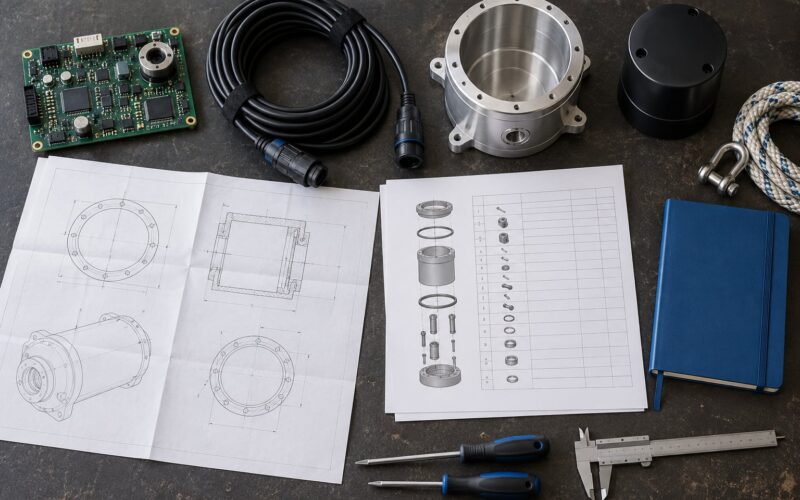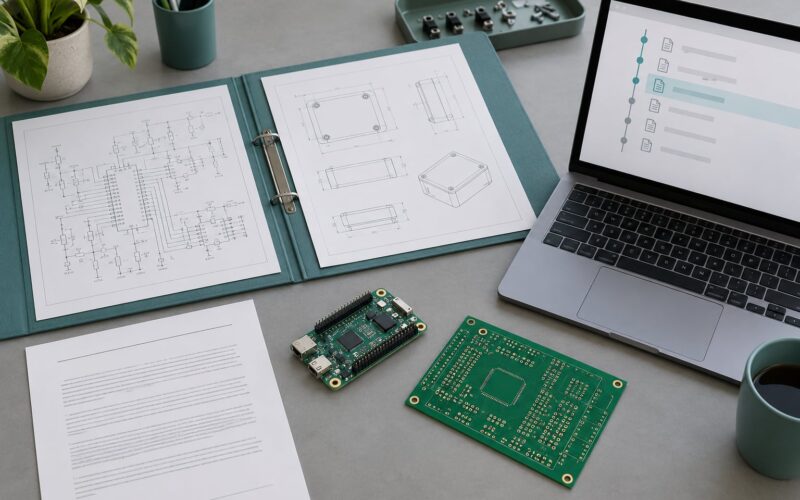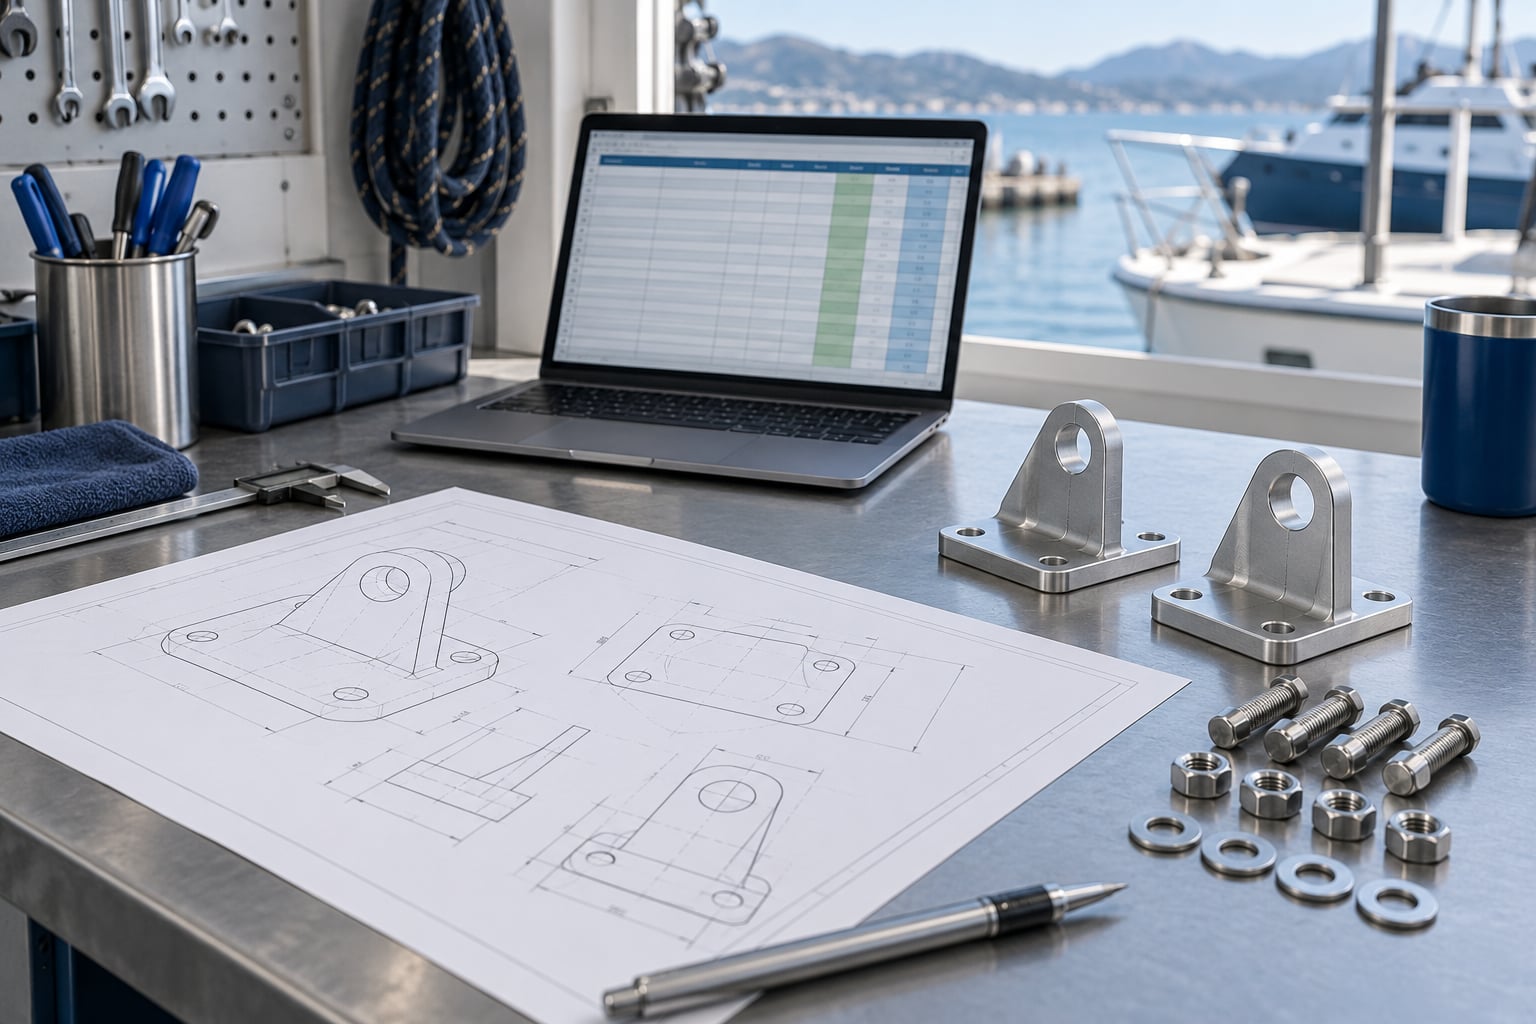
A bill of materials is a structured list of every part, material, and component in a build, with a quantity, unit of measure, part number, and cost for each line. If you have ever tried to rebuild something from a pile of photos and a memory of what you used, this is the document that stops that. Learning how to make a bill of materials takes about an afternoon for a one-off prototype rig, and it pays for itself the second time anything changes.
The process itself is not complicated: start from the finished assembly, break it into sub-assemblies and then into individual parts, give every unique item an identifier, record how many you need and where they come from, add costs, then check the whole thing against your drawings before anyone orders anything. Most of the work is discipline rather than software.
Table of Contents
- What You Need
- Step-by-Step
- 1. Define the Project Structure and Assembly Boundaries
- 2. Choose the Spreadsheet Structure for How to Make a Bill of Materials
- 3. Identify Every Part, Material, and Fastener
- 4. Add Sourcing, Specification, and Cost Details
- 5. Calculate Quantities and Extended Costs
- 6. Check the Bill of Materials for Errors
- 7. Export, Version, and Maintain the Document
- Common Mistakes and How to Make a Bill of Materials Reliable
- Frequently Asked Questions
- What is a bill of materials, and what should it include?
- Should a bill of materials be a spreadsheet, PDF, or CAD drawing?
- How do I convert a CAD assembly into a bill of materials?
- How should I record quantities, units, and supplier information?
- Can a bill of materials be used for an early prototype?
- How do I control revisions and approved substitutions?
- Conclusion
What You Need
Gather these before you open a spreadsheet. Scrambling mid-build is how the small fasteners go missing.
- Drawings or a clear design sketch. Dimensioned drawings, CAD files, or even hand sketches with measurements written on them.
- Specifications. Material grades, thread sizes, pressure and temperature ratings, ingress ratings, and any standard you need the part to meet (ISO, ASME, ASTM).
- A starting parts list. Anything you already know you need, even if it is a rough list in a notebook.
- Sourcing information. Manufacturer names, distributor listings, supplier references or URLs for components you intend to buy.
- Spreadsheet software. Excel, Google Sheets, LibreOffice Calc, or Numbers all do the job for a small build.
- An optional part-numbering system. Optional, but a simple scheme saves real pain once you pass a hundred lines.
For a marine hardware project, add the environment spec before anything else. Saltwater, pressure cycles, vibration, and UV exposure rule out plenty of parts that would survive fine indoors.
Step-by-Step
The test for a useful BOM is simple: someone who has never seen the project should be able to identify every part, purchase it, assemble it, and audit the build from the document alone. Work through these seven steps and you will get there.
1. Define the Project Structure and Assembly Boundaries
Write down what you are building, the revision it is currently at, and how many of them you intend to build. One prototype and a run of ten share the same BOM rows with different quantities, so state the build quantity up front rather than baking it into every line.
Then set the assembly boundaries. Decide which groups become sub-assemblies, because every sub-assembly becomes a parent row that its children roll up into. A sensor pod might break into an enclosure assembly, a mounting bracket assembly, and a harness assembly, with purchased parts and fasteners sitting at the bottom level.
Too many levels and the spreadsheet becomes unreadable. Too few and you cannot tell a shop what to fabricate as a unit. For most one-off rigs, three levels is the sweet spot.
2. Choose the Spreadsheet Structure for How to Make a Bill of Materials
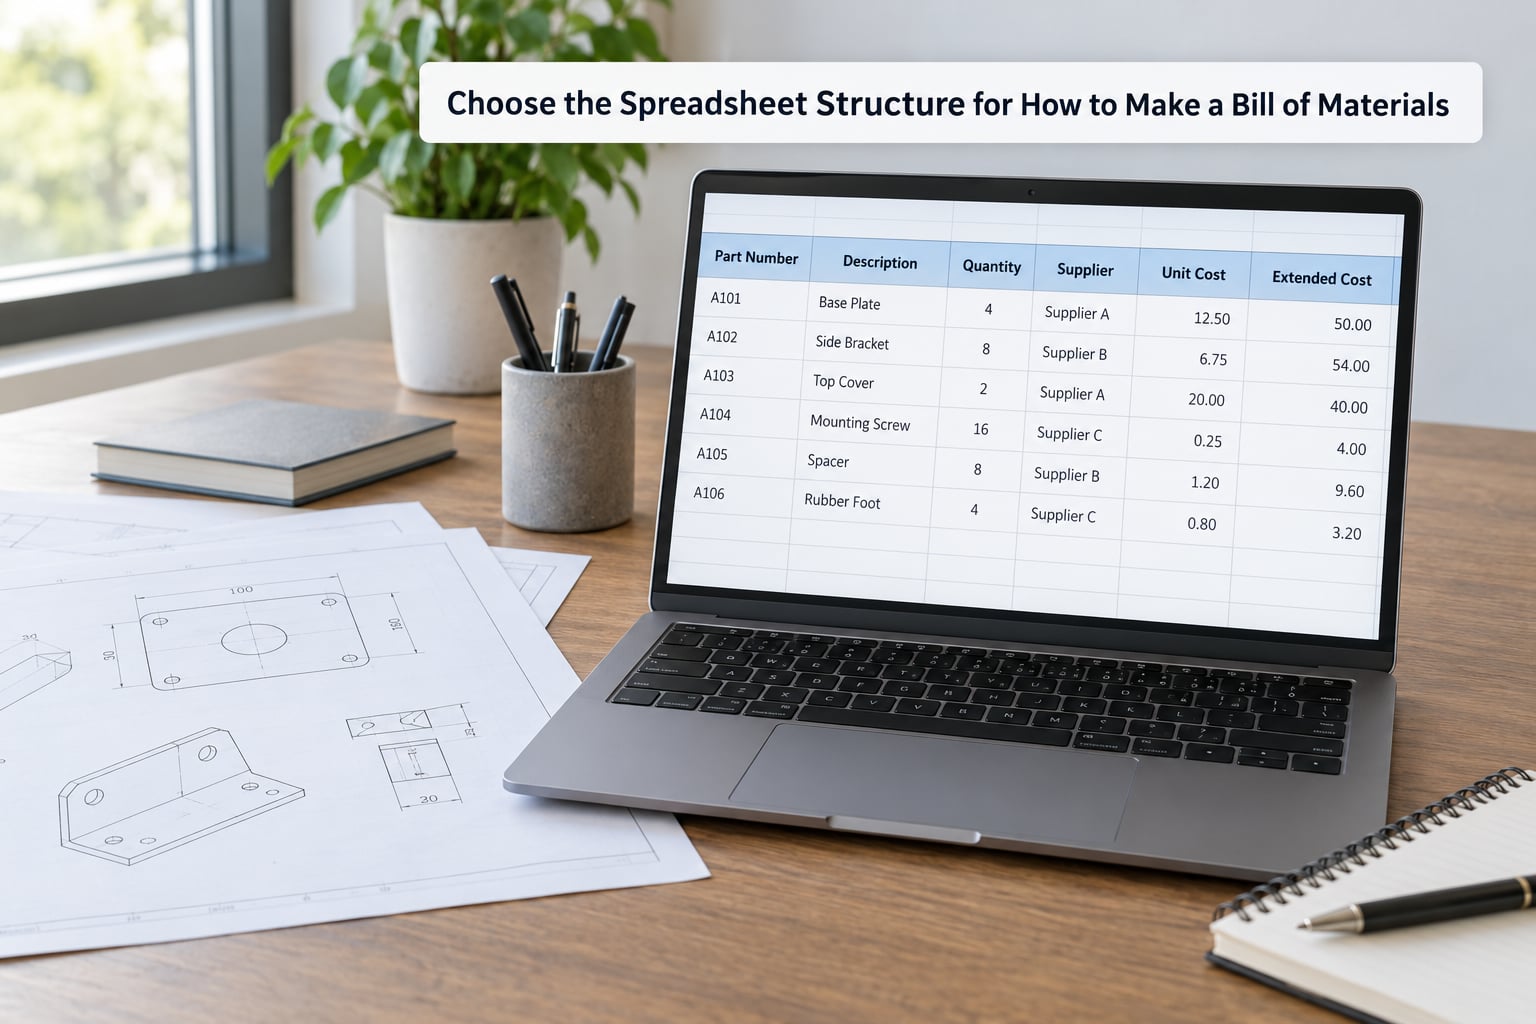
One row per unique part is the rule. Put each unique component on its own row and reference that row wherever the part appears, instead of repeating it under each sub-assembly. This single rule prevents most of the double-counting that makes hand-built BOMs untrustworthy.
Build these columns in this order, and keep the order fixed for the life of the document:
- Level — the assembly depth, so the indentation reads correctly.
- Part number — your own identifier, unique and never reused.
- Part name — a short, specific name, not a category.
- Description — material, size, rating, and anything that identifies the variant.
- Quantity — the count per parent assembly.
- Unit of measure — each, metre, kilogram, litre, sheet, box.
- Procurement type — purchased, fabricated, machined, printed, off-the-shelf.
- Manufacturer and supplier part number — so anyone can find the identical item again.
- Unit cost and extended cost — extended cost is quantity multiplied by unit cost.
- Lead time — useful for ordering, and honest about scheduling.
- Status — designed, quoted, ordered, received, installed.
- Notes and revision date — substitutions, finish spec, tooling notes.
Compared with a generic shopping list, this structure answers different questions. A shopping list says what to buy; this says what exists, how many, in what specification, from where, and whether the build can be audited later.
3. Identify Every Part, Material, and Fastener
Walk the assembly physically if you can, or sheet by sheet through the drawings. Go in assembly order: start at the parent, list what holds it together, then move to each child assembly and repeat.
Assign each unique item a part number the moment it appears, even if it is provisional. Mark it provisional rather than leaving it blank, because a blank number is how the same fitting ends up on three rows with three different names.
Record quantities per parent assembly. A four-hole bracket does not get four rows, it gets one row with a quantity of four, so the number survives into the rollup correctly.
Separate installed items from consumables. Adhesives, sealants, thread lock, potting compound, heat-shrink, wire, and packaging go on their own rows, even when they are trivial. They consume budget and they are the items most often forgotten at the bench.
4. Add Sourcing, Specification, and Cost Details
Now fill in what makes each part identifiable and buyable: dimensions, material, thread size, pressure rating, ingress rating, tolerance, standard, finish, and colour where it matters for a build someone else has to reproduce.
A worked marine example: a sensor enclosure listed as enclosure, polycarbonate, IP67, 120 x 80 x 45 mm tells you far more than enclosure. The first one can be ordered twice and match. The second one will produce two different purchases.
For the fasteners in that same build, the specification column carries the detail that matters on a vessel: passivation or coating for corrosion resistance, thread size, length, drive type, and whether a nylon insert is required for vibration. The connectors carry their mating configuration, number of contacts, cable diameter range, and the IP rating when the cable gland is part of the assembly. Sealant and gaskets carry the compound type and the cure time that affects your assembly schedule.
Add the manufacturer and supplier part number even when you found the item on a distributor listing. Distributor listings get retired, and a manufacturer part number survives the change.
5. Calculate Quantities and Extended Costs
Extended cost is quantity multiplied by unit cost, computed for each line. Then roll each sub-assembly’s lines into a single subtotal on the parent row, and the top assembly’s subtotals into the build total.
Keep estimates and quotations in separate columns. A number you typed from a catalogue page is an estimate, and mixing it silently with a written supplier quotation produces a total that looks authoritative and is not.
Add a contingency percentage at the project level rather than inflating individual line items. When every part looks 15 percent dearer, nobody can tell which line was padded, and nobody can tell which line went up.
Tax, freight, and duty belong in their own rows at the top level for the same reason: they are not part of any single assembly, and folding them into a part cost corrupts that part’s history.
6. Check the Bill of Materials for Errors
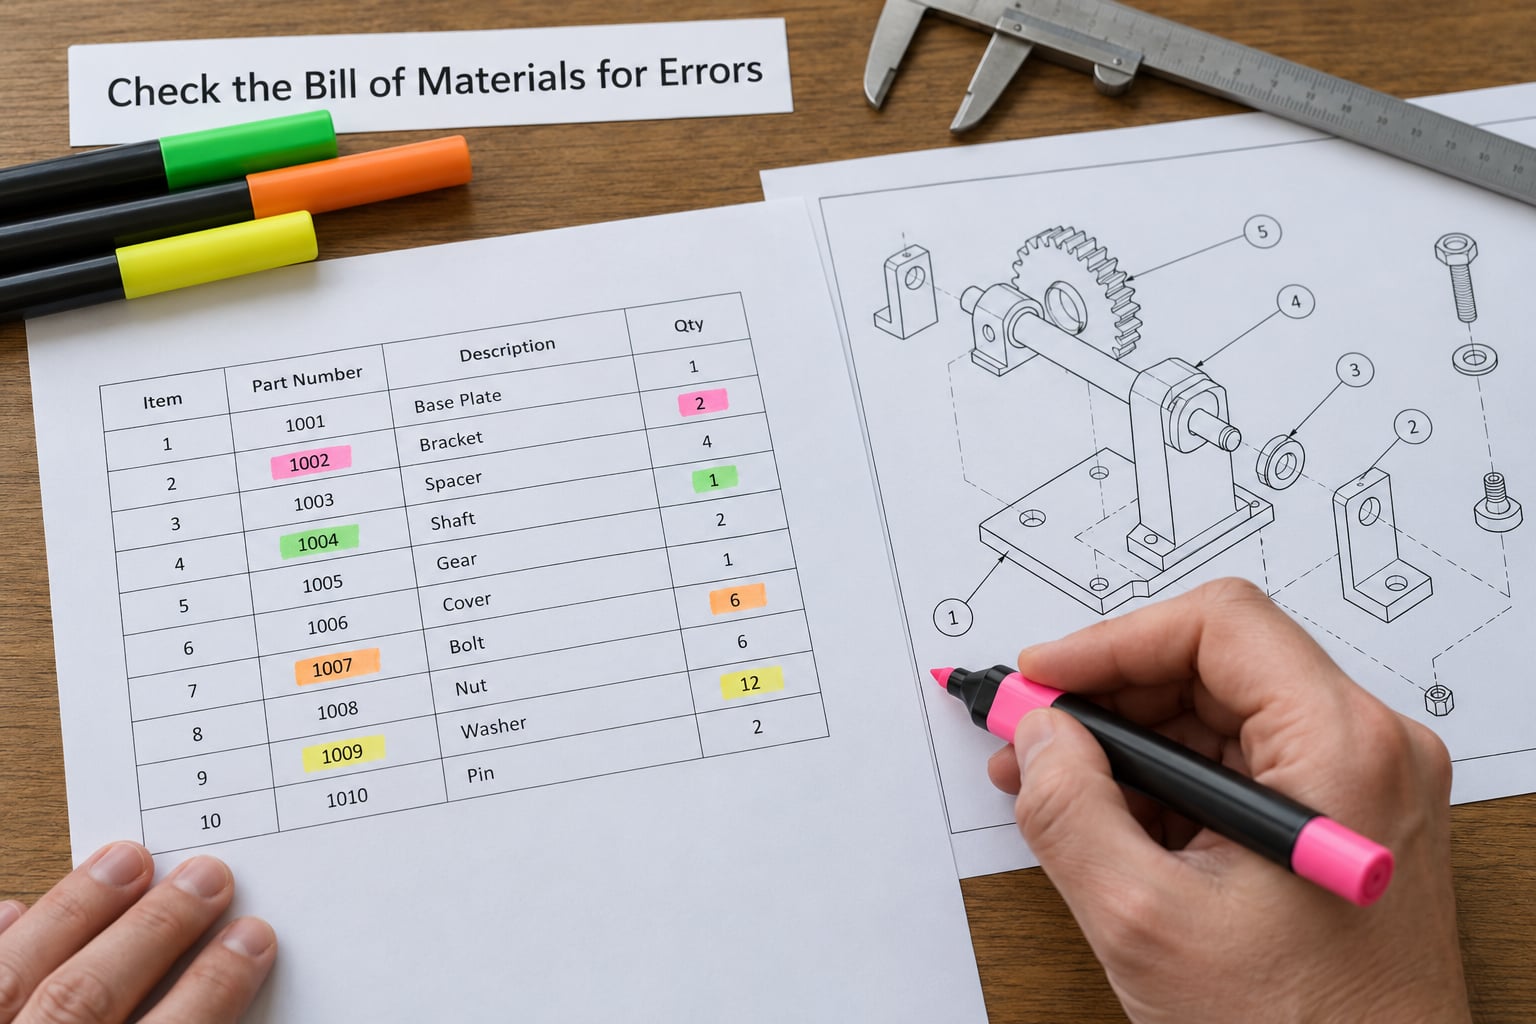
Run a validation pass before anyone orders. Most of these checks take a minute and catch nearly every expensive error:
- Every part on the drawings appears exactly once as a row.
- No duplicate part numbers, and no two part numbers describing the same item.
- Quantities per parent match the drawings, not your memory.
- Unit of measure is consistent on every row and correct for the item.
- Every purchased part has a manufacturer and supplier part number.
- Every fabricated part has its material, finish, and tolerance written out.
- Fasteners, adhesives, sealants, and wiring are present as rows.
- Extended costs recalculate correctly and sub-assembly subtotals match their children.
- Part prices match the revision the document says it belongs to.
- The revision label on the BOM matches the revision on the drawings.
Cross-check totals two ways. Recalculate the extended cost column and confirm the build total by hand against a few lines. If a subtotal disagrees with its children, the parent quantity is usually the culprit.
7. Export, Version, and Maintain the Document
When the check passes, freeze the build revision. Name it something boring and unambiguous, such as the project code with a revision letter and date, and treat it as frozen from that moment.
Keep the editable source file and also produce a readable PDF for anyone who only needs to read or print it. Shop-floor copies get marked up; a marked-up PDF is fine, but it is not the record.
Log every change after release: what changed, why, who approved it, and which parts it affects. When a part is substituted, add a new row or annotate the existing row with the substitute’s part number and the approval. Never silently overwrite the original entry, because the earlier record is the only evidence of what the original design actually specified.
Set a review rhythm. Re-check quoted costs and lead times before each procurement round, and re-verify the whole document whenever a drawing revision lands.
Common Mistakes and How to Make a Bill of Materials Reliable
Most unreliable BOMs fail in a handful of predictable ways:
- Vague part names. “Bracket”, “connector”, or “hose” describe categories, not parts. Fix it by adding material, size, rating, and the manufacturer part number so the row identifies one specific object.
- Mixed unit of measure. One row in millimetres and the next in inches invites conversion mistakes. Fix it by picking one unit per material type and naming the unit in the column.
- Duplicate line items. The same fitting listed under two sub-assemblies with slightly different names. Fix it with one row per unique part, referenced from each parent.
- Omitted fasteners and consumables. Screws, rivets, thread lock, and cable ties are physically present and usually unbudgeted. Fix it by walking the assembly with a hardware list in hand before costing.
- Stale costs. A price typed eight months ago still looks authoritative in the column. Fix it by stamping every price with a date and re-checking before each purchase.
- Uncontrolled substitutions. A part swapped on the bench with no record, so the BOM and the finished object disagree. Fix it by logging each substitution against its row with the approval attached.
- No revision identity. A BOM with no revision label cannot be compared to anything later. Fix it by writing the revision into the document header and the file name.
- Quantity explosion errors. Parent quantities multiplied incorrectly across levels, so a sub-assembly appears twice as often as it should. Fix it by recalculating subtotals from the leaf rows, never by typing a parent total.
Two habits keep a BOM trustworthy over time. First, never edit a released revision: cut a new one and log the change. Second, keep the BOM next to the build, not in a folder someone has to remember. On small teams, a shared spreadsheet works right up until a second person starts editing it, at which point version history, locking, and a change log stop being optional.
One thing a BOM does not record, and it is worth being explicit about: labour hours, tooling, and machine time. It describes the material content of a build. Costing the work belongs in a separate estimate, or in your own head, depending on how you are running the project.
Frequently Asked Questions
What is a bill of materials, and what should it include?
A bill of materials is a structured list of every part, material, and component in a build, with a quantity and unit of measure for each line. At minimum it carries a unique part number, a specific part name, a description with material and size, the quantity per parent assembly, the procurement type, and a manufacturer or supplier part number so the exact item can be found again. Costs, lead times, status, and revision information make it useful rather than merely complete.
Should a bill of materials be a spreadsheet, PDF, or CAD drawing?
Keep the editable master as a spreadsheet so quantities and costs can recalculate, and release a PDF for anyone who only needs to read or print it. A CAD drawing is not a bill of materials, although most CAD tools can export one. Whichever tool you start in, the structure matters more than the file type: one row per unique part, a stable column order, and a revision label on the document.
How do I convert a CAD assembly into a bill of materials?
Open the assembly and run the built-in bill of materials report, set to output only the parts you have actually purchased or fabricated, then export to CSV or Excel. Import that into your own template and map the exported fields onto your column order. Check the result carefully, because exported tables often carry suppressed or reference-only components that inflate quantities, and fasteners usually appear as separate rows per screw unless you group them.
How should I record quantities, units, and supplier information?
Record quantity as a count per parent assembly, never as a running total for the whole project, so it rolls up correctly when you change the build quantity. Name the unit of measure on every row, such as each, metre, kilogram, litre, or sheet. For sourcing, record both the manufacturer and the supplier part number, plus the unit cost with the date it was checked, since listings and prices change.
Can a bill of materials be used for an early prototype?
Yes, and for early work it is more useful than people expect. A rough BOM on a first prototype tells you which parts exist, which have long lead times, and whether the design is even affordable before you commit tooling or fabrication time. Mark uncertain specifications as provisional rather than leaving them blank, and expect to revise the list as the prototype teaches you what it actually needs.
How do I control revisions and approved substitutions?
Put a revision identifier and date in the document header and in the file name, and freeze a revision before anyone places an order. After that, never overwrite a released revision: cut a new one and log what changed, why, and who approved it. Record substitutions on the affected row with the substitute part number and the approval, so the original design specification survives alongside what was actually built.
Conclusion
Start with the build revision and a spreadsheet that has one row per unique part, then fill in specifications, sourcing, and costs on top of that skeleton. Everything else, the rollups, the checklists, the change log, works only if the part list underneath it is correct. Keep the drawings beside it, freeze the revision before you order, and never overwrite a released version.