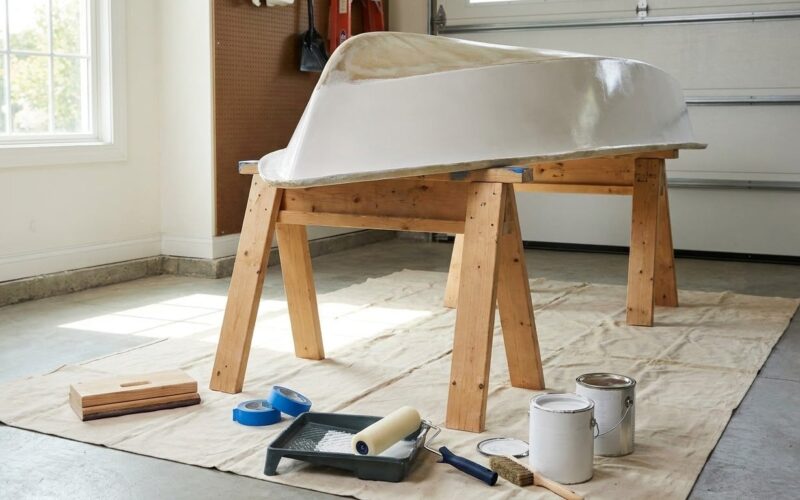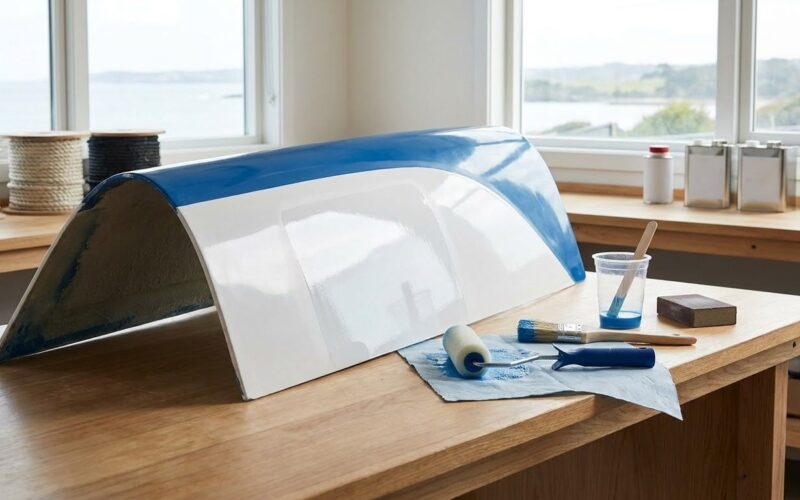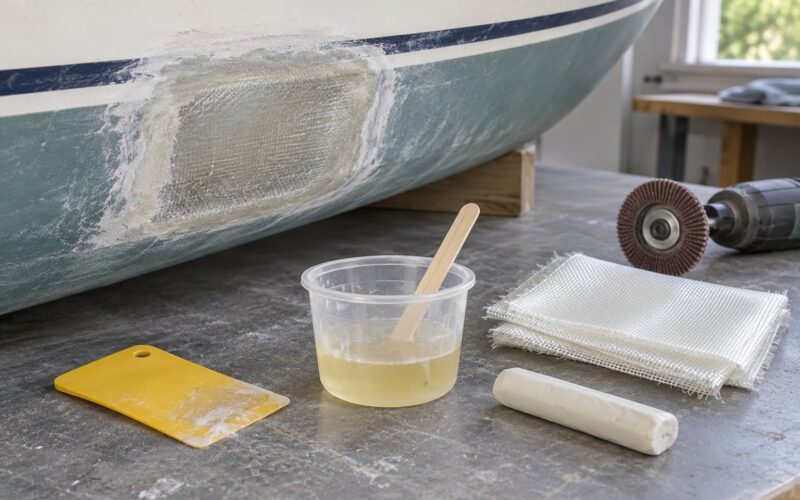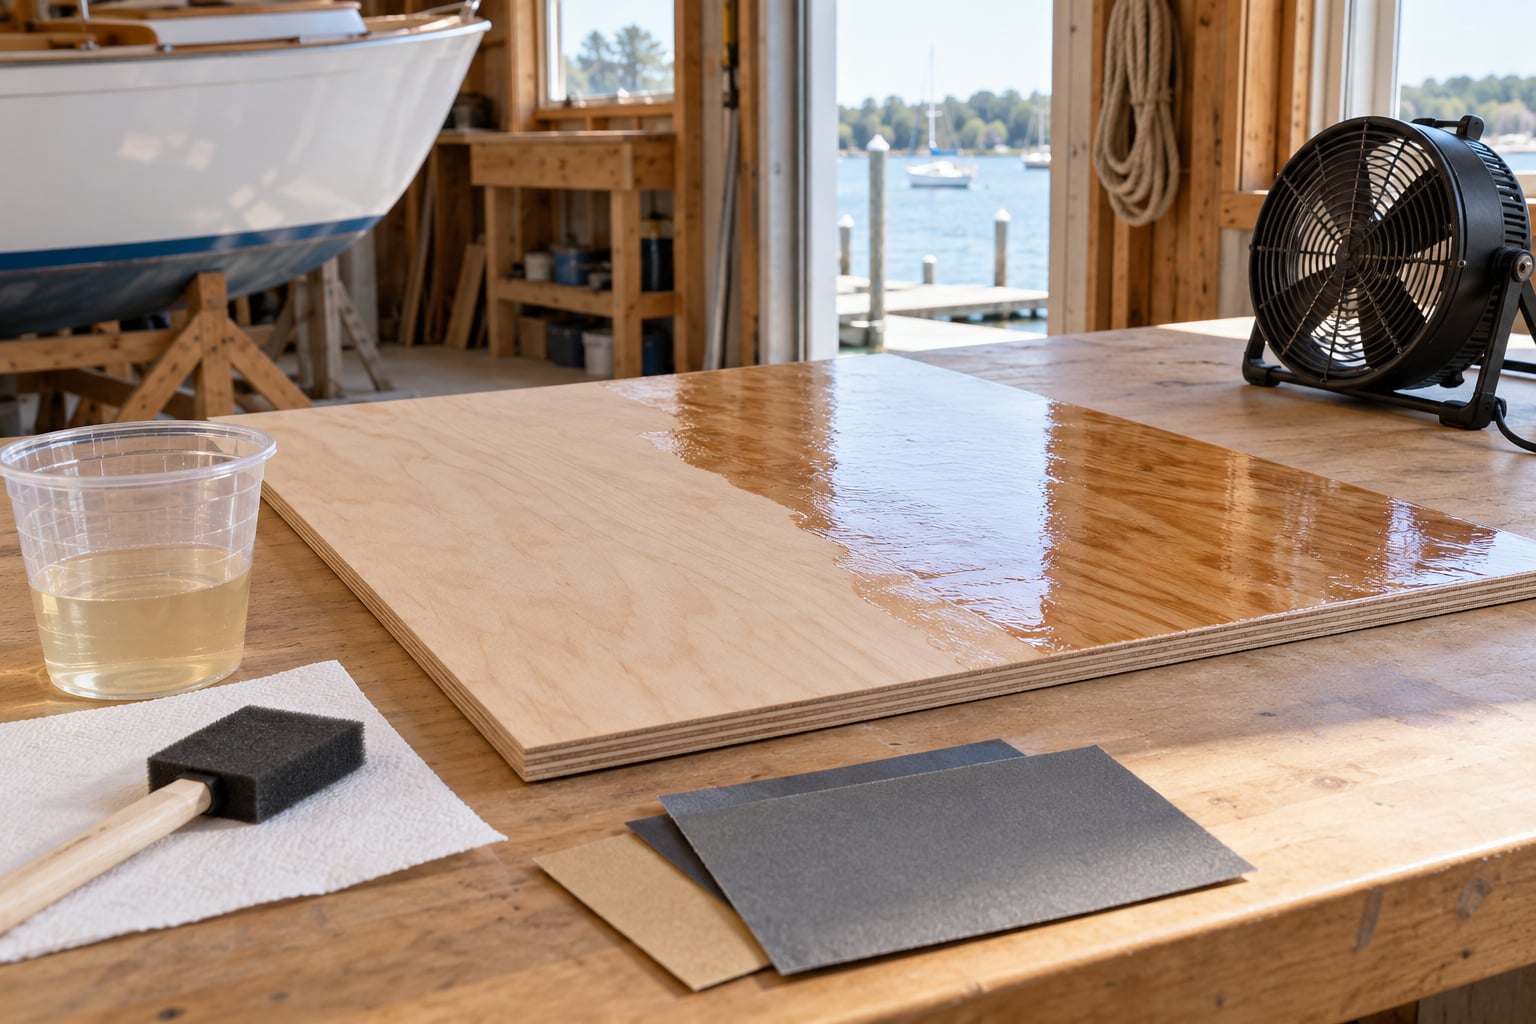
To seal plywood for marine use, coat every surface — both faces, all four edges, and every drilled hole — with a clear penetrating epoxy resin, working the resin into the end grain until it stops soaking in. Sealing one face is the single most common mistake, and the untreated face is exactly the one that ends up hidden where nobody checks it.
Even genuine marine plywood only has waterproof glue. The veneers themselves are ordinary wood, so untreated edges wick water, the layers swell apart, and dry rot follows within a few seasons. Encapsulating every face is what turns a plywood panel into something that survives a hull, a foredeck, or a dock.
The work itself is an afternoon for a single panel. The hard part is discipline: mixing ratios, edge coverage, and not rushing the cure between coats.
Updated for 2026
Table of Contents
What You Need

The right system depends almost entirely on where the panel lives. A panel that sits permanently underwater, one that only gets splashed, and one tucked under a roof over a cockpit are three different jobs.
For continuously immersed work — a hull bottom, a transom, a float or pontoon section — you want a two-part epoxy that bonds chemically to bare wood and forms a tough film. Splash-zone work above the waterline (a foredeck, a cockpit sole) can use the same epoxy followed by a topcoat. Mainly weather-protected panels, like interior joinery or a cabin ceiling, take epoxy, varnish or paint with far less demand on the coating.
Materials and tools:
- Marine-grade or exterior-grade plywood (see step 1 for how to tell)
- Two-part epoxy resin and hardener, or a clear penetrating epoxy sealer
- 80-grit and 120 to 220-grit sandpaper, plus a sanding block
- Foam brush or short-nap roller for coats, small brush for edges and holes
- Accurate mixing cups or a graduated dispenser, and a stirrer
- Epoxy putty for knots, checks and fastener holes
- Acetone or similar solvent and a tack cloth for cleaning
- Nitrile gloves, eye protection, a respirator rated for organic vapours, and ventilation
- Optional: fibreglass cloth, epoxy primer, marine paint or varnish
Different sealers, compared:
| Sealer | Waterproofing | Adhesion and flex | UV and maintenance | Best use |
|---|---|---|---|---|
| Two-part epoxy | Excellent once cured | Bonds chemically, stays flexible | Needs a topcoat outdoors; low-maintenance | Hulls, decks, anything immersed or splashed |
| Polyester resin | Good | Adhesive but shrinks and cracks | Needs a topcoat; moderate | Glass work on panels already sealed in epoxy |
| Marine varnish or spar varnish | Good film, thin penetration | Film on top of the wood, so scratches matter | Recoat every season or two | Weather-protected interiors, varnished topsides |
| Marine polyurethane | Good | Hard and durable, less forgiving of movement | Long-lasting, recoat less often | Exterior panels that will be painted or left bright |
| Penetrating oil | Minimal | Soaks in, no film | Needs frequent refreshing | Dock furniture and planters, not structural panels |
Step-by-Step: How to Seal Plywood for Marine Use
1. Choose the Plywood and Sealing System
Marine plywood is not a different species of tree — it is a construction standard. Genuine marine ply (BS 1088 or the AS 2082 equivalent) is built from thin veneers with a high-quality waterproof glue and, critically, no voids in the bond. Ordinary exterior-grade plywood has a water-resistant glue that eventually gives up, and construction-grade ply has voids and open gaps that soak up resin and water like a sponge.
Look for a stamp or certificate on the panel edge naming the standard, and check the cut edge for continuous glue lines without gaps. If you cannot confirm the grade, sealing matters even more — that is how you level the playing field between an unknown panel and a certified one.
Then match the system to the exposure. Continuous immersion or structural flexing calls for epoxy, ideally with glass cloth. Splash zone and above-water work adds a fairing or primer coat and a marine topcoat. Protected interiors can take varnish or polyurethane over epoxy.
2. Cut, Drill, and Shape the Plywood
Machine the panel completely before sealing. Every cut, drill hole and routed shape made after coating means a bare edge that has to be masked, patched and re-sealed later.
While the panel is still open, mark the places that will get extra attention: exposed end grain at every cut edge, all fastener holes and countersinks, tight inside corners, and any spot where two pieces will butt together. Oversize the holes you intend to fill with putty rather than trying to make a small hole vanish under a brush.
3. Clean and Round the Edges
Wash the panel down to remove dust, oil, salt and handling grime, then let it dry completely. Epoxy will not bond to a damp surface, and moisture trapped under a coating ends up as blisters later.
Break every sharp edge with sandpaper. A square arris is a weak line that can chip, and it gives the resin nothing to grip. A 1 to 2 mm round is enough.
Look for raised grain, lifted veneer or delamination at the edges. Sand those back to sound wood and fill with putty. Coating over a defect traps it and makes the failure worse.
4. Fill Voids and Sand the Surface
Work 80-grit sandpaper over the whole panel to give the epoxy something mechanical to hold on to. Go with the grain, then cross-sand lightly. Vacuum or wipe the dust off — a dust speck under a clear coat stays visible forever.
Fill knots, checks, screw holes and countersinks with epoxy putty, pressing it in with a gloved finger slightly proud of the surface. Let it cure, then sand flush with 120 to 220-grit. This step is what keeps a fastener hole from becoming a small reservoir with a rusty screw in it.
Watch the edges while sanding. Epoxy-soaked end grain sits proud and is easy to sand back to bare wood, which defeats the whole point — if you see raw grain, give that edge another coat.
5. Apply the First Sealer Coat
Mix resin and hardener exactly as the product instructions state, by volume or weight as specified, and stir thoroughly for the full time given. Mix in small batches. A large batch in warm conditions can exotherm, go hot in the pot, and take the whole mixing vessel with it.
Pouring a measured stream along the panel and spreading it with a foam brush works better than dipping a brush, which wastes resin and loads it too heavily. Work a wet edge to keep the coat continuous, and lay off any drips and runs before they cure.
Give the edges and end grain their own coat with a small brush, working the resin in rather than painting it on. End grain drinks far more than a face does, so expect to see it disappear and go back over it.
You know the coat is adequate when the wood is uniformly darker, the grain is still visible through the resin, and there are no dull matte patches left dry.
6. Cure, Sand, and Repeat
Follow the cure schedule printed on your product rather than a fixed number of hours from memory. Cure time varies with temperature, humidity, the thickness of the pour and the hardener chemistry. Touching a panel too early leaves a fingerprint in the finish and can cloud the whole surface.
Once cured, scuff the surface lightly with 120 to 220-grit to give the next coat something to grip, and remove the sanding dust completely. Then apply the next coat the same way, edges included.
Two or three coats is normal for sealing work, and the standard build for a reinforced panel is one coat of epoxy, one layer of glass cloth if the panel needs it, then two further coats to fill the weave and pores. Keep going until the finish looks continuous, with no pinholes, dry patches or dull areas.
7. Finish Edges, Fasteners, and Final Details
Edges are the top failure point in real builds, and experienced builders on the iBoats forum sequences them last — after the glass is down, not before. If you are bedding plywood into a GRP foredeck, seal the perimeter after the glass lay-up, when the edge is accessible and no further sanding will disturb it.
Add glass cloth where the panel flexes or takes impact. Resin on its own will eventually crack as the hull works; a layer of woven or biaxial cloth bridges that movement and takes the load. Wet it out properly — dry spots in the weave become weak spots under load.
Cover countersinks and bolt heads with epoxy or epoxy putty so no bare metal sits in a water trap. Then decide the topcoat: epoxy primer plus marine paint over epoxy for colour, a fairing compound between coats where you need a smooth surface, or additional glass for a heavier structure. Check the paint or varnish maker’s guidance on what it will stick to, and use a compatible primer where required.
8. Inspect and Cure Before Use
Before the panel goes anywhere near water, walk the whole surface with the light raking across it. Look for runs, fisheyes, pinholes, bubbles, soft uncured patches and any area where the finish has a different sheen.
Bubbles and fisheyes mean moisture, contamination or poor mixing under the film. Cut them out and fill with a small batch of epoxy rather than coating over them. Soft spots mean the resin did not cure; scrape them back to clean wood and start that area again.
Give the finished panel the full cure the manufacturer specifies before loading it, launching it or flexing it. Epoxy gets strong well before it reaches full strength, and early flexing is how you get micro-cracking that shows up a season later.
Work in gloves, eye protection and a respirator, with real ventilation. Two-part epoxy is a skin sensitiser: once you react to it, it stays a problem. Keep the SDS sheet with the product and follow it.
Common Mistakes
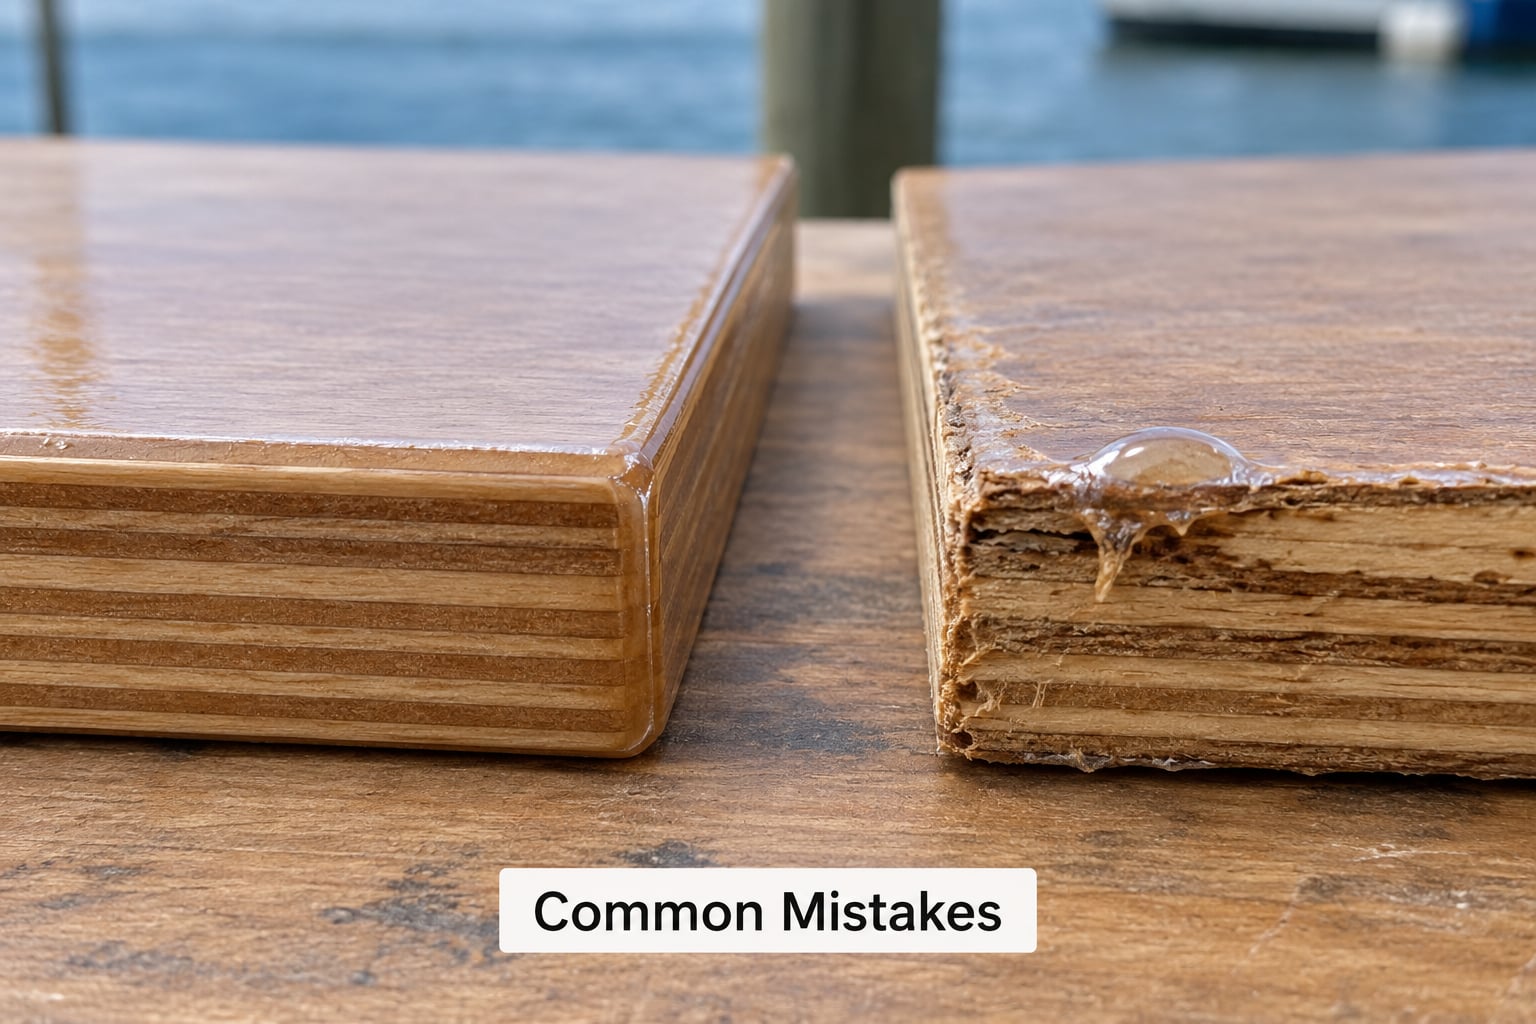
Sealing damp or contaminated plywood
Epoxy will not bond to wet or oily wood, and the panel must be dry through, not just on the surface. Wash contaminants off before sealing rather than trying to coat over salt, wax or mould release film.
Sealing only one face
This is the most widespread error, and the uncoated side is usually the one bolted against a hull or a frame where it never gets checked. Seal both faces, even the one nobody will ever see.
Leaving edges and end grain bare
End grain absorbs water several times faster than a face. Give edges their own coat, worked in with a small brush, and re-check them after every coat and every sanding.
Mixing by guesswork
Off-ratio epoxy cures soft or never cures at all. Measure carefully, stir for the full time given, and mix smaller batches than you think you need in warm weather, where pot life shrinks fast.
Stacking coats before the previous one is cured
Applying the next coat onto a soft surface traps solvent and locks in a hazy layer. Recoat on the manufacturer’s schedule, and confirm the surface is hard to the fingernail rather than merely dry to the touch.
Sanding through the sealer
Sand through one coat and you expose raw end grain to water again. Use a lighter grit on later coats and check the edges with a thumb after every pass.
Assuming plywood is already waterproof
Marine-grade ply has a waterproof glue, not waterproof veneers. Without encapsulation, a season of standing water will separate the layers no matter how good the panel was.
Frequently Asked Questions
Is exterior plywood the same as marine plywood?
No. Marine plywood is a graded construction standard, usually BS 1088 or AS 2082, with a waterproof glue and no voids in the bond. Exterior-grade plywood has a water-resistant glue that eventually fails, and construction-grade has voids that soak up water and resin. If you cannot confirm the grade, sealing every face and edge is how you protect the panel regardless.
Can you seal plywood with regular epoxy?
Yes. A two-part marine or general-purpose epoxy is the standard choice for sealing plywood, and it bonds chemically to bare wood rather than sitting on top as a film. Mix resin and hardener at exactly the ratio the product states, apply to all faces and edges, and recoat on the manufacturer cure schedule. Use a coating rated for immersion if the panel will be underwater.
What is the best sealer for plywood used on a boat deck?
Clear penetrating epoxy, followed by glass cloth where the deck flexes or takes impact, then a fairing or primer coat and a marine topcoat. Experienced builders sequence the edge sealing after the glass lay-up so the finished edge is continuous. The standard build is one coat of epoxy, one layer of cloth where needed, then two further coats to fill the weave and pores.
Should plywood edges and screw holes be sealed separately?
Yes, treat them as their own job. End grain absorbs water far faster than a face and is where delamination usually starts, so work resin into it with a small brush and give it extra coats. Fill countersinks and oversized fastener holes with epoxy putty, sand flush, and coat over them, so no bare metal or open hole sits in a water trap.
How long does sealed plywood need to cure before getting wet?
Use the cure schedule printed on your epoxy rather than a fixed number of hours, since temperature, humidity and hardener chemistry all change it. Let the panel reach full cure before launching it or flexing it, because epoxy gains strength over time and early loading invites micro-cracking. If you can, keep it dry for several days longer than the stated schedule to be safe.
Conclusion
Start by naming the exposure condition — immersed, splash zone, or weather-protected — then pick a coating system that is rated for it. Cut and drill the panel, wash it dry, sand and fill, then coat every face and edge in clear penetrating epoxy, working the end grain until it stops drinking.
Recoat on the manufacturer’s cure schedule, sand lightly between coats, and keep going until the finish is continuous. Seal the edges and fasteners last, after any glass lay-up. That sequence is what stops the panel from rotting from the inside out.