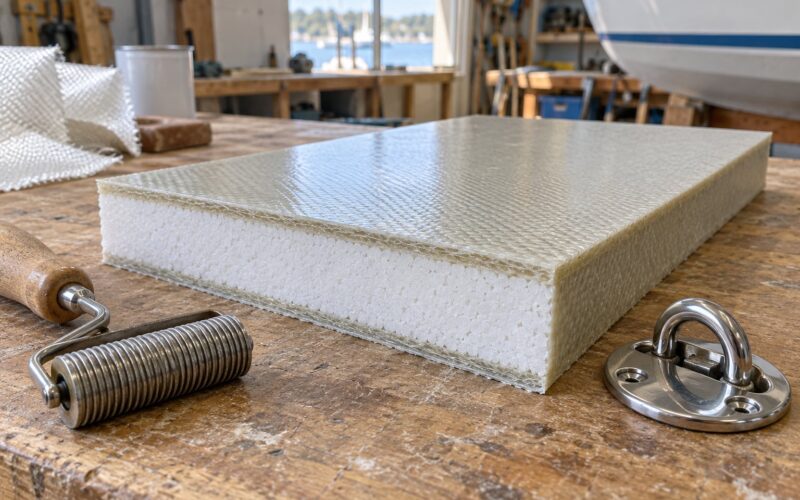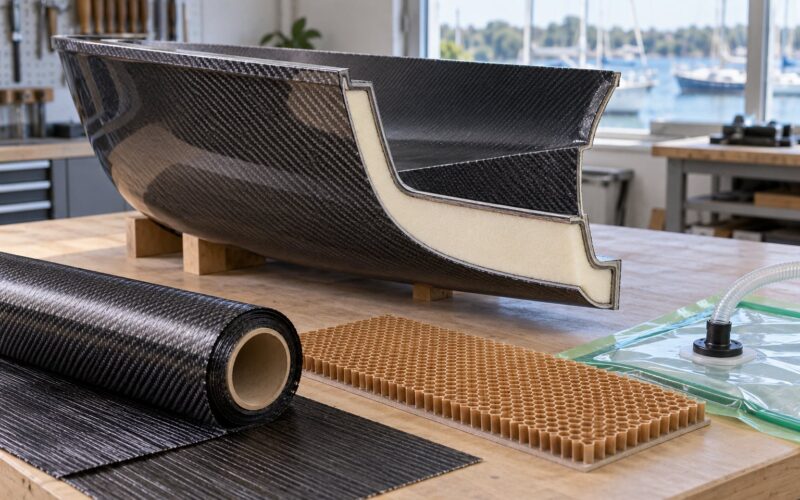
Epoxy is the right answer to what epoxy to use for boat repairs in almost every case, because it bonds to cured polyester, vinylester, epoxy, wood and metal, and it cures in cold conditions that stop polyester resin dead. Pick the format by the job: liquid resin for wet-out and lamination, thickener added for vertical and overhead surfaces, putty for filling, fairing compound for the last coat before paint.
What epoxy will not do is stick reliably to a surface you did not prepare properly. Preparation decides almost every repair outcome, so plan for an afternoon of grinding and wiping before you open a single cup. Budget a full weekend for anything structural on a hull that flexes, plus drying time.
Table of Contents
What You Need
Work out the repair before you shop. A ding in gelcoat and a soft transom core want completely different products, and buying a single tub of general-purpose epoxy for both jobs is how people end up sanding a structural bond back off in three months.
Before starting, work through these items:
- Epoxy in the format the job needs — liquid resin and hardener for wet-out and bonding, high-filler putty for holes and voids, low-filler fairing compound for the final surface, and a thickener additive if any of it goes on a vertical hull side or overhead.
- Reinforcement — fiberglass cloth or biaxial fabric for laminate patches, balsa, plywood or foam for core replacement, and a stiff spreader for deep fills.
- Preparation tools — a random-orbit or belt sander, 60 to 120 grit for shaping, a razor scraper, a vacuum, and masking tape and plastic sheeting.
- Cleaning — acetone or denatured alcohol, lint-free wipes, clean mixing cups, and a paddle plus a timer.
- Protection — nitrile gloves, safety glasses with side shields, a particulate respirator for grinding, and ventilation. Uncured epoxy amine is a skin sensitizer and the damage keeps compounding each time you touch it afterwards.
- Finishing — a spreader, medium and fine grit paper, and gelcoat, primer or antifouling barrier coat for the final barrier layer below the waterline.
Step-by-Step
The sequence below runs from diagnosis to final check. Each step has a signal that tells you it worked, so you can stop and fix one stage instead of finding out three coats later that the bond was never there.
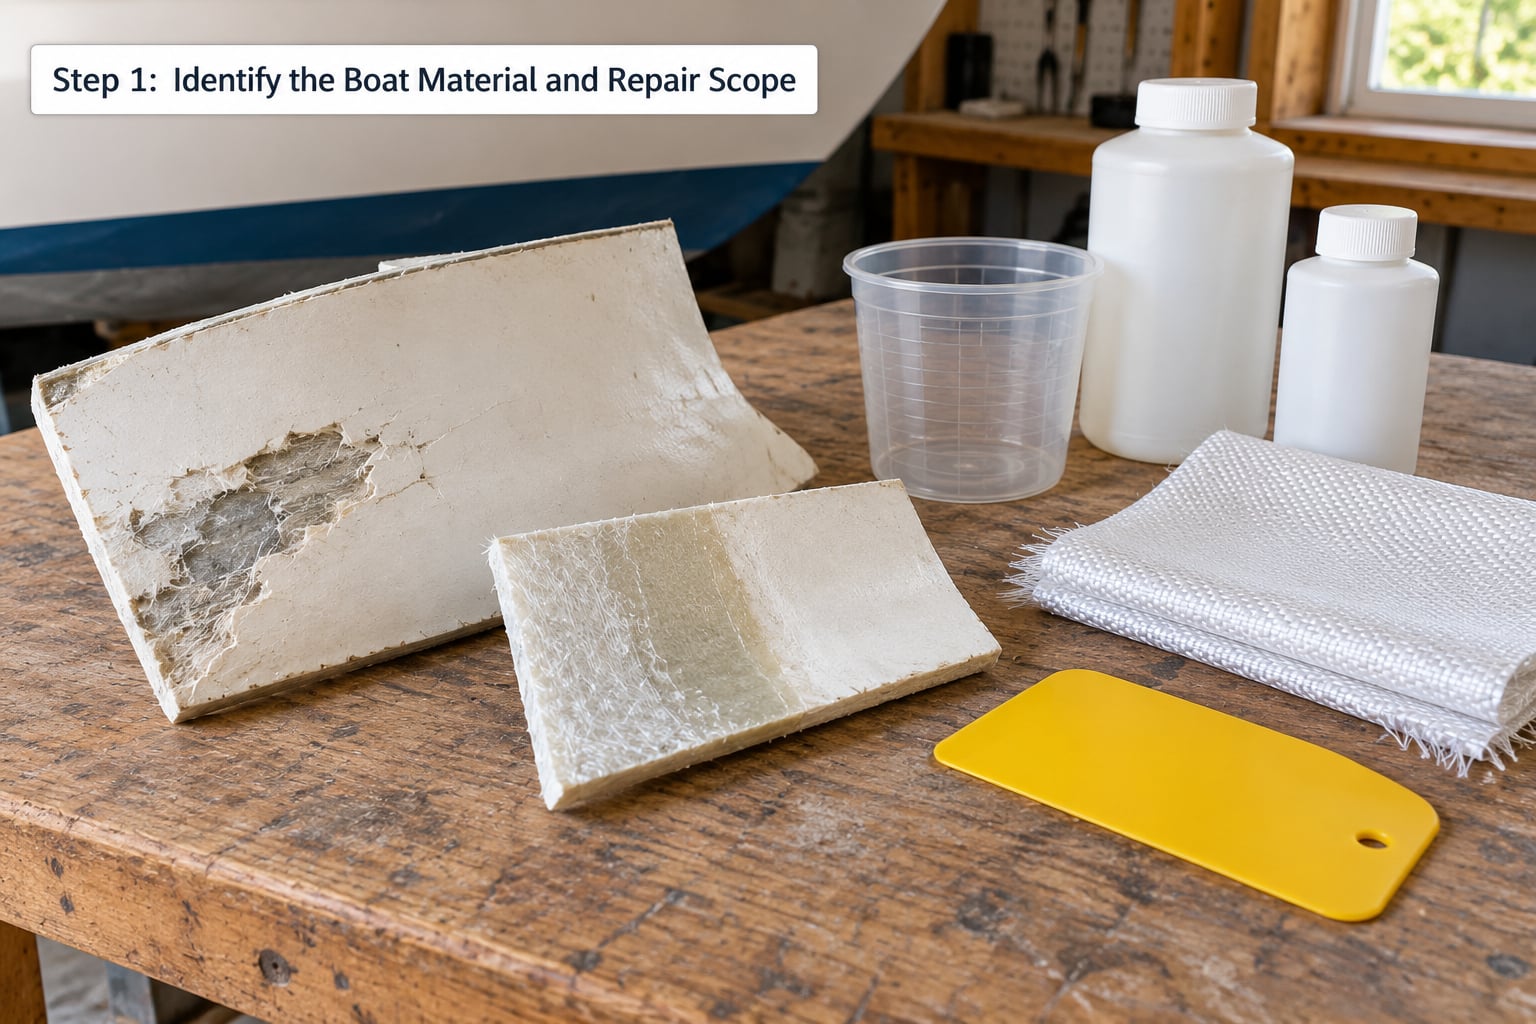
Step 1: Identify the Boat Material and Repair Scope
Identify the material and the load first, because both decide the product. Fiberglass feels abrasive and dusty when ground and leaves a chalky white powder; aluminum comes with a thin mill scale or factory primer; steel may carry rust scale; wood shows grain and, in a rotten area, a soft, dark, sour-smelling core; and a coating-only damage stops at gelcoat with sound laminate underneath.
Then sort the damage into one of four jobs. Cosmetic damage in gelcoat above the waterline needs filler and paint. A structural laminate patch below the waterline needs a proper bevel, layers of cloth and a full cure. A flexing joint — around a transom, garboard, stringer tab or deck edge — needs some give in the finished bond. And anything near an engine bay, exhaust or hot bearing needs a temperature check on the product’s service rating before it goes near it.
Success signal: you can say out loud which of the four jobs you are doing and which material you are bonding to. If you cannot, step back to the diagnostic.
Step 2: What Epoxy to Use for Fiberglass Repairs
For fiberglass, use a two-part marine-grade epoxy — a resin and an amine or polyamine hardener mixed at a stated ratio. It wets out fiberglass cloth properly, cures in thin films where polyester resin barely cures at all, and forms a true secondary bond to cured laminate. Quick one-part hardware-store tubes are for household projects, not hulls.
Match it to the job rather than to a brand name. Independent destructive testing found the differences between quality epoxies to be far smaller than the difference between epoxy and polyester, so a mid-range marine epoxy applied correctly will beat an expensive one applied over a dirty surface.
| Property | Epoxy | Polyester resin | Vinyl ester |
|---|---|---|---|
| Tensile or shear strength | 40-90 MPa | 25-35 MPa | Between the two |
| Volumetric cure shrinkage | Under 2% | 5-8% | 3-4% |
| Bonds to cured laminate | Yes, with preparation | Weak, chemical bond only | Moderate |
| Minimum cure temperature | Around 40°F with the right hardener | Around 60°F, or add more MEKP and lose properties | Around 55°F |
| Fumes | Mild amine, needs ventilation | Strong, flammable styrene | Strong, flammable styrene |
| Water resistance | Excellent barrier when properly cured | Moderate, more water uptake | Good, less than epoxy |
| Fair finish | Cured surface needs sanding before coating | Shrinks and mattles | Shrinks, fair with filler |
Repair strength is what actually matters, and it is not the same as resin strength. Slab tests comparing a control laminate with repairs made to it gave roughly 26,198 PSI for the original, 21,404 PSI for an epoxy repair and 18,460 PSI for a polyester repair — about 82% and 71% of the original strength. Epoxy wins that gap, and it widens as the patch grows because epoxy shrinks far less while curing.
Success signal: the epoxy mixes to a uniform colour with no streaks and spreads into a wet-out fabric without balling up.
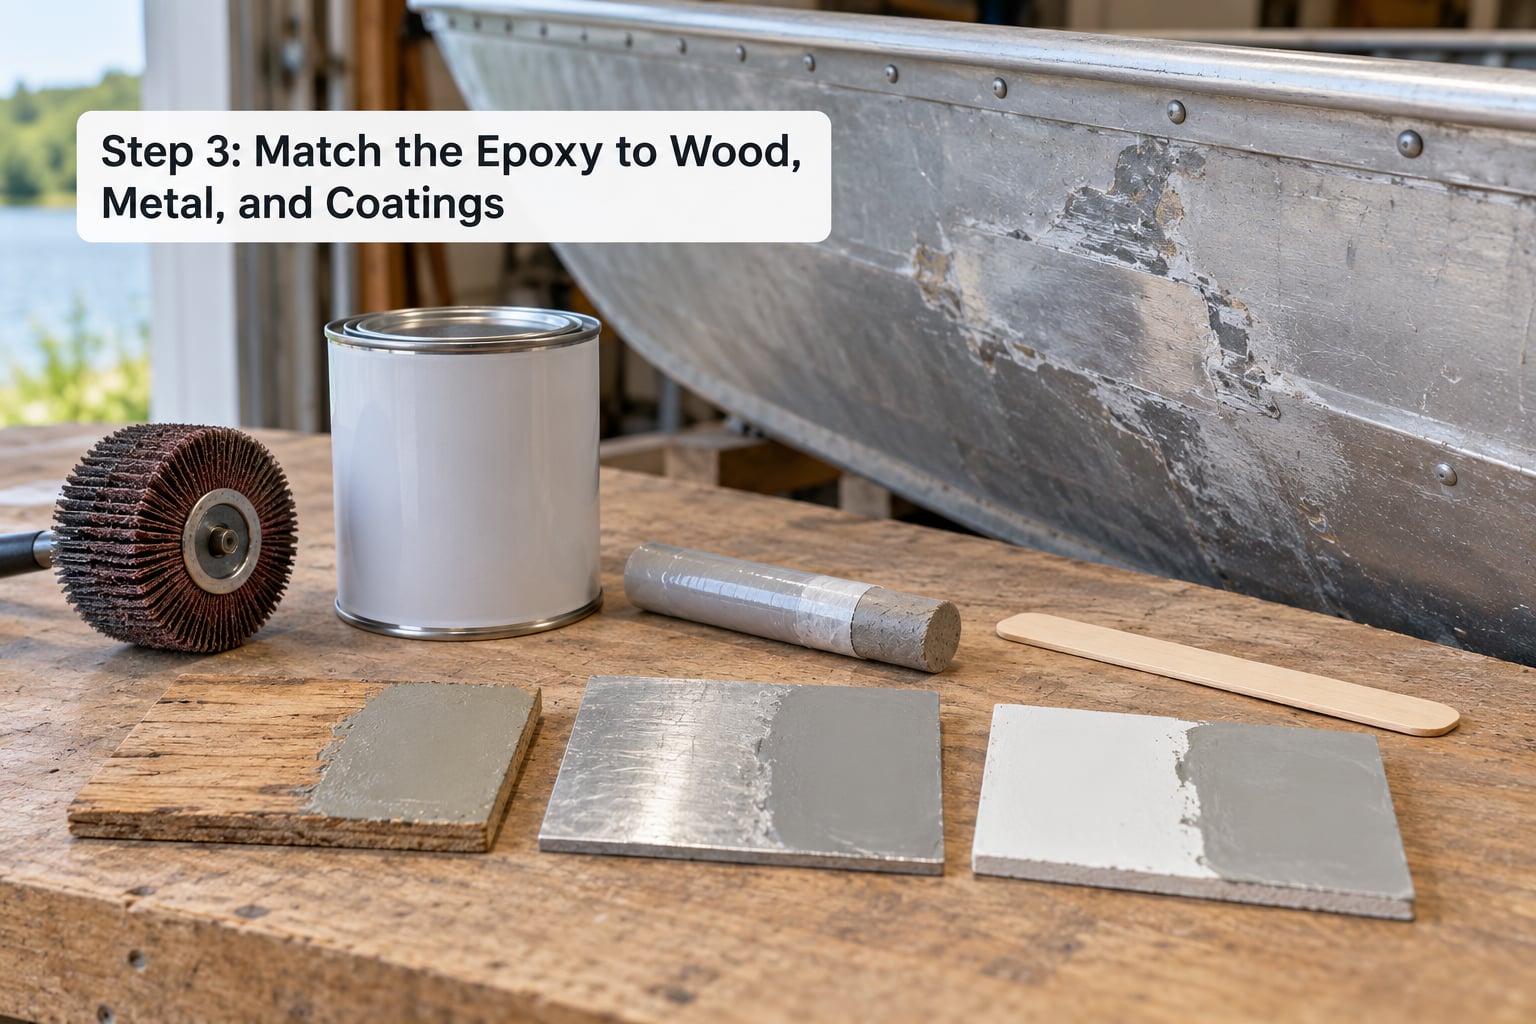
Step 3: Match the Epoxy to Wood, Metal, and Coatings
Wood takes epoxy readily, and the resin penetrates further into the grain than polyester, which is why owners report polyester eventually peeling away from a wood stringer while epoxy stays bonded. For a core rotted balsa, plywood or foam panel, dig out every softened cell, dry the remaining core thoroughly, coat the bare wood with thin epoxy, and replace the core material with a matching block bonded in place. Marine plywood and fir plywood both work; seal the edges.
Aluminum and steel want abrasion plus a metal-specific primer, and the single biggest cause of metal repair failure is skipping that step. Epoxy has no natural affinity for a clean oxide-free aluminum surface, so grind through to bright metal, feather the surrounding coating, clean with a solvent and wipe, then coat with a two-part metal primer designed for epoxy before the epoxy goes on. Add mechanical tooth in a low area with coarse grit or a wire wheel on a grinder, not just in the middle.
Coating-only damage is simpler. Sand the damaged gelcoat back to sound, glossy coating, clean it, and fill with epoxy or epoxy fairing compound. Do not lay new gelcoat straight onto a wax-rich cured epoxy surface without removing that surface first.
Success signal: bare metal shows a bright, uniform finish under the coating you just applied, and the epoxy beads rather than crawls.
Step 4: Prepare the Damaged Area
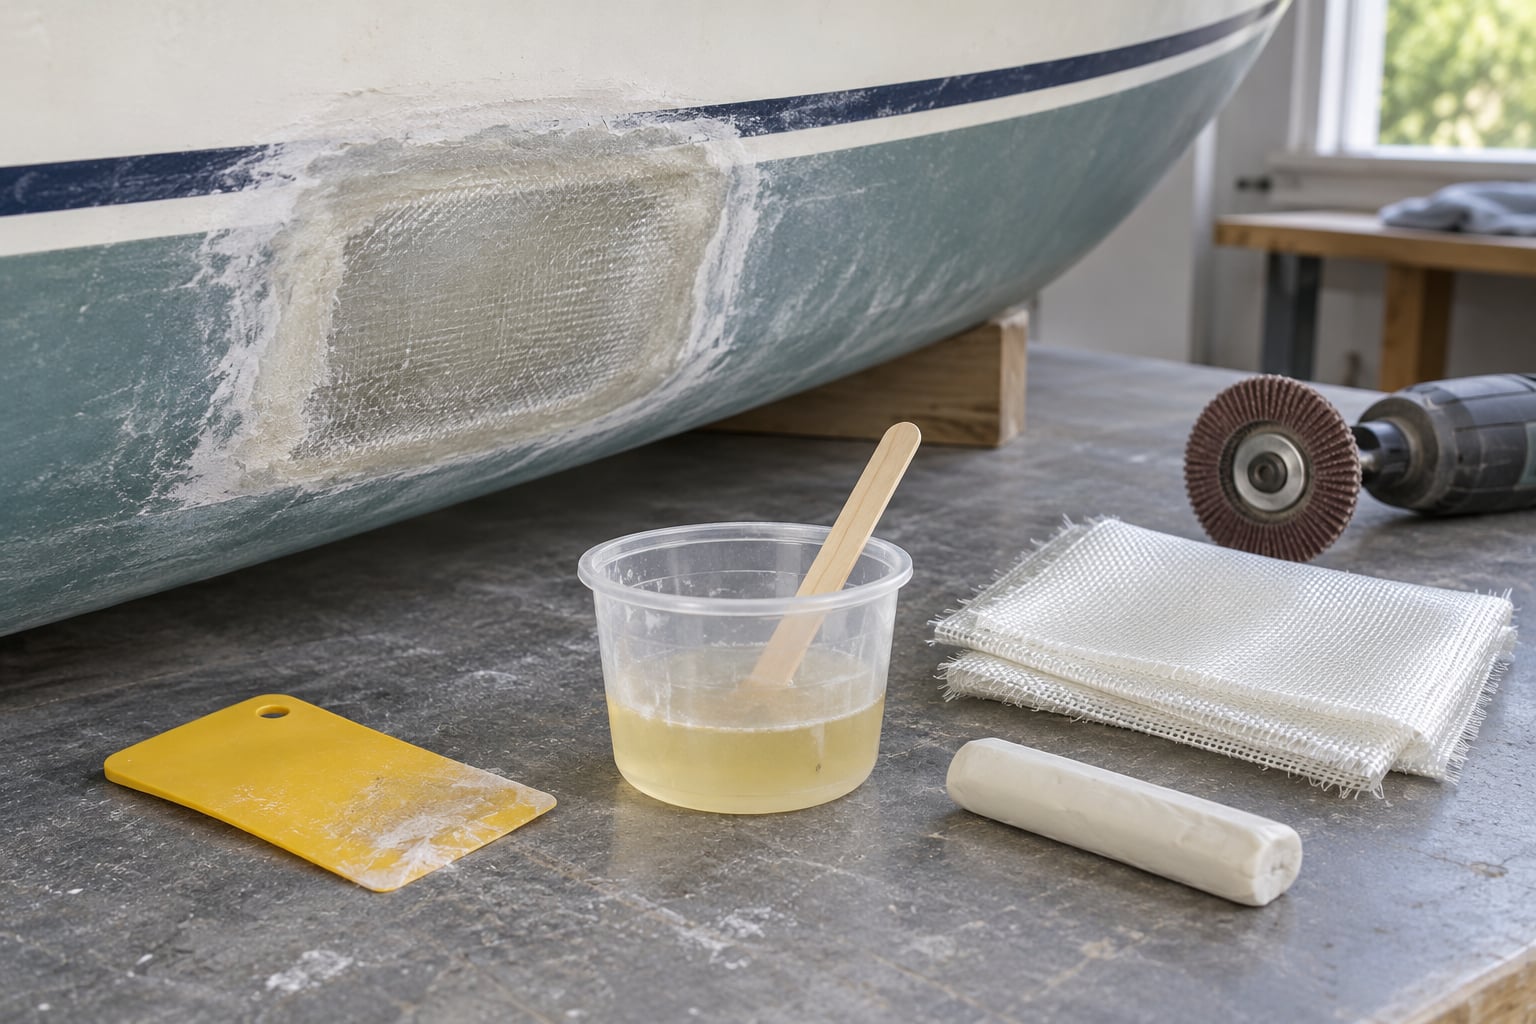
Preparation is the whole repair. Remove loose and delaminated material, then work back through sound material in a long feathered taper — laminate repairs need a minimum 12:1 bevel ratio, which sounds extreme until you see a patch that ended with a hard edge cracking around the perimeter. Grind out any crack tips entirely, because a crack that survives under a patch simply continues.
Then clean thoroughly: grind smooth, vacuum everything, wipe with solvent until the wipe comes back clean, and mask surrounding surfaces. Every one of those steps is a signal of its own — if dust is still blowing out of the joint or the solvent wipe is grey, keep working.
Success signal: the surface feels smooth to a fingernail, has no visible edge standing proud of the surrounding laminate, and shows no dust after the final wipe.
Step 5: Mix, Apply, and Cure the Epoxy
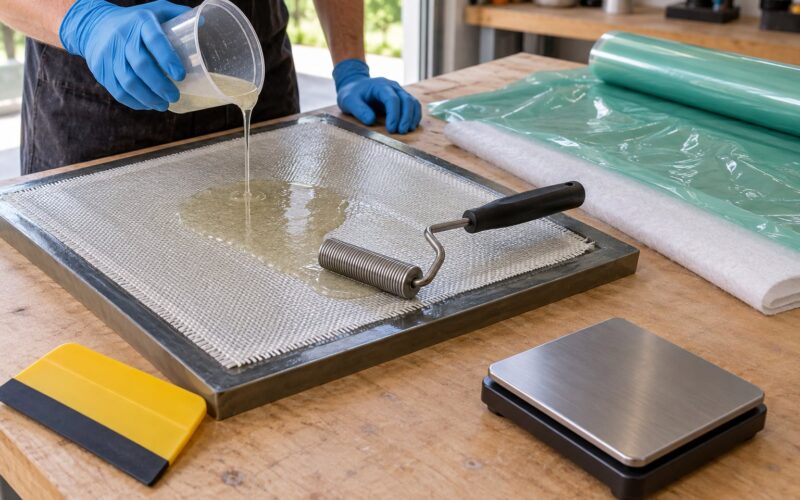
Measure by volume accurately, since an off-ratio mix leaves unreacted resin or hardener in the cured part and weakens it permanently. Ratios run roughly 1:1 or 3:1 by volume depending on the system, so read your own product’s label rather than copying a neighbour’s ratio. Stir slowly for around three minutes, scraping the sides and bottom, to limit the bubbles you would otherwise grind out later.
Apply with a spreader in thin coats rather than one heavy one. Let each coat cure to a gel state before the next, and do not rely on gelcoat or paint to hide bubbles trapped inside. Add thickener to hold a vertical or overhead surface. Keep resin and hardener containers closed between mixes, and keep your working area above the temperature the chosen hardener supports.
Then wait the full cure schedule, not the touch time. Below-waterline work should not be immersed until the product is fully cured, which is typically several days to a week depending on the system and temperature.
Success signal: the cured part is hard and slightly warm through the thickness with no soft rubbery spots when pressed with a fingernail.
Step 6: Finish and Verify the Repair
Trim the patch back to shape with a file or rasp, sand progressively through 60, 80 and 120 grit, then fill with epoxy fairing compound and sand again to match the surrounding curvature. A hull that flexes needs a fairing layer that follows the curve, since a flat patch on a curved hull prints through paint.
Before coating, wash any amine blush away with water and let it dry fully, because the waxy film that blush leaves will stop paint and antifouling from adhering. Then prime and coat, and add a dedicated barrier coat below the waterline before antifouling.
Verify the result once the coating is dry: let the boat sit in the water for a few hours and watch the waterline for weeping or bubbles, or use a hose test on the repair from the opposite side of the hull. Check the repair again a few months later.
Success signal: no water appears through the patch after immersion, and a light tap sounds solid with no hollow drumming.
Common Mistakes
- Using rigid epoxy on a joint that flexes. The repair outlasts the boat in the frame. Feather the repair over a wider area with more layers and use a formulation rated for flexibility, or bond a reinforcing strip across the flexing line.
- Skipping the bevel or the crack tip. A patch with a hard edge creates a stress riser and cracks around the rim. Grind out to a 12:1 taper and remove the crack entirely.
- Wrong mix ratio or sloppy measuring. Guesswork leaves uncured resin or hardener in the joint. Use accurate volume measures and stick to one ratio per system.
- Trapped moisture or salt in the joint. Dry the substrate before mixing, and dry wood cores fully. Water under an epoxy skin never leaves.
- Overloading with filler. Thick epoxy putty placed in a single deep layer cures soft in the middle. Build up in layers instead.
- Immersing before full cure. Check the cure schedule on the label and wait it out, especially in cold weather.
- Painting over a waxy cured surface or amine blush. Wash with water and abrade to fresh resin before coating.
One last safety point: wear nitrile gloves and eye protection every time, ventilate the workspace, and never sand epoxy with a dry respirator alone. If epoxy gets on your skin, clean it off before it cures rather than trying to peel it later.
Frequently Asked Questions
How long does epoxy take to cure on a boat?
Most marine epoxies gel in 15 to 60 minutes depending on the hardener, and reach a workable cure in 4 to 12 hours at normal shop temperatures. Full cure, meaning full strength and safe immersion, usually takes several days and can stretch to a week in cold conditions. Always read the cure schedule on your own product rather than working from a generic number.
Is marine epoxy completely waterproof?
A properly formulated epoxy that is fully cured is one of the best water barriers you can put on a hull, and it resists osmosis better than polyester or vinylester resin. It is not magic, though: a thin film, an incomplete cure or a trapped moisture pocket will still let water through. Amine cured epoxy absorbs a little moisture, which is why full cure matters.
Can I use epoxy below the waterline?
Yes, epoxy is the standard choice for below waterline structural repairs because of its bond strength and low shrinkage. The joint must be fully cured before immersion, and a fiberglass laminate patch should be sealed with a barrier coat before antifouling paint goes on. Never put polyester or vinylester over an epoxy repair.
What epoxy adheres best to an aluminum boat?
Amine or polyamine cured epoxy, but only over bright, properly prepared metal. Grind through any coating, oxide or mill scale to bare aluminum, feather the edges of the ground area, clean with solvent, then apply a two part metal primer formulated for epoxy. Skipping the primer on clean aluminum is the most common reason metal repairs let go.
How do I sand a cured epoxy repair on fiberglass?
Work progressively from 60 to 120 grit and always sand with a vacuum and a respirator. Freshly cured epoxy is smooth and slightly waxy, so sand through the surface to expose fresh resin before painting. If you see a wet-looking or greasy sheen on the repair, that is amine blush or uncured resin; wash it with water and give it more curing time.
When does a boat epoxy repair need professional inspection?
Get a qualified marine surveyor or boatyard involved when the damage runs through the full laminate thickness or into the core, sits at a garboard, keel, stringer tab or transom joint, covers a wide area, or leaves a hull that flexes or feels soft under pressure. Those are structural questions, and a repair that fills a hole is not the same as one that restores strength.
Start with the diagnosis, not the tub. Identify the material, sort the damage into cosmetic or structural, and pick the epoxy format to match. Everything after that is preparation, accurate mixing and full cure — the part that decides whether the repair is still there in five years.