Good assembly instructions tell a first-time builder exactly what to pick up, which way it goes, and how to know it worked, in numbered steps they can follow without stopping to ask you anything. This is a physical build, not a piece of software. Most failures I see come down to four things: missing preparation, ambiguous part names, no orientation cues, and steps that bundle three actions into one line. Fix those and your build time drops and support calls fall away.
I have watched good hardware get returned because the instructions assumed things nobody mentioned. The part that only fits one way went in backwards. The bolt was tightened “securely” and the joint failed in the water six weeks later. None of that is a design fault. It is a writing fault, and it is the cheapest fault in the whole product to fix.
Below is how to write good assembly instructions that hold up on a real bench: gather what you need, map the build, write one action per step, add the error-prevention details, test with a stranger, then format for scanning. It works for flat-pack furniture, sensor housings, robot frames and field equipment alike.
Table of Contents
- What You Need Before You Write
- Step-by-Step: How to Write Good Assembly Instructions in Six Moves
- Common Mistakes and How to Fix Them
- Frequently Asked Questions
- Should every assembly instruction include a picture?
- How detailed should assembly instructions be for beginners?
- What is the best way to test whether assembly instructions are clear?
- Should assembly instructions include torque values and safety warnings?
- How do you write instructions when several parts look similar?
- How many steps should an assembly guide contain?
- Where to Start Tomorrow
What You Need Before You Write
You cannot write assembly instructions from a parts spreadsheet. You write them from a prototype someone has already put together, once, carefully, while taking notes.
Before drafting, get these on one page:
- A working prototype. If nobody has assembled the product end to end from a clean set of parts, the instructions do not exist yet. Build it and time it.
- A complete parts inventory with the number of each item in the box, not just the number used per build. People notice short counts.
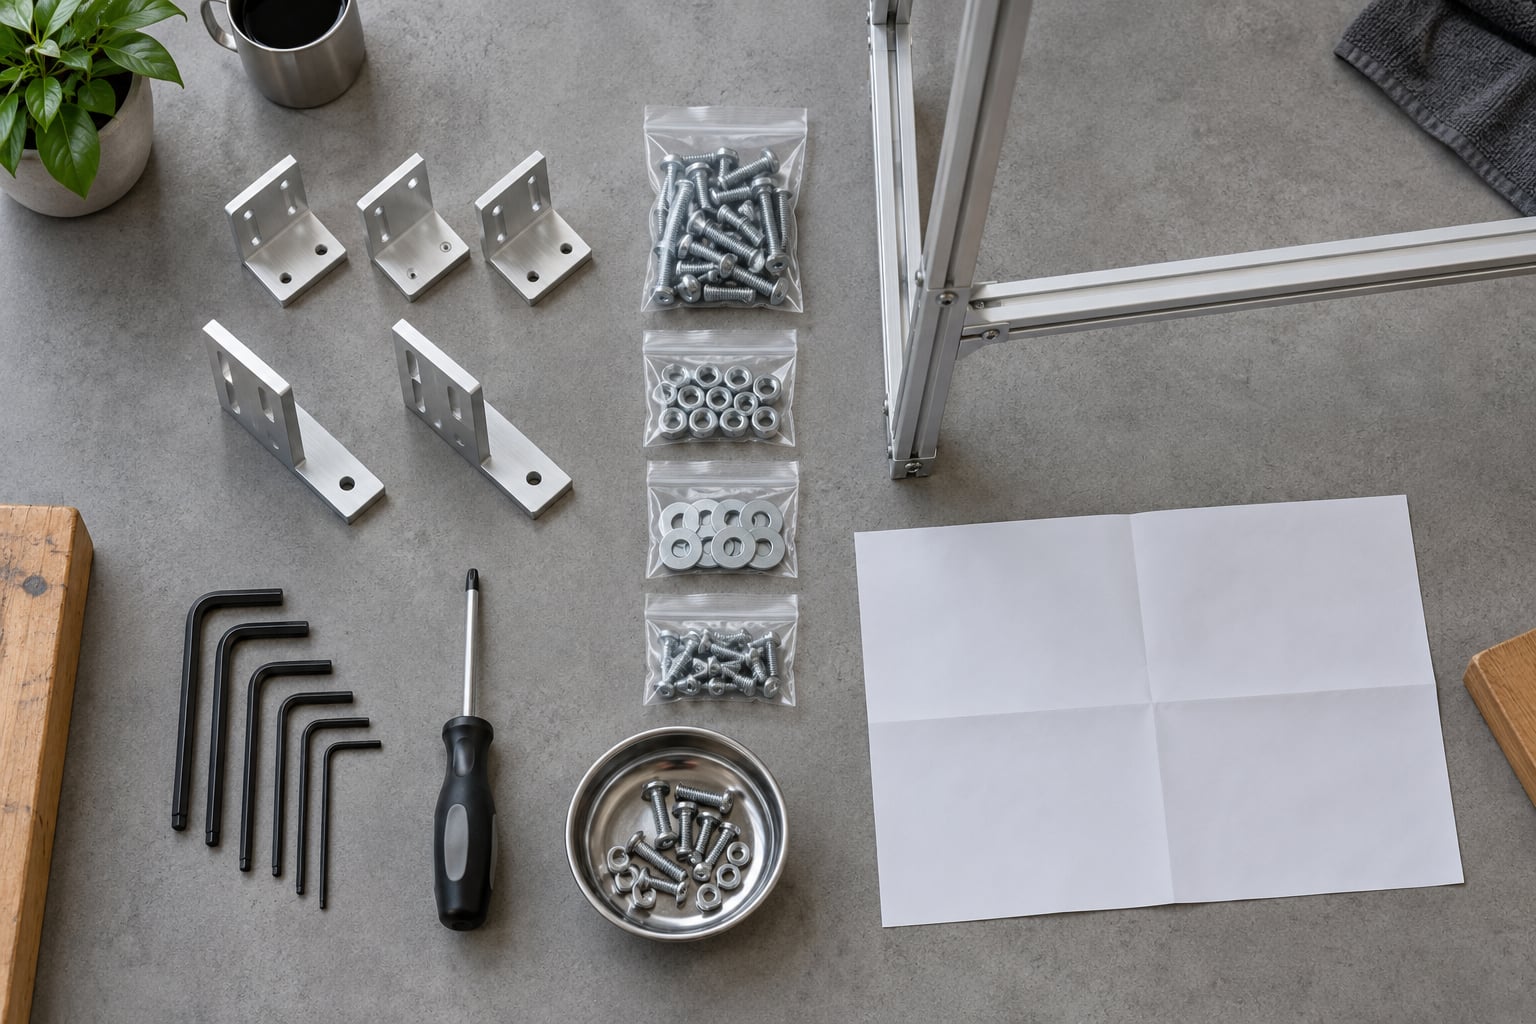
- A hardware list broken out by size and type, so nobody has to guess which of four silver washers goes where.
- The tool list, including the unusual ones. A torque driver, a specific hex key size, a thread-locking compound or a jig that most people do not own.
- One sentence about your reader. First-time kit builder, or the technician who services this model every week? The two need different documents.
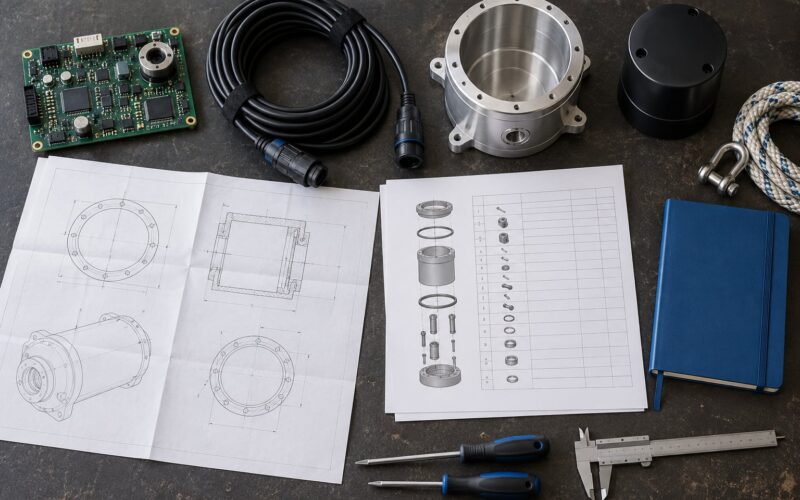
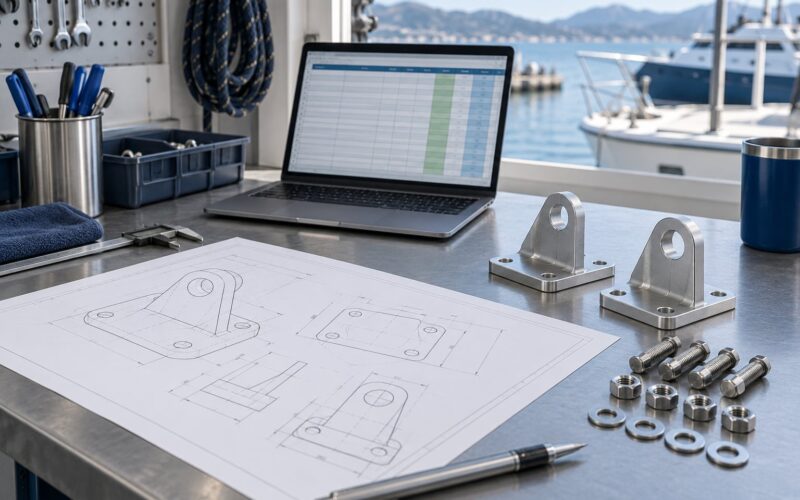
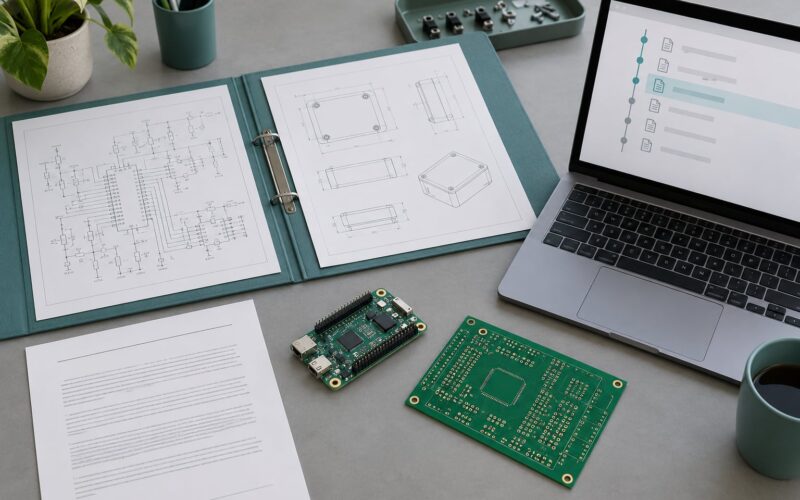
- Your source models. CAD files, the board layout, the frame drawing. Illustrations come from these, not from memory.
- The test conditions the product must survive, so warnings and torque values reflect real use rather than a guess.
While you build the prototype, photograph every stage from the same angle. That photo series becomes your figure set later, and doing it now saves a second teardown.
Step-by-Step: How to Write Good Assembly Instructions in Six Moves
1. Define the Reader’s Starting Point
Every unclear instruction set is really an argument about assumptions. The writer assumed a tool. The reader did not have it. Write the reader’s starting state down in the first page: which tools are already on the bench, what they already know, and what condition the parts arrive in.
Most manual damage happens before step one, in the gap between what you know and what the reader has. Be explicit about three things:
- Tools, named by type and size. “An Allen key” is not an instruction. “A 4 mm hex key” is.
- Workspace, because half the screw-into-wrong-hole problems are clearance problems. Say how much bench room the build needs.
- Parts condition, including whether anything is pre-assembled, pre-taped or shipped loose in a bag.
Then front-load the preparation. Count the parts against the list. Lay out hardware in groups. Clear the bench. The best flat-pack manuals on the market open with exactly these two moves: read everything first, then verify the parts and hardware count. It costs one page and it prevents most of the calls you will otherwise get.
2. Map the Assembly Sequence
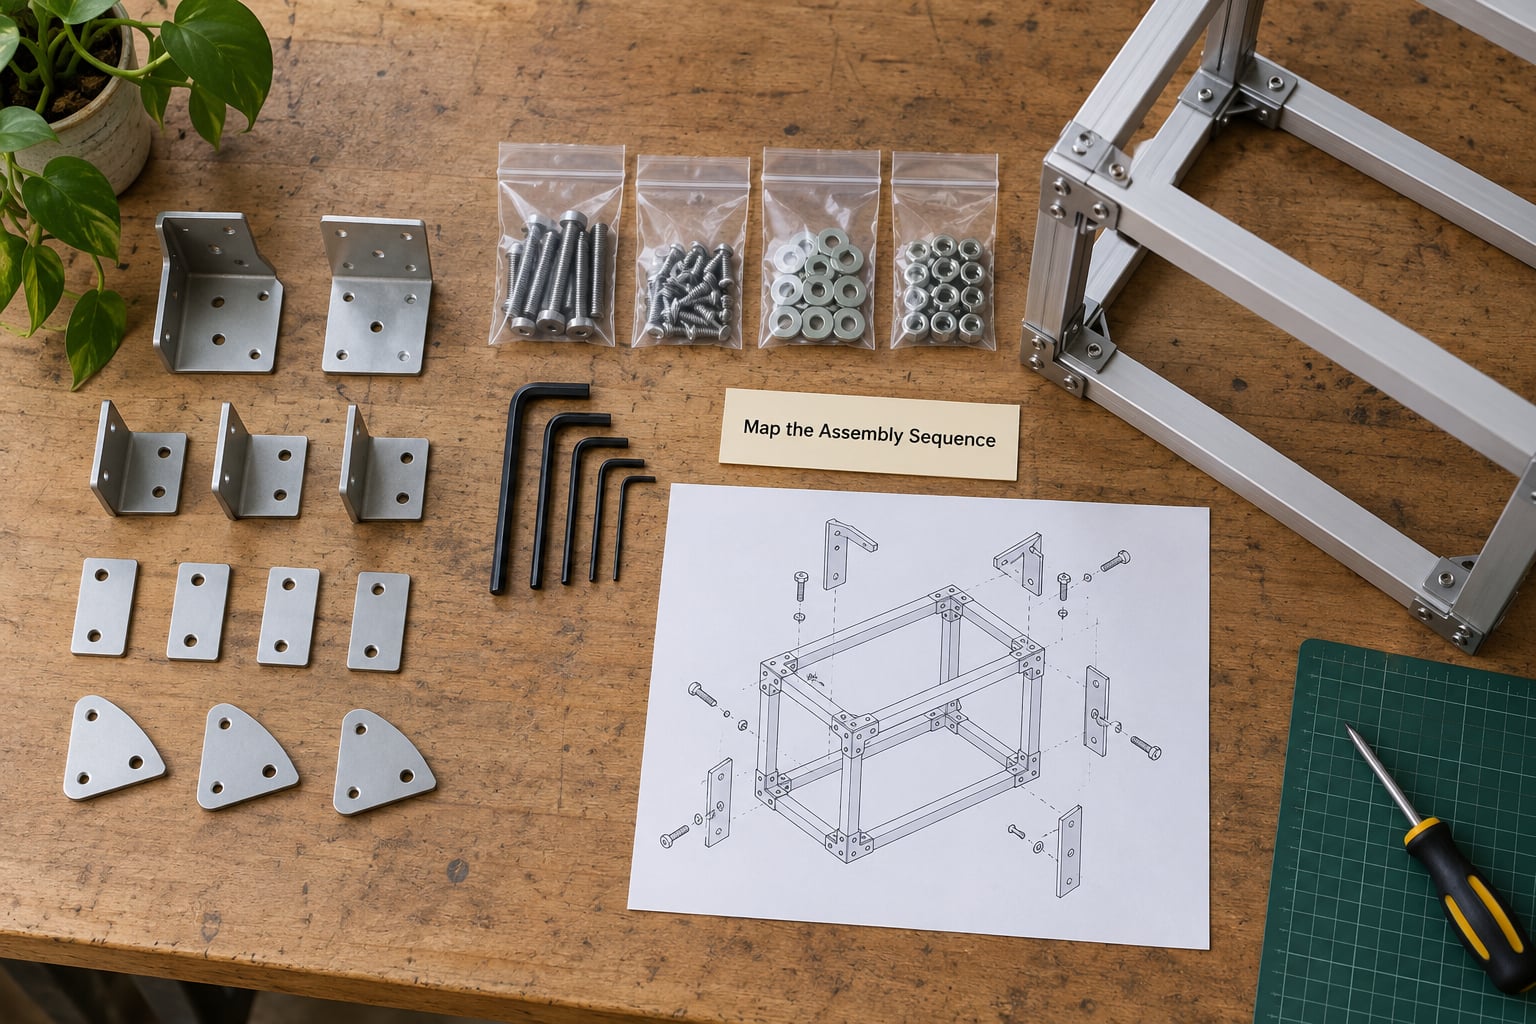
Sequence is the part writers skip, and skipping it is why builds stall at step 14 with a bolt that will not reach. The rule is simple: build the smallest independent subassemblies first, then join them.
Do this on a page before you write anything:
- List every subassembly that can be completed without touching another one. Each becomes a block of steps.
- Mark the dependencies. A bracket that needs a frame square cannot be fitted until the frame is square. That constraint sets the order.
- Look for the irreversible steps. Drilling, cutting, trimming a tube or snapping a clip. Group them near the end where possible, and warn before them.
- Separate the optional branches. Kits with a sensor mount, a second battery option or an alternate fastener need their own path. Do not weave them into the main sequence. Put them in a clearly marked appendix or a labelled sub-route that rejoins the main build at a named step.
Test the map before writing it. If you cannot follow the order on paper without jumping back and forward, the order is wrong. Ask what has to be true at the end of step 20 and work backwards until each step depends only on steps already done.
3. Write One Action per Instruction
One action per step is the rule that separates usable instructions from instructions people abandon on the floor. A step that says “fit the bracket and tighten the bolts and connect the cable” forces the reader to plan three things at once while holding a part in their hands.
Each step gets four things: an active verb, the exact name of the part, the operation, and one observable result. Here is what a rewrite looks like.
Weak: “Assemble the frame using the supplied bolts and secure firmly.”
Strong: “Slide the 40 mm aluminium extrusion through the base bracket so the pre-drilled hole faces up. Insert an M6x25 socket head bolt through the bracket and thread it into the extrusion by hand for two full turns.”
Weak: “Tighten all fasteners.”
Strong: “Tighten the four M6 bolts in a diagonal pattern, two turns at a time, until the extrusion no longer rotates in the bracket.”
Weak: “Attach the sensor module.”
Strong: “Route the sensor cable through the grommet in the bulkhead, then plug it into the four-pin header on the controller board. The cable should sit loose with about 50 mm of slack inside the housing.”
Weak: “Ensure all connections are secure and the device functions correctly.”
Strong: “Close the housing and tighten the four lid screws to 2 Nm using the torque driver. Power on the controller and confirm the status light goes from amber to green.”
Write in the imperative and keep sentences short. “Insert,” not “you should insert.” “The rib faces the wall.” Not “it is important that the rib is oriented towards the wall.” The reader is holding a part with two hands. Every word you spend is a word they do not spend.
Keep part names identical everywhere. If the drawing says “bulkhead plate,” the parts list, the steps and the troubleshooting section all say “bulkhead plate.” Never “side plate,” “plate A” and “the aluminium plate” for the same object. A glossary at the back plus a fixed naming rule kills most misreadings, and nobody in your workshop gets to invent a nickname.
4. Add the Details That Prevent Errors
Orientation, quantity, compatibility and specification are the four details that stop a build going wrong. They cost a sentence each and they prevent most returns.
Orientation cues. Describe features the part actually has. “The rib faces the wall,” “the arrow points toward the front of the housing,” “the flat side sits against the frame.” Cues that reference nothing real, such as “in the correct orientation,” tell the reader nothing.
Quantities. State the count in the step: “Install three of the four M4 screws,” “the pack contains eight standoffs, use six.” Counts catch a whole class of short-parts problems.
Compatibility. Say what does not go where. “The M4 screws from bag A are for the sensor mount only; the bag B screws are shorter and will bottom out in the housing.” Interchangeable-looking parts are where builds get stuck.
Torque values and thread treatment. Give a number and a tool where the joint is structural or safety-related: “tighten to 8 Nm,” “apply removable thread-locking compound to the four M6 bolts.” Skip the numbers only where a number would be wrong. “Tighten securely” is not an instruction, because two people read it as two different amounts of force and one of them is always under-tightening.
Signal words. Most documentation shops use three, and the reader has to be able to trust them:
- Warning for something that can hurt a person or damage the product irreversibly. Cutting, drilling, mains voltage, a spring under load.
- Caution for damage to the product that is costly but recoverable. Overtightening, exposing a sensor to salt spray.
- Notice for information that prevents a future problem. Do not oil the bearings, do not block the vent.
Use them consistently and never for decoration. A “Warning” on four steps out of sixty teaches the reader to skip the other fifty-six.
Checkpoints. End each block of steps with something the builder can verify. A witness mark, a gap that should disappear, a light that should change, a measurement. A checkpoint turns “did I do that right” from a guess into a check.
Put warnings before the action they apply to, not in a pile at the front of the document. A reader who has already drilled the hole cannot un-read the warning.
5. Test the Instructions with a Real Builder
The build-along test is the cheapest quality control you will ever run, and it is not the same as generic user testing. You are not asking whether the product is good. You are asking whether the document is complete.
Hand a printed or screen-shared copy to someone who has never seen the product. Pick a builder who is handy but unfamiliar, not a colleague who helped design it. Then stay quiet, take notes, and do not explain anything. Every question they ask is a defect in the document, not a gap in the reader.
Record three things:
- Where they stopped. A pause longer than a few seconds usually means the step is ambiguous, not that the reader is slow.
- What they guessed. Any direction, orientation or tool the reader invented for themselves is a sentence you failed to write.
- What they went back for. Reaching for the parts list on every step means your part names do not match your callouts.
Then revise only those spots and run it again with a different person. Two sessions with two unfamiliar builders catch most of what six months of support tickets would.
The business case is straightforward. A confused build becomes a support call, a return or a warranty claim, and each one costs more than the day it took you to fix the sentence that caused it. If your documentation lives in a repository next to the build files, run the test before you tag a release, not after.
6. Format for Scanning and Reuse
Instructions get used under stress. People hold a part in one hand, prop the manual with the other and hunt for the step they are on. Format for that.
Number the steps continuously and pair every step with a figure. Figures carry callout labels matching the parts list. A reader should be able to find the picture for their step without reading the words.
Use subheadings that name the subassembly. “Build the sensor mount” beats “Assembly, part 2.” Subheadings are also the anchors that let someone jump back to a section after being interrupted.
Keep one page per stage where you can. In print, a step that runs onto a second page loses its figure. In digital, keep step and figure in the same scrolling block.
Pick a format and follow it. Text-only manuals are cheap to produce, update and translate, and they are fine for experienced audiences on simple products. Illustrated manuals carry most products and suit almost everyone. Visual-only, the flat-pack style with no written prose, works beautifully for simple kits with a general audience and fails badly the moment a step has no obvious picture, two parts look alike or the reader needs a warning in words. Choose deliberately rather than by default.
Add a troubleshooting block and a checklist. Troubleshooting keyed to step number is far more useful than a generic problem list. A pre-assembly checklist of parts and tools is the highest-value page in the whole document.
Plan for updates. Put a version number and date on every page, keep a change log, and if you ship print, add a QR code pointing at the current digital version so the printed copy stops being the stale copy. Version control matters more here than in most writing, because an out-of-date manual describes a product that no longer exists.
Common Mistakes and How to Fix Them
These eight errors account for most of the failed builds I have watched. Each one is easy to spot on a read-through and easy to fix.
1. Vague verbs. “Install,” “fit,” “secure,” “adjust” and “handle” tell the reader nothing about direction or effort. Fix: pair the verb with a target state, such as “until flush with the housing surface.”
2. Part names that drift. The same component called four different names across the document. Fix: choose one name, use it everywhere, and add a glossary for anything a buyer might not recognise.
3. No orientation cues. Steps that rely on a figure to show “which way round” fail the moment the figure is small or the part is symmetric. Fix: add a tactile or visual landmark in the text, such as “the notch aligns with the cable exit.”
4. Unverifiable targets. “Tighten securely,” “make sure it’s straight.” Fix: give a torque value, a gap measurement, a visual checkpoint or a light state. If you cannot verify it, neither can the builder.
5. Bundled actions. One numbered step containing three or four operations. Fix: split it. If the reader has to hold the part to do the sub-action, it deserves its own line.
6. Missing quantities and hardware compatibility. Fix: state the count in the step and warn about parts that look alike but differ in length or thread.
7. Passive voice and hedging. “The bolt should be inserted.” Fix: “Insert the bolt.” One subject, one verb, one action.
8. Instructions written for the designer. The author holds the part in their head while writing and cannot see the gap on the page. Fix: test with someone unfamiliar, then fix the exact spots where they stopped.
One more worth naming: writing the instructions after the product design freezes, so the manual describes an earlier version of the hardware. If documentation lives in the same repository as the build files, review it on every design change rather than at release.
Frequently Asked Questions
Should every assembly instruction include a picture?
Almost always, yes. The figure is not decoration; it answers the orientation and location question that text alone handles badly, especially for a builder with two hands full. Practical compromise: pair a figure with every step that involves orientation, placement or thread direction, and use text alone only for simple repetitive operations such as fitting a run of identical screws. If your budget forces a choice, illustrate the first step of each subassembly and every irreversible step rather than spreading thin figures across everything.
How detailed should assembly instructions be for beginners?
Detailed enough that the reader never has to infer anything, but no more. For a first-time builder, state every tool by type and size, give orientation cues in words, name quantities, and add a checkpoint so they know a step worked. The opposite failure is burying the action in explanation. One action per step, one observable result per step, and a short reason only where the reason changes what the reader does.
What is the best way to test whether assembly instructions are clear?
Run a build-along test with someone who has never seen the product. Hand them the printed or shared instructions, stay quiet, and log every pause, guess and backwards trip. Each question they ask is a defect in the document, not a gap in the reader. Revise only the flagged steps, then retest with a different person. Two sessions catch more real problems than a page of internal review.
Should assembly instructions include torque values and safety warnings?
Yes for structural and safety-critical joints, where an under-tightened fastener fails later and an over-tightened one strips threads or cracks a housing. Give the number, the tool and sometimes the thread treatment compound. Use three consistent signal words: Warning for injury or irreversible damage, Caution for recoverable product damage, Notice for information that prevents a future problem. Put each warning immediately before the step it applies to, never in a pile at the front.
How do you write instructions when several parts look similar?
Give each part a distinct name based on where it lives, not what it looks like, then add a permanent visual marker and say so in the text. “Left-hand ribbed bracket, marked with a blue dot on the outer face” beats “small bracket.” Show the differences in the figure with callouts, state the part count in each step, and warn against the common swap: the parts list should say that the two versions are not interchangeable and which one belongs where. Test it specifically with a build-along session focused on that subassembly.
How many steps should an assembly guide contain?
As many as the build genuinely takes. There is no magic number, and padding a short build to look thorough makes the document worse. A useful guide is whether every step carries a distinct action and a distinct result; if two steps share both, merge them, and if one step carries three actions, split it. First-time builders are more often slowed down by bundling than by length, so measure the step count on your own prototype and check it against the time that build actually took.
Where to Start Tomorrow
Build the product yourself, on a clean bench, from a fresh set of parts. Write down every question you had to ask yourself. Those questions are your missing steps, and the first three you hit are usually the ones your customers hit too.
Then do the unglamorous work first: fix the part names, add orientation cues to any step that has none, and split every step that asks for more than one action. That single pass catches most of what makes assembly instructions confusing, and it costs an afternoon rather than a rewrite. Good instructions are not written once and filed away. They are drafted at the bench, tested with a stranger, and revised whenever the hardware changes.