To pick marine grade adhesives properly, start with the joint, not the tube: write down what two materials you are bonding, how much load and movement the joint carries, and exactly how much water and sun it sees. That short design sheet narrows the chemistry in about ten minutes, and it is the difference between a repair that is still tight after five seasons and one that has to be redone. The whole method takes longer than opening a catalogue, and that is the point.
Most people do it backwards. They pick the adhesive first, because it was on the bench or the label said something encouraging, then look for a job to justify it. That ordering is why forum threads about hull-to-deck joints never converge: everyone is answering a different question, because nobody specified the joint. Walk the joint design down instead and the answer usually becomes obvious.
Below is the checklist, the six-stage selection procedure, and the failure modes worth worrying about. Numbers here are typical datasheet ranges rather than lab results from one cartridge, and they vary by formulation, so treat them as a sanity check and always confirm against the technical data sheet for the exact product in your hand.
Table of Contents
- What You Need to Pick Marine Grade Adhesives
- Step-by-Step: Six Stages From Joint to Product
- Common Mistakes That Ruin Marine Joints
- Frequently Asked Questions
- What is the best adhesive for bonding aluminum parts on a boat?
- Can I use a waterproof epoxy on an underwater marine sensor housing?
- Does marine grade mean an adhesive is safe for continuous saltwater immersion?
- What adhesive works best for bonding HDPE or polypropylene on an ocean robot?
- Can I use a quick-setting cyanoacrylate on a vibration-prone marine joint?
- Conclusion: Start With the Joint, Not the Adhesive
What You Need to Pick Marine Grade Adhesives
Before comparing products, you need ten facts about the joint. If you cannot fill in all ten, you are not ready to choose an adhesive, because any one of them can disqualify an otherwise excellent product.
- Substrate materials. Every surface in the joint, including primers, coatings, release agents and gelcoat. Bonding to a coating is not the same as bonding to the laminate underneath.
- Load direction and magnitude. Pull, push, peel, twist. Peel and flex loads punish stiff compounds far more than straight tension does.
- Water exposure class. Dry and sun only, splash zone, intermittent immersion, or continuous immersion with hydrostatic pressure.
- Contaminants on duty. Salt, fuel, oil, hydraulic fluid, coolant, cleaning chemicals, bird mess, silicone residue.
- Temperature extremes. Cold soak below deck, hot cockpit metal in summer, antifreeze, a sun-heated transducer face.
- Vibration and hull movement. Engine mounts, thru-hulls, transom, an instrument pod on a working boat.
- Gap size and geometry. The gap the joint has when clamped, and whether it varies in service.
- Surface preparation available to you. Grinding, abrasion, solvent wipe, and whether the design lets you get to both faces.
- Allowable cure time. From gel tack to full load strength, and the temperature you will actually cure at.
- Electrical and cosmetic constraints. Sensor accuracy, antenna performance, paintability, color, whether the part must later come off.
The word marine grade carries almost no technical content on its own. It is a marketing label, not a standard, and plenty of products wearing it were formulated for a bathroom or an automotive chassis. What matters instead is whether the datasheet documents the specific substrate pairing, the specific exposure, and a temperature range that covers your worst case. Owners on sailing forums say the same thing in different words: read the sheet, not the tube.
Keep the design sheet. Every later stage in the process reads from it, and a joint that has been written down tends to get built properly, because you notice gaps and contaminants at the drawing stage instead of with the part already in your hands.
Step-by-Step: Six Stages From Joint to Product
This is the procedure. Each stage states the action and then the evidence you need to see before you move on to the next product in the shortlist. A candidate that cannot clear a stage gets dropped, not argued with.
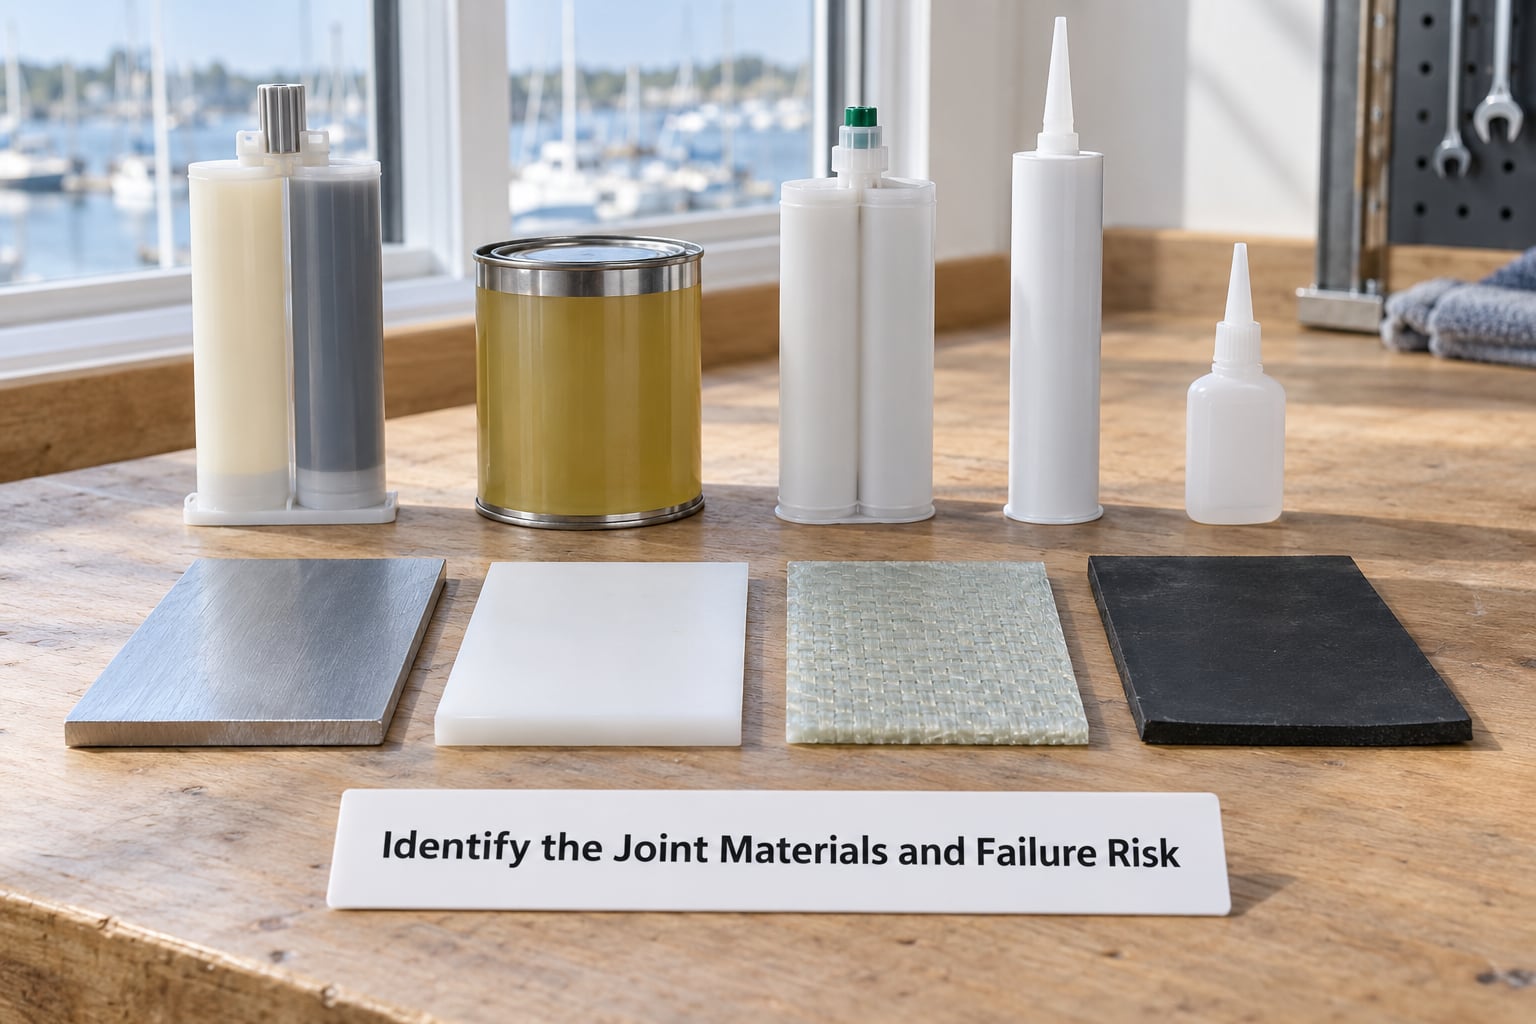
1. Identify the Joint Materials and Failure Risk
Name each substrate precisely, then ask what happens if this joint fails. Three answers matter: cosmetic (a fairing seam), structural (it carries load and something heavy depends on it), or safety-critical (a lifting point, a hull attachment, a keel or rudder joint). Classify before you choose, because a structural joint rules out most sealants outright, and a cosmetic joint rules out almost nothing.
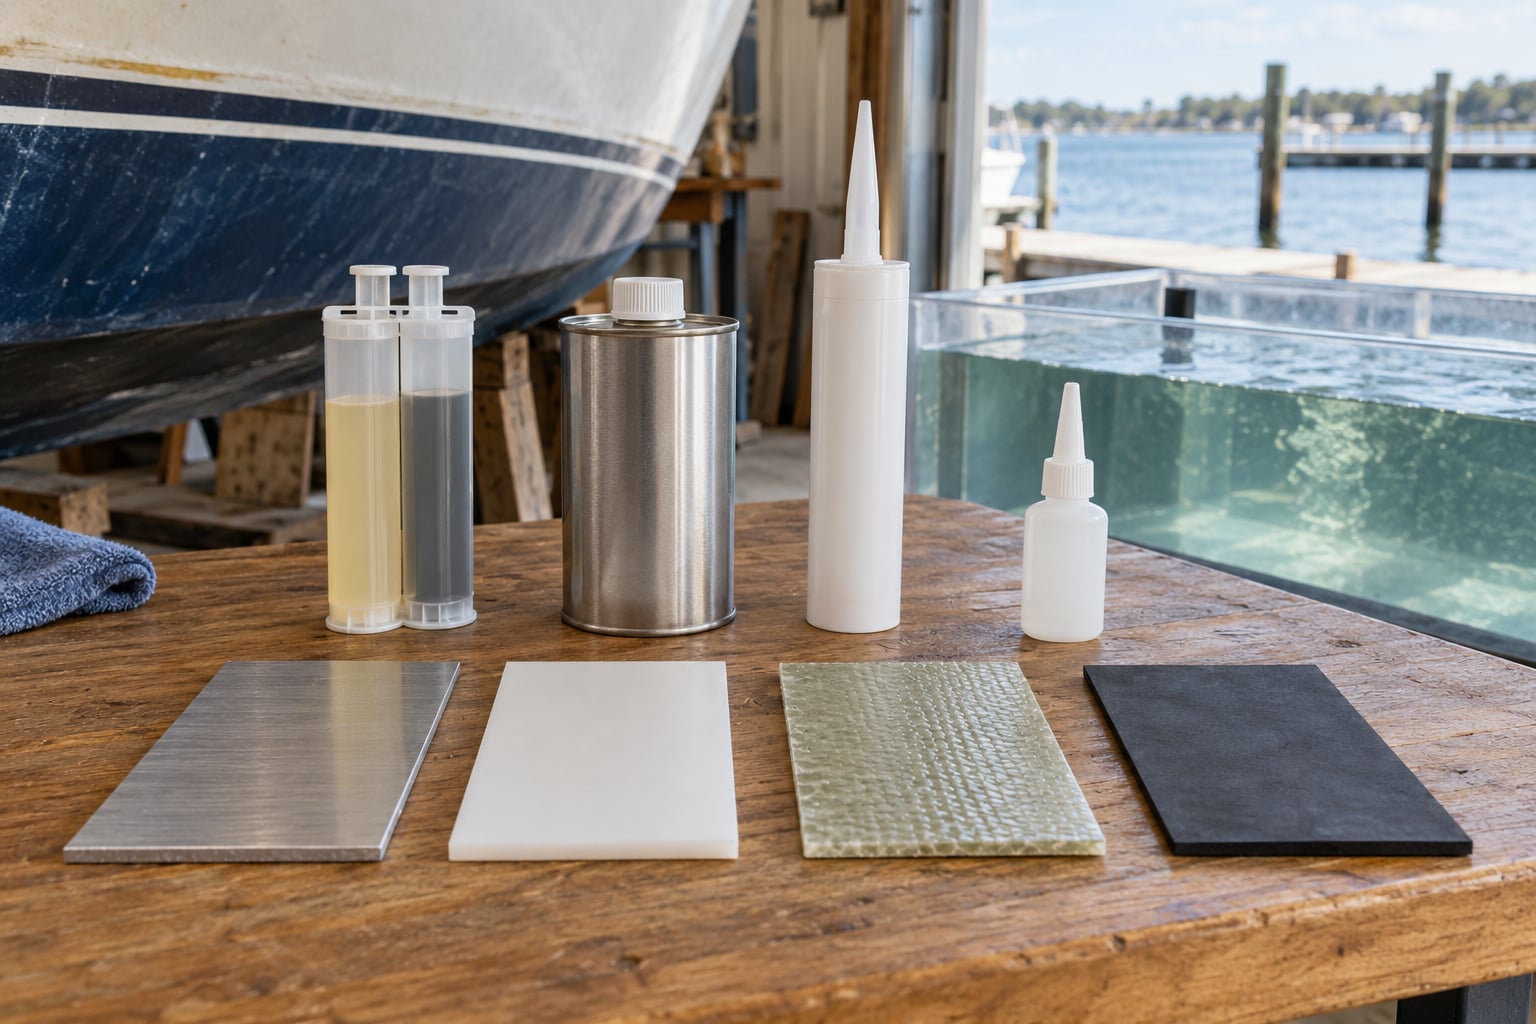
Then match materials to chemistry honestly. Aluminum and stainless are straightforward for structural epoxies, provided the surface is prepared and a barrier isolates dissimilar metals. Fiberglass and gelcoat bond well to epoxy, but gelcoat is only about 0.5 mm of polyester or vinyl ester skin, so grinding through it changes the joint entirely. Plywood and teak want a wood glue or a flexible adhesive depending on whether the glue line must survive immersion. Acrylic and polycarbonate are attacked by solvents common in many epoxies and sealants, so confirm compatibility before anything touches them.
HDPE and polypropylene are the hard case. Nothing ordinary bonds to them: epoxies and cyanoacrylates bead up and roll off, and even products sold as plastic repair adhesives need the surface melted or chemically treated first. Owners report general-purpose epoxy failing on exactly these parts. If HDPE or polypropylene is in your joint, plan for mechanical fastening, a molded-in insert, a fusion or brazed attachment, or a manufacturer-specified plastic primer with a matched adhesive. Rubber is its own category too: a hard epoxy on rubber tears or debonds at the interface, so you need a flexible adhesive rated for elastomers or a mechanical clamp.
Evidence to look for: a bond-strength figure or an approved substrate list that names both materials, not a vague claim about metals or plastics. For a safety-critical joint, an absence of documented compatibility is a fail, not a maybe.
2. Map the Marine Environment the Joint Lives In
Sort each joint into one of four exposure classes, because the adhesive requirement changes sharply between them. Dry joints above the deck need UV stability and flexibility, not immersion strength. Splash-zone joints see salt, standing water and repeated wetting cycles. Intermittent-immersion joints, like thru-hull fittings and hardware above the waterline that dunk on waves, face hydrostatic pressure cycles plus corrosion products. Continuous-immersion joints below the waterline need a documented immersion rating and no void in the bond line.
Layer the other stressors on top. UV attacks many epoxies and urethanes through clear gelcoat and degrades them chalking; above-waterline parts want a UV-stable chemistry or a coating over the joint. Fuel, oil and hydraulic fluid are separate resistance problems from water resistance, and a product good with saltwater is not automatically good with diesel or hydraulic fluid. Vibration matters more than most owners expect on engine-mounted and engine-adjacent parts.
Galvanic corrosion deserves its own line on the sheet. An adhesive that bonds aluminum to a carbon-fiber laminate or to steel can hold two dissimilar metals in intimate contact, salt water and dissimilar metals create an electrolytic cell, and you end up with a joint that was never supposed to fail chemically. A barrier layer, an isolating fastener, or a mechanical fastener is often the correct answer rather than a stronger adhesive.
Evidence to look for: an immersion rating, a temperature range covering both your summer surface temperature and your winter soak, and explicit statements on UV, fuel and oil. Marine grade on the front of the tube is not one of these.
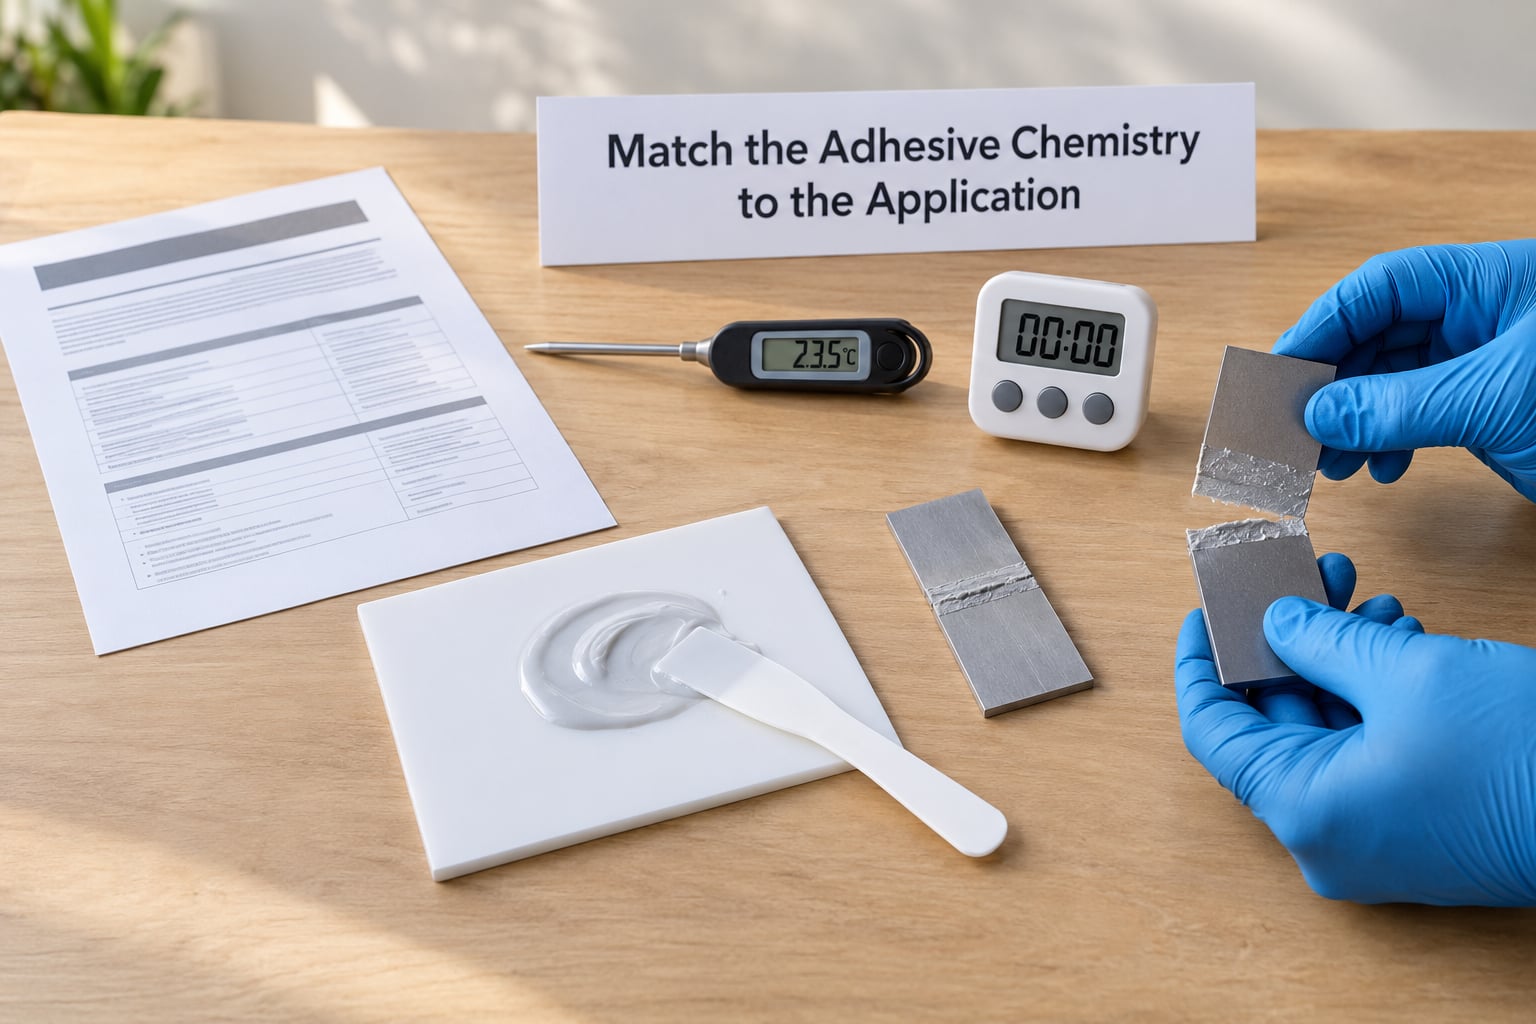
3. Match the Adhesive Chemistry to the Application
Now, and only now, look at products. Six chemistry families cover almost every marine joint.
Epoxy. Two-part epoxies are the strongest and stiffest structural option, typically in the range of about 3,000 to 6,000 psi tensile for general-purpose formulations, with marine laminating systems running higher. They bond dissimilar materials well and gap-fill reasonably, but they are brittle, they creep under sustained load, and many of them attack plastics. A flexible or toughened epoxy trades some of that stiffness for elongation, which is the right choice on a hull joint that moves.
Polyurethane adhesive and sealant. Moisture-curing one-part urethanes bond to a broad range of materials and stay flexible, which makes them the default for hull-to-deck joints, bedding hardware and anything that flexes. They are strong in peel, cure slowly, and need humidity to cure properly. Some are famously difficult to remove, and removal is often what forces the repair later.
Methacrylate adhesive (MMA). Tough, fast-curing, gap-filling, and it handles oily or dirty surfaces better than epoxy. It is the pragmatic choice for mounting hardware on metals, and for thermoplastic parts when the product is explicitly approved for them. It off-gasses while curing, so it is a poor partner for a sealed electronics bay that needs to go live immediately.
Silicone, polysulfide and polyether sealants. These are sealants first and adhesives second. They stretch, they take UV and weather, and they are the right answer for portlight glazing, through-hull seals and joints that must be serviceable. Most silicones are not structural adhesives at all, and they leave a bond-breaking residue that will stop the next adhesive from adhering, so get that residue off before you try anything else in that hole.
Cyanoacrylate. Convenient for small assembly and emergency repair, but it is rigid, it bridges poorly, and it degrades with moisture and UV over time. Hold it to temporary, non-structural, low-stress work on a boat.
Wood glues and solvent cements. Marine-grade plywood and timber want a waterproof glue line; the spec that matters is a documented exterior or marine glue line and low veneer void content, not the words marine grade on the panel. PVC and ABS pipe cements are the correct answer for their own plastics, and nothing else should be expected to bond them.
The trade-off people get wrong is strength versus flexibility. A toughened epoxy sits roughly 20 to 50 times stiffer than a urethane sealant. On a joint that moves, the stiffer product is often the weaker one in practice, because it concentrates load at the edge and then cracks. That is why hull-to-deck joints that failed with epoxy are so common, and why so many owners land on a polyurethane sealant for that specific job.
| Chemistry | Relative strength and stiffness | Typical cure profile | Waterline suitability | Best substrates | Removable |
|---|---|---|---|---|---|
| Two-part epoxy | Highest stiffness, strong tension, weak in peel | Tack minutes, full strength 12 to 72 hours | Immersion-capable when specified; brittle in moving joints | Aluminum, steel, FRP, plywood, some thermoplastics | Usually no, destructive |
| Toughened or flexible epoxy | Moderate stiffness, much better elongation | Tack hours, full strength 24 to 96 hours | Good for splash and intermittent immersion | FRP, aluminum, steel, rubber | Usually no |
| Polyurethane adhesive | Moderate, excellent in peel and flex | Tack 1 to 4 hours, full strength 24 hours to 5 days | Hull-to-deck and immersion joints when rated | Metals, FRP, wood, many plastics | Usually no |
| MMA adhesive | Moderate to high, tough, good gap filling | Seconds to minutes | Good above and below waterline when rated | Metals, clean thermoplastics, some coatings | Often with heat |
| Silicone, polysulfide, polyether sealant | Low tensile, very high elongation | Skin hours, full 3 to 30 days depending on type | Excellent sealing, non-structural | Glass, gelcoat, metals, painted surfaces | Yes, but leaves residue |
| Cyanoacrylate | Moderate, rigid, poor bridging | Seconds | Poor in continuous water and UV | Rubber, plastics for small assembly only | Yes |
| Wood glue or solvent cement | Material specific | Varies widely | Only with a documented waterproof or marine glue line | Plywood and timber; PVC or ABS only for their own cement | No |
Evidence to look for: the formulation named in a published substrate table, a flexibility or elongation figure, and a temperature range that matches the joint rather than the storeroom.
4. Check Service Life, Cure Conditions and Processability
The technical data sheet is where the real specification lives, and it takes ten minutes to read properly. Work through it in this order: full cure time at your temperature, minimum application temperature, pot life, working or open time, mix ratio, surface preparation required, maximum gap, service temperature range, shelf life and storage conditions. Then check what the product has actually been tested against, not just what the manufacturer claims for it.
Distinguish handling strength from final strength. Tack-free means the surface will not smear, not that the joint can carry load. Handling strength is when it can be moved without damage. Full cure is when it reaches published strength. Loading a joint at handling strength is one of the most common ways people end up with a failure they blame on the product. Slower-curing products generally reach higher final strength because the polymer network has time to develop, which is exactly why owners grumble about scheduling: the boat needs to be back in the water and nobody wants to wait a week.
Temperature and humidity move cure rate more than most people expect. Urethane sealants cure on moisture from the air, so a cold dry shop can stretch a nominal three-day cure well past a week, and one-part silicones track temperature almost linearly. Cold-cure formulations exist for winter work; if you are building in an unheated shed, specifying one up front is cheaper than redoing the joint. Check shelf life too, because adhesives that have been open or stored near a bulkhead for years can lose performance with no visible change.
Evidence to look for: a stated full cure time at a stated temperature, a maximum gap figure that comfortably exceeds your design gap, and a mixing procedure you can actually execute without a scale and a clock. Two-part epoxies are unforgiving about mix ratio, and off-ratio mixes cure soft forever.
5. Check Mechanical and Electrical Side Effects
Ask what kind of load the joint carries. Straight tension and compression favor epoxy. Peel, flex and impact punish anything brittle. Long-term loads under sustained stress bring creep into the picture, and creep matters for a part that stays heavily loaded, which is why structural joint designs avoid relying on one rigid adhesive under sustained load alone.
Compare modulus with the substrate. An adhesive far stiffer than the material it holds creates a stress concentration at the ends of the bond, and it will fail there first. That is the same reason a flexible adhesive survives a moving hull and a rigid one does not. Fatigue matters too, and vibration is a fatigue load: cycles add up over thousands of engine hours.
Then check what the adhesive does to everything else nearby. Galvanic corrosion between dissimilar metals, plastic attack and stress cracking in acrylic or polycarbonate, silicone residue poisoning the next bond, outgassing from a curing adhesive into a sealed electronics enclosure, or a coating that will not adhere over a cured joint. On instrument and sensor work, the joint also has to leave the sensor face and its cable undisturbed, and an adhesive that flexes under a transducer mount can change the reading rather than simply holding the part on.
Evidence to look for: an explicit warning list, and for sensor work, a barrier layer or isolation washer plus a mechanical retainer where vibration or load makes a purely bonded joint marginal. Adhesives and fasteners are not rivals; the right answer is often both.
6. Test and Document the Final Choice
Before you commit to a hull or a stringer, buy a small quantity and make test coupons from the same materials with the same preparation. If the joint sees immersion, age the coupons in saltwater, and if it sees sun and heat, cycle them. Set your pass criteria before you start: does the bond line hold after cycling, does the adhesive creep or turn soft, does the coating or the substrate show attack.
Write a cure log: product, batch, lot number, mix ratio, ambient and substrate temperature, humidity, application time, tack time, and the date you considered it fully cured. Two years later, when you want to know why a joint failed, that log is the difference between a diagnosis and a guess.
Be honest about the limits of a coupon. A small test tells you the product is unsuitable when it fails, and gives you reasonable confidence when it passes. It does not replace engineering review for a safety-critical or load-bearing joint, and no forum post, including this one, should be the basis for certifying a lifting point or a keel attachment.
Common Mistakes That Ruin Marine Joints
Choosing on the marine label. The label is marketing. The datasheet is the specification, and only it tells you about substrate and exposure.
Assuming any epoxy bonds any plastic. Most epoxies do not bond polyethylene or polypropylene at all, and many attack acrylic, polycarbonate and ABS. Check the substrate table and expect to need a plastic-specific system or a mechanical attachment.
Skipping surface preparation. A clean, abraded, solvent-wiped, dry surface is not a nicety. Moisture, salt, oil, mold release and silicone residue all sit exactly where the bond line needs to be, and no adhesive chemistry overcomes them.
Ignoring peel and flex loads. Tension tests flatter epoxy. Peeling a bonded strip off is the load that actually separates joints, and it is why a rigid adhesive cracks a hull-to-deck joint that flexes.
Leaving a gap larger than the specification. Every adhesive has a maximum gap, and past it you get a weak, thick, starved joint. Widen the mating surfaces or fill with designed filler, never by simply closing with more glue.
Treating partial cure as final cure. Handling strength is not strength. Wet, loaded or launched before full cure and you have stress-loaded an incompletely polymerized joint.
Sealing damp or contaminated surfaces. Trapped water and salt under an impermeable joint is a corrosion starter, and it can undercut gelcoat from behind for years.
Trusting a small test instead of a representative one. A coupon that does not match your materials, preparation, gap and cure temperature tells you almost nothing.
A few habits carry most of the weight. Write the joint design sheet before shopping. Re-bed hardware with a serviceable sealant and tighten fasteners to snug, let it part-cure, then add a second tightening pass, because over-tightening squeezes the bedding out and leaves a gap that leaks. Over-torque matters more than most people admit. And coat bare wood under any glued assembly with epoxy, leaving no bare wood exposed, which is the single most repeated recommendation in boatbuilding forums.
Frequently Asked Questions
What is the best adhesive for bonding aluminum parts on a boat?
For a structural aluminum joint, a two-part epoxy with a documented aluminum bond and a temperature range matching your working conditions is the standard answer, paired with mechanical fasteners where sustained load or vibration is involved. For serviceable hardware, a polyurethane sealant bedded under the part is better, because it can be removed later without destroying the metal. Clean with a metal-compatible cleaner, abrade, wipe and coat any dissimilar metal with a barrier layer to limit galvanic corrosion.
Can I use a waterproof epoxy on an underwater marine sensor housing?
Only if the datasheet states continuous or intermittent immersion use for that exact housing material. Waterproof on a retail shelf usually means water resistant, not hydrostatic pressure rated. A sensor housing also needs the adhesive to stay rigid, non-outgassing and dimensionally stable so the reading does not drift as the joint flexes. Where a gap or a threaded port is involved, a rated sealant or a bonded-and-mechanically-retained approach is usually more reliable than adhesive alone.
Does marine grade mean an adhesive is safe for continuous saltwater immersion?
No. Marine grade is a marketing description with no universal standard behind it, and many products wearing it were formulated for household or automotive use. Continuous immersion requires an explicit immersion rating in the datasheet, a stated service temperature range, and confirmation that the joint will not be exposed to fuel or hydraulic fluid. If any of those three are missing, treat the product as not qualified for a below-waterline structural joint and look for a fastener instead.
What adhesive works best for bonding HDPE or polypropylene on an ocean robot?
Nothing conventional. Polyethylene and polypropylene are low-surface-energy polymers that epoxy and cyanoacrylate will not bond to without treatment, and reports from the field are consistent on that. Practical options are a manufacturer-specified plastic primer with a matched adhesive, a process that melts or fuses the surface, a molded-in threaded insert, or mechanical fastening such as screws through the wall or a clamp. Anything glued to a buoyancy shell should also be checked for whether the adhesive affects the shell wall thickness.
Can I use a quick-setting cyanoacrylate on a vibration-prone marine joint?
Use it for assembly and emergency holding only, not for a joint that vibrates or carries load. Cyanoacrylates cure rigid, which means poor peel and fatigue resistance, and they soften and lose strength with moisture and UV exposure, both of which are constant on a boat. For a vibrating joint, choose a toughened epoxy, an MMA adhesive, or a polyurethane sealant, and back it with a mechanical retainer. If a joint fails repeatedly, the cause is usually movement the adhesive was never meant to absorb.
Conclusion: Start With the Joint, Not the Adhesive
The sequence that works is the same every time: name the substrates and the failure consequence, classify the water and sun exposure, match the chemistry to the load and the movement, verify the cure and service data against your worst case, check the side effects on neighbouring materials and electronics, then coupon-test and document. Write down substrates, environment, loads, cure window and the validation result before you order anything or squeeze on anything. If a step cannot be answered from the datasheet, you have not finished choosing, and the honest answer is that the joint needs a mechanical fastener.
Last reviewed for 2026.