Heat shrink connectors are the standard way to repair and extend boat wiring: you crimp a tinned copper terminal onto the stripped wire, slide an adhesive-lined polyolefin sleeve over the joint, then shrink it with controlled heat until the sleeve grips the insulation and the inner adhesive flows to seal both ends. A proper heat shrink joint on a boat should take about ten minutes per connection, and the whole job is beginner-level once you treat the electricity seriously. This is the method I use, and it is what I would follow in 2026 on any circuit from a nav light to a bilge pump.
Boat wiring lives in a harder environment than house wiring. Salt air, standing water in the bilge, constant engine vibration and sun on the deck all attack a connection that is not sealed, and an unsealed crimp often fails quietly long after you have forgotten about it. Heat shrink is not magic — it only works when the crimp underneath is correct, the tubing is the right diameter and adhesive-lined, and the heat comes from a heat gun rather than a flame. Get those three things right and a spliced circuit will outlast the wire around it.
Table of Contents
- What You Need to Use Heat Shrink on Boat Wiring
- Step-by-Step
- Common Mistakes
- Frequently Asked Questions
- Can ordinary heat-shrink tubing be used on a boat?
- Should I use adhesive-lined heat shrink tubing for marine wiring?
- Can I use a hair dryer or soldering iron to shrink tubing?
- Does heat shrink tubing make a boat wiring splice waterproof?
- How do I inspect a heat shrink repair for damage?
- Is heat-shrink tubing suitable for navigation, engine, or safety-critical circuits?
- Conclusion
What You Need to Use Heat Shrink on Boat Wiring
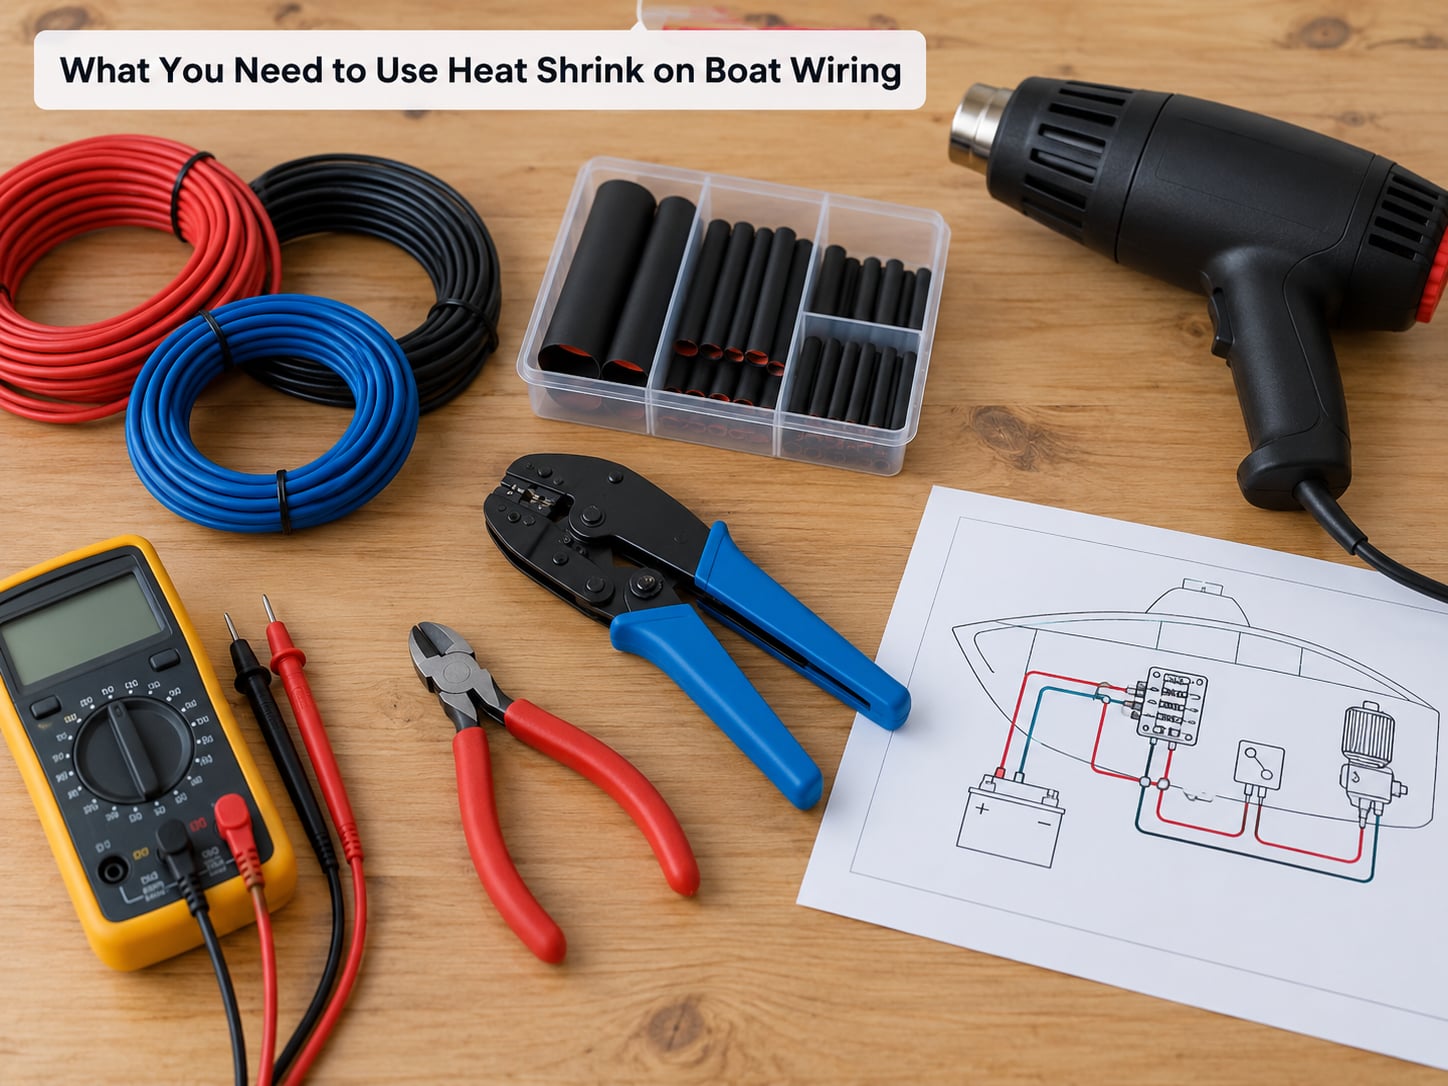
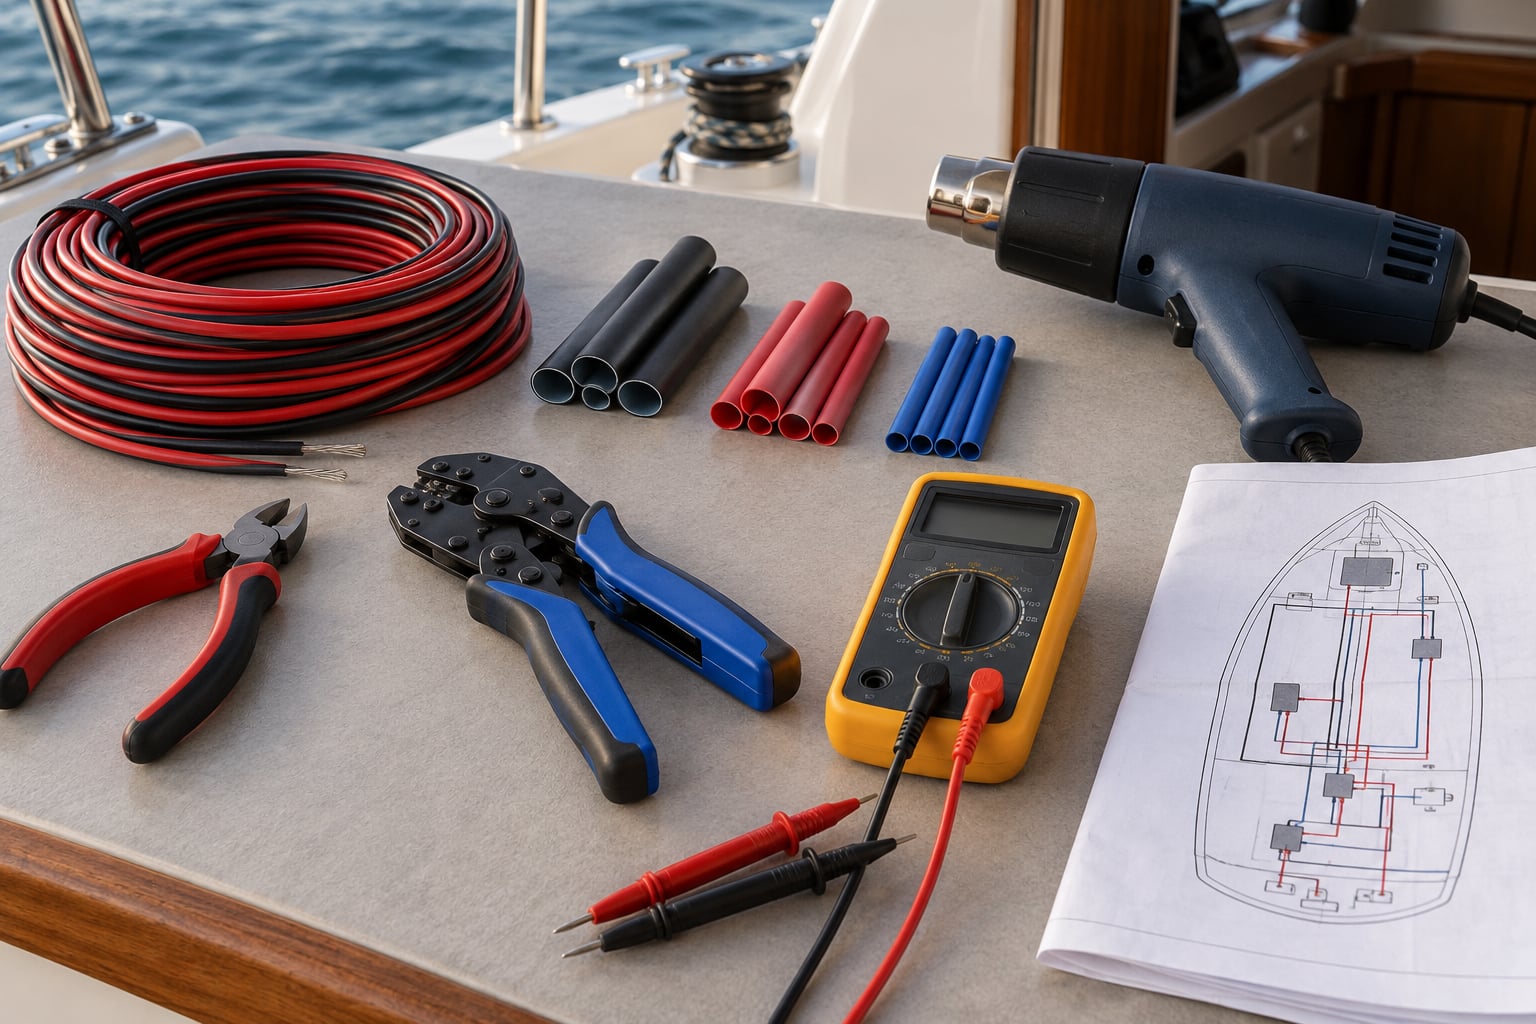
Most of the tool list is small. You need a ratcheting crimper with the right die for your connector family, a heat gun on a low setting, wire strippers or diagonal cutters, a multimeter, and roll of adhesive-lined marine tubing in several diameters. Add a lighter or a torch only if you read the warning later in this guide — you should not need them.
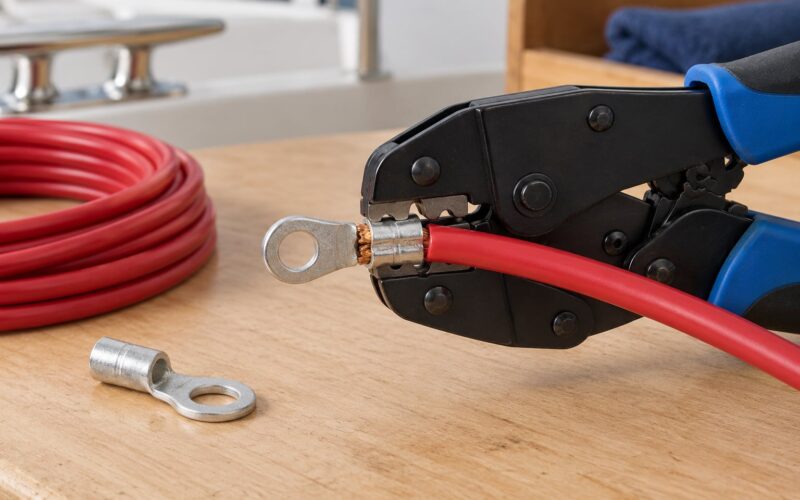
The crimper is the piece people cheap out on. Ordinary pliers squeeze a connector into an oval lump; a ratcheting crimper wraps the barrel evenly around the conductor and produces the gas-tight crimp that heat shrink is designed to protect. Buy the crimper with the dies that match your terminals, and use it until the ratchet clicks. A cheap crimper is the single most common reason heat shrink connections fail on boats.
Choosing the right tubing
Marine heat shrink differs from ordinary electrical tubing in four ways that matter, and you want all four.
- Shrink ratio. Standard 2:1 tubing suits single wires; 3:1 covers a joint with a terminal barrel on one end and a bare wire on the other, which is exactly the shape of a butt connector. Always size to the largest part going inside, because heat shrink that starts too loose will not grip.
- Wall thickness. Dual-wall tubing has an outer polyolefin sleeve plus an inner adhesive layer. On a boat I would not use single-wall on any circuit that sees water or is opened for service.
- Temperature rating. Look for tubing rated around 125 to 130 degrees Celsius for continuous service, with a shrink point near 120 degrees Celsius. Adhesive-lined versions flow their sealant around 150 degrees Celsius, so give the heat gun time to do that job rather than blasting the sleeve.
- Adhesive lining. The inner liner is the part that keeps water out. It squeezes out past both ends as a visible bead once it has flowed properly — that bead is your proof of a good seal.
Two more marine details. Use tinned copper wire and tinned copper terminals where you can: the tin resists corrosion in salt air far better than bare copper. And keep the wire gauge honest — buy connectors stamped for the AWG you are running, not for the wire you happen to have.
How to tell marine-grade from ordinary
Marine-grade tubing and connectors usually say so on the packaging or the barrel, and they are built with a thicker adhesive wall and tighter manufacturing tolerances on the crimp barrel. Ordinary electronics-grade heat shrink shrinks fine, seals poorly, and its adhesive often never flows at all. If the bag does not say adhesive-lined, dual-wall, or marine, treat it as a decorative sleeve for a dry cabin run.
Step-by-Step
1. Disconnect and Verify the Circuit
Turn the battery selector to OFF, open the main breaker, and disconnect the negative battery cable before you touch a single wire. Then verify with a multimeter set to DC voltage that the circuit is truly dead — test the meter on a known live source first so you know it works. Checking zero volts is not optional caution; it is the step that separates a clean job from a trip to the emergency room.
Before removing anything, photograph the existing connection and label both wires. On a boat, tracing a circuit by colour alone is how you end up with a bilge pump wired to a navigation light, and a photo gives you the layout to rebuild if a terminal is buried in a bulkhead.
2. Prepare the Wires and Terminals
Strip only the length of bare conductor the terminal barrel expects — usually about 6 to 8 mm. Nicking a strand weakens the conductor and can leave a strand folded back in the barrel, so strip with the tool stopped the moment you reach copper, and pull the cut strands off rather than twisting them.
Wipe the wire and the terminal with a clean, dry cloth. Salt and oil on your hands are the start of a corrosion problem, so gloves are not fussy behaviour here. Insert the wire so bare copper is visible in the inspection hole at the barrel end, then crimp with the ratcheting tool until it releases and locks.
Now the tug test. Pull hard on the wire, straight along the barrel axis, with your fingers rather than pliers — a good crimp will not move. If the wire pulls out or the barrel deforms, cut it off and start again; there is no partial credit on a crimp. Some people add a small dab of dielectric grease inside the barrel before crimping for extra corrosion protection on signal circuits, which is a sensible habit that costs nothing.
3. Choose and Slide the Heat-Shrink Tubing
Slide the sleeve onto the wire before you crimp, if the barrel is open, or over the finished joint if it is not. This is the step nearly everybody forgets, and it is why a third of heat shrink attempts end with the connector lying in pieces on the deck.
Cut the tubing 10 to 15 mm longer than the joint it covers so it overlaps the insulation on both sides and can pinch down to form strain relief. Test-fit it over the terminal before shrinking — it should slide over with light drag, not fall loose. If the joint will also be soldered, put the sleeve on first and keep the soldering iron well away from it, since stray heat shrinks polyolefin early and the sleeve then refuses to fit.
4. Shrink and Seal the Connection
Set the heat gun to low and hold it 5 to 8 cm from the sleeve, moving it continuously along the length rather than parking it in one spot. Work from the centre outward, and give the adhesive time to flow — usually another few seconds of gentle heat after the sleeve has closed up on the wire.
While the polyolefin is still soft and the adhesive is flowing, pinch the sleeve gently around the wire at each end with your fingers to close the strain relief. Too much heat and you scorch the insulation or melt adjacent wires together; too little and you get a loose sleeve with adhesive that never moved. Neither is recoverable, so work in short passes and check as you go.
Let it cool completely before handling. A finished joint should look like a smooth, slightly tapered sleeve with adhesive visible as a thin bead at both ends, no bubbles, no charring, and no copper anywhere in sight.
5. Mechanically Support and Test the Repair
Heat shrink is not strain relief on its own. Secure the wire with a clamp, a service loop, or a tie to a solid structure, and route it well away from chafe points, sharp edges, exhaust headers and anything that moves. If you have slack, leave enough that the connector could still be reached after a year of service.
Set the multimeter to continuity or low-resistance and check across the repaired joint, then tug the wire again after moving it through a full range of motion, as the engine or pump would. Check the reading a second time after the circuit has been running warm — a marginal connection often shows up only when it heats. Restore the battery cable, close the breaker, and only then check that the circuit behaves as it should.
Common Mistakes
Almost every failed heat shrink splice on a boat traces back to one of these, and each has a simple correction.
- Wrong connector diameter. A connector stamped 16-14 AWG will not hold 18 AWG properly. Match the stamp to the wire, not to the terminal that happens to fit.
- Open flame instead of hot air. A MAP gas torch or lighter concentrates heat on one spot and burns through insulation long before the sleeve is set. Boating forum reports describe a torch melting adjacent wires inside a trailer harness, with the resulting short surfacing months later. Use a heat gun only.
- Holding the gun still. Parking the nozzle on one end scorches it and leaves the far end loose. Keep it moving the whole time.
- Shrinking before the crimp is finished. Once the sleeve is on and shrunk, the joint is permanent. Complete and tug-test the crimp first.
- Ordinary single-wall tubing in a wet location. It shrinks fine and seals nothing. Bilge, cockpit and any below-deck run need adhesive-lined dual-wall.
- Leaving copper exposed. Every strand must sit under the sleeve, with the sleeve overlapping insulation on both sides.
- A rigid cable segment with no support. A splice that cannot move cannot flex. Add strain relief and a service loop, or the failure moves to the wire just behind the connector.
- Skipping the tug test. A loose crimp looks fine under insulation. Pull on it.
A few things worth knowing beyond the basics. For sensor and NMEA wiring under 22 AWG, ordinary heat shrink connectors are too thick to hold a couple of strands securely — either fold the tiny wire back on itself to fill the barrel, use a solder sleeve with heat shrink built in, or use ferrules into euro-block style connectors on instrument panels. Solder sleeves also add a mechanical element that pure crimps lack, though check your insurer’s requirements before using them on critical circuits. If a heat gun will not physically fit in the space, a silicone-filled plug-in connector is a better answer than fighting for room. And remember that heat shrink has a second job: a long sleeve over a run of wire is excellent chafe protection where a line passes through a hole or a chock.
Marine safety habits to keep: connections in the bilge belong above standing water where possible, batteries need a fuse as close to the terminal as you can mount it, and any work near fuel or fuel vapour needs ventilation and no open flame anywhere near the boat. Follow your boat’s wiring schematic, and if a circuit carries safety equipment or feeds an engine instrument, have the final connection checked by a marine electrician.
Frequently Asked Questions
Can ordinary heat-shrink tubing be used on a boat?
Only in dry, protected places like a cabin or an engine compartment that stays bone dry. Ordinary single-wall tubing shrinks and looks tidy, but it has no adhesive lining, so water and salt get behind it and the crimp corrodes from the inside out. For anything in the cockpit, the bilge, near an outboard or under a tank, use dual-wall adhesive-lined marine tubing rated for the temperature and moisture you actually have.
Should I use adhesive-lined heat shrink tubing for marine wiring?
Yes, for almost every circuit on a boat. The inner adhesive layer melts as you heat and flows into the ends, sealing gaps and displacing moisture, and it gives the finished joint a visible bead you can inspect later. Non-adhesive tubing only grips by mechanical pressure, so any movement or thermal cycling works it loose over time. Buy the adhesive-lined version unless the run is inside a sealed cabin.
Can I use a hair dryer or soldering iron to shrink tubing?
A hair dryer is not hot enough and its airflow is too soft, so you will warm the sleeve without ever collapsing it properly. A soldering iron touches one spot at a time and burns a hole rather than shrinking evenly. Use a heat gun on low, moving continuously along the sleeve. A butane torch or lighter is worse than both because concentrated flame burns the insulation before the joint is sealed.
Does heat shrink tubing make a boat wiring splice waterproof?
Not on its own. The seal comes from three things working together: a gas-tight crimp so there is no gap inside, adhesive-lined tubing that flows into every void, and overlap onto the insulation at both ends. Heat shrink also cannot undo damage already present. If the wire ends are damp or corroded, cut back past the damage before you start, or the new sleeve will trap the moisture you were trying to keep out.
How do I inspect a heat shrink repair for damage?
Look for a smooth sleeve with adhesive beaded out at both ends, no bubbles, no wrinkles or discolouration, and no copper visible. Then tug the wire firmly and check the reading on your meter before and after moving the cable through its full range. Any joint that was opened, re-terminated or sits in water should be cut out and redone, because a disturbed adhesive bond rarely recovers on its own.
Is heat-shrink tubing suitable for navigation, engine, or safety-critical circuits?
Heat shrink on a properly crimped, adhesive-lined marine connector is standard practice on navigation lights, pumps and instrument circuits. The caution is not the sleeve, it is the crimp quality and the strain relief behind it. For circuits feeding safety equipment, engine alarms or anything that must keep working in a knockdown, follow the boat’s wiring schematic and have the finished joint checked by a marine electrician before you rely on it.
Conclusion
Start by isolating the circuit properly: battery off, breaker open, meter confirming zero volts. Then strip only what the terminal needs, crimp with a ratcheting tool, and tug-test before anything else happens. Slide on adhesive-lined marine tubing sized to the largest part of the joint, shrink it with a moving heat gun until the adhesive beads out both ends, and let it cool. Finally, add strain relief, route the wire away from chafe and heat, test under load, and only then restore power. Follow that order every time and heat shrink on boat wiring stops being the weak link in the circuit.