To choose a motor for a small boat project, start at the hull: read the horsepower plate and the capacity plate, then work out the thrust your craft actually needs, match that thrust to a propeller, and size the battery and controller around the motor’s real current draw. Most mistakes happen because a motor is picked first and the hull is asked to cope afterwards.
Small craft are unforgiving in a particular way. Add a motor that is too heavy or too powerful and the transom takes the load, the boat squats low in a chop, and the fix is expensive. Go too small and you spend battery or fuel without gaining speed. The selection is really a chain of numbers, and this guide walks through it in order.
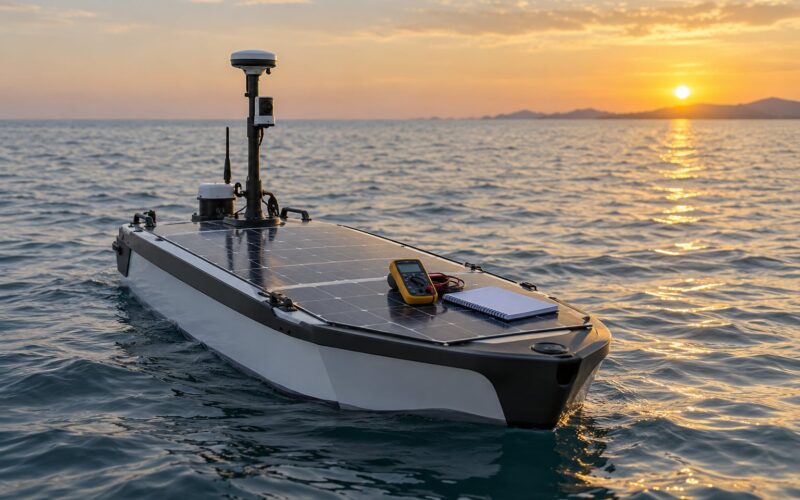
It applies whether you are building a demonstration craft for a pond, a remote-controlled hull, a small research platform, or a powered sailing robot that has to hold station offshore. The marine version of this problem is well documented: makers on r/boating and endless-sphere, and the sizing guidance on boatdesign.net, all point at the same short list of constraints.
Table of Contents
- What You Need
- How to Choose a Motor for a Small Boat Project: Step-by-Step
- 1. Define the boat’s mission and operating conditions
- 2. Calculate the required thrust
- 3. Match motor power to the propeller
- 4. Check battery, controller, and runtime
- 5. Select a motor suitable for marine use
- 6. Design the mounting, shaft, and control system
- 7. Test the motor before committing to the boat
- Common Mistakes
- Frequently Asked Questions
- What size motor do I need for a small boat?
- Should I choose a brushed or brushless motor for a small boat?
- How do I calculate battery capacity for a boat motor?
- How much thrust should a small boat motor provide?
- Can I use a regular automotive motor in a small boat?
- What safety equipment is needed when testing a boat motor?
- Conclusion
What You Need
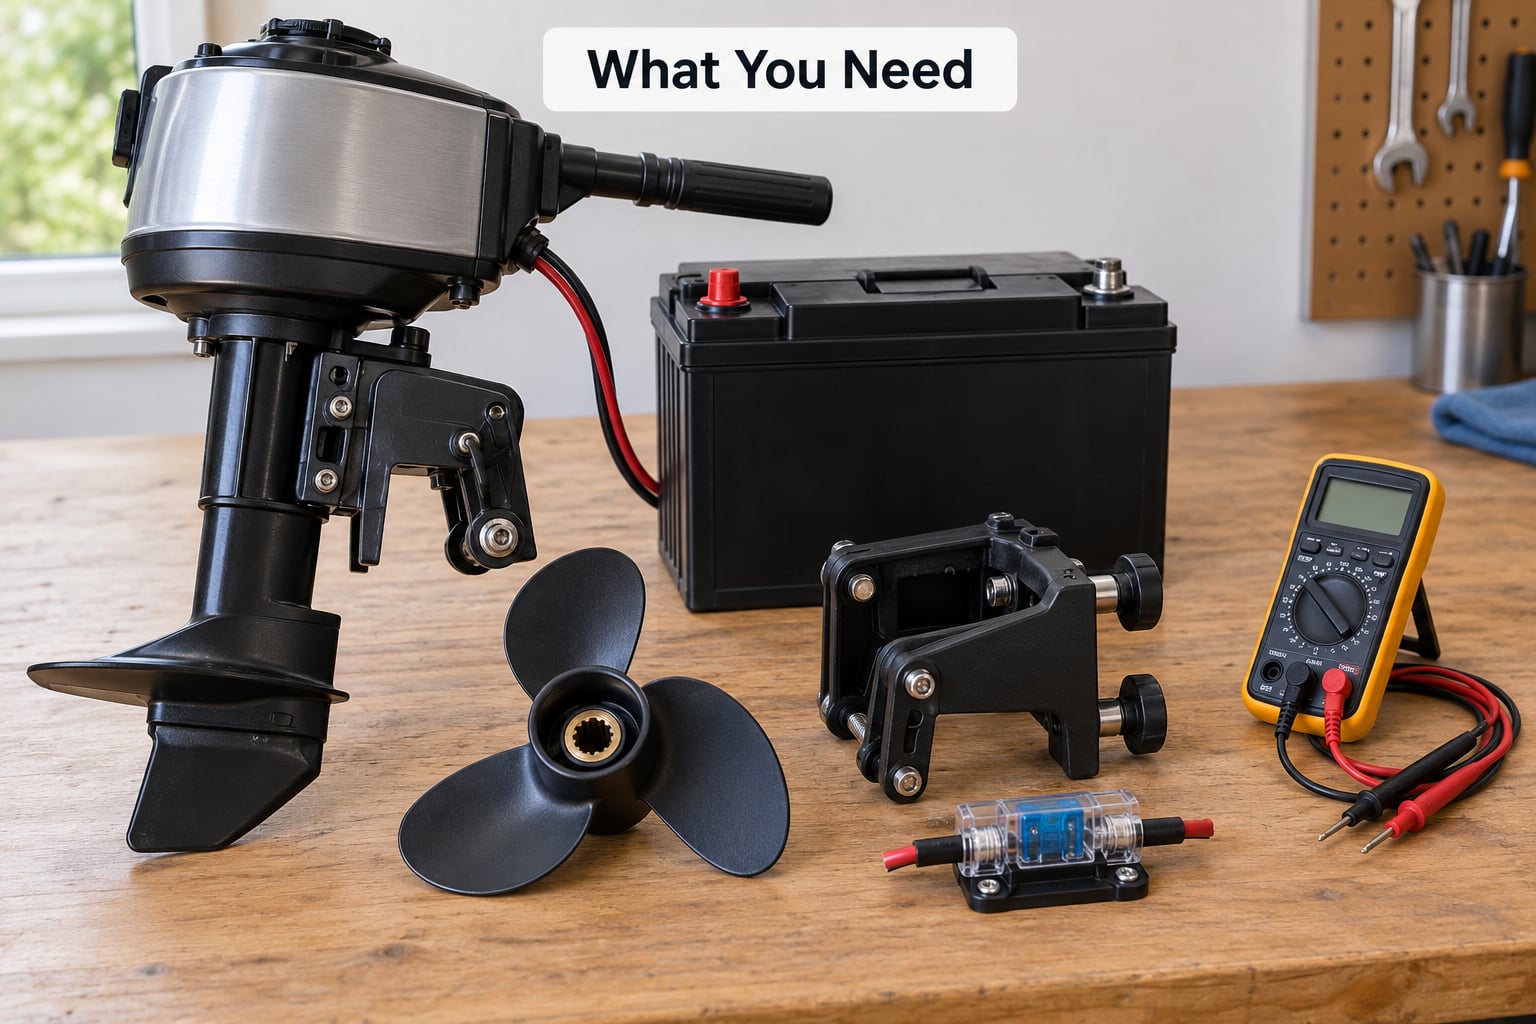
Before you compare a single motor, gather the following. Without them, any sizing number is a guess.
Boat specifications
- Length overall and, more usefully, the waterline length
- Displacement in pounds or kilograms, with and without your load
- Hull type: planing, semi-planing, displacement, or a flat-bottomed skiff
- Transom height measured from the bottom of the hull to the top of the transom
- The horsepower plate and capacity plate, or the builder’s specification sheet
The two plates are your ceiling, and they are different limits. The horsepower plate caps the power. The capacity plate caps the weight of whatever you hang on the transom. A 12 ft aluminium boat rated for 10 hp and 80 lb of motor weight will not be improved by a 25 hp engine that weighs 104 lb.
Test and mission data
Write down the speed you need, the runtime you need, the payload, and the water. Open water and a sheltered pond are different design problems, and so is a two-hour demonstration against an eight-hour patrol. If the craft must cross current or work in a short chop, add margin now rather than after the first capsize.
Electrical details
Know your voltage architecture, whether it is 12 V, 24 V or 48 V, and what the charger situation looks like. On a battery-powered craft, current draw and depth of discharge govern the design as much as thrust does.
Hardware
- Propeller and a spare, matched to the planned diameter and pitch
- Shaft, coupling, bearings and stuffing box or shaft seal
- Marine-grade wire, ring terminals, and a strain-relief clamp
- Marine fuse or breaker correctly rated for the motor
- Mounting bracket, bolts and backing reinforcement
Safety equipment and documentation
A throwable flotation device, a tested kill switch or power-isolation switch, a bilge pump or drain plug arrangement, and a working horn. Then collect the documentation: the motor datasheet with its current curve, the ESC or controller manual, the battery’s discharge specification, and the hull builder’s rating sheet. A fuse that is properly rated is a piece of safety equipment, not an optional extra.
How to Choose a Motor for a Small Boat Project: Step-by-Step
Run these seven steps in order. Each one narrows the decision, and each one has a check that tells you whether you got it right.
1. Define the boat’s mission and operating conditions
Write the mission in one sentence, then attach four numbers to it: payload, wave exposure, runtime, and top speed. A calm-water demonstration craft and an ocean drone have almost nothing in common beyond the word “motor”.
Check the result by asking whether a motor sized for that sentence would still make sense in the worst condition you expect. If not, your conditions are wrong, not the motor.
2. Calculate the required thrust
Work out total resistance before you work out power. Resistance grows sharply with speed, because power required rises with the cube of speed. Double the speed and you need roughly eight times the power, which is why displacement hulls feel so firmly capped at hull speed while planing hulls keep accelerating with every extra horsepower.
Hull speed for a conventional displacement hull is about 1.34 times the square root of the waterline length in feet. A 14 ft waterline hull works out near 15 mph, and no amount of extra power raises that ceiling for a given displacement.
Use the manufacturer’s thrust curve, not the power rating, wherever one exists. A motor’s nameplate horsepower says what it can absorb; the thrust curve says what it pushes at a given speed and current. Budget around 20 lb of thrust per horsepower as a coarse comparison between systems quoted in different units, then add a reserve for acceleration, wind, waves, and fouling. Check the result by confirming the boat accelerates to its target speed within an acceptable distance rather than stalling at half throttle.
3. Match motor power to the propeller
This is the step most guides skip, and it is the one that decides whether your motor performs. A propeller converts shaft power into thrust, and it only does that efficiently inside a pitch range. Too little pitch and the motor bogs down, overheats, and never reaches its wide-open-throttle RPM. Too much pitch and the motor bogs even harder, with the added risk of a stalled motor overheating itself.
Diameter, pitch, RPM, voltage and current all interact. A bigger motor is not automatically a better motor, because a motor with no matching propeller in its usable pitch range is simply a heater. More pitch means more thrust per revolution and a lower maximum speed; less pitch trades acceleration and thrust for top-end speed.
Check the result by measuring the motor’s RPM at full throttle. It should sit inside the manufacturer’s stated WOT range. If it will not, change the propeller before you change anything else.
4. Check battery, controller, and runtime
Start from the energy you need, not the energy you can afford to carry. Estimate average current from your thrust requirement and the motor’s efficiency map, then multiply by the hours you need to run. Usable energy is the pack’s rated capacity multiplied by the share you are willing to actually take out of it, and for lithium packs that share is typically a much higher proportion of the nameplate than for lead-acid.
Voltage drop matters as much as capacity. A pack that reads full at the terminals can sag well below that under load, and a motor starved of voltage loses thrust exactly when you need it. Check the controller’s continuous current rating against the motor’s full-load current and leave headroom, and confirm it is rated for a marine environment rather than a dry indoor bench.
Check the result with a loaded voltage test and a timed run. A 30-minute bench run at the dock tells you more than a week of arithmetic.
5. Select a motor suitable for marine use
Once the numbers are set, pick the motor family that fits them. Each type trades controllability, efficiency, cost and repairability differently.
- Brushed DC motors are cheap, simple and easy to drive with a basic controller. They suit a first build, a school project, or a hull that will be rebuilt. Brushes wear, commutators need cleaning, and efficiency is the lowest of the options, so they are a poor match for long endurance work.
- Brushless outrunners and inrunners are the default choice for a project craft today. An electronic speed controller handles commutation, efficiency is high, and they run quietly and cool under sustained load. Outrunners are simple to mount; inrunners suit ducted or enclosed shrouds and tolerate liquid cooling.
- Low-speed, high-torque motors can drive a large propeller directly with no reduction gearing, which removes backlash and a failure point. They are heavier per unit of power, so they suit slow, high-thrust hulls rather than fast ones.
For every option, weigh waterproofing, cooling, corrosion resistance, controllability and repairability against each other. A sealed saltwater-rated case with a closed-loop liquid cooling jacket will outlast a cheaper open-frame motor in a wet environment, and a design you can repair on a workbench beats one you cannot.
Check the result by confirming the motor’s ingress rating, its cooling path, and its mounting orientation all suit the hull you actually built.
6. Design the mounting, shaft, and control system
Alignment first. A shaft that is out of line by even a small amount will throw vibration into the hull, wear the bearing surfaces, and let water past the seal. Mount the motor on a rigid, reinforced surface with fasteners that will not work loose, and add a second support for anything long.
Then protect the craft. Use a propeller guard or a shrouded prop wherever a line, a person, or fragile gear is anywhere near it. Provide a mechanical kill: a switch that physically removes power, positioned where the pilot can reach it. Protect against accidental startup by making the arming sequence deliberate, for example a throttle position check before the ESC will drive, and by securing the propeller when the craft is out of the water.
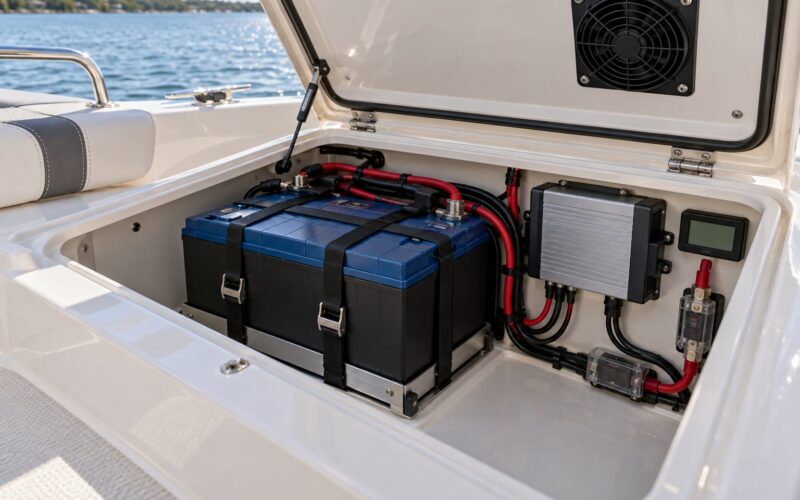
For wiring, use marine-grade cable, crimped and adhesive-coated terminals, a correctly rated fuse close to the battery, and strain relief so that vibration cannot work a terminal loose. Check the result by flexing every connection and watching the motor’s current draw at low throttle for spikes that would signal a bad contact.
7. Test the motor before committing to the boat
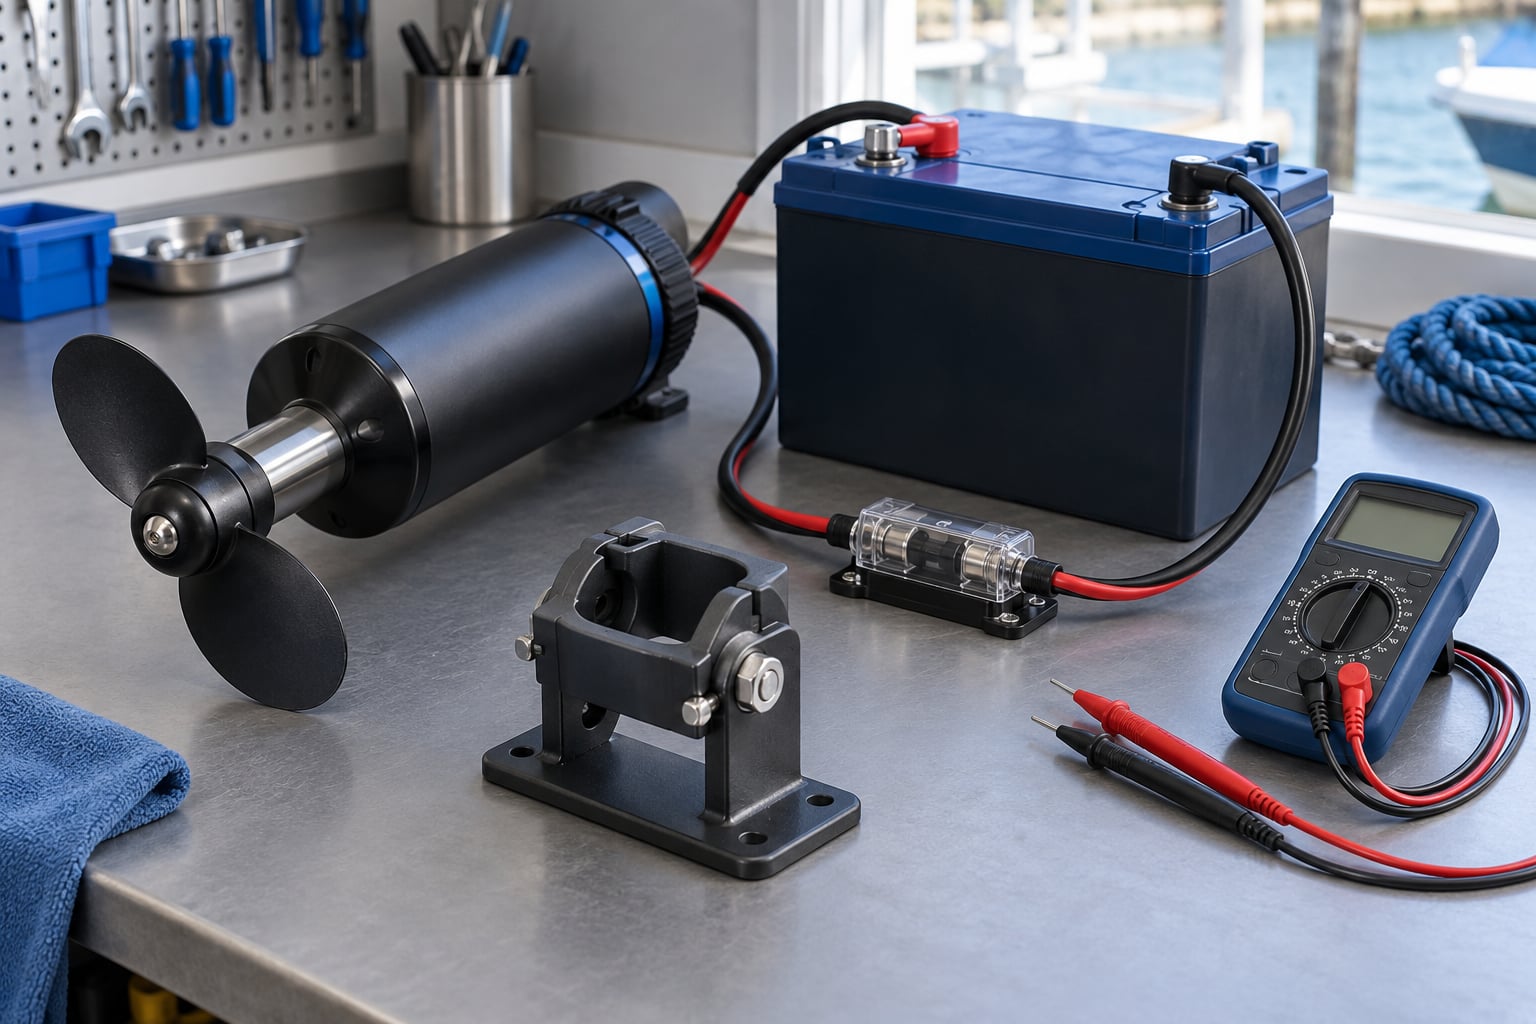
Run a bench test first, with the prop removed. Confirm direction of rotation, then power up slowly and watch the current draw. A stalled or partially blocked motor draws far more than its running current, and that difference is your clearest warning sign of a mechanical problem.
Measure temperature at the motor case and the controller after several minutes at a realistic load. Saltwater motors and controllers are usually fitted with a thermal cut-out; on a smaller build, that protection has to be verified rather than assumed.
Then move to a controlled water test, starting in flat, sheltered water with a kill switch within reach. Confirm thrust and top speed, then deliberately test the failure modes: what happens when the controller disconnects, when the battery voltage sags, and when the craft is turned beam-on to a wake. Compare the measured performance against the design target and record the difference.
Check the result by writing down what the motor actually did and adjusting the propeller, not the motor, to close the gap.
Common Mistakes
These seven errors account for most of the trouble on small projects, and each has a straightforward correction.
Choosing by horsepower alone
Horsepower is a poor stand-in for thrust and tells you nothing about weight. The correction is to size from required thrust and displacement, and to check both plates before you look at any motor listing.
Ignoring startup current
A motor draws its highest current in the moments after the prop begins to load it, often well above the steady running figure on the datasheet. Size the fuse, the wiring and the controller for that peak, and size the battery so it can supply it without collapsing.
Overpowering the transom
Exceeding the plate is the most common and most expensive error on this list. It loads the transom, raises the boat’s centre of gravity, and can affect the hull warranty. The correction is to treat the plate as the hard limit, exactly as regulars on r/boating advise, and to ask the hull manufacturer rather than guess when the plate is missing.
Undersizing wiring or fuses
Thin wire and an undersized fuse do not protect a motor, they create a fire risk. Use cable sized for the motor’s full-load current over the run length, and fit a marine-rated fuse just behind the battery terminal.
Overloading the controller
A controller rated at or barely above the motor’s peak current runs hot and fails early. Pick a controller with real headroom and a thermal cut-out, and check that it is sealed against spray.
Using a propeller that does not match
An unmatched propeller keeps the motor out of its RPM range, wastes current, and overheats the case. Change the propeller before changing the motor, and check the motor’s RPM at full throttle on each trial.
Neglecting corrosion and safe test procedure
Rinse gear in freshwater after every saltwater run, and use sealed components in spray zones. For testing, keep a person on the craft, run a kill switch you can reach, and use a low-speed open area before you try anything ambitious.
Frequently Asked Questions
What size motor do I need for a small boat?
Size from thrust and displacement rather than length alone. Work out the resistance of your loaded hull at your target speed, convert that into a thrust figure, and pick a motor whose thrust curve covers it with margin. The transom horsepower plate is then the ceiling, not the target. As a starting guideline for monohulls, 1 kW per ton of displacement gets a displacement hull moving well, and anything faster needs a planing hull rather than more power.
Should I choose a brushed or brushless motor for a small boat?
Brushless, for almost every build beyond a first experiment. A brushless motor with an electronic speed controller is quieter, more efficient, easier to control and needs less maintenance, which matters most on long endurance runs. Brushed DC motors are still a reasonable choice for a school project or a hull you expect to rebuild, because they are inexpensive and simple to drive. Choose brushed only when cost and simplicity outweigh runtime and top speed.
How do I calculate battery capacity for a boat motor?
Estimate the motor’s average current from the thrust you need and its efficiency map, multiply that by the hours you intend to run, and the result is your energy requirement. Divide by the pack’s working voltage to get amp-hours, then check that against the usable share of the pack’s rated capacity. A common first estimate for a small displacement hull is around 1 kW per ton of displacement, so 2 kW of installed power with 3 kWh of usable energy gives roughly 1.5 hours of run time.
How much thrust should a small boat motor provide?
Enough to reach your target speed with a useful reserve for acceleration, wind, waves and fouling, which means more than the steady-state figure. As a rough conversion between the two systems you will see quoted, about 20 lb of thrust corresponds to 1 hp, so 40 lb of thrust sits near 2 hp and 30 lb near 1.5 hp. A small electric motor of about 3 kW producing roughly 130 lb of thrust is enough to bring a light displacement hull up to its hull speed in flat water.
Can I use a regular automotive motor in a small boat?
You can, and people do, but it is rarely the tidy option. An automotive starter motor is a series-wound brushed machine that draws enormous current, runs hot under sustained load, and is designed for seconds of work rather than hours. A general-purpose 12 V DC motor will happily turn a propeller, but check the IP rating, the cooling path and the shaft seal before it goes near water. For repeated operation, a marine-suitable brushless motor costs less in the long run than protecting a cheap one from the water and the load.
What safety equipment is needed when testing a boat motor?
At minimum: a throwable flotation device worn by everyone aboard, a power-isolation switch within reach of the pilot, a correctly rated marine fuse fitted close to the battery, and a propeller guard or shroud where a person or a line could reach the prop. Test in flat, sheltered water first, and check the craft’s freeboard and stability with the battery in its final position, because weight high and aft changes the handling more than most people expect. Keep a second person on shore with a line when testing anything new.
Conclusion
The decision runs in one direction: measure the hull’s resistance, calculate the thrust you need with a margin, and treat the transom plates as the hard ceiling. Then choose the motor, propeller, battery, controller and wiring as one system rather than five separate purchases, and prove the combination on a bench and in flat water before you add payload or open up the speed range.
Start by reading the plate on your transom and writing your mission in one sentence. Everything else follows from those two lines.