Composite laminating is the process of bonding layers of fiber reinforcement — glass, carbon, aramid or linen — into a thermoset resin matrix to build a stiff, lightweight panel. You stack plies on a prepared mold or bench, wet them out with resin, press out the air and surplus resin, then let the stack cross-link into one solid piece.
Four things decide whether that panel survives water, sun and vibration: the resin you pick, how thoroughly the fiber is saturated, how well you consolidate the stack, and whether you let the cure finish before you touch it. Get those right and a panel can be lighter than plywood and far stiffer in bending. Get them wrong and you end up with voids, dry spots and glue lines that soak up water and spread delamination.
The word laminate causes confusion here, so one clarification first. Decorative laminate — HPL or TFL, the plastic sheets bonded to cabinetry — is a pressed film, not a fiber laminate. Everything below covers fiber-reinforced polymer panels: boat hull and deck skins, cabin tops, hatch and locker lids, sensor pods, marine robot enclosures and repair patches.
A first panel takes most people two to four hours of active work plus a full cure day. Plan on a weekend, work in a ventilated space, and read the whole sequence before you open a resin can. What follows was last checked for 2026 and follows the standard open-molding practice used in small boatyards and marine hardware shops.
Table of Contents
- What You Need
- Step-by-Step: How to Laminate a Composite Panel
- Common Mistakes
- Frequently Asked Questions
- Can you laminate a composite panel without a vacuum bag?
- What is the best resin for a marine composite panel?
- How much resin should I use for one layer of fiberglass?
- How do I know when a composite panel has cured fully?
- Can I laminate over an existing composite surface?
- How do I prevent fiberglass panels from delaminating?
What You Need
Start with the resin system, because every other choice follows from it. Gather everything before mixing, since once epoxy or polyester starts to gel you cannot stop to find a roller.
Materials
- Resin system: epoxy for carbon, aramid, low-porosity parts or anything bonded to another laminate; marine vinylester or polyester for large glass parts where cost per square foot matters. Buy the full kit (resin, hardener or catalyst) from one supplier so the mix ratio is known.
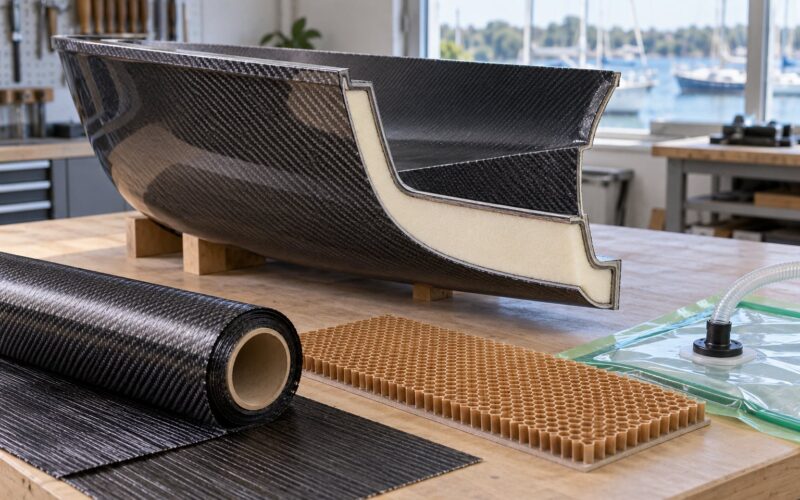
- Reinforcement: woven glass cloth as the general skin, chopped strand mat (CSM) for build-up thickness, unidirectional tape or tow for local stiffness along a load line, and 2×2 twill carbon where you want stiffness without the weight.
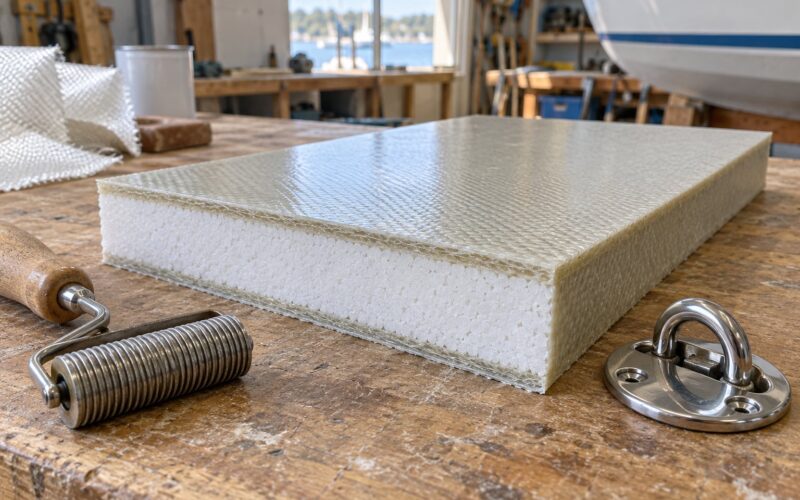
- Core (for sandwich panels): balsa, PVC or XPS foam, Coremat-style microsphere bulking fabric, or aluminum honeycomb. Core choice changes everything about seam handling and edge sealing.
- Release and prep: wax or liquid release agent, acetone or isopropyl alcohol, scrim cloth, tack cloth, and peel ply if you plan to bond to the panel later.
Tools
- Digital scale accurate to 1 g for resin and hardener. Volume measures are the single biggest source of off-ratio batches.
- Mixing pots or buckets, a stir stick or paddle mixer, and separate clean stir sticks so you never cross-contaminate a batch.
- Consolidation roller (a ribbed aluminum roller works well), squeegee, and a stiff bristle brush for pushing resin into tight radii.
- Notched trowel or serrated spreader for core bonding, plus a straight edge, measuring tape, and a utility knife with fresh blades.
- Optional but valuable: vacuum pump, vacuum bag film, release film, breather fabric, sealant tape and a vacuum gauge for the bagging section below.
Safety and workspace
- Respirator rated for organic vapors plus eye protection, nitrile gloves, long sleeves and closed shoes. Polyester and vinylester release styrene while wet, and ventilation matters more than the respirator.
- Cross-draft or extraction fan, a resin-safe bench cover (heavy poly sheeting taped down), and a mixing area with a scale you can reach from both sides.
- Fire extinguisher nearby. The reaction is exothermic, and a large mixed batch in a closed container can run away.
Two design checks before you cut anything: know where the loads go, and know the environment. A cabin top sees foot traffic and spray; a bulkhead sees vibration and a fastener line. Mark the load direction on paper, then choose the ply orientation and core thickness to match it.
Step-by-Step: How to Laminate a Composite Panel
Hand layup — sometimes called wet layup — is the method most marine panels are built with. You place dry reinforcement in a mold, wet it out with resin, consolidate by hand, and cure at room temperature or in an oven. Closed molding (RTM, infusion, autoclave) gives better fiber volume fraction and lower void content, but the hand process is the one worth knowing first because every other method is a variation on it.
Define the Panel and Choose the Laminate
Fix three numbers before any material is cut: finished panel size, finished thickness, and the direction of the main load. A flat 600 x 400 mm hatch lid that gets lifted by one edge behaves nothing like a flat 1.2 x 0.6 m deck hatch that gets walked on.
Skins carry bending load and the core keeps them apart, so build a symmetric schedule. A flat panel laid up as one skin, core, one skin is the simplest version; add plies in pairs if you need more stiffness, because an unbalanced schedule will twist as it cures.
Symmetric layup also controls print-through. Cloth weave telegraphing through the surface comes from core or cloth sitting too close to the face, so put extra plies on the visible side and leave at least a few millimeters between the outermost core and the surface.
| Resin | Typical mix ratio | Pot life at 70F | Working temperature | Shrinkage | Best use |
|---|---|---|---|---|---|
| Epoxy | about 3:1 by weight | 30 to 90 min | roughly 60F to 85F | low, about 0.3 to 0.6% | Carbon or aramid, structural bonds, anything bonded to a cured laminate |
| Marine vinylester | about 100:1 to 100:3 by weight | 20 to 45 min | roughly 55F to 85F | moderate | Large glass panels, hull skins, water tanks, low cost per area |
| Polyester | about 100:50 by volume | 20 to 60 min | roughly 60F to 90F | highest of the three | Molds, non-structural parts, shop tooling |
Two resin facts cause most workshop failures. First, mixing off-ratio leaves unreacted resin or unreacted hardener, and a panel that never fully cross-links stays soft and soaks up water. Second, resin viscosity climbs sharply in a cold shop: below roughly 60F, wet-out gets slow, fibers stay dry under the surface, and a slow hardener or a shop-heated area buys back an hour of working time.
Prepare the Mold and Workspace
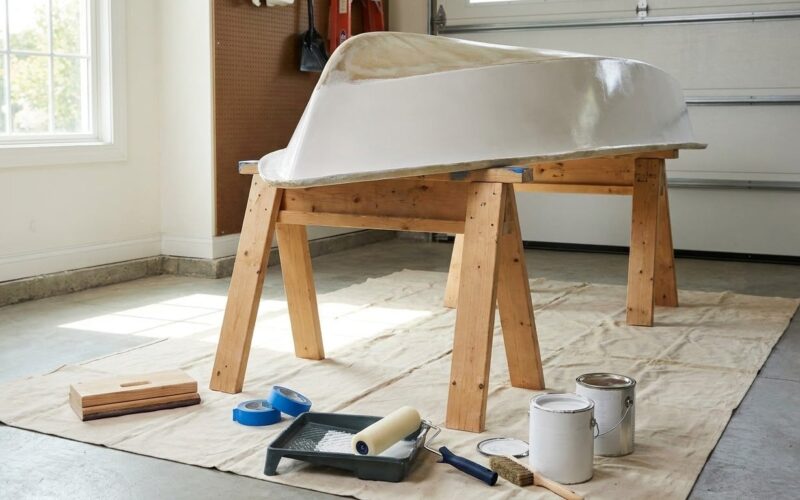
Inspect the mold or tool first. Wipe it with acetone, then scuff any scratches with 180 to 220 grit. A mold defect becomes a defect in the panel, because the laminate copies every surface it sits on during cure.
Fill and level any gaps, then seal porous tooling. Plywood, MDF, plaster and foam tools all need a sealer coat, and a filled surface needs sanding back smooth. Apply release agent in two thin coats, following the direction of the final surface finish, and let each coat flash off.
Test the release if you have never used it: dab a little mixed resin on a corner, let it cure, and try to peel it off. Release failure costs you a whole panel, and a five-minute test on a scrap corner is cheap insurance.
Set up the bench before you mix. Lay out every ply, cut and staged in the order of use, with the mold release still a little tacky. Extract resin dust and vacuum the area, because a stray fiber end on the release surface becomes an air void right under the skin.
Measure and Cut the Reinforcement
Dry-fit everything first. Cut each ply to size, stage the stack in order, and mark orientation on each piece with a pen or a small tag. Precutting before mixing means the layup never stalls while you hunt for scissors.
Cut slightly oversize for curved or compound surfaces, where cloth must stretch to conform. Straight cuts and squares cut on a compound curve bridge instead of draping, and bridging leaves a crease you cannot roll out.
Overlap each ply over the one below by 25 to 50 mm, and stagger the seams so no single line runs the full length of the panel. Avoid butt seams in reinforcement wherever a third ply can cover them: butt joints create a resin-rich ridge that prints through and a line of weakness at the edge.
For core, the rule from most boatbuilding forums is straightforward: butt the core seams, never overlap them. Overlapping core adds a step you will either sand down forever or fill. Dry-fit the core, then fill any seam wider than about 2 mm with a thickened resin filler or a balsa strip. Add a fillet where core meets skin — a generous radius of loose cloth is what stops the transition from printing through later.
Estimate resin before mixing, not after. As a rule of thumb, one gallon of catalyzed epoxy or vinylester covers roughly 6 to 10 square feet of 8 oz woven cloth for a single ply, less for heavier cloth or CSM. Multiply by ply count and panel area, then add 10 to 15% for waste, spillage and the roller you will wipe on a rag. Mixing in small batches keeps the pot life clock honest; a part-full batch that gels in the cup is resin you paid for and cannot use.
Mix Resin and Apply the First Layer
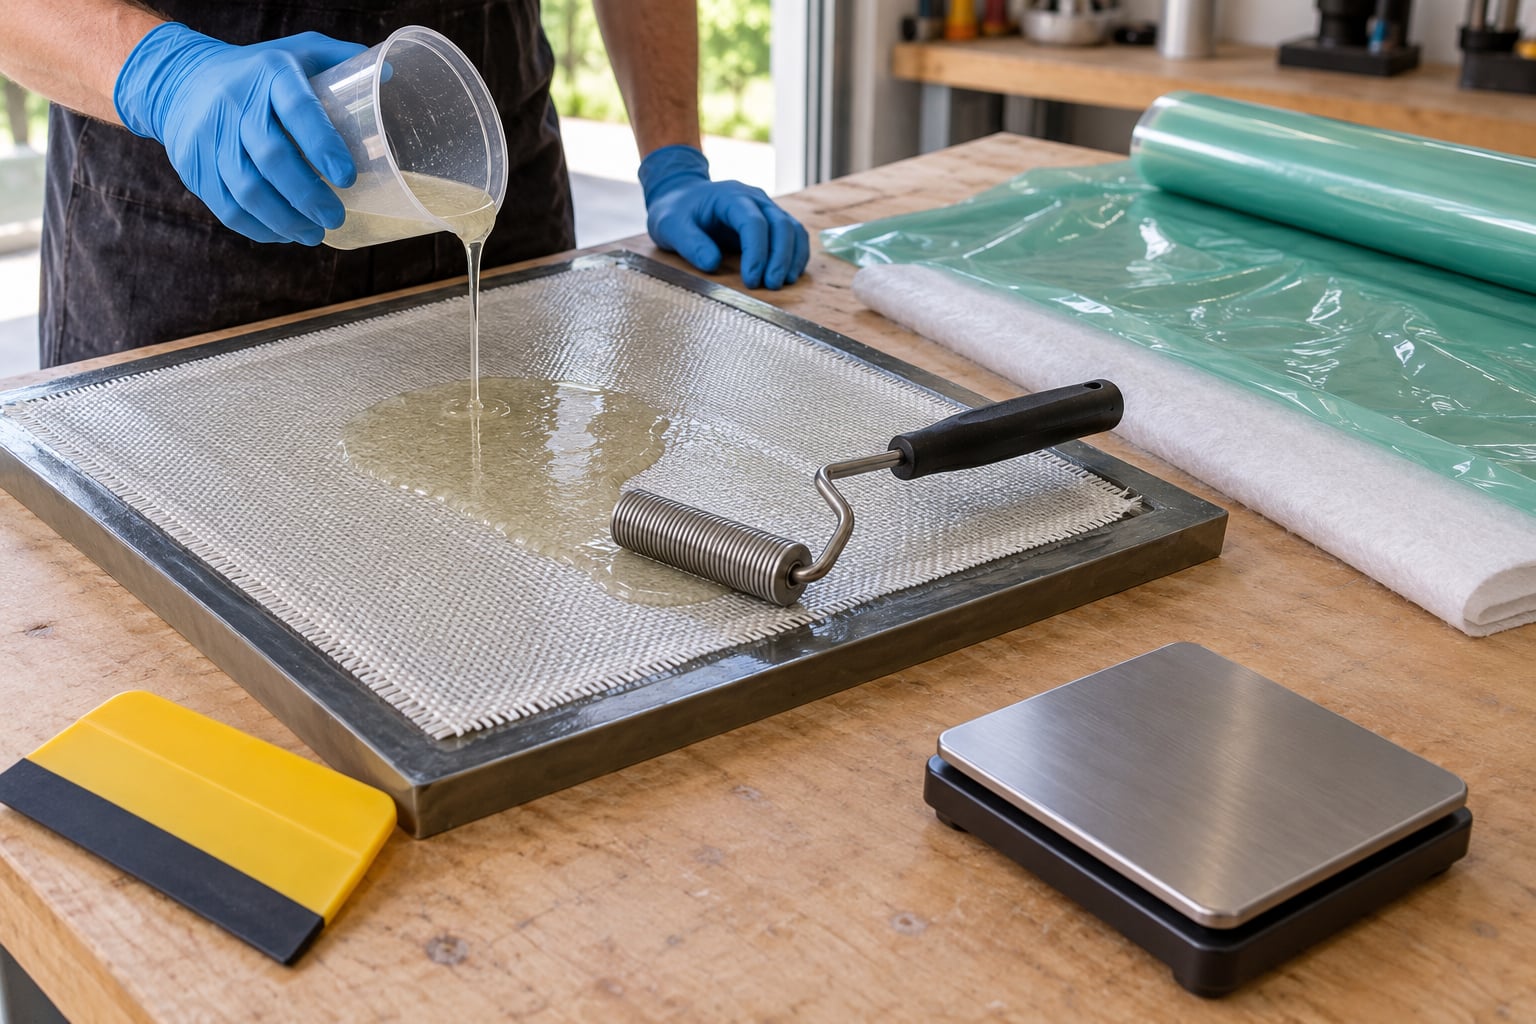
Measure resin and hardener by weight with the digital scale, mixing in a clean cup or a mechanical paddle mixer. Stir for two to three minutes, scrape the sides and the bottom, and stir again. Under-mixing leaves unreacted pockets; over-mixing drags air in, which later becomes voids.
Work in batches you can lay out within the pot life. Large panels and fast-cure hardeners are the usual reason people run out of time mid-layup; a slow hardener buys you the extra minutes.
Apply the first layer to the mold. For a visible marine panel, this is often a pigmented gel coat brushed or rolled to a thickness of roughly 0.5 to 1 mm; let it cure to a tacky-but-not-wet stage, then laminate onto it wet-on-wet so the inter-laminar bond forms. Working the surface with a deburr or sandpaper after cure gives the cleanest bond — that is wet-on-dry, used for secondary structural bonding, where a roughened and cleaned surface plus a coat of resin is the correct surface preparation.
Place the first ply by hand, working from one end toward the other with a light brush or roller so the fibers settle instead of bunching. Keep the intended orientation visible in front of you, because re-orienting a wet ply is where hand layup usually goes wrong.
Build the Remaining Layers and Consolidate
Wet out each ply as you place it. Flood resin over the fiber, then work it through with the roller or brush until the fabric turns a darker, translucent color with no white dry patches. Dry-looking fiber under a wet surface is the most common defect in hand layup, and it stays hidden until you sand through.
Consolidate with the ribbed roller: pass it lengthwise under moderate pressure, then crosswise at a right angle, working from the center out toward the edges. Push air out toward open ends rather than trapping it in the middle. A squeegee works well on flat, wide panels; a roller works better over core and compound shapes.
Squeeze, do not flood. Excess resin adds weight without adding strength, and it collects in corners, around fasteners and at the panel perimeter. Work it off to a wipe-off rag and keep the fillet at core transitions rather than pooling resin there.
Add core and remaining plies next. Wet the core faces, bed it into the tacky resin of the previous ply, weight it down, then place the outer skin over it. If you are embedding hardware, do it during this stage, leaving local extra plies around the insert so the load spreads.
Bagging is the upgrade when the panel has to be flat, light or pressure-critical. Lay release film and breather fabric over the stack, seal the bag with tacky tape, add a vacuum port and a gauge, and pull roughly 10 to 12 inHg. Builders report moderate vacuum is all that is needed for good consolidation; aggressive rolling crushes microsphere and foam cores. Two cautions: bagging takes far more labor than squeegee work and only buys real gains in thickness control and finish, and resin-cure temperature compatibility matters — some non-epoxy systems and some bag films will not survive a post-cure cycle.
Cure, Demold, and Trim the Panel
Cure is a cycle, not a wait. Follow the resin manufacturer’s ramp, hold and cool-down, and do not pull a panel out early on the strength of a tack-free surface. Under-cured laminates distort as the remaining cure shrink stresses release.
| Method | Ramp | Hold | Cool-down | Notes |
|---|---|---|---|---|
| Ambient epoxy | none | 24 to 72 hours | to room temperature | Full properties usually need a post-cure |
| Ambient vinylester or polyester | none | 6 to 12 hours to gel | to room temperature | Green strength early, full cure over 24 hours |
| Oven post-cure | 2 to 5F per minute | 2 to 4 hours at 140F to 180F | in the oven below 100F | Check resin thermal limits and tool compatibility |
| Bagged or pressurized | as above | as above | under pressure where possible | Higher density, lower void content |
Cure check: a fingernail pushed firmly into a corner leaves no mark, and a coin tapped against the panel sounds like the panel you are comparing it to, not like a dull thud. Once clear, remove pressure and release the bag slowly from one corner.
Demold by flexing the panel off the tool or by levering on one edge only. Never pry against a finished edge or a core seam. Trim the perimeter with a router, a belt sander or a hand plane on a fixture board, cutting on the tool line so the cut face stays square. Countersink or recess hardware before drilling, and drill with a sharp bit backed by a sacrificial block to prevent breakout on the back face. Finish with 120 to 220 grit, keeping the fillet radii intact.
Inspect and Protect the Finished Panel
Start with a good light and a clean surface. Look for the classic signs: a network of white or translucent specks means voids; a soft, dull area with a ripple under the finish means delamination; a fabric-textured pattern on a supposedly flat panel is print-through. Tap the panel with a coin or a rubber mallet — a change in sound marks a delaminated region.
For light checks without a lab, illuminate one edge with a bright lamp behind it and look for dark inclusions, or run a coin across the surface and feel for the step of an internal void. A fingernail dragged over an edge should not catch on lifted ply; if it does, the inter-laminar bond there is suspect.
Protect what you find. Fill small surface voids with a thickened filler, sand flush, and coat with epoxy or polyurethane. For panels that sit in open water, sealing is not optional: any pinhole through the skin lets salt water reach the core, and balsa, foam and microsphere cores all lose strength when they wet. Coat edges and drilled holes generously — they are the first entry points.
After a season in service, watch for telltales: soft spots under paint, a lifting skin near a fastener, a core that sounds hollow where it used to sound solid. Any of those means water is already inside, and the repair is a cut-out patch rather than a surface coating. Cut back to dry material, feather the edges, and lay a new patch panel with extra plies at the fasteners.
Common Mistakes
Nearly every scrap panel in a shop traces back to one of the defects below. Work across the table rather than down to find the cause.
| Defect | Likely cause | Fix |
|---|---|---|
| Air voids | Air trapped during rolling, or resin mixed too fast | Roll toward open ends, stir slowly, consider vacuum bagging |
| Dry spots | Resin not worked fully through the fiber, or a cold shop raising viscosity | Wet out each ply fully, warm the shop, slow the hardener |
| Print-through | Core or cloth too close to the face, or a sharp fillet | Add plies on the visible side, build a radius, sand after full cure |
| Delamination | Bonding to a cured surface without preparation, or a glue line that never wetted | Roughen and clean to a fresh surface, wet-on-wet, or use the resin’s own bond rules |
| Resin-rich corners | No squeegee pass along the edge; no bleed geometry | Trim back the corner, wick out excess, add a cove or fillet |
| Wrinkles and bridging | Dry cloth forced over a compound curve | Cut plies oversize on a bias, work in smaller sections with more resin |
| Exotherm damage | A large batch, thick section or fast catalyst generating too much heat | Mix smaller batches, spread the buildup, choose a slow hardener |
| Warping | Unbalanced layup, or demolding before cure is complete | Symmetric ply schedule, wait for a full cure, support during cooling |
Four errors are worth calling out separately because they are the expensive ones. Mixing by volume instead of by weight is the first, and it silently ruins batches. Second, laminating onto a cured surface that was only wiped with solvent produces a glue line with low peel strength — the panel looks fine until the first impact. Third, trapping resin and heat in a thick buildup in a closed container can push a runaway exotherm. Fourth, cutting reinforcement undersize; you cannot add fiber to a hole in the middle of a cured panel without a full patch.
Frequently Asked Questions
Can you laminate a composite panel without a vacuum bag?
Yes. Hand layup with a roller or squeegee is the standard open-molding method and produces perfectly usable panels for cabins, hatches and repair work. Vacuum bagging mainly improves thickness control, void content and surface finish. If your panel is small and load is moderate, roll out the air and the surplus resin carefully and skip the bag.
What is the best resin for a marine composite panel?
Marine vinylester is the usual answer for large glass panels: good water and UV resistance at a reasonable cost. Epoxy wins when you are using carbon or aramid, bonding to a cured laminate, or want low cure shrinkage and better adhesion. Polyester is fine for tooling and non-structural parts, but it shrinks more and holds water less well.
How much resin should I use for one layer of fiberglass?
As a rule of thumb, one gallon of catalyzed resin covers roughly 6 to 10 square feet of 8 oz woven cloth in a single ply, and less for heavier cloth or chopped strand mat. Multiply that by your ply count and panel area, then add 10 to 15 percent for waste and cleanup. Measuring that estimate before mixing keeps you from mixing two batches you cannot finish.
How do I know when a composite panel has cured fully?
Press a fingernail firmly into a corner: no mark means the surface has set. Tap it with a coin and compare the note to a finished panel of similar thickness, then check that it feels room temperature rather than warm. Full cure still takes longer than gel time, and pulling a panel early is a common cause of warping, so wait out the manufacturer schedule.
Can I laminate over an existing composite surface?
Yes, and repair patch panels are the classic case. Feather and taper the old laminate so the patch blends, sand the surface, then scuff it thoroughly and wipe clean. Roughened and freshly prepared is what creates a strong bond; a solvent wipe on a cured surface gives you a weak glue line. Add extra plies around any fasteners in the joint.
How do I prevent fiberglass panels from delaminating?
Consolidate properly, keep the inter-laminar bond wet and connected, and seal the edges. Most delamination traces to dry spots, trapped air, a glue line to an unprepared surface, or water getting in through an unsealed edge. Roll the stack toward open ends, wet out every ply fully, and coat edges and drilled holes so salt water cannot reach the core.
Do three things before you close the shop: measure your resin by weight, wet out every ply until the fiber disappears, and wait out the full cure before trimming. Cut the reinforcement oversize, butt your core seams, and seal every edge. That is the whole method — and to laminate a composite panel that holds up out on the water, the boring consistency in those steps is what does the work.