To prepare for a marine robotics competition, you do eight things in order: read the manual, pick one mission, assign owners, build the simplest vehicle that can do it, prove the control system on a bench, get in the water early and often, document every decision, and rehearse competition day. Most teams that struggle skipped one of those, usually the second-to-last. A season takes six to nine months for a high school club, and the difficulty is less about engineering than about sequencing.
Underwater work punishes anything you did not test. There is no GPS, radio signal is unreliable through water, buoyancy has to be balanced to a fraction of a percent, and every leak ends a run. Competitions compress that learning into a weekend, which is why preparation matters more than cleverness.
Season note: rules, dates, fees and eligibility change every season. Details here were verified against program materials as of October 2026; treat each official manual as the source of truth.
Table of Contents
- What You Need
- How to Prepare for a Marine Robotics Competition: Step-by-Step
- Step 1: Read the Rules and Choose a Focused Task
- Step 2: Set the Team Roles and Engineering Plan
- Step 3: Choose a Marine-Ready Design
- Step 4: Build the Electronics and Control System
- Step 5: Develop and Test Autonomous Behavior
- Step 6: Run a Staged Water-Test Program
- Step 7: Prepare Documentation and the Team Presentation
- Step 8: Pack and Conduct a Final Readiness Check
- Common Mistakes
- Frequently Asked Questions
- Conclusion
What You Need
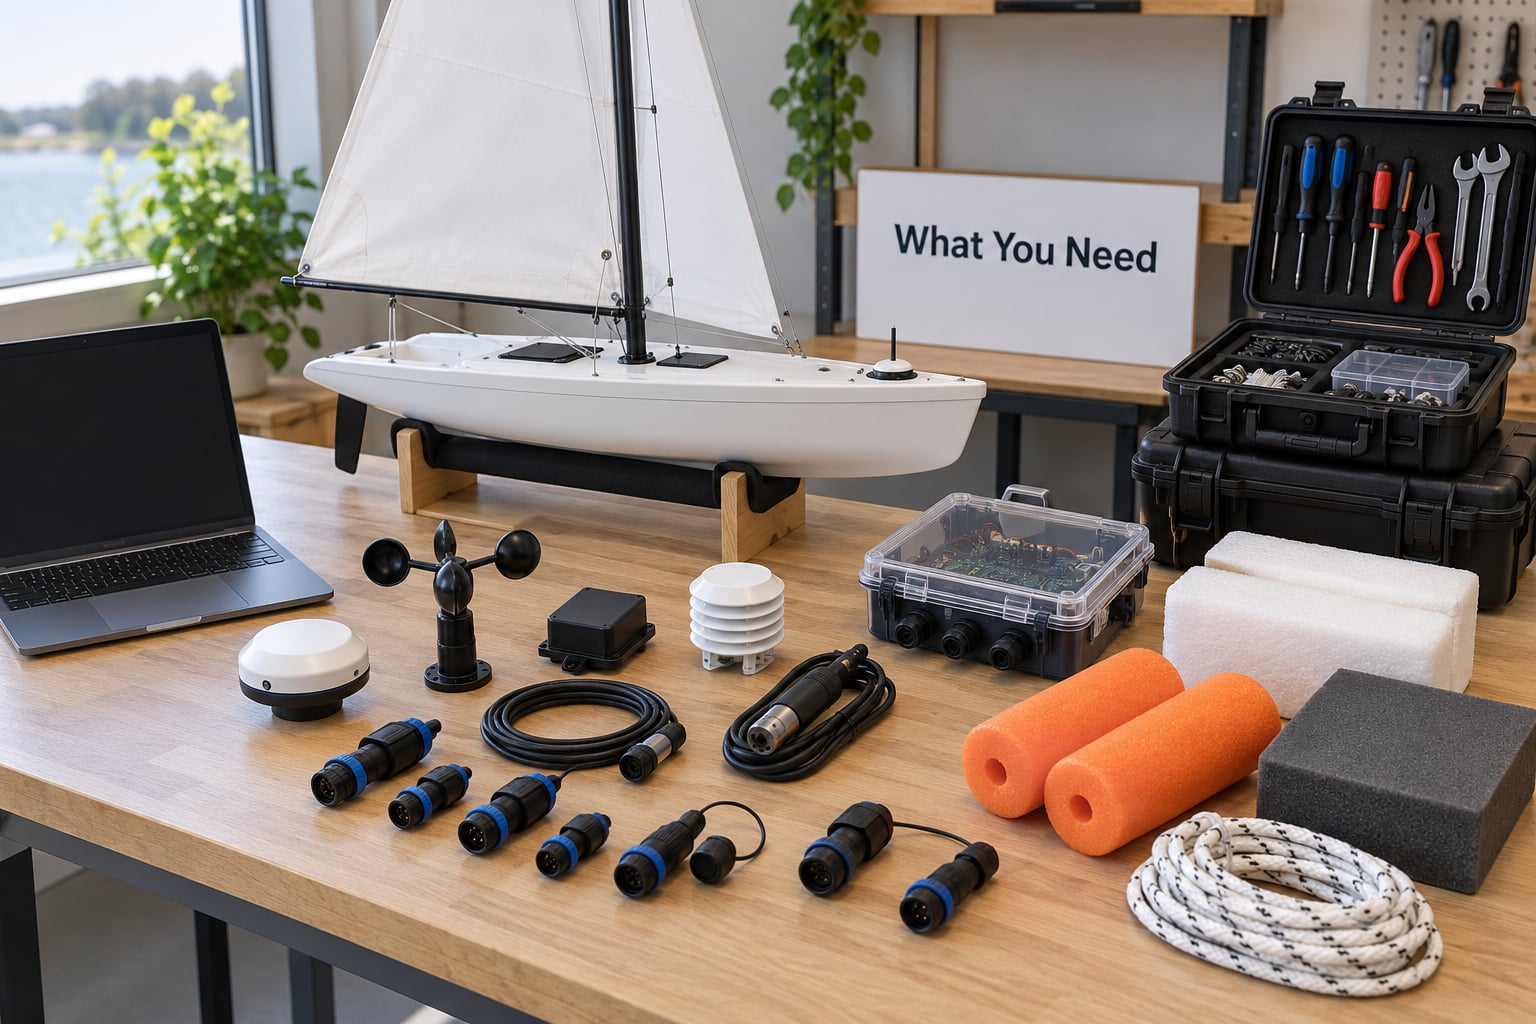
Most of what you need is decided before anyone turns a screwdriver. Here is the full inventory, grouped by the reason it matters.
Entry definition. The specific mission your vehicle must perform, the scoring rubric, size and weight limits, and the deadlines for documentation. Without these, every build decision is a guess.
Team roles. Most programs require a minimum of three students plus at least one adult mentor, and the roster has to be current students for the large share of membership. Assigning owners for mechanical, electrical, software, testing, safety and documentation happens in week one, not week six.
Research material. The current rule manual, last season’s technical design report from your program, prior job safety analyses, and the scoring capability list. Past reports are the best free design library that exists, and teams in the r/rov community point new members at them for exactly that reason.
Marine hardware. Waterproof connectors, sealed or potted enclosures, buoyancy foam blocks, a frame material you can drill, thrusters matched to the vehicle mass, and hardware that will not dissolve in the water you are actually using. Test in the same salinity and temperature range as the competition pool if you can find out what those are.
Safety equipment. A working emergency stop that cuts thruster power, a cutoff switch reachable from the bank, fuses sized to the load, a fire extinguisher if you use any fluid power equipment, and personal flotation for everyone on the pool deck.
Software tools. The control stack your vehicle runs on, a simulator if the program offers one, a data logger, and a calibration routine for every sensor you will rely on. Write the logger first; you cannot debug what you did not record.
Test facilities. A pool with enough depth and clearance, clear enough water to see the vehicle, permission to book it, and a way to lift the vehicle out. Pool access is one of the two most common reasons teams lose a season, so treat it as a scheduling task, not a hope.
Documentation. A shared folder with a decision log, test logs, photos, and a named owner per deliverable. If only one person holds the knowledge, that person’s cold ends your season.
Contingency supplies. Spare thrusters, spare connectors, potting compound, spare fasteners, a multimeter, a heat gun, spare batteries and a charger, zip ties, and printed copies of the rules and schedule.
How to Prepare for a Marine Robotics Competition: Step-by-Step
Step 1: Read the Rules and Choose a Focused Task
Read the whole manual before you design anything, including the appendices. MATE materials run well over seventy pages, and the details that bite teams live in the small print: the randomization rule that assigns tasks at the event, the weight limit measured at inspection, the documentation deadline that falls before you finish building.
Then write down the judging criteria and score them. Which capabilities are core, which are advanced, and which are the disruptive bonus? Find the task you will practice, because practicing the wrong mission wastes your pool time entirely.
How you know it worked: you can name every scored capability in order of point value, and you know the dates that are not negotiable.
Step 2: Set the Team Roles and Engineering Plan
Split the team into owners with real responsibility: mechanical, electrical, software, navigation and autonomy, testing lead, safety officer, documentation lead, and presentation lead. Small teams combine these, but a beginner with no named task drifts. Name the person who writes the test log, because that is the job everyone skips.
Build a schedule backwards from the event date. Work backwards with the documentation deadline as your real finish line, not the competition itself, since write-ups are due before you ever launch.
A mentor with real marine, offshore or ROV industry experience is the strongest predictor of how far a team gets. The mentor’s job is coaching decisions rather than dictating them, which is also the advice the FIRST community gives: let the team learn for themselves. Search r/rov and r/AskRobotics for people near you who have done this and will answer a message.
How you know it worked: every task has one name against it, every task has a due date, and your mentor has agreed the decision-making process in writing.
Step 3: Choose a Marine-Ready Design
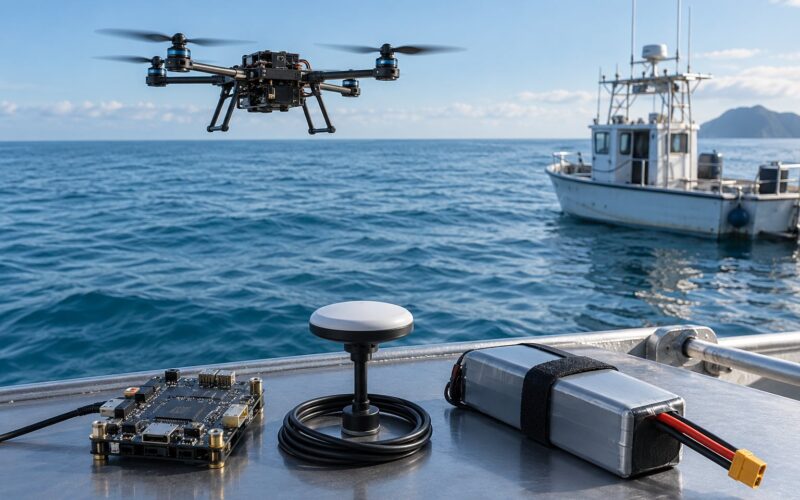
Decide whether you are building a remotely operated vehicle steered by tether or an autonomous underwater vehicle that runs without a pilot. ROVs are forgiving, which is why they suit first-time teams. AUVs are harder because there is no radio link to lean on, so every navigation fix has to come from onboard sensors such as an inertial measurement unit, a doppler velocity log, sonar and acoustic pingers.
Prefer the boring frame. A PVC frame with foam blocks and ducted thrusters is heavy, cheap to repair on the pool deck and easy to reballast. Fill the frame with weight or foam until the vehicle is slightly positively buoyant, then trim it in the water until it floats where you want it. Aim for a rig that hovers without a pilot holding the throttle.
Buoyancy is the spec that matters most. Measure total vehicle weight, calculate displacement, and record the margin in your log so you can reproduce it after any change. A vehicle that sinks slowly is recoverable; one that sinks fast is gone.
Leave features out. A vehicle that moves and has one reliable end-effector earns far more points than a half-finished sensor array. Brian Grau, a MATE ROV Explorer division world champion, put it plainly in his alumni profile: get in the water early and practice as much as you can, because a lot of teams overcomplicate things, and at the end of the day you can do a lot with a vehicle that moves and a hook on the front of it.
How you know it worked: the vehicle floats neutrally, hovers hands-off, and every added feature traces back to a named scoring line.
Step 4: Build the Electronics and Control System
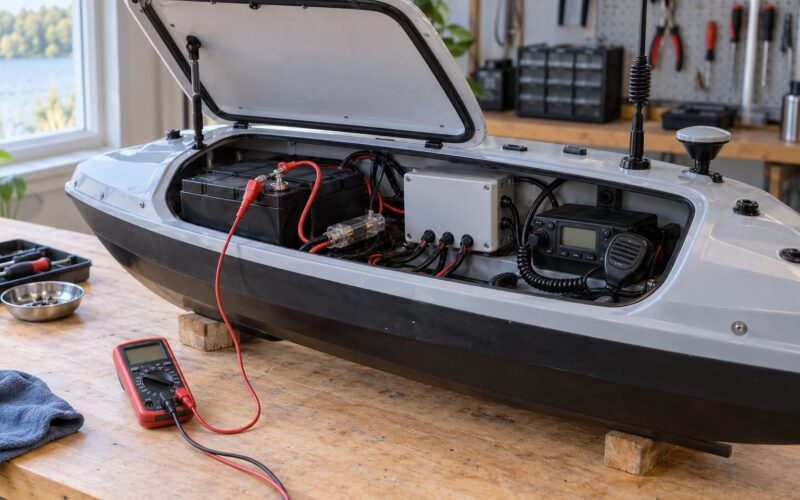
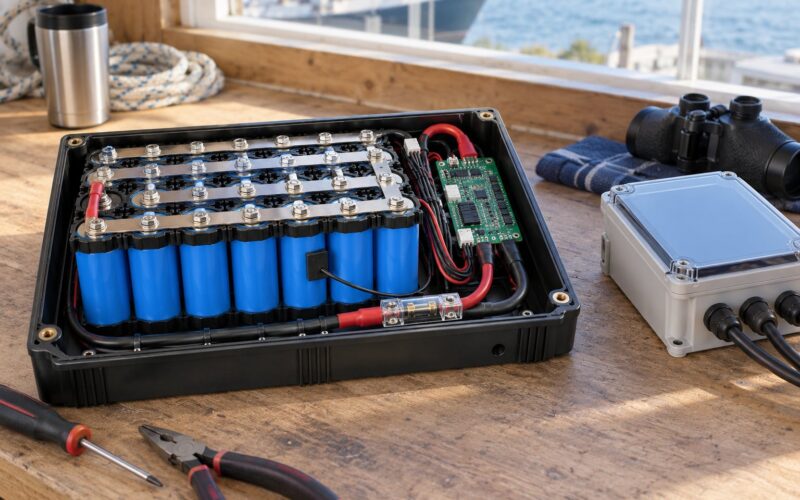
Keep the power path short and protected. Use a distribution board with fused branches rather than a daisy chain, keep battery leads away from the signal wiring, and give every motor its own driver with a current limit set slightly above normal draw. A thruster drawing 12 amps that suddenly wants 30 will brown out your whole system if nothing upstream catches it.
Place electronics in sealed enclosures and pot the penetrations, then leave the connectors outside where you can reach them with dry hands. Water inside a housing is a design failure, not bad luck, and potting every entry point costs less than replacing a flight controller.
Wire an emergency stop that cuts thruster power while leaving the control computer alive to log why it stopped. Make it reachable from the bank by someone who is not holding the vehicle. Label every connector so a new member can re-plug the vehicle at 6am without a diagram.
How you know it worked: pulling the emergency stop kills thrust within a second, and the vehicle still logs afterward, so you know the stop was deliberate rather than a brownout.
Step 5: Develop and Test Autonomous Behavior
Simulation is worth doing and never counts as water time. Running the same autonomy code in a simulator lets you iterate on logic in an afternoon instead of a Saturday pool session. Use it to test path following, station keeping and failure detection, then assume every one of those has a hardware twin that behaves differently.
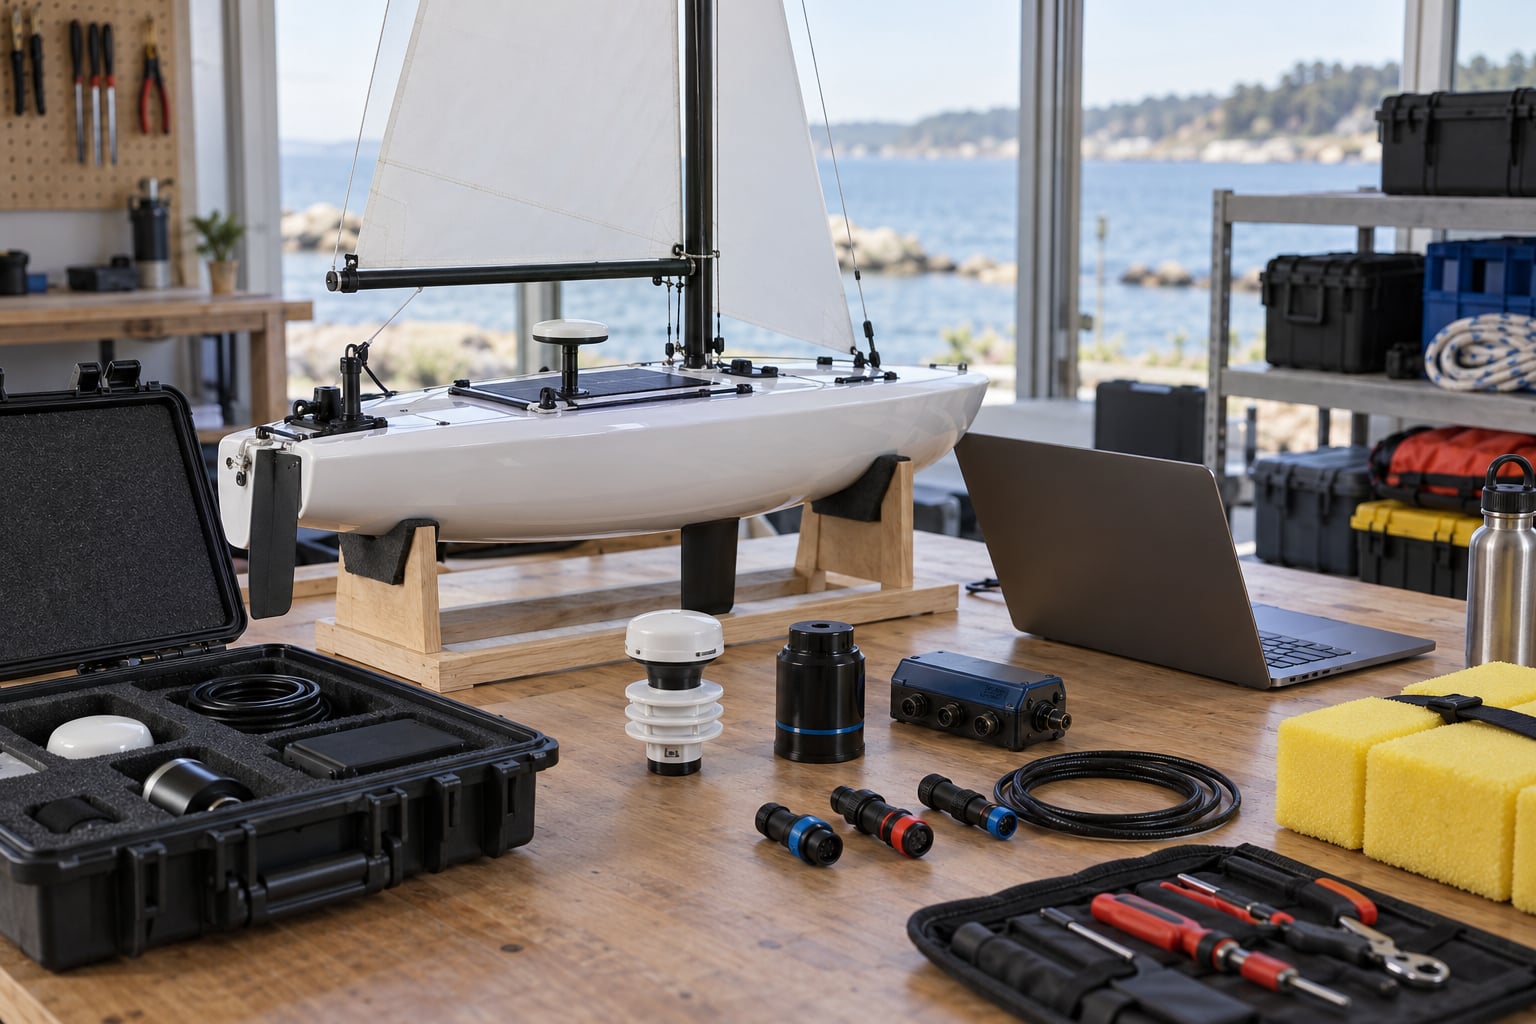
Calibrate each sensor on the bench and write the calibration down. An inertial measurement unit drifts, a compass near a steel tank and a thruster cage is not a compass, and a sonar transducer mounted near the propeller is measuring noise. Log raw readings at every stage so a bad run can be diagnosed after the fact instead of guessed at.
Build in a manual override path for every autonomous routine. On an AUV, that means an accessible kill switch and a fallback behaviour that surfaces or returns the vehicle to a known point. Simulation helps here too, because you can throw a fault at the logic on purpose and check that it responds.
How you know it worked: you can run the mission script repeatedly on the bench with recorded sensor input and get the same output every time.
Step 6: Run a Staged Water-Test Program
This is where seasons are won or lost. Move up in stages and never skip one.
Stage one, the tank or bathtub. Thrusters run for twenty minutes. You are looking for water ingress, connector wetting, heat in the driver board and thrust that matches the spec on the sheet.
Stage two, shallow pool. Float the vehicle at the wall on a loose line. Trim buoyancy until it holds position with no tether tension.
Stage three, controlled launch. Free-swim dives from the deck with a person stationed at each side. Check that the vehicle returns to the surface when commanded.
Stage four, task rehearsal. Run the actual mission tasks from the manual, including the randomized ones you do not know yet. Record every attempt.
Stage five, conditions. Test in wind, current and low light, because competition water will not be calm and clear on demand.
Stage six, endurance. Run for longer than the longest task you expect. Runtime failures are easy to prevent and very expensive to discover at the event.
Structure each session the same way: one baseline run, then a single change per run, then log the result. Change two things at once and you will spend the next session arguing about cause. Write down failures too, because the troubleshooting table your team builds in season one is worth more than the vehicle.
Recovery drills belong here. Practice the swim retrieval when the vehicle is low on battery and tangled in its own tether, because that is a Tuesday evening at the event, not a Sunday morning.
How you know it worked: you have a completed logbook where the mission tasks succeed at least nine times out of ten, and you know which failures are still unexplained.
Step 7: Prepare Documentation and the Team Presentation
Documentation is scored, not filed. Programs typically want a technical design report, a team website, a short introduction video, a design strategy presentation and a system assessment, with submission dates that fall well before the event. RoboSub, for example, separates design documentation from the autonomy challenge and the system assessment, and first-year teams can enter the documentation component without a finished vehicle.
Write from your logs. The strongest report structure is problem, options considered, decision, test result. An engineering write-up that says we chose a ducted thruster over a bare propeller because the duct cut our net-entanglement failures from six to zero in testing is worth ten pages of adjectives.
Rehearse the design presentation until each member can speak to their own system. Most programs give a short slot for the presentation and a separate hands-on assessment where judges ask technical questions of whoever built each part. Split the system so no single student owns the whole vehicle.
Plan for the moment after a failed run, because judges ask about it. Teams that can explain what they measured, what they changed and what they would try next sound like engineers; teams that apologise sound like spectators.
How you know it worked: a teammate who built none of the electronics can explain the power budget for two minutes.
Step 8: Pack and Conduct a Final Readiness Check
The last forty-eight hours are logistics, and they are the part teams treat as an afterthought. Most programs run a static safety inspection and a weight measurement before any vehicle enters the water, so arrive early enough to fix a fault you discover in the queue.
Pack spares for the parts that actually fail: thrusters, connectors, fasteners, a spare battery and charger, a multimeter, potting compound, a heat gun, zip ties, a notebook and pen. Add printed rules and the event schedule, a dry bag for documents, team shirts, water, snacks and something warm for the morning queue.
Set your weather and water limits before you travel. Decide the wind speed, current and visibility at which you will not launch, and decide who calls it. The team that agrees in advance that a person on the bank has veto power over launching handles a bad morning far better than the team that negotiates it at the edge of the pool.
Then stop working. Tired teams make unsafe calls on the deck and fumble the presentation. The engineering is done; the remaining task is being alert.
How you know it worked: the vehicle passes inspection on the first attempt, the spares kit is packed by a named person, and everyone knows the abort criteria.
Common Mistakes
Over-ambitious design. The team adds a manipulator, a camera and an autonomy routine in January and has nothing that works in March. Fix: score every feature against the rubric and cut anything that does not map to a scoring line. Ship the core capability first, then add one thing at a time.
Testing only in calm conditions. Flat water is the least realistic environment you will ever see. Fix: schedule the wind, current and low-visibility sessions early enough that finding a problem still leaves time to fix it.
Ignoring the manual. Teams lose points or get disqualified over weight, documentation timing or team composition rules that were in the PDF the whole time. Fix: one person owns the manual and posts changes to the team channel the day they arrive.
Unprotected connections. A connector that survives a bench test can flood at depth. Fix: use sealed connectors where the design allows, pot the rest, and give yourself service access with a screw instead of a pour.
Skipping calibration. A sensor that was tuned in a classroom behaves differently once it is next to a thruster and a steel tank wall. Fix: calibrate before every test session and log the values.
Single points of failure. One computer, one pilot, one set of trim weights. Fix: carry a spare flight computer, keep the manual override path trained, and never let one member be the only person who can launch the vehicle.
Building knowledge that leaves with the seniors. The team loses its trim data and its wiring notes when the oldest members graduate. Fix: one shared folder, one decision log, and a handover session before anyone leaves.
Frequently Asked Questions
What does MATE ROV stand for?
MATE ROV stands for Marine Advanced Technology Education, run by the MATE Center. The ROV competition is its flagship programme for student teams building underwater robots to complete mission tasks. MATE ROV is the most widely recognised marine robotics competition in the United States, with regional qualifiers feeding a world championship.
How long does it take to build an ROV for a competition?
Most student teams need six to nine months from registration to the event. That includes reading the manual, forming the team, designing, building, and running staged water tests. The documentation deadline usually lands before the competition, so teams that treat the event date as their finish line run out of season.
Do I need an underwater robot to compete?
Not always. RoboSub lets first-year teams take part in the design documentation component without a finished autonomous underwater vehicle, which is a genuine way in. SeaPerch also offers a lower-cost kit entry point, and several programmes run simulation categories such as VRX where no hardware launch is required at all.
Can high school students compete in marine robotics competitions?
Yes. RoboSub requires teams to be at least three members, at least 75 percent current full-time students, with college and high school students making up the majority, and it allows a portion of alumni and industry, academic or government partners alongside them. Check each programme’s current manual, because composition rules differ.
Do I need simulation, or is water time enough?
Use both. Simulation lets you test path following, station keeping and failure logic in an afternoon, which saves pool hours, but it never replaces them. Hardware changes every behaviour: buoyancy trim, magnetic interference, tether drag and water conditions all differ from any model you build.
What do I do when the robot fails during a competition run?
Log it and move on. Write down what you observed, what you think caused it and what you would change, because judges often ask about failed runs and a reasoned explanation earns more than an apology. Then check the abort criteria your team agreed in advance and only launch again if conditions are still safe.
Conclusion
Preparing for a marine robotics competition comes down to sequence: read the rules, define one core mission, assign owners with real deadlines, build the simplest vehicle that can do it, prove the control system on a bench, then get in the water early and log everything. Documentation and the readiness check come last on the calendar and first in importance.
Start this week. Read your programme’s current manual end to end, book the pool before you need it, and put a first session on the calendar. The teams that win are the ones that launched ten times before the judges arrived.