To track drifting debris with GPS, you fit a small sealed tracker to a piece of debris or to a drifter matched to that debris, and the tracker reports its own position by satellite every few minutes to a map on your screen. The whole field job takes a weekend to set up and a day to deploy, and the hard part is not the electronics. It is matching the float’s buoyancy and drag to the debris you actually care about, because a tracker that drifts faster than the real thing will send you chasing a current that isn’t there.
I have watched this go wrong in both directions. A tag with a tall whip antenna above a bottle-sized float gets pushed by wind and runs ahead of the plastic by kilometres, and the researcher concludes the debris is accelerating when the tag is simply sailing. Both failures are avoidable before the tracker ever touches water.
This guide walks through the full workflow in seven stages: what you need, how to pick and build a tracker, how to configure logging, how to deploy it, how to check the track while it is running, and how to download and read the data afterwards. Times and prices change constantly, so nothing here depends on a specific unit or a specific number of dollars.
One warning before you start. GPS tells you where the surface water is going, not where the debris is going. Those are only the same thing when your float is designed to make them the same thing, and that design step is where most of the real work lives.
Table of Contents
What You Need
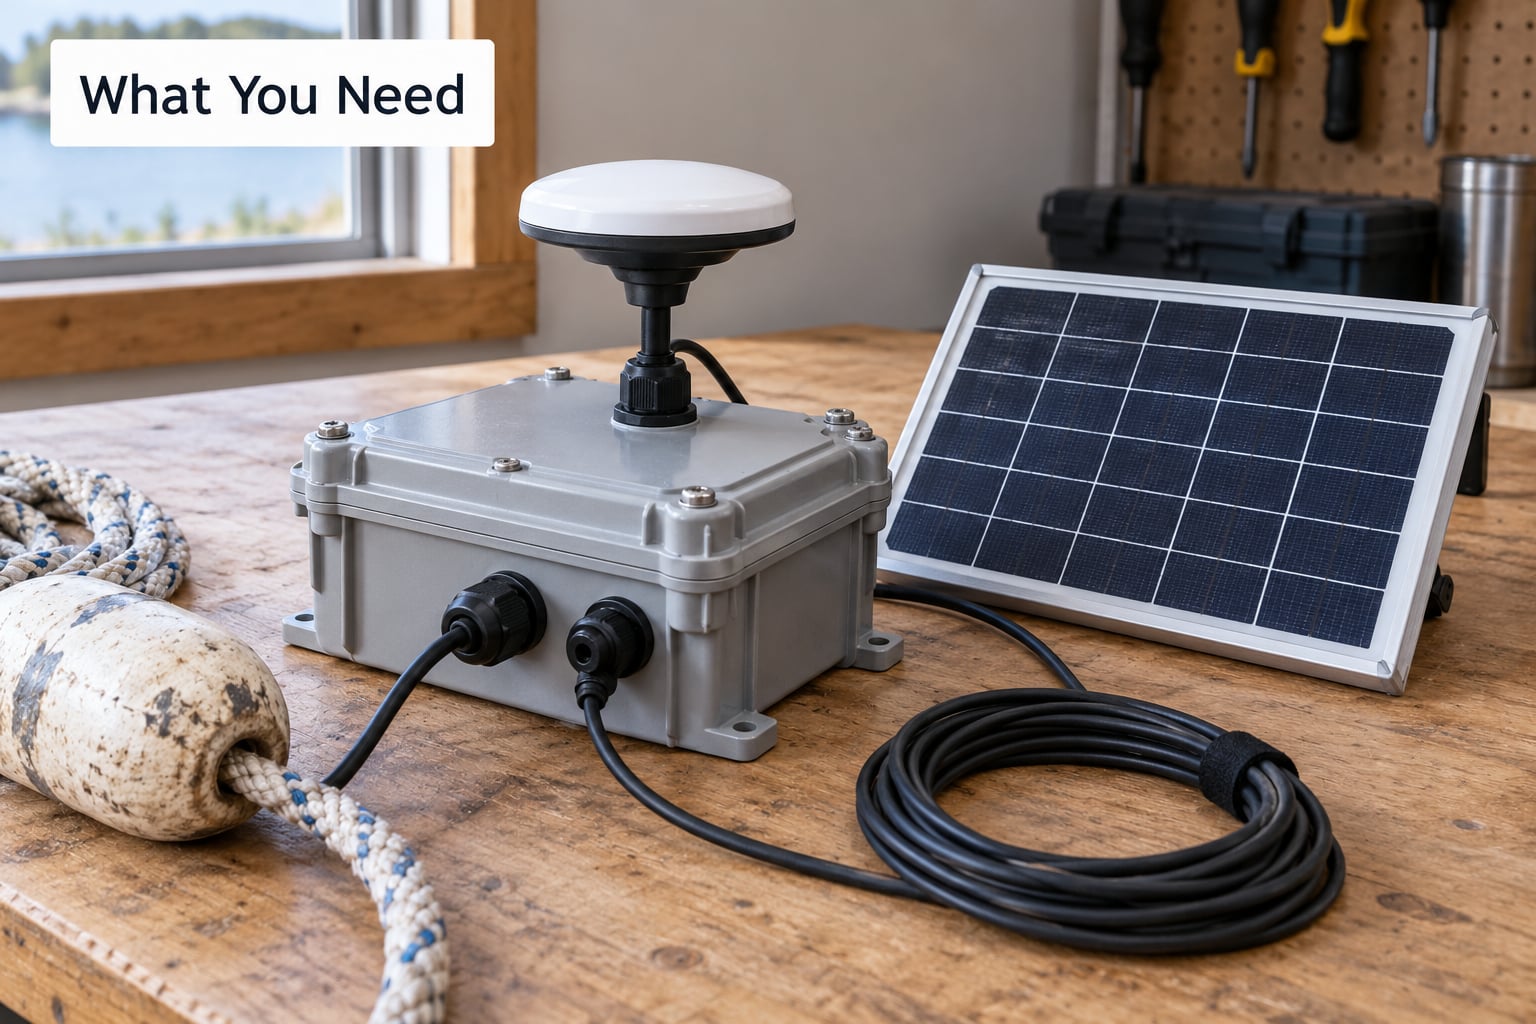
The core of any system is four parts: the float or attachment, the GNSS receiver, the satellite link, and somewhere the positions land. Everything below is either one of those four or a support item.
- A GNSS receiver with an active patch antenna rated for open sky. A phone-grade module is fine for a week of nearshore work. For months offshore, a multi-constellation module that also glues in GLONASS, Galileo and BeiDou fixes matters, because a single constellation loses more fixes in partial sky view.
- A satellite modem for anything beyond cellular range. Iridium is the common ocean choice; Argos is cheaper per message and is what many research drifters use; LTE-M is fine inside a harbour or a river mouth and useless fifty kilometres offshore.
- A microcontroller or logger that timestamps each fix, attaches the device ID, and buffers positions when no satellite is in view. Store-and-forward buffering is not optional at sea, because a drifting tracker spends a surprising share of its life with a blocked sky.
- A power source sized to your transmission interval. Lithium primary cells beat rechargeable packs for long deployments, because they hold capacity better and solar charging adds a failure mode of its own.
- A housing that is pressure-rated for the depth your float will actually reach, with a strain-relieved cable entry and a desiccant pack. Salt water gets in through glands and screw threads, not through the box walls.
- The float itself, sized and weighted so the drifter floats at the same fraction of its volume above the water as your target debris. This is the item people skip and the item that decides whether your data means anything.
- A GNSS receiver of your own for the deployment boat, plus a way to record the release position independently. Redundant handheld and paper chart, as practitioners carry, still earn their space when the primary unit dies at anchor.
Optional, depending on the test: a solar panel for long deployments, an AIS transponder so other vessels and the coast guard can see the float, a tail weight if you need a drogue to hold depth, and a small solar or battery beacon to help anyone who finds the tracker report it.
Step-by-Step: Seven Stages From Box to Trajectory
1. Define the Debris and Tracking Goal
Start by writing down what you are trying to learn, because the answer decides everything else. Detection, mapping, forecasting, and cleanup verification are four different projects with four different hardware budgets.
Then describe the debris precisely: size range, material, and how much of it sits above water. A foam tray, a packing fragment and a section of ghost net have almost no relationship to each other in drag or windage. A study that says it tracked “marine debris” without saying which of those it meant is not reproducible, and reviewers will notice that in the methods section.
Next, set the drift area and the deployment window. Nearshore river-mouth work over three days has different accuracy and endurance needs than an open-ocean run expected to reach a gyre. Then write your success criteria down in numbers: how many fixes you need per day, how accurate they have to be, and what you will do with the result. Fix those before the hardware purchase, not after.
Pick a representative sampling area rather than a convenient one. Release points clustered near a dock or a harbour mouth sample the sheltered water, not the offshore transport that puts debris on somebody’s beach.
2. Choose the Right GPS Tracker
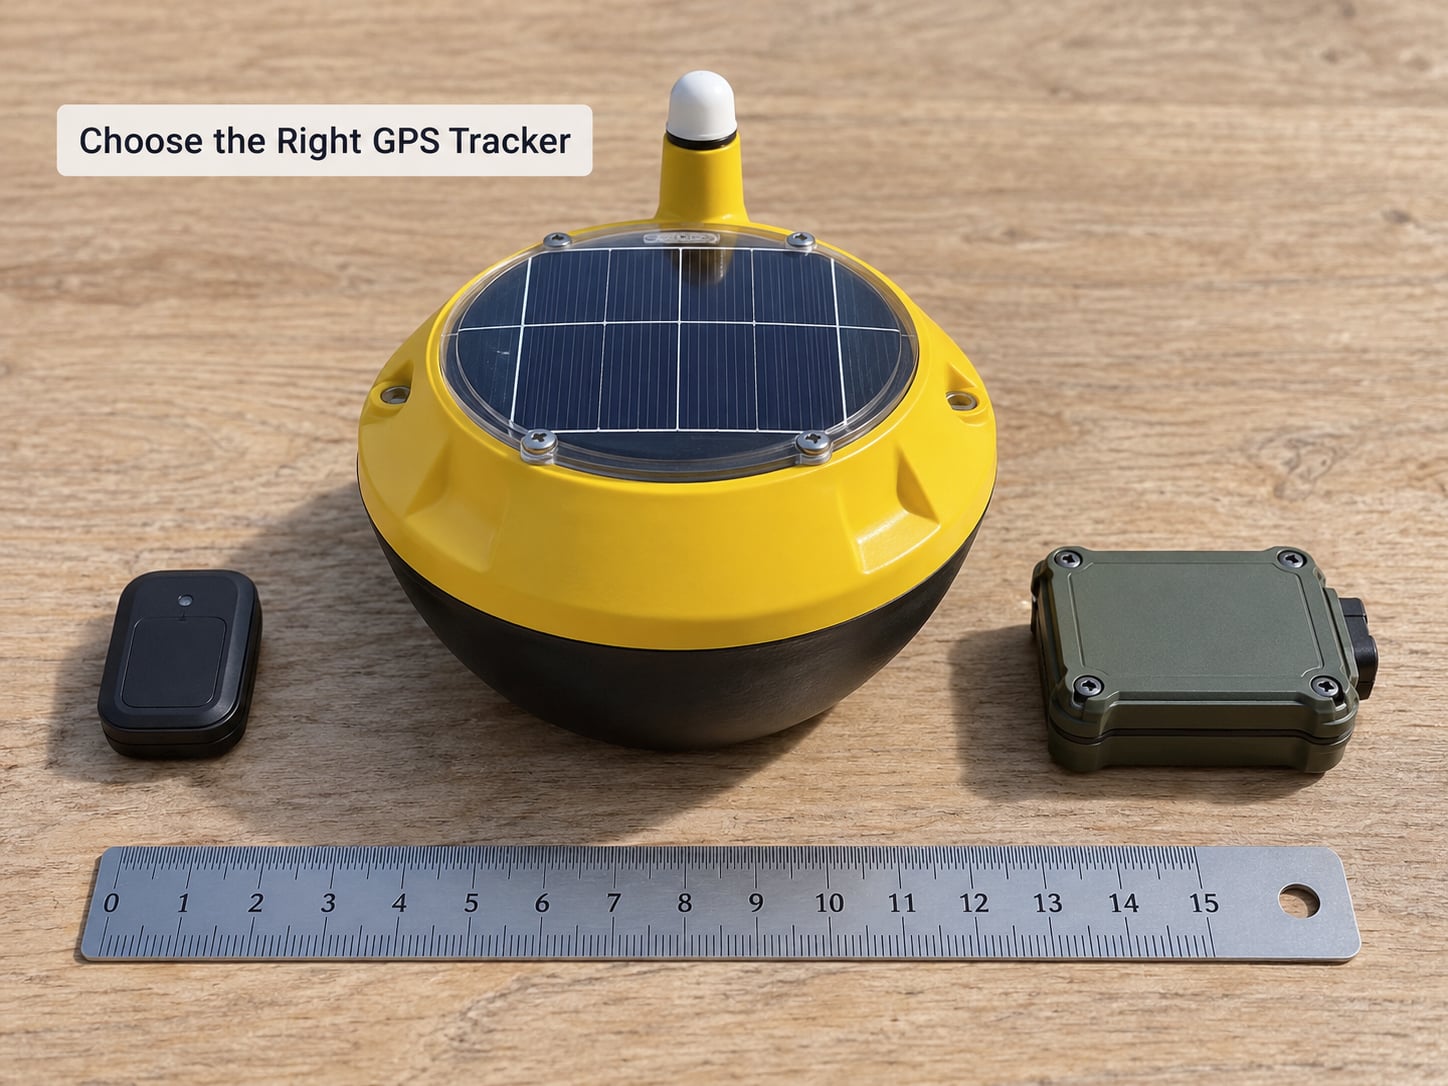
Match the tracker class to the debris and the water, and the specification list becomes short. Small bottles and fragments need a light, low-profile float with a high drag-to-mass ratio so it follows the surface layer instead of skimming across it. Larger rafts and instrumented drifters can carry a solar panel and a bigger battery, and in a current-dominated flow they can hang a drogue below to decouple themselves from the wind.
For nearshore work, a small waterproof GPS tracker reporting to a phone over Bluetooth or Wi-Fi is enough, and the whole build is an afternoon. For anything past a few kilometres offshore, you need a satellite modem, and the honest comparison is between Iridium and Argos. Iridium gives you a data channel you configure yourself and near-real-time positions, at a higher power draw per message. Argos gives you fewer, smaller, cheaper messages on a duty-cycled schedule, which suits a long deployment on a fixed battery budget.
Buoyancy, antenna and memory are where cheap builds get into trouble. A ceramic patch antenna inside a sealed box under a plastic cap will still lock satellites if it has a clear view of the sky, and will lose the fix entirely if you bury it under foam. Memory decides how much history survives a gap: an hour of transmission buffering and a full day of local logging are very different choices, and the second one saves the deployment when the sky closes up.
Two numbers worth carrying around from real programmes. The ESA and CLS satellite drifter design for marine plastic tracked with a stated battery lifetime of roughly one hundred days, which is a useful benchmark for what a serious satellite design can expect. NOAA’s Global Drifter Program now runs more than 1,300 surface drifters, which tells you what a mature, serviceable drifter fleet looks like in practice.
3. Assemble and Seal the Tracker
Assemble dry, in this order: receiver, logger or microcontroller, modem, battery, then antenna, and only then the housing. Fit the antenna last so you can keep the coax short and untwisted, because every centimetre of slack cable inside the box is a chance for the feed to break under wave impact.
Drill cable entries high on the housing side, above the waterline when the float is at rest, and fit a proper cable gland rather than a drilled hole with epoxy smeared around it. Route the internal wiring so that the harness cannot chafe against a sharp edge when the float rolls, and leave a small service loop for strain relief. Add a desiccant pack and keep it out of the sealed electronics volume if your housing breathes at all.
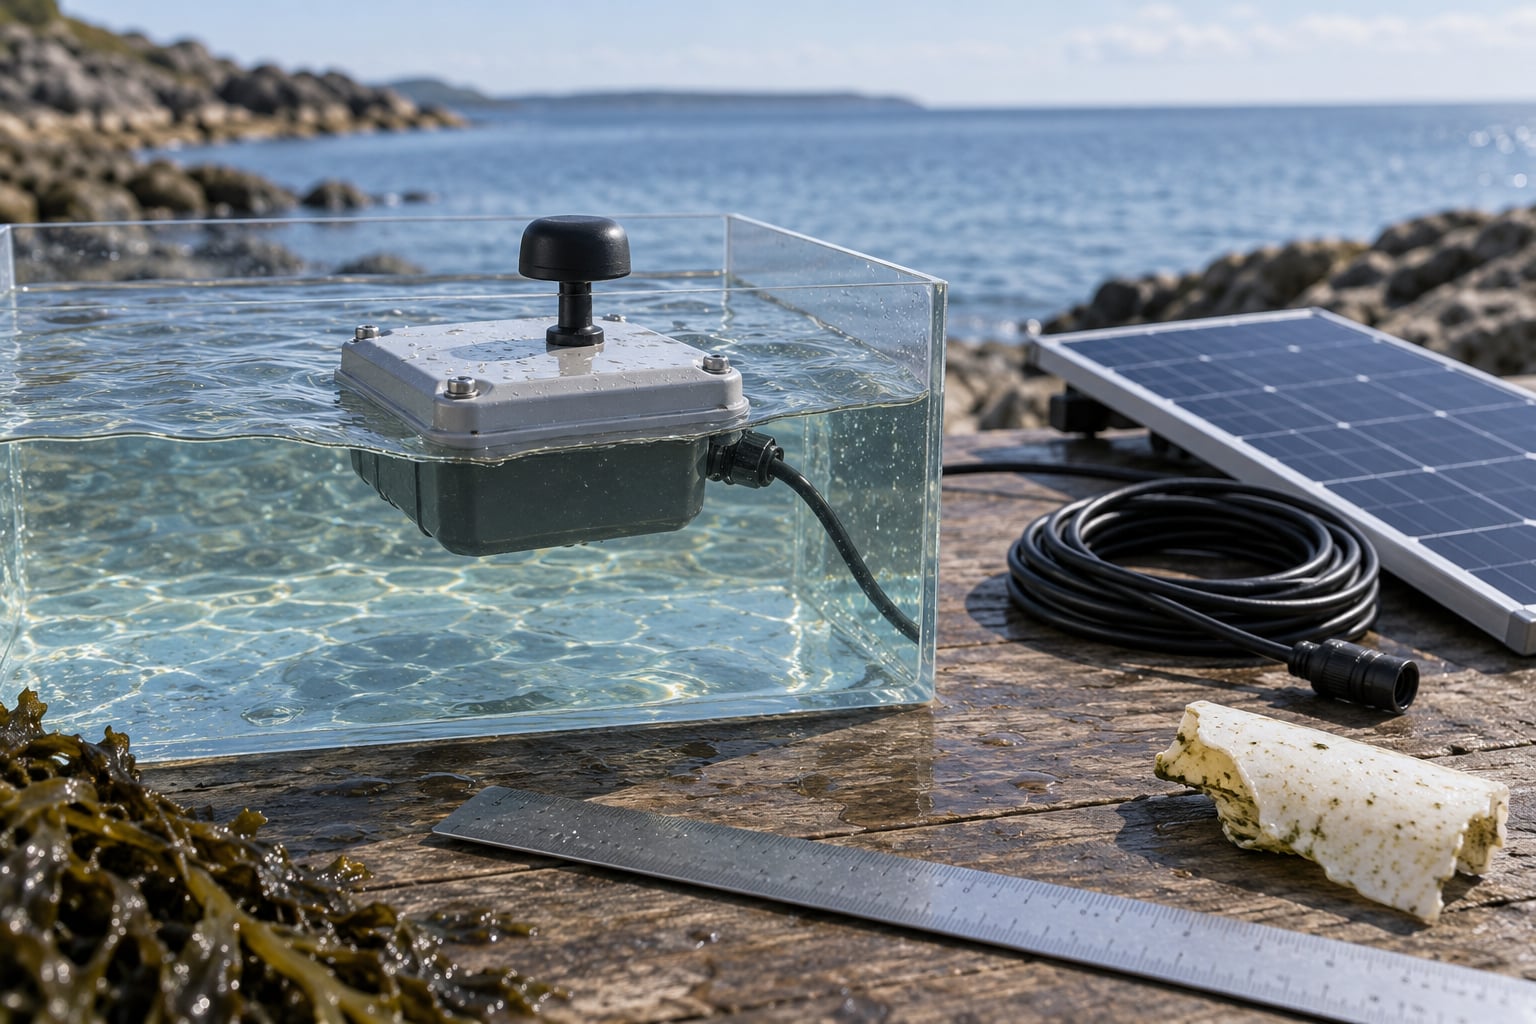
Test the seal before the final closure, and test it properly. Submerge the closed unit in a bucket or a tank for longer than you plan to deploy it, weight it so it stays down, then open it and look for condensation on the inside of the lid. A paper towel pressed into the seam leaves a visible mark where water got through. Doing this twice, with a fresh desiccant pack each time, is cheaper than one lost deployment.
Before you close it for good, confirm that the antenna still sees satellites through whatever cap or foam you added. Bench-test with the complete assembly on a table outdoors, not with the bare module. A float that works open and fails under a lid is a frustrating afternoon.
4. Configure GPS Logging and Drift Sampling
Set the logger to record position, timestamp, speed over ground, course over ground, fix quality, and battery state on every cycle. Fix quality is the field people leave out and then wish they had, because it is the only honest way to tell a real move from a receiver reporting garbage.
Choose the interval from your question. A ten-minute interval on a debris patch gives you a usable velocity and a smooth enough line to plot, at a power cost that is easy to budget. A one-minute interval quadruples transmission time and usually buys resolution you do not need, because surface debris moves in minutes and kilometres, not in seconds. If you are after wave-driven motion rather than mean drift, a faster interval starts to make sense, and the power budget has to follow.
Store coordinates in decimal degrees rather than degrees and minutes, in plain CSV or a JSON line per fix, so any plotting tool can read them. Synchronise the clock to UTC at deployment, and write the sync time into your notes, because a clock that is ten minutes off will quietly corrupt every velocity you calculate later.
Use the low-power mode between transmissions, and set the modem to store and forward rather than to drop fixes when there is no satellite. Reduce the number of gaps caused by wave shadow and poor sky visibility by raising the antenna above the float’s own body, keeping it away from any metal frame, and accepting a slower acquisition time in exchange for fewer false positions.
Verify the configuration before deployment with a short shore test. Carry the unit outside, let it lock, watch the reported positions for five minutes while you stand still, and confirm that the track stays put and the battery draw matches your estimate.
5. Deploy the Tracker on Drifting Debris
Attaching a tracker to real debris means a mechanical fix that survives waves and resists being pulled off by a fish, a boat, or a curious person. Zip ties work on netting and on the flat pieces people usually tag, and stainless wire ties work better on a rim, a crate edge, or a net float line. A dab of two-part epoxy or a marine sealant around the tie point stops the fixing working loose, and a second independent tie is cheap insurance.
Balance the flotation so the unit floats the way the debris floats, not just the way it floats. Too proud of the water and windage dominates the trajectory. Too low and the antenna dips, the receiver loses sky view in waves, and the track fills with gaps. A soft foam collar or a thin board plate spread wide and low gives surface area without a tall profile, which is usually the right shape for macroplastic.
Mark the tracker so a beachcomber can identify and report it. A large printed contact address, a simple shape or colour, and a short phrase asking the finder not to bin it will convert more of your gear back into data. Programmes that ask for the finder’s location and date get usable observations even when the tracker never comes back intact.
Release from a controlled position, not from a moving boat’s stern in a hurry. Record the release metadata properly: date and UTC time, latitude and longitude from an independent receiver, the debris description, mass, and any drogue or tail configuration. That record is your baseline, and without it a later track is just a line with no origin.
On the safety side, check the weather and the swell before you leave, keep a person on watch for the gear if you are working from a small boat, and stay clear of marine mammal areas and seabird colonies when deploying. Do not attach anything to a live animal, to a marked wildlife snag, or to debris entangled in a protected area, and remember that tagging gear in some jurisdictions needs a permit.
6. Monitor the Track and Validate the Data
Watch the track while it runs rather than at the end. A live view catches most failures within hours, and hours are the difference between a bad configuration you can fix and a deployment you have lost.
Read the position trail and look for the three classic anomalies. Implausible jumps mean a fix error, usually a first-acquisition position taken before the solution settles, and they are recognisable because the next fix returns close to where the track was before. Loss of fix shows up as a straight line drawn across the gap between two good positions, which is a drawing of your imagination rather than a measurement. A steady offset followed by a long straight run across open water is usually a tracker that broke free and is now reporting its own path.
Compare movement with wind and currents. If the track runs consistently faster than the surface current and roughly downwind, you are watching windage, not debris transport. A University of Toronto study of wind-driven macroplastic transport in Toronto Harbour used a series of GPS-tracked drifters to show exactly this: wind pushes surface macroplastic faster and in a different direction than the water alone would carry it. If your track agrees with a published current field and with your own boat’s drift log, the tracker is probably behaving.
Plot the line, compute the distance and displacement between fixes, and compare the two. A large gap between path length and straight-line distance means a curving or looping path, which for surface debris usually means convergence, tide, or a wind shift, and it is worth a note in the log. Keep field notes for every deployment day: sea state, wind, visible debris, and anything you saw. Those notes are what let you distinguish a real transport event from a receiver artefact six weeks later.
7. Recover, Download, and Analyze the Results
When a tracker beaches or is fished out, get the data off it before you clean it, and photograph the unit in the state you found it. Corrosion, barnacles and the position of the housing tell you whether the drift was physical or a slow leak in the seal, and that information usually arrives too late if the box is rinsed first.
Download the complete log rather than only the last session. If the logger buffers locally during signal loss, the buffered positions are the most valuable part of the record, because they cover exactly the stretches when the sky was blocked.
Clean the data by removing obvious errors without deleting genuine gaps. Drop the first few fixes after each acquisition, drop positions with poor fix quality or with impossible speeds for surface debris, and keep a count of what you removed and why. Deleting gaps as well as errors is how a beautiful straight line appears in a paper and means nothing.
Then calculate distance and displacement over the whole deployment, split the track into useful intervals, and export the route as a geojson or KML file that loads straight into QGIS or Google Earth. From there, overlay the trajectory on a current product and on wind data, and look for the segments where the two disagree. Exporting properly matters more than it sounds, because the file is what another group, a cleanup crew, or a forecast model can actually consume.
Close the loop by reporting the outcome. If a tracker beached, tell the finder programme and the shoreline authority where it came ashore. If the debris was net, pass the last known position to whoever can attempt a retrieval. And if you have a full track, submit it to the international drifter coordination efforts, because contributed data is the mechanism that turns individual deployments into a shared picture.
Common Mistakes
Most of these have the same root cause: deploying before bench-testing, then discovering the problem at sea with no way to fix it.
- Antenna placed too low or under a cap. A patch antenna needs sky. Raise it, remove the cover, and test the complete assembly outdoors before sealing.
- Waterproofing that assumes the box is the barrier. Real leaks enter at glands, connectors and screw threads. Use proper glands, a desiccant pack, and a dunk test longer than the deployment.
- Flotation that floats too proud of the water. The float sails downwind and outruns the debris it is supposed to represent. Match the freeboard to the target and add surface area low and wide.
- A logging interval set to the fastest available. Minutes are enough for surface debris. A fast interval burns the battery and produces a noisy line rather than a better one.
- Battery depletion with no plan B. Size the power budget for your interval and your link, then add margin for cold and for the retries you will get in bad sky. Solar helps only if the panel is actually exposed.
- Weak or partial sky view from wave shadow. A tall float or a nearby net panel can block the sky for minutes at a time. Keep the antenna high, and buffer rather than drop fixes.
- Poor attachment. One zip tie is a deployment with an expiry date. Use two independent fixings and test the attachment by towing the unit behind a boat at speed.
- Clock drift. A logger that was not synchronised at deployment produces velocities that are wrong by a constant factor and nobody notices for weeks. Sync to UTC and record the sync time.
- Reading wind-driven motion as GPS error. Debris moves faster than the current when wind pushes it, and slower when the water is shearing. Check the wind record before you blame the receiver.
- Skipping the baseline test. The single most expensive mistake is not knowing whether the unit was working before deployment. Twenty minutes on shore answers that.
Two field habits cover most of the rest. Publish your loss rate rather than only your successes, because a programme that recovered 23% of its drift cards told its community more than a success story would have, and practitioners trust the honest number. And carry a photo of the finished rig before you go out, because describing an attachment over the radio is how the wrong thing gets deployed.
A note on ethics, briefly, because it affects design. Every tracker you lose becomes debris itself. The wooden, biodegradable housing approach developed in the ESA and CLS satellite drifter work exists for exactly that reason, and choosing a casing that will not persist is a design decision, not a detail.
Frequently Asked Questions
How accurate are GPS trackers on drifting debris?
On a small floating tracker with a clear view of the sky, expect roughly 3 to 5 m of horizontal accuracy from a consumer or module-grade GNSS receiver. Wave motion, a partially obstructed sky, and a low-mounted antenna all widen that error noticeably. Report the fix quality with every position so poor solutions can be filtered later, and treat single-digit metre accuracy as a ceiling rather than a guarantee.
What GPS update interval should I use for a floating debris tracker?
A ten-minute interval suits most surface debris work. It gives you a usable velocity between fixes without eating the power budget, and surface debris does not move fast enough to need more. Choose a one-minute interval only when you are studying wave-driven motion rather than mean drift, and raise your battery estimate accordingly before you seal the box.
Can I attach a GPS tracker to a piece of trash or marine debris?
Yes, and tagging existing debris is the standard approach for net, crates and large floating fragments. Use a mechanical fix that survives waves, such as stainless wire ties plus marine sealant, and add a second independent tie. Match the float’s freeboard and drag to the debris so the tracker moves with it, then record the debris description, mass and release position as your baseline metadata.
How should I waterproof a DIY GPS tracker for ocean use?
Use a pressure-rated housing with proper cable glands routed above the resting waterline, add a desiccant pack, and strain-relieve the internal harness so it cannot chafe when the float rolls. Salt water enters through glands and screw threads far more often than through box walls. Dunk-test the sealed unit for longer than you plan to deploy it, then open it and check for condensation before it ever goes to sea.
Why does my GPS drift even when the tracker is stationary?
A stationary tracker reporting movement is usually one of three things: multipath reflections bouncing the signal off nearby surfaces, a first-acquisition fix taken before the solution settles, or a clock that was never synchronised at deployment. Check the fix quality field, discard the first few positions after each lock, and confirm the time sync. If the drift is a steady offset, suspect the receiver rather than your data.
Conclusion
Start by writing down your debris and your accuracy requirement, then bench-test a waterproof tracker whose float matches that debris before you spend a day on the water. Everything downstream depends on those two decisions.
Once it is running, the value comes from combining the GPS positions with current data, wind observations, and your own field notes. The positions tell you where the surface went. The rest of the record tells you what that means for the debris you are trying to catch, which is the part that turns a track into a forecast, a retrieval, or a cleanup decision. As of 2026, the coordination infrastructure for contributed drifter data is well established, so a track you produce can feed straight into shared models and international coordination efforts such as IMDOS and OceanOPS rather than sitting in a spreadsheet on your laptop.