To record whale sounds with a hydrophone, you need a pressure-rated underwater microphone, a preamplifier or audio interface, and a recorder, then you suspend the sensor below the surface and log your metadata. Most first sessions take an hour of setup plus a few hours of listening.
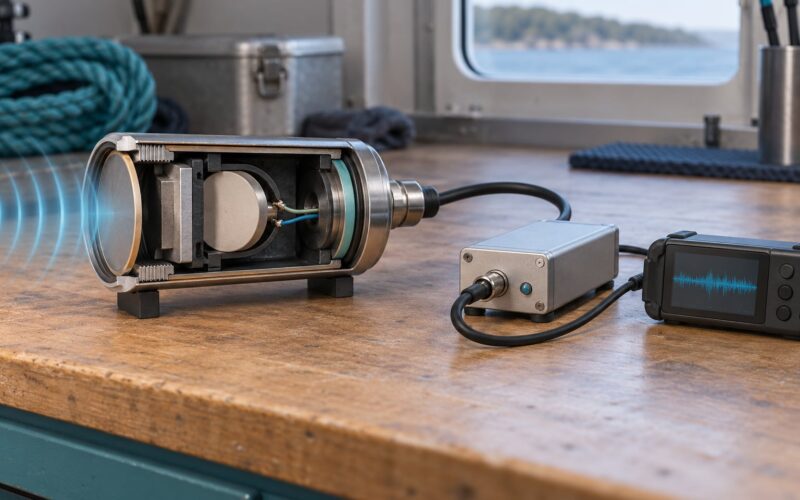
A hydrophone is an underwater microphone built to survive full water pressure. The sensing element is usually a piezoelectric ceramic that generates voltage when sound waves vibrate it, and everything downstream of it — preamp, interface, recorder — is the same gear you’d use for any field recording.
Before you plan the trip, know the range. A cheap piezo contact build, the classic “hydrophone moth,” typically resolves a target only about 30 to 50 m away in calm conditions. Beginners who hoped for half a kilometre were disappointed, and that gap between expectation and reality is the single most common complaint in the field recording forums. A purpose-built hydrophone buys you sensitivity and depth, not magic.
Table of Contents
- What You Need
- Step-by-Step: How to Record Whale Sounds with a Hydrophone
- Common Mistakes
- Frequently Asked Questions
- How deep should a hydrophone be placed to record whale sounds?
- Can I record whale sounds from shore with a basic hydrophone?
- What recorder and hydrophone are suitable for beginner whale-sound recording?
- Do I need permits to record whales with a hydrophone?
- How can I tell whether my hydrophone is capturing useful audio?
- How should I store and back up hydrophone recordings in the field?
What You Need
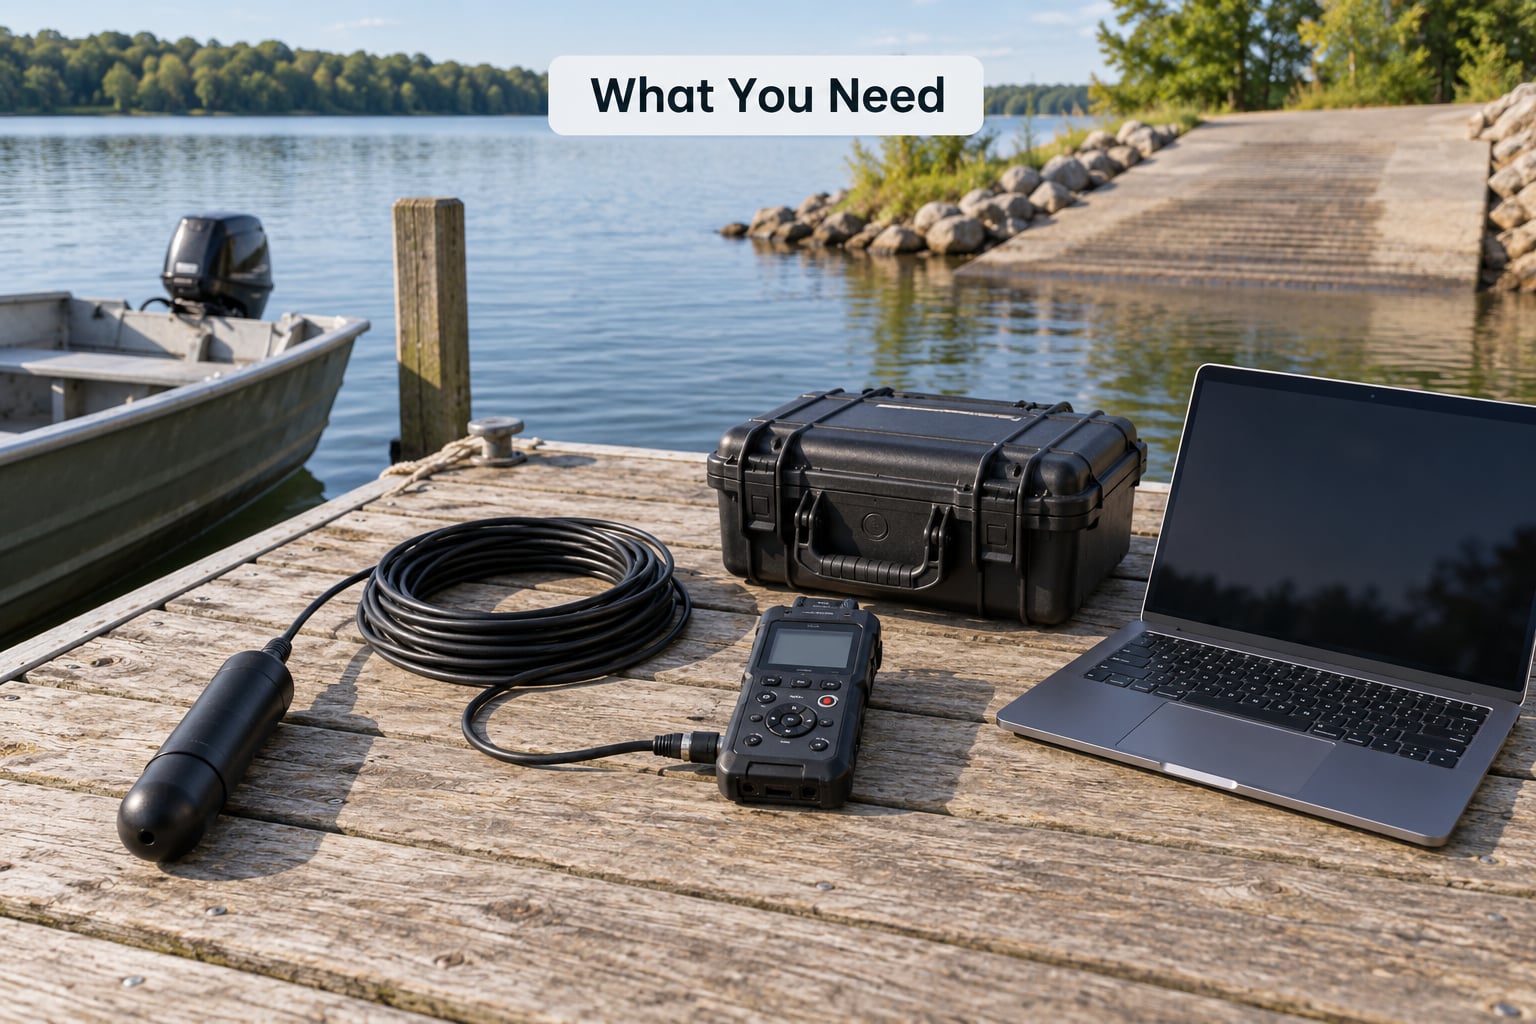
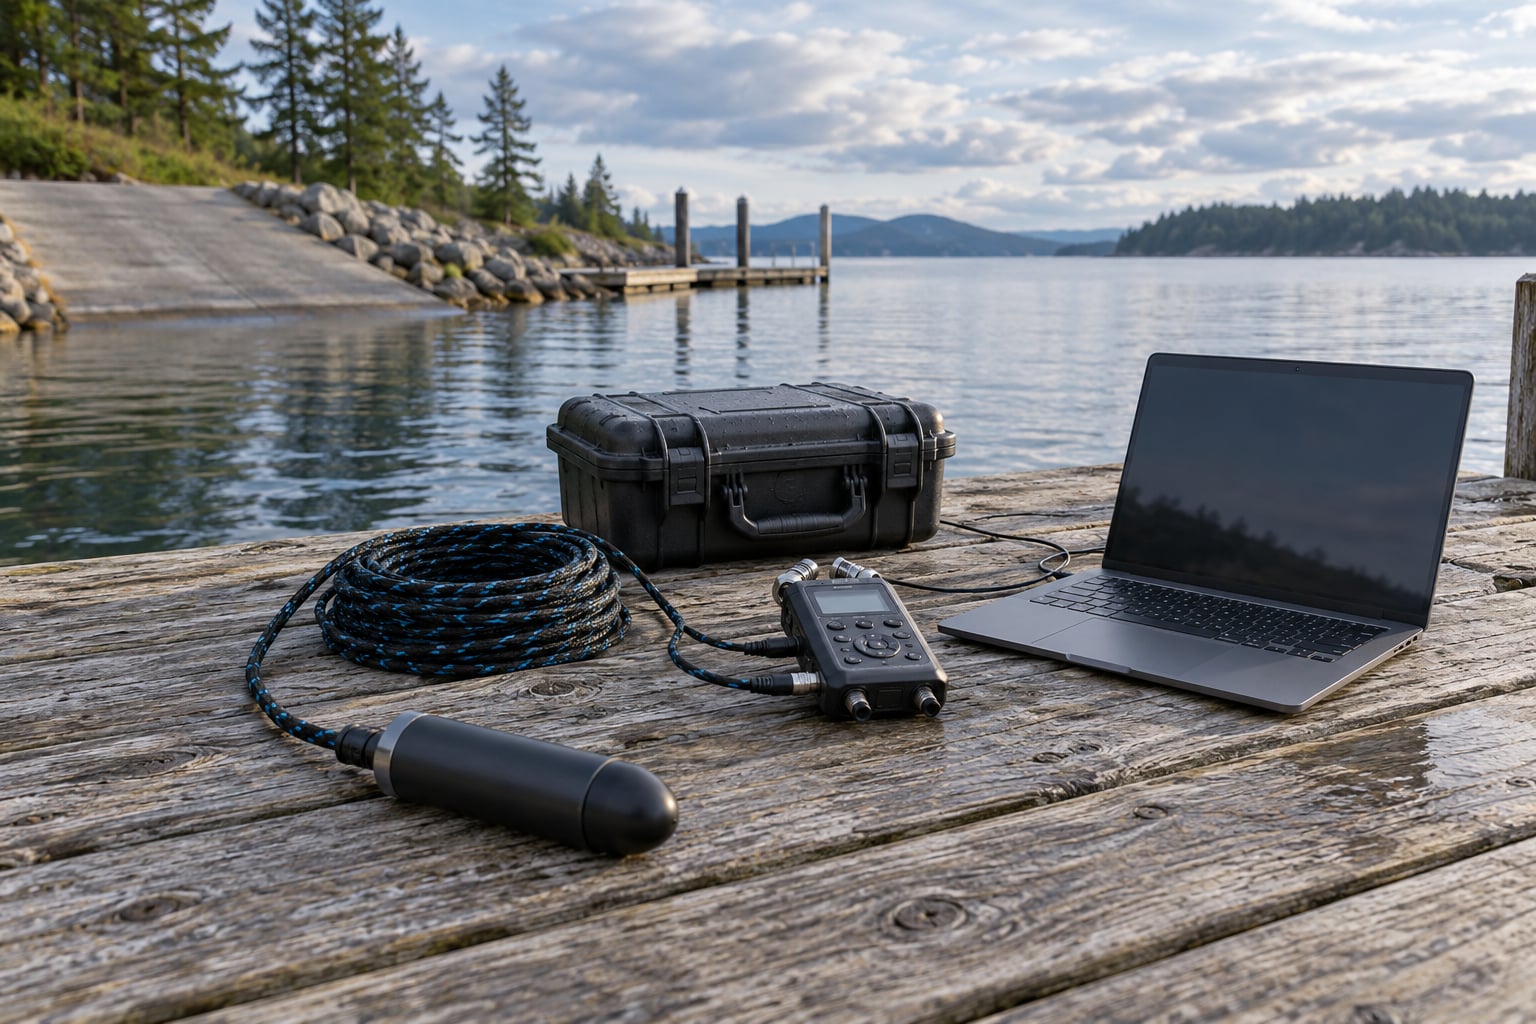
A whale-sound recording setup is one signal chain: sensor, preamp, recorder, and monitoring. Everything else is safety and metadata.
- Hydrophone — a pressure-rated hydrophone for boat and offshore work, or a contact piezo element in a housing for shallow shore listening.
- Preamplifier or audio interface — a mic preamp or USB interface with balanced XLR or TRS inputs and 48 V phantom power, unless your hydrophone has a built-in preamp.
- Recorder — a solid-state field recorder with timecode input, or a laptop with a competent audio interface. 48 kHz at 24-bit is the sensible default for cetacean work.
- Headphones — closed-back, so you can monitor without disturbing anyone else on deck.
- Power — spare batteries for the recorder, a charged power bank, and a dry bag for both. A dual preamp with phantom power draws noticeably more current, so budget roughly half the run time when phantom is on.
- Storage — two cards or drives. 24-bit stereo WAV runs about 260 MB per hour per channel, so a 1 TB drive holds a multi-day deployment.
- Deployment gear — a weighted float or streamer, braided line, carabiners, cable ties, and strain relief. Shock-absorbent foam or rubber for the housing mount.
- Positioning — a GPS-enabled phone or plotter, plus a paper chart as backup.
- Field log — a waterproof notebook, or a voice memo app if your hands stay wet.
- Safety — personal flotation device, whistle, headlamp, knife, and a second person if you are going offshore.
A shore station and a boat setup are not the same build. On shore you are working within a few hundred metres in shallow water, wave action is your worst enemy, and a contact piezo or a shallow-rated hydrophone on a fixed stake is enough. From a boat you need a proper pressure housing, a longer cable, and a way to keep the sensor far enough below the propellers.
Pay extra for sensitivity or waterproofing only when the cheap option is genuinely the limiting factor. If your targets are surfacing whales within 100 m in calm water, a piezo element and a good preamp will get you usable audio. If you want fin whale moans at a kilometre, or long unattended deployments past the depth rating of a hobby housing, buy the calibrated hydrophone.
Step-by-Step: How to Record Whale Sounds with a Hydrophone
Work through these nine steps in order. The list is the short version; the sections below cover the reasoning behind each one.
- Choose a site and a weather window
- Check permits and wildlife rules
- Test the full signal chain on land
- Record a reference tone and ambient sample
- Set conservative input levels
- Deploy the hydrophone below the surface
- Monitor on headphones and adjust gain
- Log time, depth, position, and weather
- Recover, rinse, and back up twice
Plan the Recording Location and Session
Pick the site before you pick the gear. You want open water with a predictable whale track, calm enough surface conditions to keep wave noise down, and enough depth nearby that your sensor clears the surface wave layer.
Time of day matters more than most people expect. Humpbacks sing most often at night, and blue whale calls carry for tens of kilometres, so a dusk-to-dawn window rewards you. Wind and swell are the deciding factor for surface deployments — a Beaufort 3 or less keeps wave noise manageable, and any swell above that will dominate the recording no matter how good your sensor is.
Plan for boat traffic, not just whales. Ferries, outboards, and even the pump on a nearby dock produce far more energy than a distant call. Check the tide table and any shipping lane chart for the spot, and plan a session length you can actually sit through: three hours of focused monitoring beats eight hours of half-hearing.
Prepare and Test the Hydrophone Setup
Test the whole chain on land before it ever touches water. Connect hydrophone to preamp to recorder, plug in the headphones, and confirm you get signal when you speak into or tap the sensor.
Then set gain deliberately. Most piezo elements output something in the microvolt-to-millivolt range, which needs a great deal of preamp gain — 40 to 60 dB is normal for a bare element. Too little and distant calls vanish into the self-noise floor; too much and the faint floor itself gets amplified until it clips. Aim for a healthy level on a loud nearby sound and leave headroom.
Record two reference takes. A steady tone or a tap with a known character tells you the chain is working and shows your noise floor. A 60-second ambient sample in silence tells you what self-noise looks like in that preamp, which is the baseline you compare every later recording against. Professional field recordists advise recording far more material than you think you need and cutting it down later, because you cannot predict which take will be usable.
Check the recorder clock against a phone or GPS clock and write the offset in your log. Check battery capacity, confirm both storage destinations are recording, and make sure phantom power is only applied to the channel that needs it.
Deploy the Hydrophone Safely
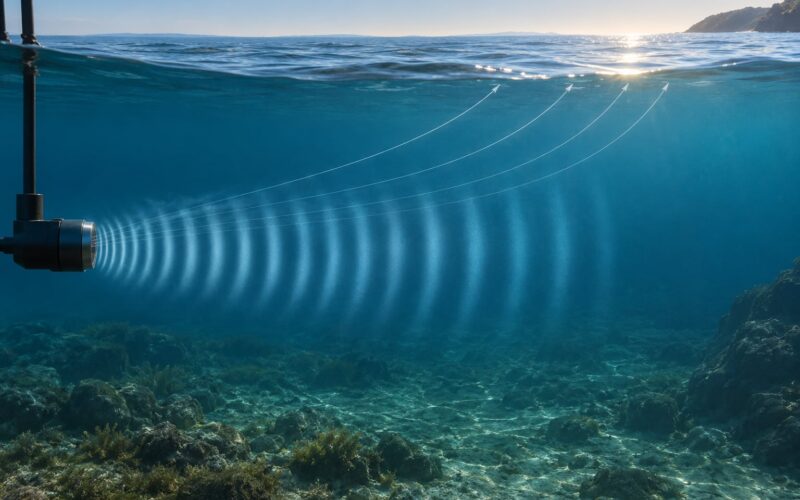
Lower the sensor slowly on a line, well away from the propeller and below the hull. From a small boat the usual working depth is a few metres; from a fixed shore stake, 2 to 10 m covers most situations. Go deeper only when the water is choppy or the near-shore zone is shallow.
Cable management is where DIY builds fail. Use strain relief at the housing — a knot right where the cable enters the seal is not enough, because the strain should be taken by the line, not the connector. Secure the sensor to the weight or float with a shock-absorbing wrap, then verify by lifting the whole assembly clear of the water and listening for rattle.
Keep the deployment geometry simple: a weighted float on a surface streamer, a drop-deployed sensor on a line to a surface buoy, or a fixed stake on the bottom. Two pitfalls to avoid are a sensor snagging on bottom structure and a cable rubbing on rock or shell where it will abrade.
Check the rules before you deploy. Passive listening rarely requires a research permit, but disturbance rules still apply. In the US, the Marine Mammal Protection Act and the Endangered Species Act govern how close you may approach regardless of your gear, and federal guidance is a 100-yard minimum from whales and dolphins. National marine sanctuaries layer on their own conditions. Rules vary by country and by state, so check the local fisheries agency and keep your distance.
Set Recording Levels and Monitor the Signal
Start conservative. Set the gain so the loudest expected sound sits around -12 dBFS, record a minute, then look at the waveform. A waveform pinned flat against the ceiling is clipping — lower the gain before anything else.
Monitor on headphones continuously. You will hear the difference between signals long before you can see it. Whale calls arrive with a clear envelope: a rising or falling sweep, a pulse train, or a repeated phrase. Wave action is a low irregular rumble, and engine noise sits low and steady with a propeller rhythm on top.
Shallow tropical water is a different problem. Snapping shrimp produce a dense broadband crackle that concentrates above a few kilohertz and masks the low-frequency calls almost completely. You cannot filter it out after the fact. If shrimp noise dominates, move to deeper water, move outside the reef flat, and try dusk or dawn when the snapping activity drops.
Adjust gain in small moves while listening rather than big leaps between settings. If a faint call arrives and you want more level, raise it there; if the noise floor climbs instead, you have found the limit of your setup, not a whale.
Capture, Label, and Recover the Recording
Keep a written log while you record. Time, GPS position, depth, weather, wind, sea state, vessel engine state, and every suspected whale event go down as you go. Put the essentials in the filename too: date, time, location, depth. Metadata is what turns a sound file into usable data, and it is impossible to reconstruct later.
Record more than one session if you can. Songs repeat, individuals sing in bouts, and a second pass at the same location often catches what the first missed.
Recover slowly, lift the sensor clear of the water first, then haul the line. Rinse the housing in fresh water before opening it, and dry the connector fully. Salt left in a connector causes the same hiss and dropouts months later, when you no longer remember the deployment.
Back up twice before you leave the boat: original to one drive, copy to a second, and a third copy somewhere away from the vehicle if the session matters. Keep files as WAV at the original sample rate and bit depth for any submission. Only make a working copy for editing.
Common Mistakes
Most failed whale recordings come down to seven problems, and each has a straightforward fix.
Recording only in engine noise. Boat-based sessions where the outboard stays running produce recordings dominated by exhaust and propeller harmonics. Fix: kill the engine for listening periods, deploy the sensor away from the hull and below prop depth, or switch to a stationary drift.
Wave action noise mistaken for signal. A hydrophone hung at the surface picks up breaking wave energy as a constant low rumble. Fix at the source — hang the sensor deeper, below the surface wave layer, and damp the housing mount with foam or rubber. A high-pass filter can take the edge off afterwards, but the deep rumble is already in the file.
Too much gain on a quiet setup. A bare piezo with a high-gain preamp amplifies its own self-noise until it sounds like a bad radio. Fix: record a silence sample on land, listen to what your floor actually is, and set levels against that baseline rather than by instinct.
Forgetting that the sensor has moved. A drifting boat or a shifting anchor changes the recording geometry mid-session. Fix: log vessel position at set intervals, note any change in motor noise on headphones, and use a bottom anchor or fixed stake when you need the geometry stable.
No metadata. An unlabelled file is nearly worthless outside your own headphones. Fix: filename convention, written log, and GPS track saved with the session.
Trusting one shallow take. Shallow, wind-affected, single-session recordings rarely hold up. Fix: several sessions across different tide states, plus a longer deployment on a calibrated unit if you want data rather than a memory.
One copy of the file. Storage failure after a good session is the most avoidable loss in this whole process. Fix: two copies before you leave the dock.
Two field tips that pay off more than any gear upgrade: record far more than you need and cut it down afterwards, and never deploy a waterproof housing with cables attached before you have tested the seal on land. Waterproofing a preamp with connectors already potted in is consistently described as the hardest single problem in a DIY build.
Frequently Asked Questions
How deep should a hydrophone be placed to record whale sounds?
Most useful listening happens a few metres below the surface. Two to ten metres is the normal working range from a small boat or a shore stake, and going deeper only helps when the water is choppy or shallow near land. Keep the sensor below propellers, below the surface wave layer, and away from hull and engine noise.
Can I record whale sounds from shore with a basic hydrophone?
Yes, within limits. A contact piezo element or budget hydrophone will pick up whales passing a few hundred metres offshore in calm conditions, mainly low-frequency calls such as fin or blue whale moans. Mount it on a fixed stake below the surface, record continuously, and expect swell and boat noise to compete with distant calls.
What recorder and hydrophone are suitable for beginner whale-sound recording?
A single hydrophone with a built-in preamplifier feeding either a field recorder with a balanced line input or a laptop through an audio interface that supplies 48 V phantom power will do. Budget piezo contact builds are fine for close listening in shallow water. For distant or long-duration work, a calibrated pressure-rated hydrophone with documented sensitivity is worth the step up.
Do I need permits to record whales with a hydrophone?
Passive listening rarely needs a research permit, but the rules are not uniform. In the US, the Marine Mammal Protection Act and the Endangered Species Act cover disturbance and approach distance regardless of your equipment, and marine sanctuaries add their own conditions. Check the local fisheries agency and keep at least 100 yards from whales and dolphins.
How can I tell whether my hydrophone is capturing useful audio?
Listen and look at the same signal. Real whale calls arrive with a clear envelope: sweeps, pulse trains, or repeated phrases that stand above the noise floor. Wave action sounds like irregular low rumble and snapping shrimp like dense broadband crackle. A quick spectrogram view in Audacity shows clean harmonic bands for song versus scattered broadband energy for noise.
How should I store and back up hydrophone recordings in the field?
Copy every file to two separate drives before you leave the boat, and keep one copy away from the vehicle if the session matters. Keep the originals as WAV at the recorded sample rate and bit depth. Put date, time, location, depth, and weather in the filename, and repeat the same details in a waterproof field notebook.
Start on land. Test the chain, record a reference tone, set your gain against your own noise floor, and only then go looking for whales. Once in the water, hang the sensor a few metres below the surface, away from the propeller, listen on headphones, log everything, and copy your files twice before you head home.