Building a small ROV for beginners is a plumbing, wiring, and trimming job rather than a robotics project: a frame, a few thrusters, a sealed electronics tube, and a tether to a controller on the surface. Most people who work through this guide go from parts on a bench to a working vehicle in a bathtub in one weekend, then take it to a pool once the leaks stop.
The hard part is rarely the driving. It is keeping water out of the electronics and getting the buoyancy right so the vehicle neither sinks the instant it touches the surface nor rockets out of it. Everything below is ordered so you can check each stage on the bench before the next one goes underwater.
If you have never built an underwater robot before, start here rather than in a forum thread. Build logs are honest but they all assume you already know what an ESC is.
Table of Contents
- What You Need to Build a Small ROV for Beginners
- Step-by-Step
- 1. Plan your small ROV and pick a realistic operating depth
- 2. Build and test the waterproof frame
- 3. Install the motors and control electronics
- 4. Add the camera, lights, and sensors
- 5. Connect power and waterproof the electronics
- 6. Program the controls and assemble the ROV
- 7. Test in a pool or controlled tank
- Common Mistakes
- Frequently Asked Questions
- Conclusion
What You Need to Build a Small ROV for Beginners
An ROV, short for remotely operated vehicle, is an underwater robot connected to the surface by a cable. A person on the bank or on a boat sends commands down that tether, an onboard microcontroller turns those commands into motor signals, and the same cable carries battery power down and video and sensor data back up. A beginner ROV is simply a small one that never goes deeper than you can see.
For your first build, target a vehicle about 60 cm long that one person can lift with one hand while holding the tether. Three practical scopes come out of that:
- Tubhtub and pool-bottom scout. Two thrusters, no camera, a foam or PVC frame, controls from a dock connector or a simple wired box. Works to roughly 1 m. If you want a working vehicle before the weekend is out, this is the one.
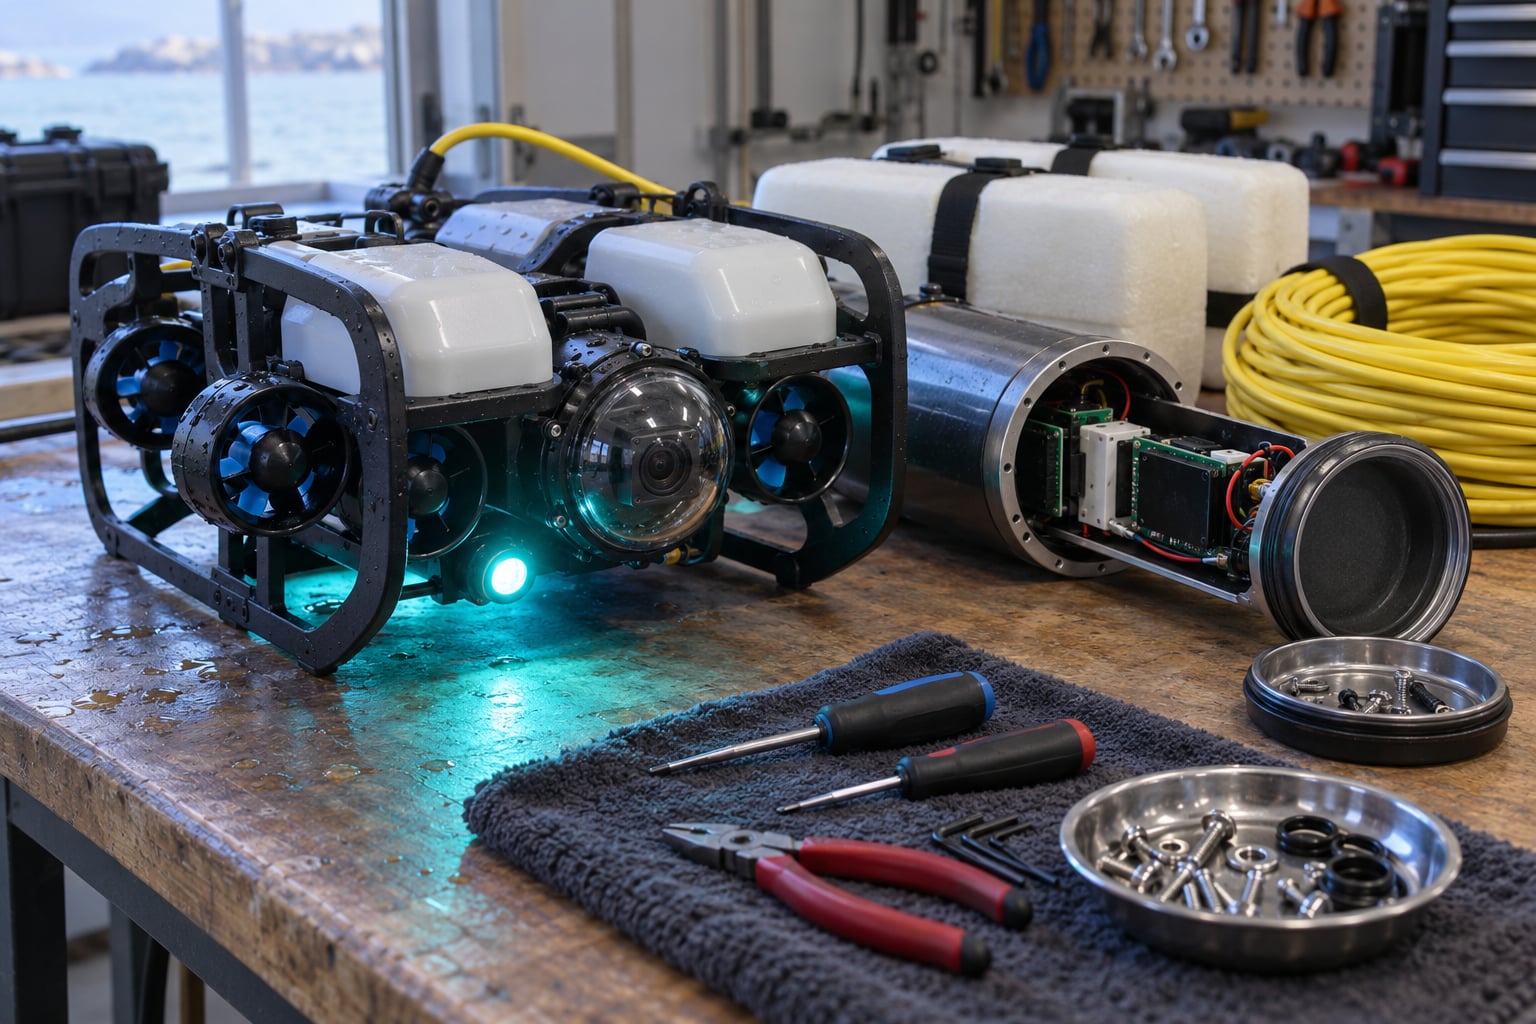
- Pool video ROV. Four vectored thrusters, a small action camera or FPV camera, LED lighting, and an RC transmitter on the surface. Comfortable to about 3 to 4 m. This is the most common beginner target and the build this guide walks through.
- Deeper tethered work ROV. Six thrusters, a pressure-rated tube, a depth sensor and an IMU, a 30 m tether, and a proper ground station. This one is a multi-week project and honestly more of a second build than a first.
Whichever you pick, every build needs the same eight systems. Group the parts that way when you shop, because suppliers sell them that way and you will otherwise buy three incompatible voltage regulators.
- Frame and buoyancy: PVC pipe and fittings or aluminum bar stock, elbows and tees, primer and cement, fasteners, a drill with step bits, closed-cell foam blocks for buoyancy, zip ties, and a camera or light mount.
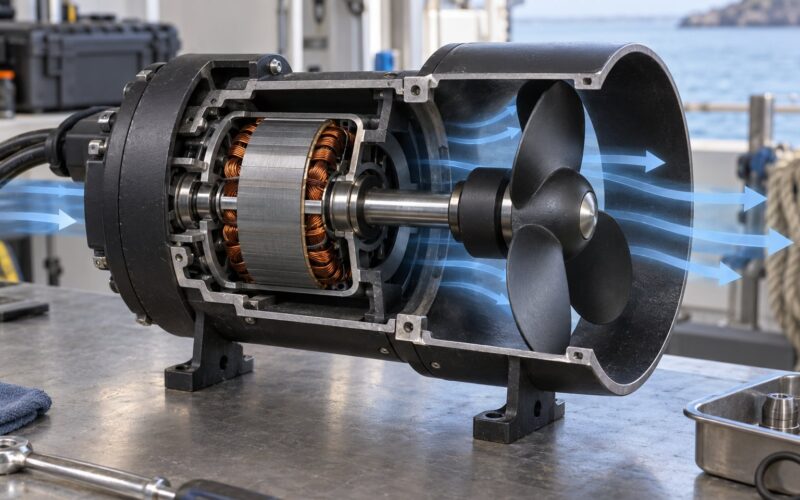
- Propulsion: two to six thrusters sized for the hull, matching electronic speed controllers, and motor mounts or K-clip style brackets.
- Electronics: a microcontroller board (an Arduino-class board is the common starting point), motor driver or ESCs, hookup wire, a stripboard or soldered perf board, a fuse, bulk capacitors, and connectors.
- Video and lighting: a small camera with its own housing, a video transmitter and receiver if you want a live feed, and an LED light bar or two sealed dive lights.
- Power: a lithium polymer pack or a sealed lead-acid battery with a matching charger, a power distribution board or bus bar, and a physical kill switch.
- Waterproofing: threaded end caps or a bolt-on pressure housing with O-rings, epoxy or marine-grade potting compound, cable glands, heat-shrink tubing, silicone adhesive, and absorbent paper for the leak test.
- Tether: two-conductor cable for power and control, twisted Cat5 or a purchased umbilical for video, and heat-shrink plus strain relief at both termination points.
- Control station: an RC transmitter with a matching receiver for manual piloting, or a wired handheld controller if you are sticking to the simplest scope.
Step-by-Step
1. Plan your small ROV and pick a realistic operating depth
Decide the depth before you buy anything, because it dictates the housing, the tether, and the power budget. Shallow pool work and deeper inspection work are different vehicles, and no amount of clever design makes a PVC-cemented frame survive pressure that it was never rated for.
Sketch your frame on paper with the battery low and forward of the thrusters, the electronics tube in the middle, and the camera at the front. Keep the center of gravity below the center of buoyancy, or the vehicle will be permanently nose-up. Check it works when the drawing gives you a target length, an approximate weight, and a battery capacity that covers your planned run time plus a comfortable margin.
2. Build and test the waterproof frame
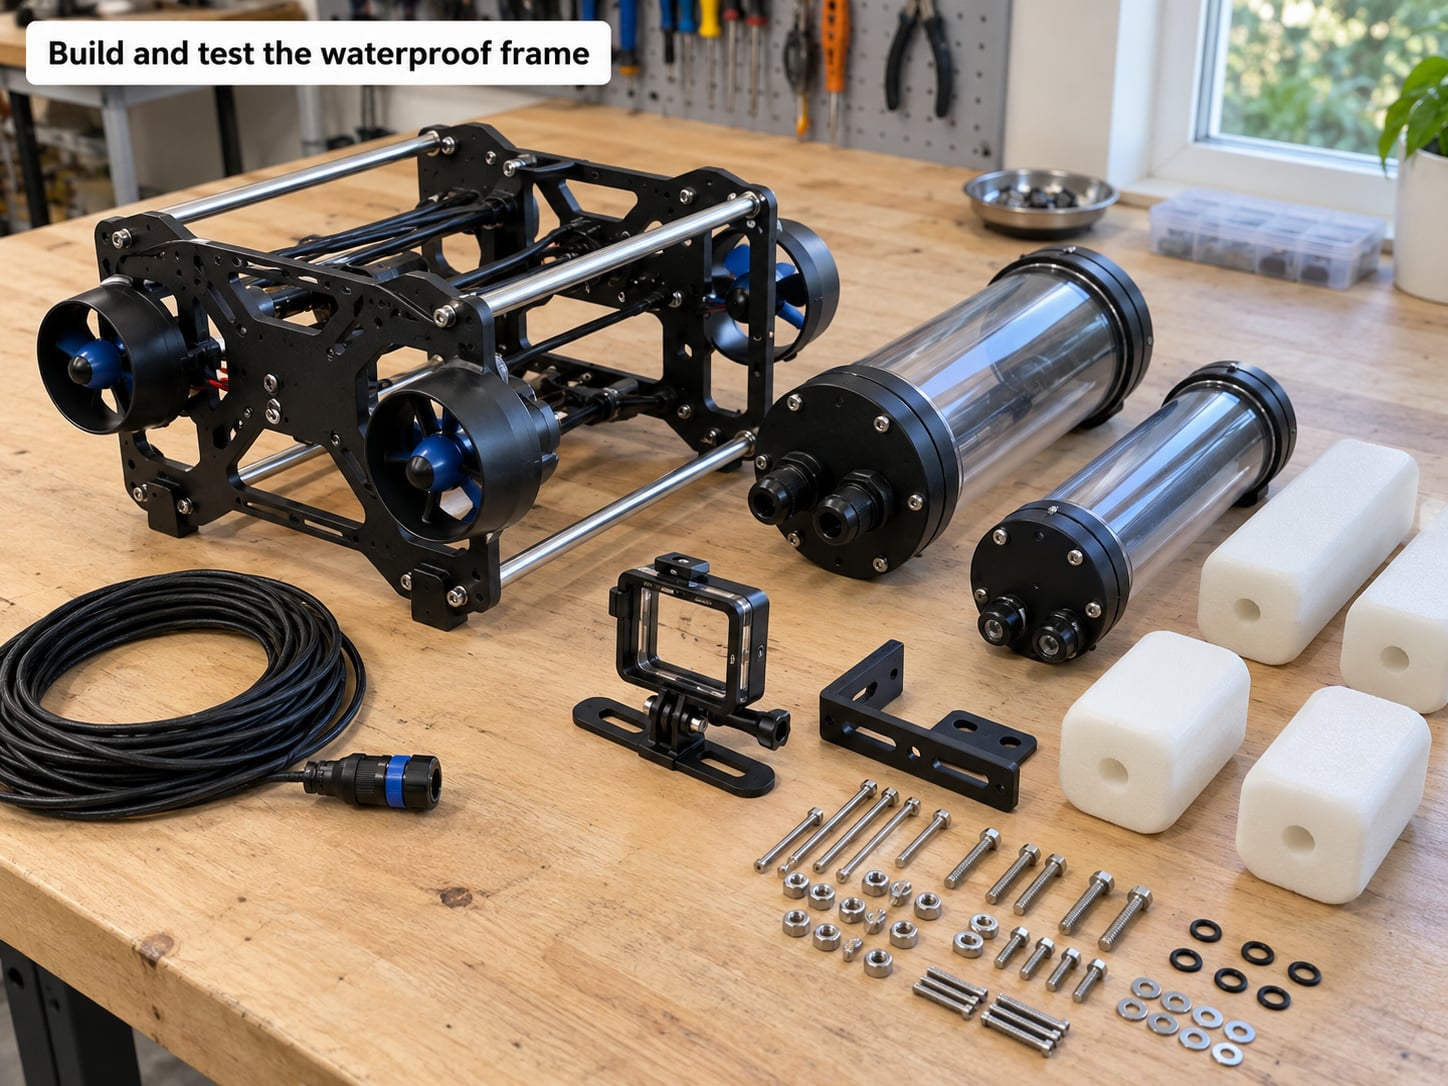
Cut the PVC to length, dry-fit every joint, then drill drainage holes through the low points so trapped air and water can escape. Drill holes in the frame members deliberately, since a sealed frame that cannot flood is a frame that traps bubbles and refuses to sit right in the water. Cement the joints, prime first, and let the frame cure for the full cure time printed on the tube.
Glue in or bolt on the foam buoyancy blocks and the thruster mounts, then check the result two ways. Weigh it or hold it in a sink full of water to confirm it floats with about a fingertip of freeboard left over, and wiggle every joint to confirm nothing flexes. If the frame is still on the bench and the joints hold, you are ready for electronics.
3. Install the motors and control electronics
Mount the thrusters at the rear corners for a simple two-thruster build, or in four vectored positions if you want forward, reverse, strafe, and yaw from four motors. Keep the inlet screens clear of the frame and of any cable you route past them; a thruster that grabs a wire will chew through it inside a minute.
Match each thruster to an ESC that handles its stall current with headroom. A brushed motor with a relay to reverse it is where beginners hurt themselves: reversing under load without a proper H-bridge is a reliable way to burn out electronics. Fix the motor polarity and controller direction before you connect anything to the frame, and leave slack in every cable so that strain lands on the mount rather than the solder joint.
Check it works by running each thruster on bench power alone. If a motor spins backwards relative to its mount, swap two motor wires at the ESC, never at the battery, and record which direction each one needed.
4. Add the camera, lights, and sensors
Mount the camera at the front, slightly above the frame centerline, so it sees where the vehicle is going. A simple action camera in its own housing needs nothing from the ROV itself, and an analog FPV camera plus a video transmitter gives you a live picture on a monitor at the surface. Route the video and power cables separately from the thruster signal wires to keep the picture from flickering when the motors spin up.
LED lights belong on the front frame, aimed slightly outward and downward so the beam does not bounce straight back into the lens. On a depth sensor and an IMU: you can ship without both on a first build, and most first builds should. A depth sensor is worth adding once you have a stable trim, because depth hold is impossible without knowing your depth.
Test by confirming the picture is clear with the thrusters at full power and the lights on. If the video breaks up, suspect an unshared ground or a capacitor too small on the motor supply.
5. Connect power and waterproof the electronics
This stage decides whether the vehicle ever runs again. Mount the battery low in the frame with a strap or foam cradle so it cannot shift mid-dive, run the positive lead through an inline fuse close to the battery, and fit the kill switch where you can reach it from the surface. Everything shares a common ground: a controller, ESCs, and sensors with floating grounds produce the kind of erratic behavior that gets blamed on code for days.
Build the electronics housing next. A tube with threaded end caps and proper O-rings is the common beginner route, and a bolt-on acrylic housing works too. The sequence that works: mount the board and standoffs inside, route cables through drilled holes filled with epoxy, pot the penetrations fully, fit a new O-ring with a light coat of silicone, and torque the caps evenly rather than one side at a time.
Leak test before the electronics go in if you can, then leak test again with everything installed. Fill the housing with tissue paper, submerge it for an hour, and check the paper for damp spots or wetness. Paper is the point, because a paper-thin leak that beads on plastic for six hours then soaks through is how most first builds end. Repeat the test in the actual pool water, since fresh water and pool water leak differently, and do not rush the test if you are impatient to get wet.
6. Program the controls and assemble the ROV
Beginner pilots get further with a small control map than with clever code. Two channels for forward and reverse on the horizontal thrusters, two for lateral strafe if you have four thrusters, one for vertical thrust, and one to switch the LED bank. Start with raw pulse commands to the ESCs, then layer in modes. Failsafe matters more than any feature: set the receiver to cut motor signals the moment the control signal drops, so a failed tether stops the vehicle instead of sending it across a lake.
Write the failsafe first and test it before anything else, by switching the transmitter off while the vehicle is tethered and dry on the bench. Then add a battery monitor reading, a depth readout if you have the sensor, and a simple way to log data to the surface.
Assemble in this order: frame, thrusters, electronics housing sealed and tested, tether terminated with strain relief, then buoyancy trim. Zip ties are fine for the first version as long as you leave service loops at both ends of the tether.
7. Test in a pool or controlled tank
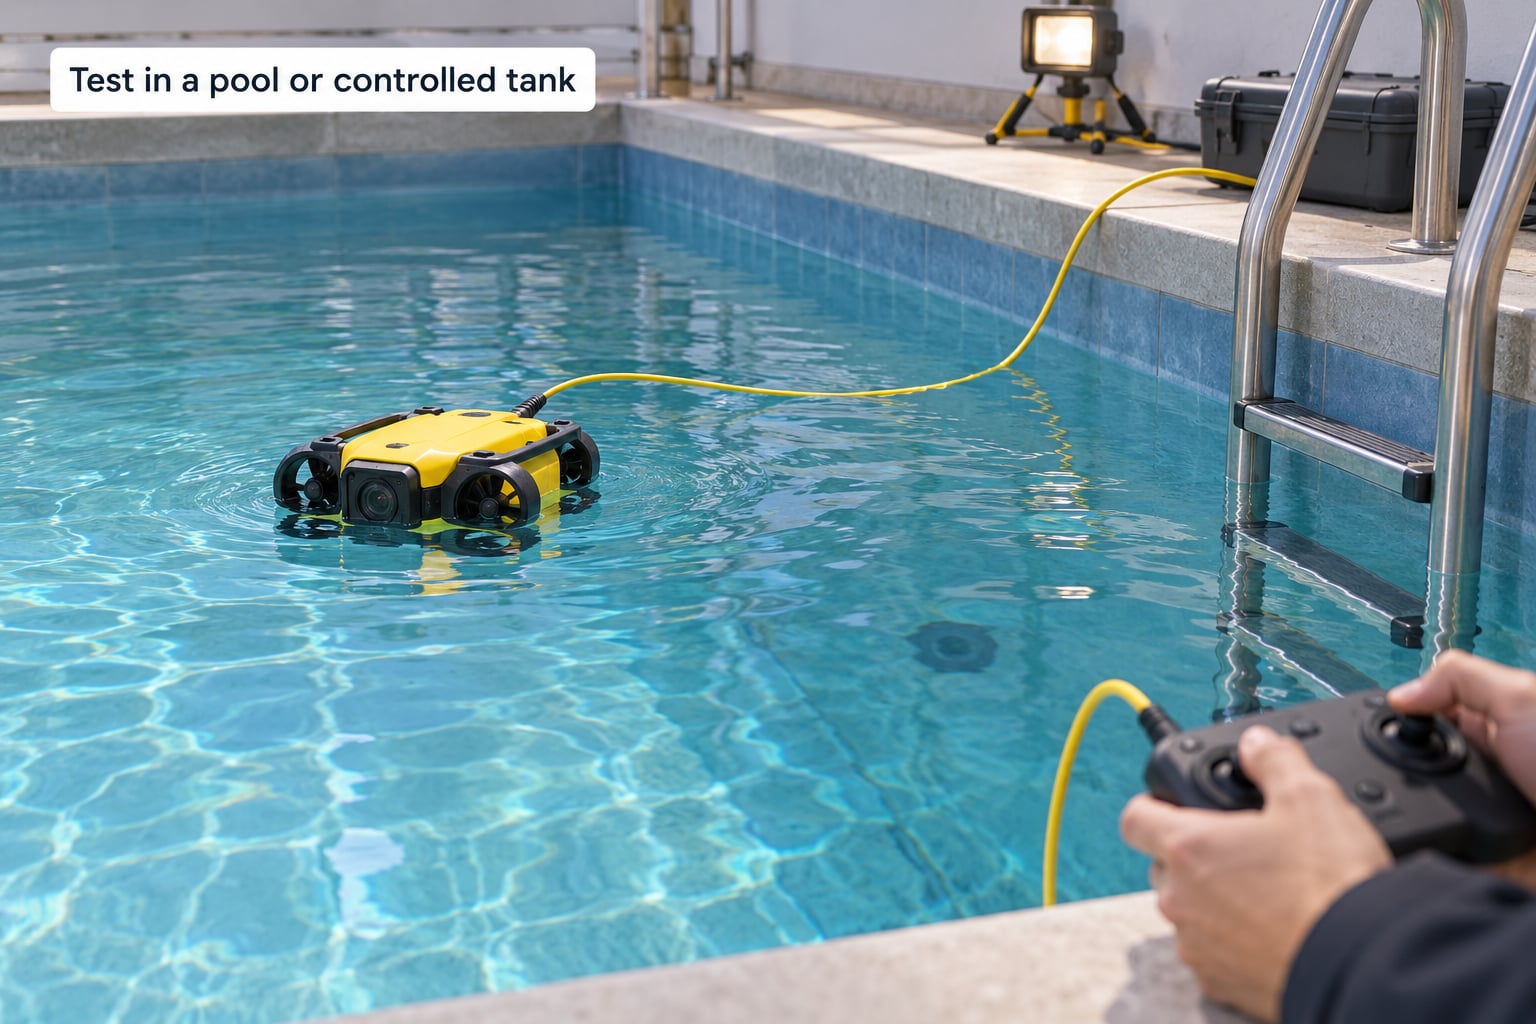
Start in a bathtub or a large tank where you can reach the vehicle with your hands. Float it on the tether and trim it: for neutral buoyancy, add foam until it hovers just below the surface with the tether carrying only part of the load, then add small ballast weights under the electronics until it stops drifting up or down on its own. Neutral buoyancy is a measurement, not a guess, and doing it here saves you from a vehicle that noses into the pool floor on every run.
Run a staged protocol and inspect after each stage. First a tethered float in the tank, checking that the hull leaks nowhere and the housing stays dry. Then thrusters at low power, verifying forward, reverse, strafe, and yaw. Then a controlled dive with your hand on the tether, watching the video and confirming the vehicle holds a heading. After every run, wipe the housing dry, check the O-ring seats, and look at the tether near both terminations for kinking or conductor damage.
Only move to open water once the vehicle has completed several clean pool runs. Managed boating rules, protected habitats, and a tether near swimmers are real problems, so read your local rules and keep the first open-water test in shallow, calm, snag-free water with a second person on the tether.
Common Mistakes
- Unsealed cable penetrations. Most leaks start where a cable passes through the housing wall, not at the end caps. Fill the hole fully with epoxy, leave cure time before submerging, and never rely on a cable gland alone where the housing is a simple tube.
- Scratched sealing surfaces. A nick on an O-ring seat or the inside face of an end cap defeats the seal no matter how good the seal material is. Keep sealing faces in a separate tray, handle boards by the edges, and replace any cap with a visibly scored face.
- Poor or uneven buoyancy trim. A nose-heavy vehicle drives itself into the bottom, and a light one surfaces and flips. Put the battery low, keep the camera and electronics near the centerline, and trim by measurement instead of by adding foam until it stops sinking.
- Underpowered thrusters or undersized ESCs. Thrusters rated for a much smaller hull will not move the vehicle, and an ESC near its current limit will cook itself. Match thrust to displacement, keep the camera and light out of the inflow, and expect less speed than the motor datasheet suggests.
- Cable stress at the tether ends. Tether failures concentrate at the terminations where the pull is constant. Add strain relief with a knot, a wrap, or a molded boot, leave a service loop, and keep the cable from rubbing on the frame edge during every dive.
- Testing too deep too soon. Skipping the tank stage turns a small leak into a dead board and a flooded frame. Climb the ladder one step at a time, and treat the first pool run as a leak test rather than an expedition.
- Forgetting failsafe and the kill switch. A tethered vehicle that keeps driving after the signal drops is a projectile in a swimming pool. Set failsafe on the receiver and keep a physical kill switch in the circuit from the very first powered run.
Frequently Asked Questions
Can I build a DIY ROV at home?
Yes. A working small ROV needs a frame, two to four thrusters with matching speed controllers, a microcontroller, a sealed electronics housing, a battery, and a tether. If you can solder, use a drill, and follow a leak test without skipping it, a pool-capable vehicle is a realistic weekend project and a few evenings of parts waiting.
How much does it cost to build a small ROV?
Cost tracks scope, not size. A two-thruster bathtub scout reuses the electronics you already own, while a four-thruster pool video ROV adds a camera, video transmitter, RC radio gear, a pressure housing, and a battery pack. The housing and the thrusters dominate the parts list; buy those carefully and economize on the frame and the camera.
How do you make an ROV neutrally buoyant?
Neutral buoyancy means the vehicle neither rises nor sinks on its own. Float it on its tether in a tank, add closed-cell foam until it hovers just under the surface, then add small ballast weights under the electronics until it holds depth without the tether carrying the load. Keep the battery low and near the centerline so trim does not shift when it drains.
Do I need to waterproof my Arduino?
You need to waterproof everything, including the microcontroller. A bare board on a breadboard dies in minutes, and a wet board often fails intermittently first, which makes the problem look like a code bug. Mount the board on standoffs inside a sealed housing, pot every cable penetration with epoxy, and leak test the empty housing before installing any electronics.
How long can a homebuilt ROV stay underwater?
Runtime is set by battery capacity divided by average current draw, and depth rating is set by the housing. Budget for roughly 30 to 60 minutes of mixed thruster use on a typical first-build pack, and carry a spare charged pack for longer sessions. Depth limits come from the housing seal and structure, not from the software.
Do I need a depth sensor and an IMU on a first build?
No. A first ROV flies fine on thruster commands alone once it is trimmed neutral. Add a pressure sensor when you want depth hold, because holding depth is impossible without knowing depth, and add an IMU when you want heading hold or a stable camera view. Both are easy additions later because the housing usually has room for another board.
Conclusion
Your first milestone is small on purpose: a trimmed, leak-tested vehicle that flies forward and backward, yaws, and returns video from a pool. Get there with two or four thrusters, a sealed tube, a real leak test, and a tether with strain relief at both ends.
Start in a tank, add sensors and autonomy only after the basics are boringly reliable, and check your local rules before any open water. Once your first ROV runs cleanly, the second one gets interesting fast.