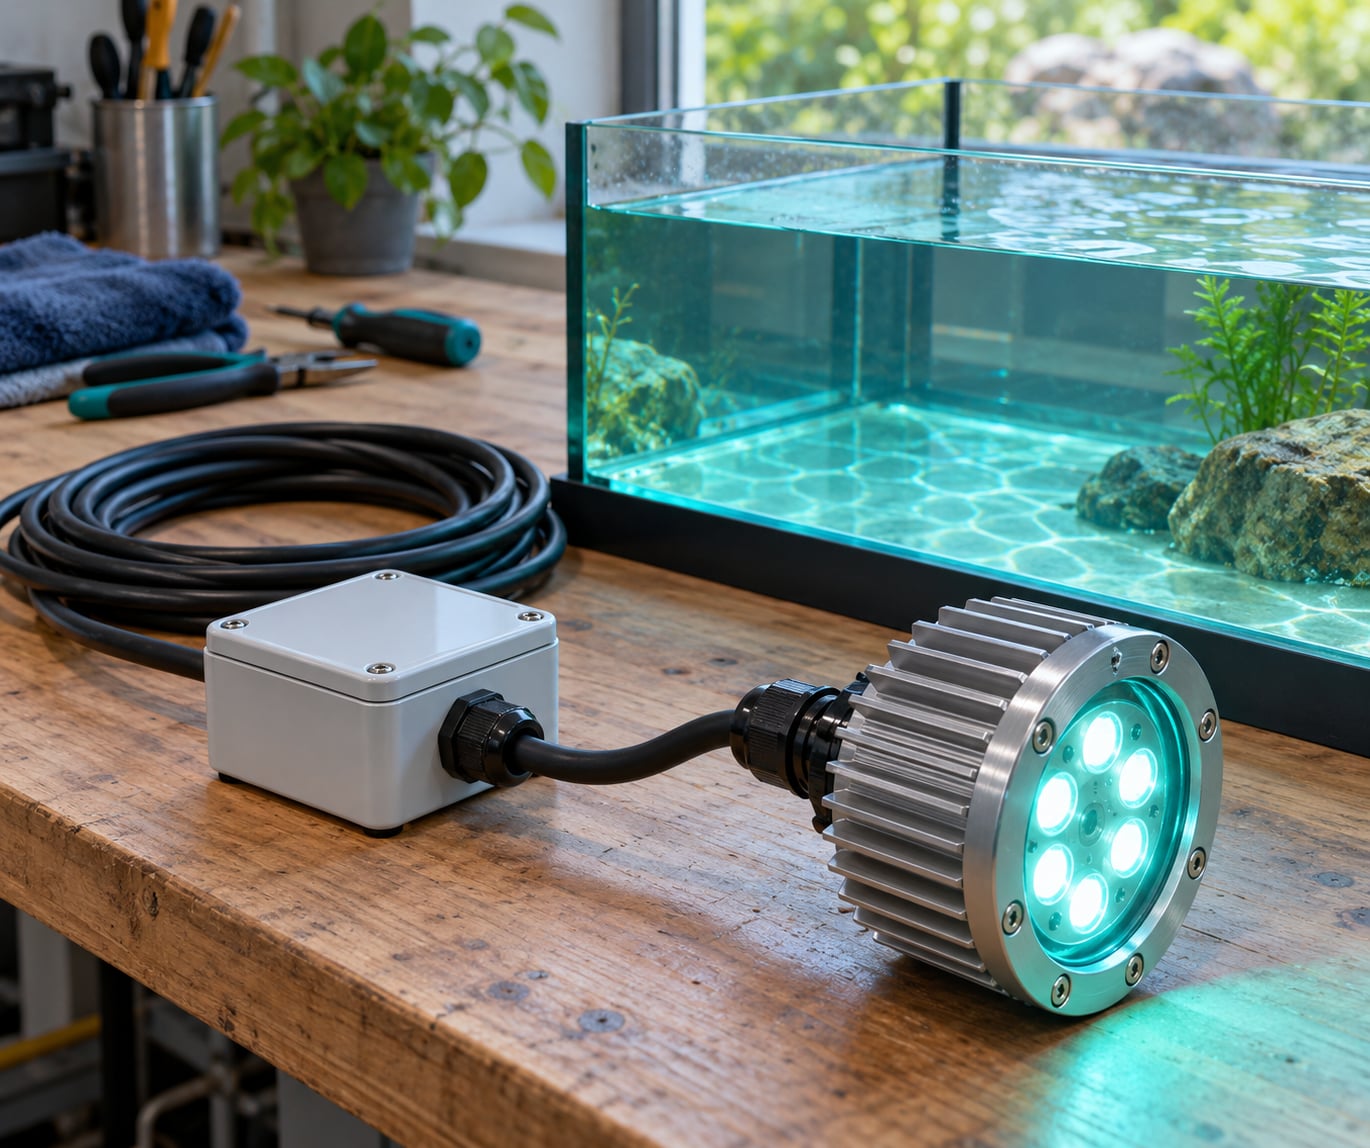
An underwater light is a sealed LED assembly rated for continuous immersion, where the emitter, driver, connections and housing seal all hold out water under sustained pressure. Learning how to make an underwater light is mostly a sealing and heat-transfer problem, not a lighting problem.
A bench build takes an afternoon plus a curing wait. The three things that decide whether the unit survives its first deployment are the integrity of the seal, the thermal path out of the LED, and whether your low-voltage supply can feed it without spikes.
If you work on boats, you already know that a splash-proof fitting and an immersion-rated fitting are different products. This guide covers the immersion case, with the pressure and corrosion penalties that come with it.
What You Need to Make an Underwater Light
Pick components that are specified for immersion rather than damp locations. Anything rated only for weather will eventually fail, and on a robot that means a dark vehicle with no diagnostics.
- Marine-rated LED or light module. A COB module on an aluminium substrate, or a high-power emitter on an MCPCB board, both work. Bare board LED strip is for a different job.
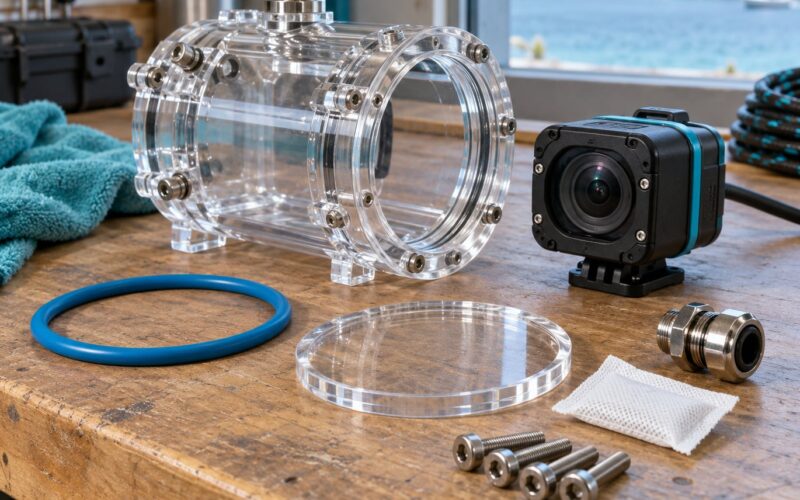
- Pressure-resistant housing. A machined aluminium or thick-walled polymer pot with a flat sealing face. Avoid thin-wall plastic that flexes under pressure.
- Waterproof cable glands and marine-grade wire. Glands sized to your cable jacket, tinned or stranded conductor, and strain relief that does not rely on the seal.
- Low-voltage power source. A battery bank or DC supply in the 12V class, sized so a full discharge does not drag the rail below the driver’s cutoff.
- Controller. A microcontroller output or a PWM-capable channel if you want dimming, strobing or fault monitoring. Keep the logic side dry and outside the pressure boundary.
- Thermal management materials. Aluminium heatsink stock, thermal interface compound, and a thermal path to the housing wall or the water itself.
- Seals and potting materials. O-rings sized for the groove, a gasket-friendly housing face, and a structural epoxy or silicone rated for immersion, not a household epoxy.
- Test equipment. A multimeter for continuity and current draw, a DC supply you can current-limit, and a tank or tub for soak tests.
Step-by-Step
Work through these in order. Each step assumes the one before it passed, and the last two are the ones people skip and regret.
How to Choose a Waterproof Light Source
Decide your depth rating and power budget before you buy the emitter, because both constrain everything downstream. A robot running to 50 metres needs a housing that holds at roughly 5 bar; a shallow hull inspection rig can get away with far less.
When you work out how to make an underwater light, start with brightness, beam angle, colour, thermal output and operating voltage. For imaging and inspection work a narrow 30 to 60 degree beam concentrates output where the camera is pointed, while a wide flood suits video. Cool white around 5700K gives truer colour on most sensors.
On a bare emitter you need a constant-current driver matched to the forward voltage and drive current. On an aluminium COB board with a wide conduction path, many builders run it driverless straight off the rail, which is simpler but gives you no current regulation if the voltage climbs.
For a first build I would pick the module with a published current rating and stay inside it. A driver that you can set and measure is worth the extra box.
How to Build the Pressure-Resistant Housing
Choose a housing with a machined flat face, not a tube with a lid glued on. O-rings need a smooth, uncompressed face and a groove you can size precisely.
Keep the LED’s heat path short. Mount the board to the housing wall or to an external heatsink so heat leaves through metal rather than through the potting layer. If the sink sits in the water, the surrounding water carries a lot of that heat away for you, but only if the thermal interface is real and not a layer of dried adhesive.
Route the cable before you seal anything, and give it a service loop that bends gently. A tight radius in the conductor is a fatigue crack waiting to happen, and you cannot inspect it once the pot is cured.
Protect electronics from galvanic corrosion in seawater by keeping dissimilar metals apart. Isolate the board from the housing with the intended thermal pad, and use stainless fasteners of one grade throughout rather than mixing bright steel with anodised aluminium.
Seal last. Torque the gland to its stated value, verify the O-ring is seated by feel all the way around, then cure the potting compound with no movement while it sets. Rushing this stage is the single most common reason a build floods on its first dive.
How to Wire and Control the Light
Stay at low voltage and keep current paths short. On a 12V system expect the rail to wander as the battery ages and as any charging source cycles, so design for the ends of that range rather than the label voltage.
Regulate what the LED sees. Add a fuse sized a little above normal draw so a fault in the seal does not become a heated cable, and fit current limiting in the supply during bench testing so a shorted board cannot cook itself.
Bond or ground the housing where the platform expects it, and keep that connection outside the sealed volume. Waterproof the external connections properly, then add mechanical retention: a connector that is only held by its seal will eventually be pulled apart by cable movement.
On the control side, run dimming through constant-current or constant-voltage dimming rather than chopping the supply with a plain transistor on some channels. For an unattended vehicle, have the controller report supply voltage and light current so a dying pack or a wet connector shows up as data before it shows up as a lost robot.
How to Test the Underwater Light
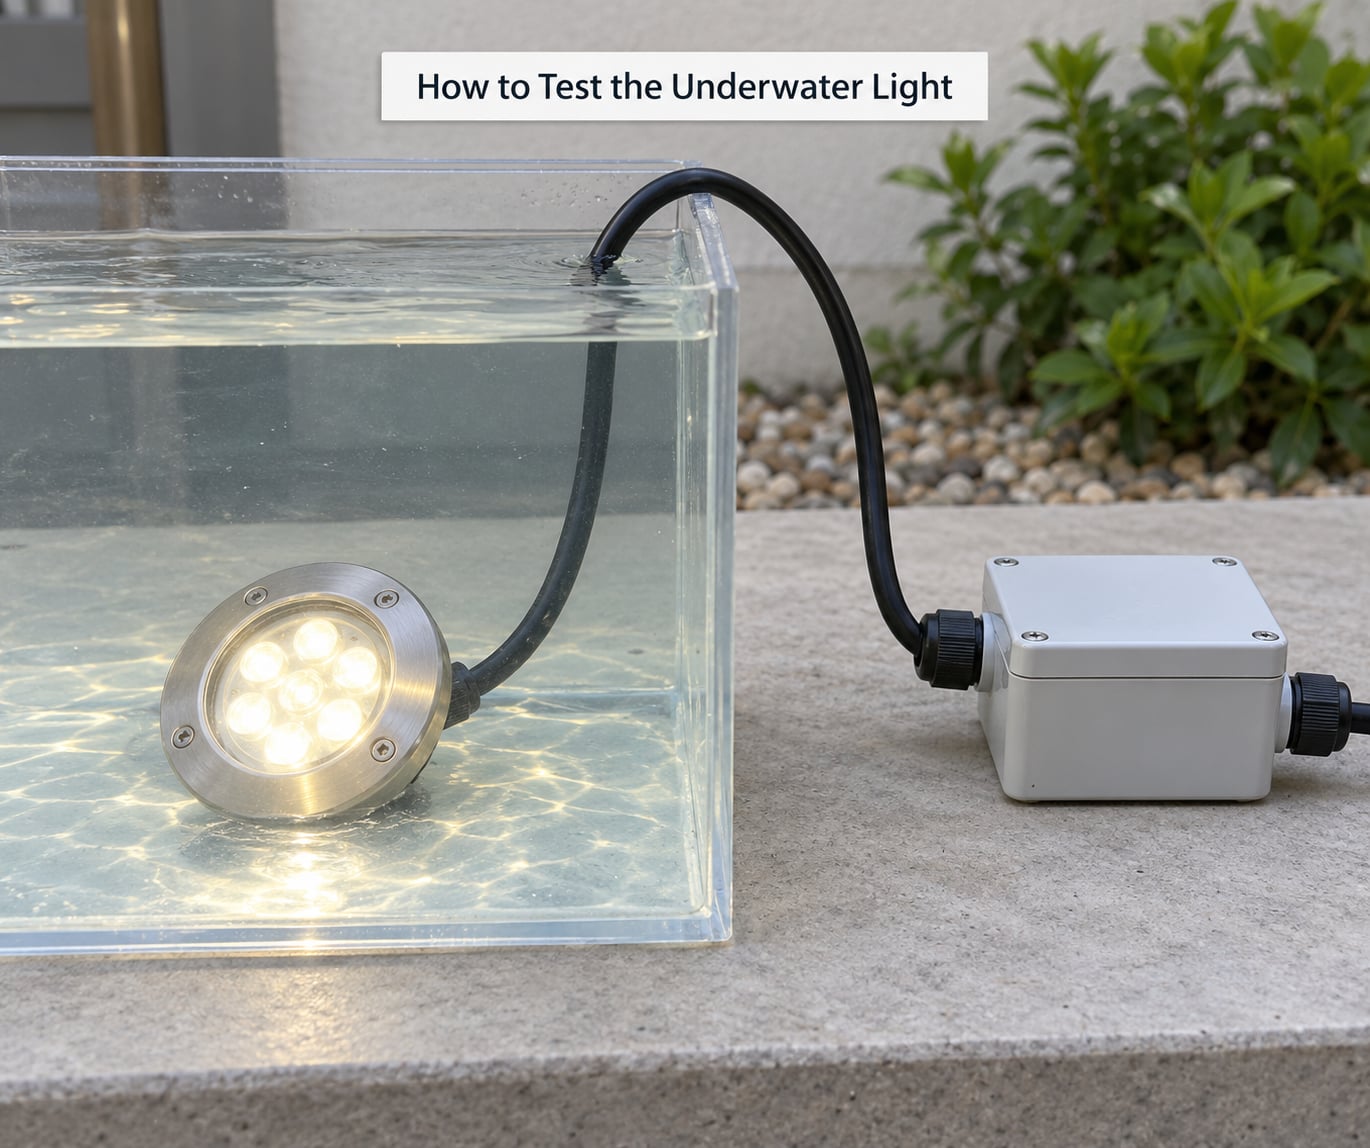
Test in stages, and never skip a stage because a later one looks more interesting.
- Continuity and isolation check. Confirm the conductors are continuous, and that nothing shorts to the housing. Fizzing continuity between conductors and case means stop and rebuild.
- Dry functional test. Power from a current-limited supply. Log the startup current, the steady current, and the case temperature after several minutes at full output.
- Freshwater soak, unpowered. Submerge for at least as long as you expect a deployment. Weigh the unit before and after, or watch for water in a dry connector, since a slow ingress will not show as a leak.
- Powered freshwater soak. Turn it on while submerged. This catches seal compression and cable strain that only move when the cable is under load.
- Cautious saltwater test. Only after the freshwater steps are clean. Start at shallow depth and short duration, then increase gradually while watching current draw and housing temperature.
Watch for four things during every test: ingress, heat, flicker and current draw. A rising current draw on a constant-voltage supply usually means moisture is finding the board, and flicker under steady input often points to a connection loosening as the cable moves.
Common Mistakes
Using household epoxy as the structural seal. Many general epoxies are not rated for continuous immersion, and some yellow badly under UV and heat. Use a material specified for potting and immersion, and let it cure fully before testing.
Overloading the driver or the emitter. Supply a headroom current limit and stay under the manufacturer’s drive current. Overdriving is the fastest way to lose an LED that otherwise looked fine on the bench.
Ignoring heat. If the LED is encapsulated with no metal path out, junction temperature climbs and output drops. Put the emitter against aluminium and verify with a case temperature reading rather than a guess.
Sharp cable bends and unsecured connectors. Keep bend radius generous and give the cable a strain loop. A connector held only by its waterproof rating is not mechanically held at all.
Testing below the assumed depth rating. Calculate pressure from depth rather than trusting a part number, and stay inside the rating with margin. Bring it up gradually and inspect the seals each time; a unit that has been at depth is a unit that has been at depth.
Frequently Asked Questions
Can I use a regular LED strip underwater?
Only if it is sold as immersion rated, and most strips are not. Silicone-coated strips for aquariums and ponds carry a limited depth and time rating, and it usually covers the strip body, not the cut ends or the solder joints. Learning how to make an underwater light that lasts means a sealed module you can test whole.
How deep can a homemade underwater light go?
It depends on the housing, not the LED. Work out the pressure at your target depth, roughly one bar for every ten metres, and pick a housing and seal rated above that with margin. A machined aluminium pot with a properly seated O-ring goes far deeper than a glued plastic tube, but only the maker rating tells you for sure.
What voltage should I use for an underwater robot light?
Low voltage is the right answer, and 12V is the common choice because it matches typical battery packs. Keep the rail within the module rated range across the whole discharge curve, and remember a charging source can push a 12V pack noticeably higher. At or below 24V is a reasonable target; above that, safety practices matter more.
How do I stop the housing from fogging or leaking?
Fogging usually means moisture moved through a seal that is not sealing, or a trapped pocket of air condensing as the unit cools. Use a continuous gasket on a machined face rather than a lid pressed into a tube, torque the cable gland to spec, and confirm the O-ring is seated all the way around before curing.
Can an underwater light be used in saltwater?
Yes, but plan for it. Saltwater attacks fasteners, conductors and seals far faster than freshwater, and dissimilar metals in contact will corrode each other. Use stainless fasteners of a single grade, isolate the electronics from the housing metal, and rinse the unit with fresh water after every saltwater run. Inspect at intervals rather than waiting for a failure.
How do I choose between a constant light and a strobe?
A constant light suits video and inspection, giving even illumination across a scene, but it draws power continuously and gives away your position. A strobe suits still photography, uses far less energy and produces harder shadows. If you drive a strobe, make sure the driver tolerates the pulse rate and that capacitors near the LED are rated for it.
Start with the sealing and the thermal path, since those two decide whether the light survives. If you are working out how to make an underwater light, build it on the bench, soak it in freshwater unpowered, then powered, and only then take it into salt.