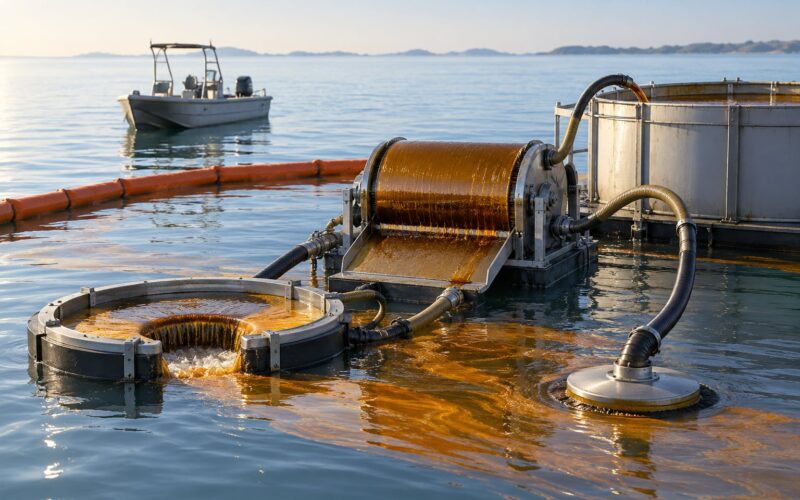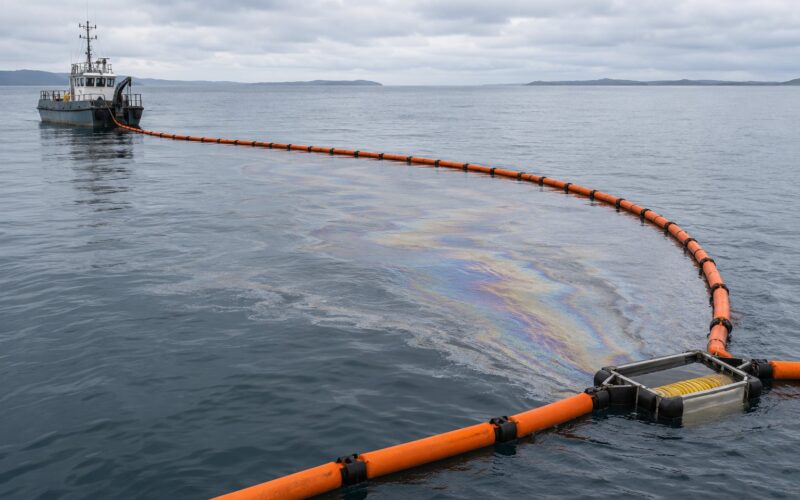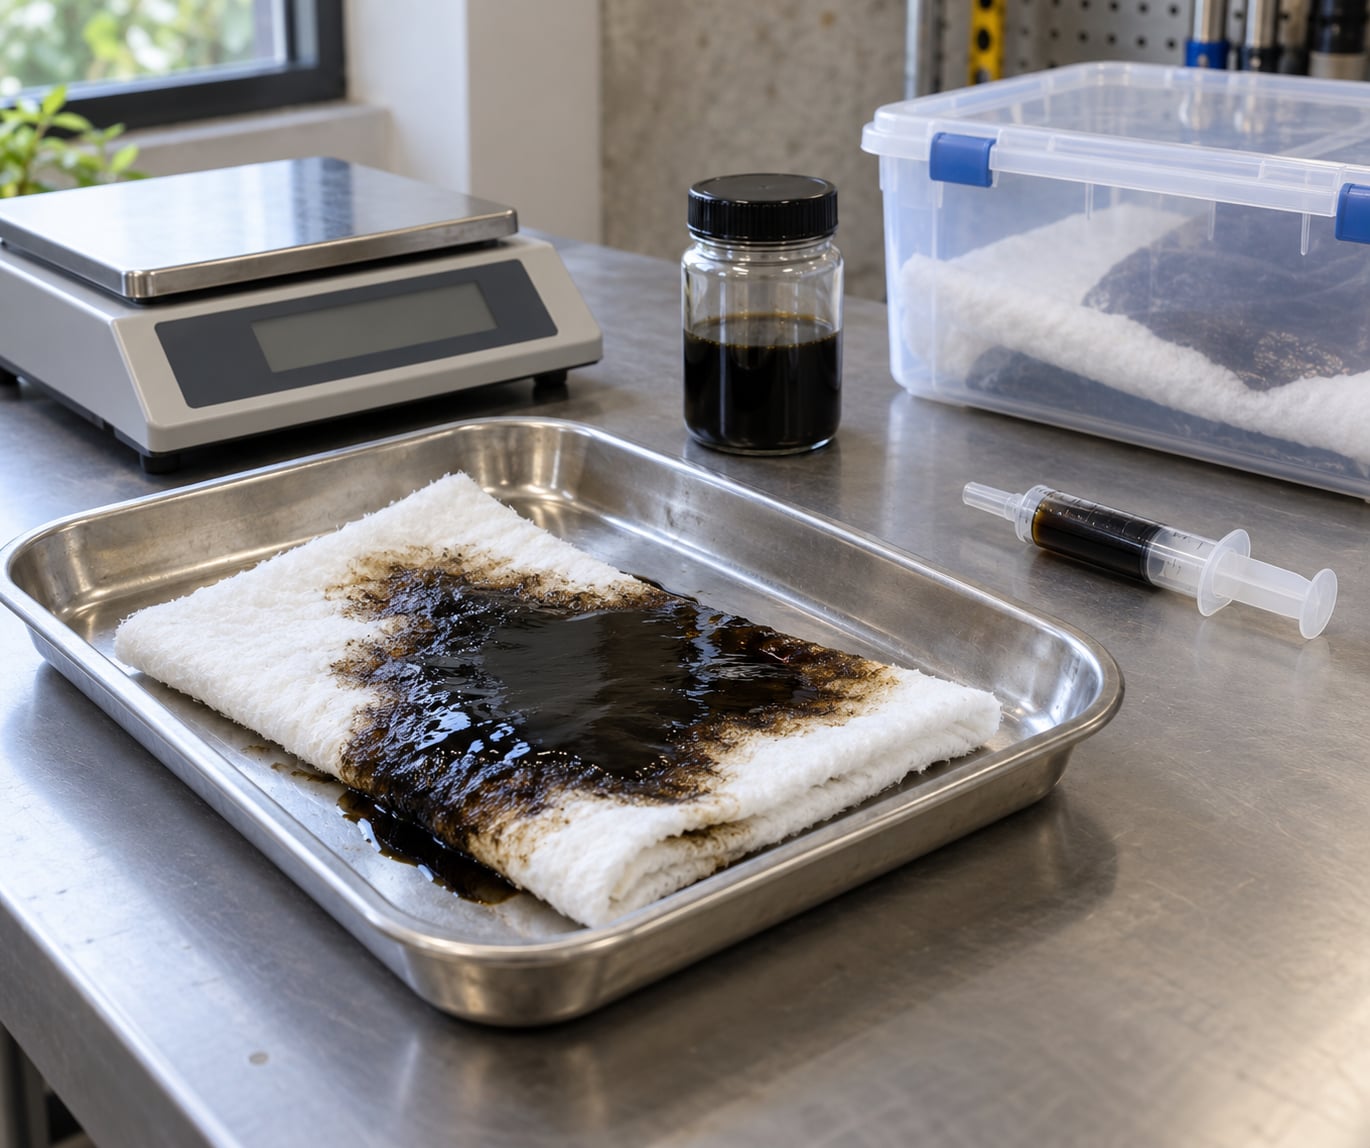
To test an oil absorbing material on the bench, weigh a known dry sample, saturate it with a measured quantity of the oil you actually care about, weigh it again, and divide the mass gain by the dry mass. That gives you absorption capacity in grams of oil per gram of material (g/g). Capacity on its own tells you very little, so pair it with a blank tray baseline, a retention check, and a water test before you trust any number.
The whole procedure takes about an hour per sample including repeat trials, needs nothing more exotic than a decent balance and a tray, and has to run inside secondary containment. If you are comparing candidate sorbents for a harbour, a workshop floor, or an open-water trial, this is the shortest honest route to a defensible comparison.
In short, the protocol runs like this:
- Fix the oil, temperature, sample mass and contact time before you start.
- Cut or weigh equal samples and record thickness and density.
- Run a blank tray with no material to capture evaporation and tray losses.
- Add the same known mass of oil to every tray and start timing together.
- Measure oil mass gain, free oil remaining and how much comes back out.
- Repeat under water to check hydrophobicity and selectivity.
- Log everything, run at least three repeats, and report the spread as well as the mean.
A note on wording first, because it changes how you read the results. When oil soaks into the pore structure of a material, that is absorption. When it holds as a film on the outside surface, that is adsorption or simple coating, and it behaves completely differently when you lift the sample out. Most spill sorbents do some of each.
Table of Contents
What You Need
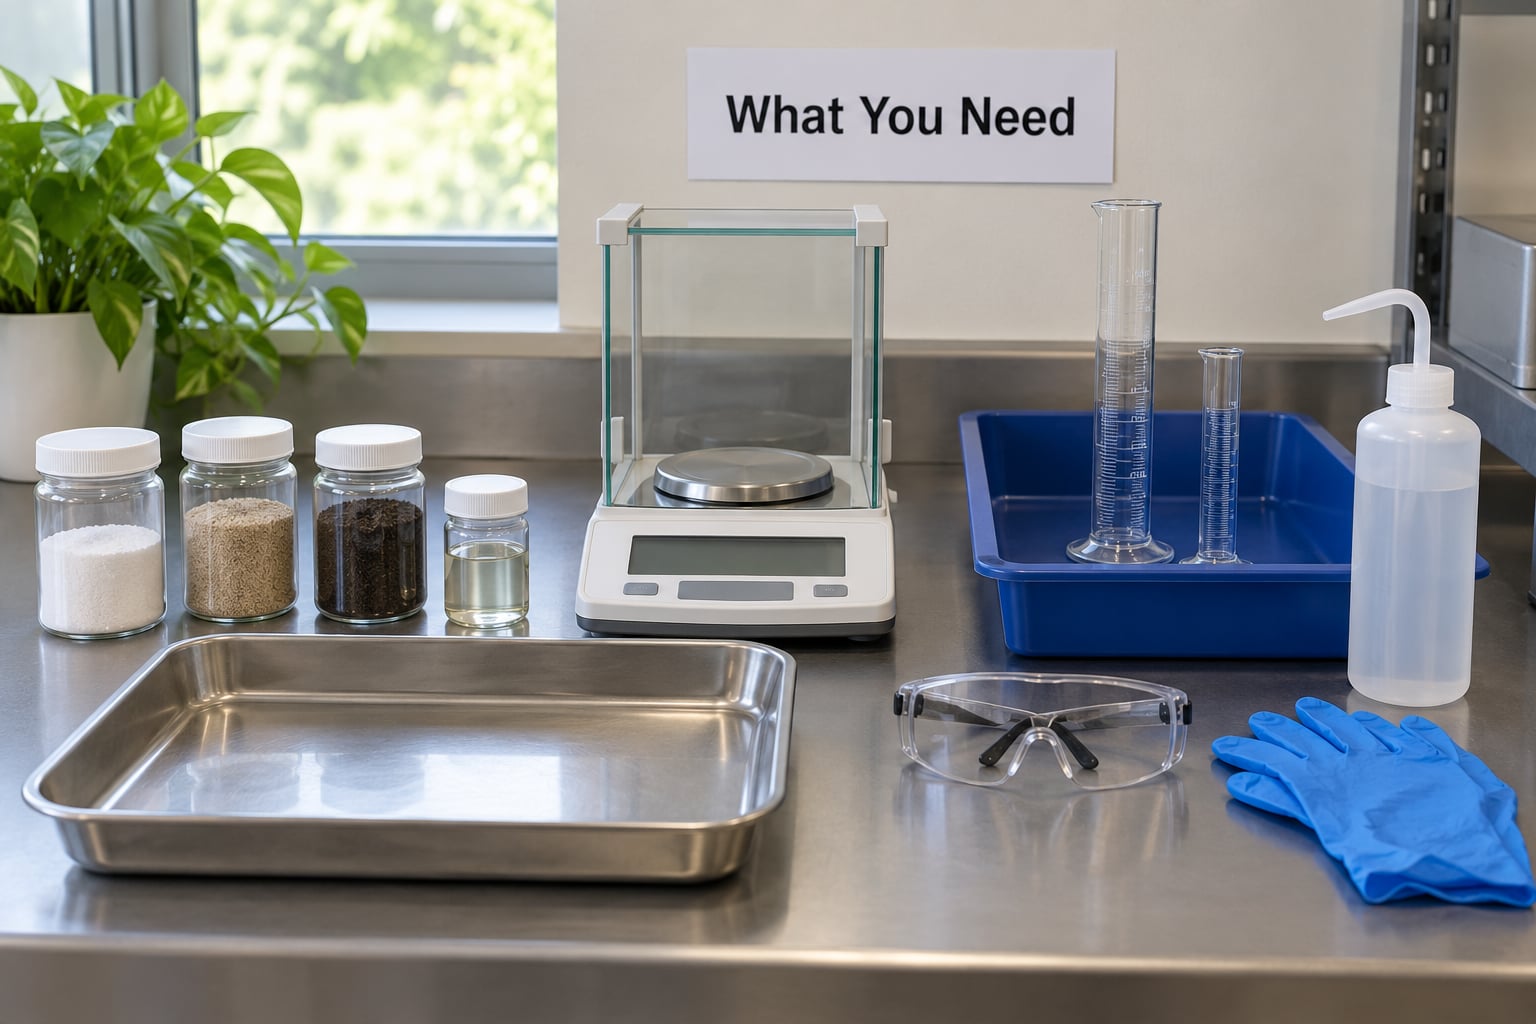
Everything below is cheap and most of it is already in a workshop. The two things worth spending money on are a balance that reads to 0.01 g and a tray system that cannot leak.
Safety and containment
- Nitrile gloves, eye protection, and an apron or lab coat. Test oil is not the same oil as the one in your tank, and it will get on your hands.
- A secondary containment tray sized so that if the primary tray tips over, nothing reaches the bench. A plastic tub or a polypropylene tote with a tight lid does the job.
- Absorbent pads under the work area, plus a bag or drum for oil-loaded samples and oily rinse water.
- A fire extinguisher rated for flammable liquids if your test oil is a low flash point fuel. Read the safety data sheet before you open the container, not after.
Test oil
Use the oil and oil mixture most representative of the intended application, and record its viscosity, density and temperature on the same sheet as your results. If you are comparing materials for broad marine use, test at least one common crude or fuel oil rather than only a light cooking oil, because light oils behave far more politely than heavy ones.
Sample materials and controls
- The candidate materials, cut to identical dimensions or weighed to identical masses.
- An untreated control sample of each material if the product comes pre-treated, coated or fire-retardant.
- A reference sorbent with a known published capacity, run alongside your samples in the same session. Without one, your numbers are only comparable to your own past runs.
Measuring and recording tools
- Balance reading to 0.01 g, with a level bench and a calibration check before the session.
- Shallow stainless-steel trays of identical internal dimensions, at least three, so you can run a sample and a blank side by side.
- Fine dispensing pipette or syringe for adding a known oil mass, and a spatula or forceps for lifting samples without disturbing the surface.
- Timer, notebook or spreadsheet template, and a camera. Photographs of the same tray at fixed intervals save a lot of arguing later.
Step-by-Step: How to Test an Oil Absorbing Material
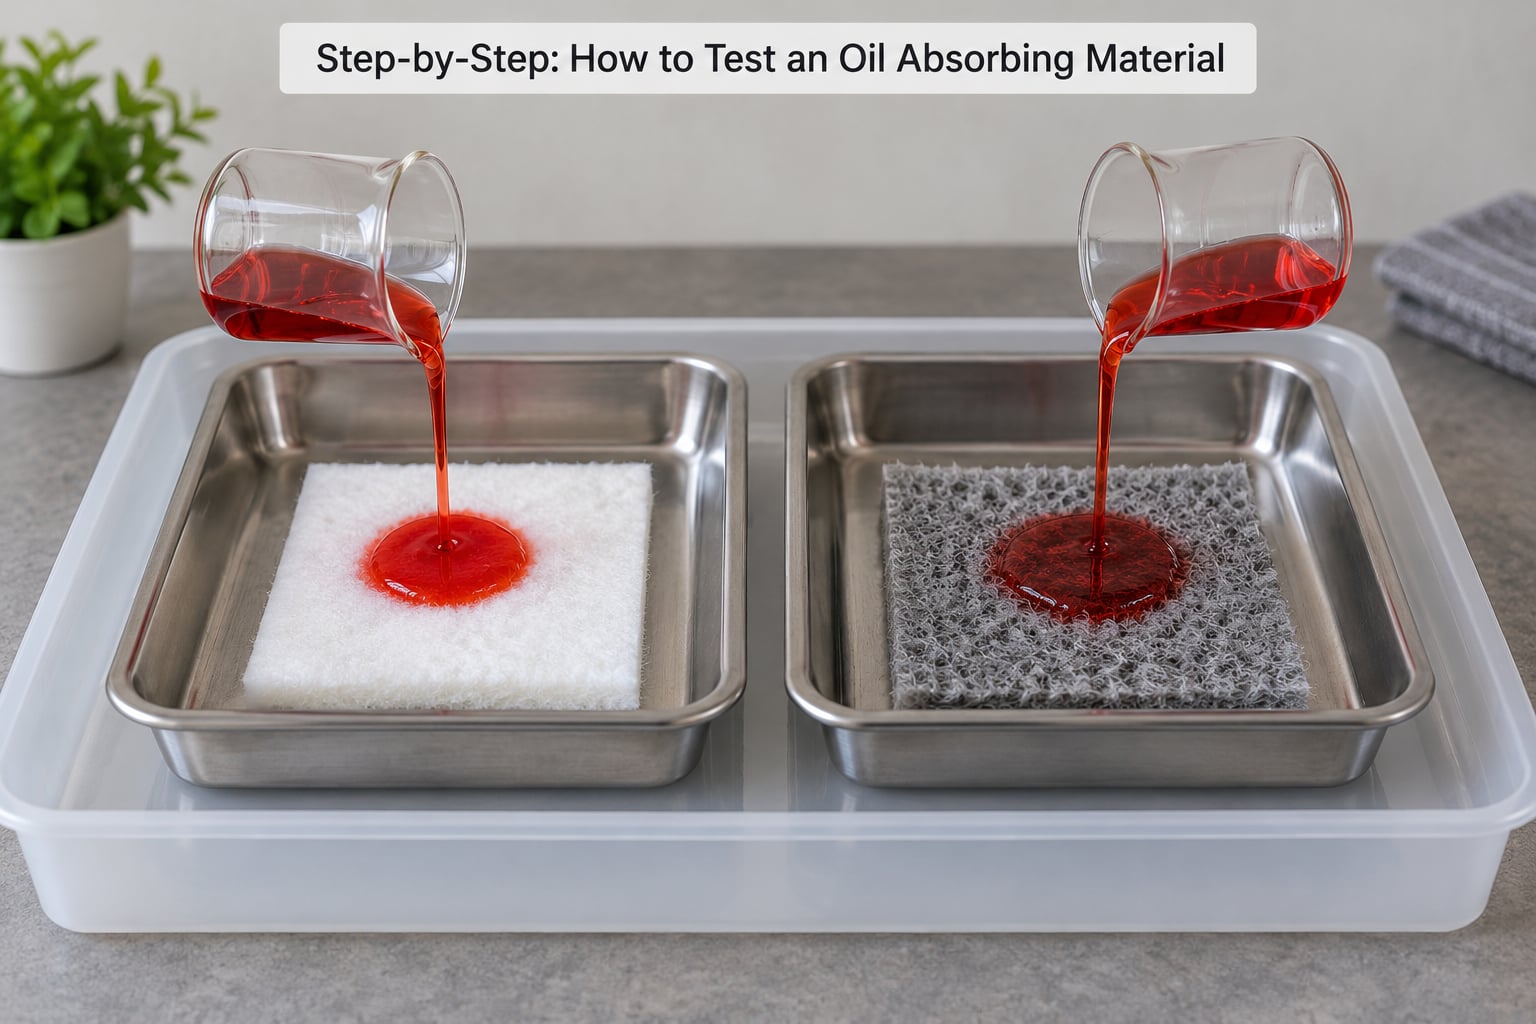
Seven steps, in this order. The order matters most at steps three and five, because that is where most self-taught protocols quietly lose accuracy.
1. Define the Oil and Test Conditions
Fix five variables before any material touches oil: oil type and grade, oil temperature, sample mass, contact time, and the number of repeats. Write them on the record sheet and do not change them mid-session. If you change the oil partway through, you are running two different experiments and will have to report two different sets of numbers.
Two variables deserve more thought than the rest. Oil temperature changes viscosity, and viscosity changes how fast a material wets and how much it holds under load, so log the temperature with the reading rather than assuming room temperature. Contact time is the other: pick a fixed dwell such as 5 minutes or 15 minutes and apply it identically to every sample and every repeat.
Keep everything else boringly consistent. Same tray, same oil mass, same lighting, same person lifting the sample. Controlled conditions are what turn this from a demonstration into data.
2. Inspect and Prepare the Material Samples
Prepare three to five samples per material. For pads, booms and socks, cut them to identical dimensions and record thickness; for powders, granules and loose-fill media, weigh to the same mass and note bulk density, since a loose fill settles and a granule size difference changes the result more than most people expect.
Shake out loose particles or dust before weighing if that is normal for the product, and keep one untreated control of each material. Pre-treated, coated or fire-retardant products behave differently from raw stock, and the control is the only way to see how much of the capacity comes from the treatment.
Condition the samples the same way. If they are stored in a sealed bag at room temperature, take them out of the bag before weighing so they are not picking up atmospheric moisture. Weigh each dry sample, record to two decimal places, and do not handle them again with bare fingers before the oil goes in.
3. Establish a No-Material Oil Baseline
Run a blank tray with the same oil mass and no material at all, under identical conditions. The blank tells you how much oil the setup loses to evaporation, how much clings to the tray walls, and how much transfers to whatever you use to lift things out. Without this number, every uptake figure you produce is inflated by an amount you do not know.
A typical result looks like this: you dispense 50.00 g of oil into a tray, and at the end of the dwell the blank tray plus its oil weighs 49.6 g against the 50.00 g you started with. That 0.4 g is setup loss, and it comes off your sample gains before you calculate anything.
Run at least two blanks, at the start and the end of the session. If they disagree by more than about 2 percent of the oil mass, your temperature control or your oil mass measurement is drifting, and you should fix that before running samples.
4. Add a Measured Oil Volume
Dispense the same known mass of oil into each sample tray. Adding by mass rather than by volume is more accurate, because oil expands and contracts with temperature and a fixed volume is not a fixed mass. Use the syringe or pipette for the last portion to get the mass you intended.
Start the timer the moment the last oil touches the tray, and use the same start signal for every tray so the contact times stay matched. Pour from a low height onto the center of the sample and let it spread naturally. Do not stir, poke or press the sample once the clock is running; a disturbed surface gives you wicking you did not intend and inflates the apparent uptake.
Keep the trays in secondary containment from the moment oil enters them. A 50 g dispense is not going to hurt anyone, but a tipped tray on a workshop floor turns a two-hour experiment into a spill report.
5. Measure Uptake and Recovery
At the end of the dwell, lift the sample out with forceps or a slotted scoop and let it drain for a fixed interval, such as 30 seconds, over a tared vessel. Weigh the saturated sample. That is gross uptake. Then remove the free oil from the surface by blotting gently on a clean absorbent wipe, taking care not to wick oil out of the interior, and reweigh. That is retained oil, and it is the number that matters most.
Capacity is then a two-line calculation:
Retained oil (g) = mass after blotting minus dry sample mass
Capacity (g/g) = retained oil divided by dry sample mass
A worked example: a dry sample weighs 10.00 g and weighs 108.6 g after blotting, so retained oil is 98.6 g. Divide by 10.00 g and you get 9.86 g/g, which you would report as 9.9 g/g before blank correction. Now apply the blank: if the setup lost 0.40 g, corrected retained oil is 98.2 g and corrected capacity is 9.82 g/g. Round to three significant figures and record the unrounded value too.
Recovery efficiency is the companion number. Weigh the material again after a squeeze or centrifuge step, and express the oil that came back out as a percentage of retained oil. A material with high capacity and poor recovery is a material that puts the oil back into the water when you lift it, which is exactly when you are handling it most awkwardly.
Run every material at least three times. Report the mean and the spread. Repeatability is itself a result, and reviewers and buyers care about it more than one impressive headline number.
6. Test Saturation and Water Behavior
Saturation is the point where the material stops taking up oil and starts shedding it. You will see it as beading or a glossy film on the surface, oil returning to the tray when you press the sample, and a creeping tide line as the excess spreads outward. Note the time from first contact to visible saturation for each material; slow saturation in a wave field matters as much as total capacity.
For the water test, repeat steps four and five with water in place of oil, using the same sample mass, the same water mass and the same dwell. The water capacity you get is the selectivity denominator. Oil-only grades are hydrophobic and should show a water capacity near zero, which is the whole point of paying more for them. Universal absorbents that take up oil and water in similar proportion are the right choice for mixed spills and the wrong choice for a harbour surface where water is the bulk of what you are sitting in.
Watch buoyancy at the same time. A saturated sample that stays floating is easy to retrieve with a boom or a skimmer. One that sinks is a piece of oil-loaded material on the seabed, and for marine work that difference can decide whether the cleanup helped or made a new problem.
7. Record and Compare the Results
Use one row per trial and one file per session. Future you, and anyone reviewing your work, will not remember which sample was which after a fortnight in the sun.
| Sample ID | Dry mass (g) | Retained oil (g) | Free oil in tray (g) | Capacity (g/g) | Recovery (%) | Water behaviour | Notes |
|---|---|---|---|---|---|---|---|
| PP-01 | 10.00 | 98.2 | 11.4 | 9.82 | 3 | Floats, no visible uptake | Beading after 90 s |
| PP-02 | 10.00 | 95.7 | 13.9 | 9.57 | 4 | Floats, no visible uptake | Repeat of PP-01 |
| PP-03 | 10.00 | 101.4 | 8.1 | 10.14 | 3 | Floats, no visible uptake | Spread 5.7 percent |
Those three rows are illustrative, not measured results, but they show the shape of the record. Report mean and range per material, never a single best run. Free oil in the tray is the mass balance check: oil dispensed should equal retained oil plus free oil plus recovery losses, within your measurement uncertainty. When the balance does not close, you have a spill, an unblotted sample or a balance drift, and you should find out which before publishing the result.
As a sanity benchmark, published tests put quality synthetic spill sorbents comfortably above 10 g/g, while natural fibre and peat-based media sit lower and vary more with oil viscosity. So if your bench test reports a spectacular number with no control and no repeats, treat it as a starting hypothesis rather than a finding.
Common Mistakes
Most bad numbers come from the same handful of places. Each of these has a simple fix.
- Starting conditions that are not equal. Different sample masses, different oil masses, different dwell times. Fix all five variables in step one and write them down.
- Confusing absorption with a surface film. Oil sitting on top of a coated sample gets counted as uptake and then washes straight back off. Blot to a consistent standard, and note if the sample merely beads.
- Using an unrepresentative oil. Light cooking oil makes almost everything look good. Test the oil and mixture from your actual scenario, and log its temperature.
- Skipping the blank tray. Without it you are reporting the oil that evaporated and stuck to your tray as if the material captured it.
- Disturbing the oil while lifting the sample. Every drip and blot after the clock stops has to follow the same rule, or capacity and recovery stop being comparable.
- Breaking the mass balance. Retained oil plus free oil should add up to what you dispensed. If it does not, something went somewhere you cannot see.
- Pouring oily rinse water down a drain. A few hundred millilitres of test water carries a visible sheen and can shut down a floor drain. Collect all rinses in the containment vessel and dispose of them through your facility’s oily waste route.
Two more practical points that come up constantly. The ASTM and ISO texts people ask about are paywalled, and the numbers get quoted out of context: ASTM D281 and ASTM D1483 describe oil absorption of pigments by spatula rub-out, while ISO 787-5 is a cellulose fibre standard. None of them is a spill-sorbent capacity test, and none of them transfers cleanly to a boom or a loose fill. For sorbents on oil and water, the BSEE oil spill sorbent testing protocol is the closer reference. Know which family a claim comes from before you compare it.
The gap between lab numbers and shop reality is real, too. On bobistheoilguy.com, users routinely reach first for whatever absorbent the auto parts store stocks and only then argue about specification, which is field testing by another name. On forum.expeditionportal.com a poster points out that human hair is among the more effective absorbents going, with businesses collecting it from barbers for large spills. Nobody publishes a g/g figure for that, but the underlying point stands: bench results tell you how a material behaves, not whether it is the cheapest way to solve your particular problem.
Frequently Asked Questions
What oil should I use to test an oil absorbing material?
Use the oil or oil mixture most representative of your application, including its typical viscosity, density and temperature. For broad marine use, test at least one common crude or fuel oil rather than only a light cooking oil, which flatters almost every material. Run a second, lighter oil as well if you deploy across mixed scenarios. Record the oil grade and temperature with every result, because two sessions at different temperatures are not the same experiment.
Is oil absorbed, adsorbed, or coated onto the material?
The exact behaviour depends on the material, but the distinction matters when you read results. True absorption draws oil into the pore structure and raises the bulk mass permanently. Adsorption holds oil at the surface, and simple coating just leaves a film that beads and drains away. A coated or film-forming surface produces high gross uptake and poor retention, which is why you blot to a consistent standard and measure recovery rather than trusting the first weighing.
How do I calculate oil absorption capacity?
Subtract the dry mass of the sample from its mass after the free surface oil has been blotted away, then divide the retained oil mass by the dry sample mass. The result is grams of oil per gram of material, written as g/g. Apply your blank tray correction before finalising. For example, a 10.00 g sample retaining 98.6 g of oil gives 9.86 g/g, or 9.82 g/g once a 0.4 g blank loss is subtracted.
Can I test an absorbent in tap water or seawater?
Yes, as a controlled secondary test, but water behaviour is not the same as oil uptake. Keep it in secondary containment with a sealed lid, hold water volume, temperature and contact time constant, and observe three things: buoyancy, wettability and how much water mass the sample gains. Salinity raises density and can make a sample that floats in a beaker behave differently in open water, so note salinity if you use artificial or real seawater.
How do I know when the material is saturated?
Saturation shows up as oil beading on the surface, a glossy film that no longer wicks inward, and oil returning to the tray when you press the sample. Time it from first contact to the first visible bead, because slow saturation matters in waves and current. Never judge saturation by appearance alone on a dark or heavily oil-loaded sample; weigh at fixed intervals and plot mass against time, and let the curve flatten rather than your eyes tell you.
How do I dispose of oil-soaked test samples?
Never put oil-loaded sorbent, oily rinse water or blot wipes in household waste or down a drain. Seal them in a labelled container, keep them in secondary containment, and route them through your facility’s used-oil or hazardous waste stream. Keep the original sample ID on the container so results and waste stay traceable. For field work near water, check local spill waste rules before you start, since some jurisdictions require recovered sorbent handling that is stricter than you would expect.
Conclusion
Start with the two things most people skip: cut equal samples and run a blank tray. Once you have those, the rest of the protocol is arithmetic, and you will have a capacity figure in g/g you can defend in front of anyone.
Keep the honest boundary in mind. A bench test tells you how a material absorbs, retains and floats under controlled conditions. Whether it performs in surf, current and changing temperature is a separate question that needs its own planned, contained trial, and the cleanup should be verified afterwards rather than assumed. A commenter on Reddit whose family makes a powdered sorbent put it plainly: judge the work by whether the contaminated soil or water tests negative for hydrocarbons once you are done, not by how full the bag looked at the end of the shift.