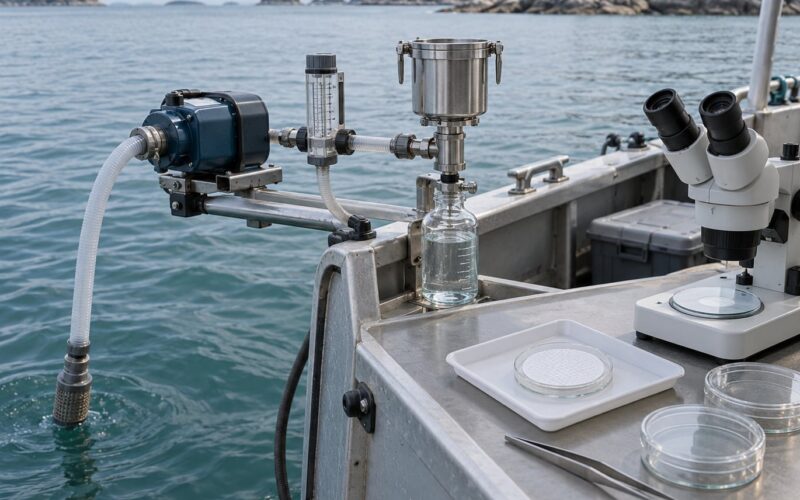
Counting microplastics in a water sample means pushing a known volume of water through a membrane filter, classifying every particle you can see on that filter as a fiber, fragment, film or bead, and dividing the total by the volume you filtered to get particles per litre. Everything else in this guide is about doing that without fooling yourself. A single fibre from a fleece jacket can outnumber every real particle on the filter, and nobody finds out until the blanks come back dirty.
The method below runs from a low-cost bench setup to a handoff for laboratory spectroscopy, so the same sample can start as a classroom exercise and finish as a µFTIR or Raman confirmation. Budget half a day for filtration and drying, then a slow, careful afternoon at the microscope.
Table of Contents
- What You Need to Count Microplastics in a Water Sample
- Step-by-Step
- Common Mistakes
- Frequently Asked Questions
- What is the smallest microplastic particle that can be counted?
- Can I count microplastics in a water sample with only a microscope?
- How much water should I collect for a microplastic count?
- How do I distinguish microplastic fibers from natural fibers?
- What is a field blank and why does it matter?
- Can microplastic concentration be reported as micrograms per liter?
- Conclusion
What You Need to Count Microplastics in a Water Sample
Almost every consumable in a microplastic count is a contamination source, so the shopping list is really a contamination-control list. Collect the gear first, then clean it, then run a blank before you touch a real sample.
Glassware and cleaning
Glass sample jars with screw lids, ideally one litre each, plus glass beakers, funnels and a glass vacuum flask. Plastic labware sheds exactly the particles you are counting. Wash everything in a lab detergent, rinse with deionised water, then take a final rinse straight from the water you are filtering. If you can work inside a clean hood or at least under a HEPA-filtered laminar flow bench, contamination drops noticeably — guidance from state technical programs puts the reduction in the range of roughly 50 percent for a basic fume hood and up to 97 percent with a clean hood.
Filtration equipment
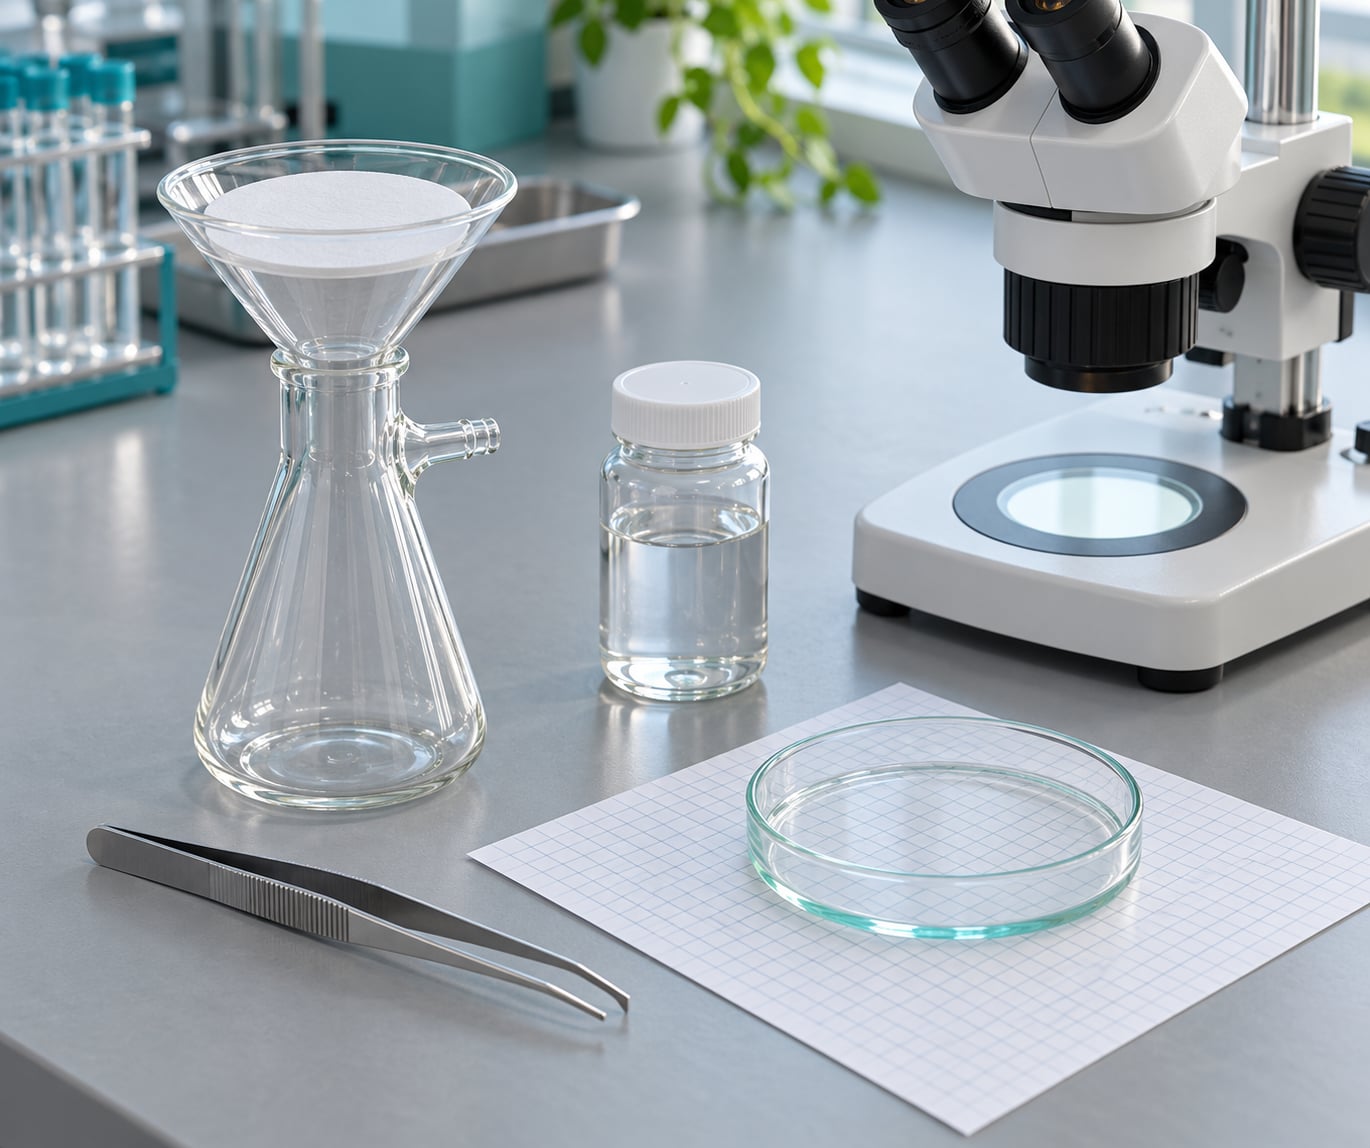
A filter funnel and stainless steel or glass holder that takes a 47 mm disc, a vacuum pump, and a 1000 mL filtering flask. Membranes are the key choice: a 47 mm gridded membrane at 0.45 µm pore size is the workhorse for clean and lightly turbid water. Gridded membranes are worth the extra effort because the printed grid gives you a systematic scan path and a way to estimate how much of the filter you actually covered.
For natural water with suspended sediment, finer membranes clog within minutes. Public protocols deal with this by running a coarser pre-screen in series — a 100 µm mesh or a larger-pore membrane ahead of the fine one. Be honest in your notes about what the pre-screen removed, because a mesh stage can carry away fragments larger than the pore size and skew your count low.
Microscope and counting aids
A dissecting or stereo microscope at 36 to 40x total magnification is enough for the whole optical workflow, and a digital version with a camera makes documenting particles far easier. Fine-tip tweezers, a petri dish, a cover slip, and a sheet of graph paper or a printed grid under the dish for counting aid are the rest of the bench kit.
Measurement, records and polymer identification
You need a graduated cylinder or volumetric vessel to track volumes, a thermometer and pH strip if you are logging field conditions, and a microscope stage micrometer if you intend to report size classes rather than only counts. For polymer identity you need either an in-house Raman or FTIR microscope, or an agreement with a laboratory that accepts filters for µFTIR, µRaman or pyrolysis-GC/MS analysis. Keep a printed data sheet, or a spreadsheet with fixed columns, before you start.
Clothing and safety
Wear a cotton or other natural-fibre lab coat, closed shoes and nitrile-free handling habits — synthetic fleece, fleece-lined jackets and synthetic sweaters shed thousands of fibres per hour. Keep the workspace covered, work away from open doors and air vents, and handle filters with clean forceps rather than fingers. No solvents or digest chemistry is required for the optical workflow described here, so a lab coat and eye protection are the sensible baseline.
Step-by-Step
Here is the workflow in order: define the size limit and reporting method, prepare glassware and blanks, collect and document the sample, filter it, dry and inspect the filter, count systematically under the microscope, then confirm polymers and calculate the concentration. Skipping ahead is what produces the implausibly high numbers people end up defending in forums.
1. Define the Size Limit and Reporting Method
Start by fixing the smallest particle your method reliably detects, and write it down before you sample. Optical counting on a 47 mm gridded membrane at 0.45 µm pore size typically resolves particles from about 20 µm upward in practice, with the practical floor set more by your ability to classify than by the membrane itself.
Next, decide what your result is. A particle count per litre answers how many discrete objects are present. A mass concentration in micrograms per litre answers how much plastic material is present. They are not interchangeable, and converting one to the other requires a polymer identity and an assumed particle mass, which is exactly the assumption that makes shortcut conversions unreliable.
Finally, set your counting rules. Decide whether fibers and fragments are tallied separately, whether you report each morphotype or only the total, and how many field blanks and laboratory blanks will accompany the batch. State the volume and count of blanks before the first sample is collected.
2. Prepare the Glassware and Blanks
Clean all glassware, then inspect it under the microscope before use. A fibre you cannot see without the filter in place is a fibre you will find later and count as if it came from the river.
Prepare three kinds of blank. A laboratory or process blank is a clean sample of deionised water carried through the entire procedure, which catches contamination introduced inside the lab. A field blank is a sealed jar of the same water opened and handled at the sampling site, which catches airborne contamination during sampling. An equipment blank exposes open filtration hardware and a filter to the same air at the bench.
Run one laboratory blank per batch of ten to twenty samples, and at least one field blank per site per sampling day. Blank count volume and method must match the samples exactly, or subtraction is not valid.
3. Collect and Document the Water Sample
Fill glass jars from the sampling point without letting the jar rim touch the container edge or your hands. Record everything that could explain a later anomaly: date, time, exact location, depth, water temperature, salinity, weather, wind direction, and the volume in the jar before any processing.
Choose a volume your matrix and filter can actually take. Guidance for regulatory-grade work calls for large volumes — on the order of hundreds of litres for surface water and roughly a litre or more of drinking water processed through repeated smaller passes — while classroom protocols commonly run one litre. Record the actual volume filtered for every sample. A one-litre grab sample is a snapshot of one spot at one moment, and it is not representative of a water body, which is the most common reason a hobby number differs from a published study.
Skip preservatives unless the protocol you follow specifies one. Acid or preservative additions can alter particle integrity and interfere with polymer identification later.
4. Filter the Sample
Mount a pre-cleaned membrane in the holder, pre-wet it with a small amount of deionised water to seat it, then draw the sample through under gentle vacuum. Keep the vacuum low enough that particles are not pressed into the membrane or torn across the pore, and cover the funnel with a watch glass or lid whenever it is not in use.
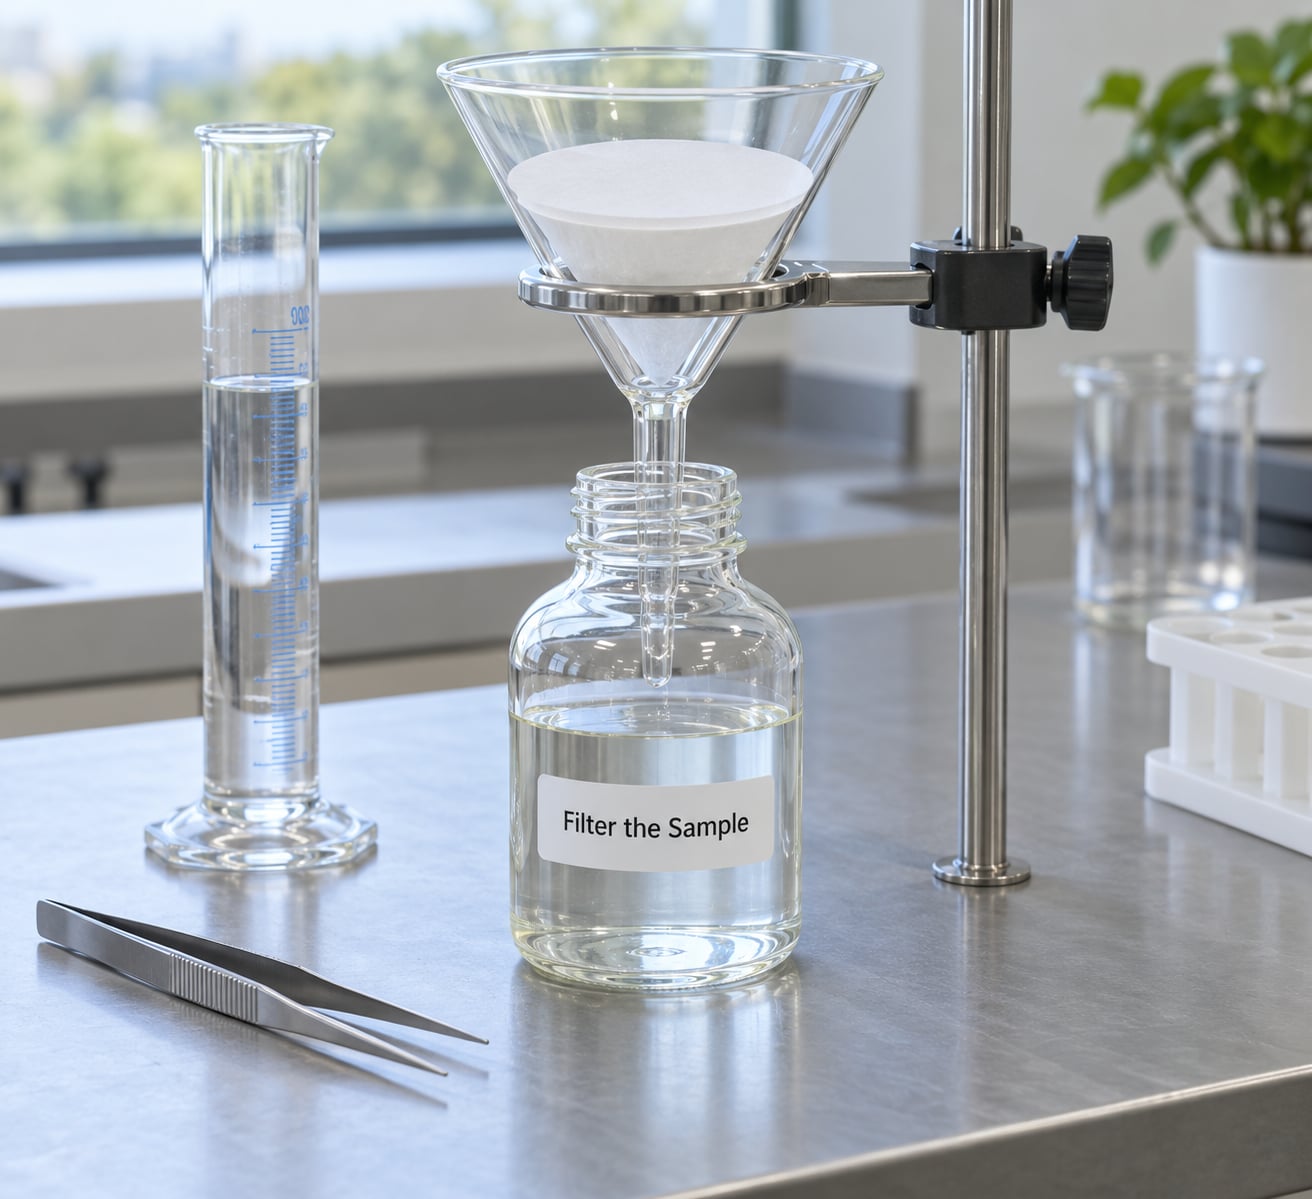
Measure the volume that passed through rather than assuming the volume you poured. Watch the filter as it loads: once particles start packing into a monolayer, recovery falls and further material can pass through or sit in the funnel wall. If the filter clogs on turbid water, stop, record the volume achieved, and move to a pre-screen or split the sample across several filters rather than forcing the vacuum and losing particles.
After filtration, rinse the sides of the funnel with a small rinse of the blank water and draw that through too. Cap the funnel immediately. Keep every filter — it is the physical record of the sample and the object a laboratory will analyse if you want polymer confirmation.
5. Dry and Inspect the Filter
Dry the filter in a covered glass petri dish at room temperature, or under gentle low-temperature drying, so that particles are not wetted, melted, cracked or blown about. High heat and strong air movement are the two common ways to lose your sample. If you dry the whole disc flat, cover it; loose membranes pick up dust and fibres from the bench and from your hands.
Mount the dried filter in the petri dish and put the dish on gridded or graph paper. Do a first inspection pass before any counting: scan the whole surface quickly and note what is there, so you know whether you are looking at a clean-looking filter or one dense enough that overlap will wreck the count.
Look for four morphotypes. Fibers are elongated with roughly constant width. Fragments are irregular and rigid. Films are flat, angular pieces with visible edges, often from packaging. Beads are spherical or near-spherical with a regular outline. Fibres dominate most counts and are also the hardest to identify, because natural fibres look identical to plastic ones at 40x.
6. Count Microplastics on the Filter Under the Microscope
Set the magnification so that the smallest particle you plan to count is clearly resolvable — for a 0.45 µm gridded membrane, 36 to 40x is the usual working range. Calibrate against the membrane grid or a stage micrometer so you can size classes rather than guessing.
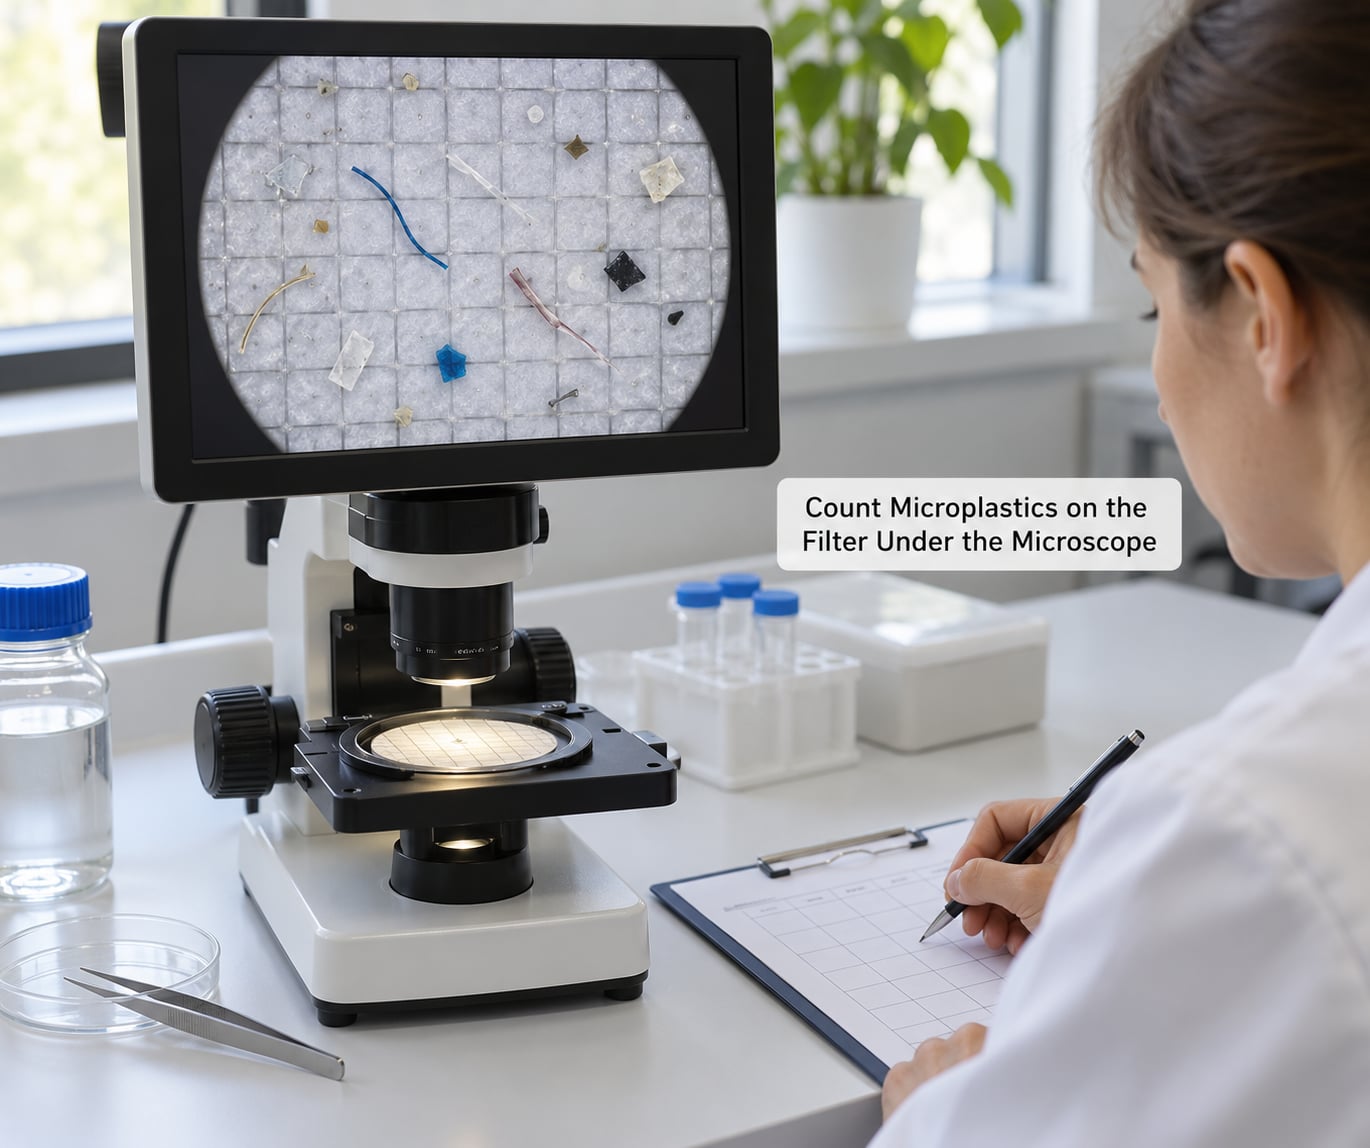
Count systematically, row by row, never field to field at random. Pick the first grid square, count everything inside it, move to the next adjacent square, and continue until the whole area is covered. When two particles overlap, count the one whose boundary is visible and mark the overlapping one so you do not count it again in the next pass.
Classify each particle as you count, and record it: morphotype, estimated size, and count per grid square. Photograph representative fields and any particle you are unsure about, because a photograph can be sent to somebody more experienced or handed to a spectroscopy instrument later. For ambiguous candidates, try the squeeze test — a rigid particle that does not deform between fine tweezers and that is not fibrous is a plausible plastic; a soft, collapsing object is probably organic matter. Natural fibres like cellulose and cotton also fail the squeeze test in a characteristic way, so record those separately as suspected natural rather than discarding them silently.
Have a second observer independently recount a subset of the filter. Duplicate counts by two or three observers measurably improve accuracy compared with a single counter, and the disagreement between them is itself a useful estimate of your counting uncertainty.
7. Confirm Polymers and Calculate the Concentration
An optical count cannot tell you what a particle is made of. To confirm polymer identity, send the filter to a laboratory for µFTIR or µRaman spectroscopy, which resolves particles from roughly 10 to 2000 µm and 1 to 2000 µm respectively and identifies the polymer from its spectrum. Pyrolysis-GC/MS measures total plastic mass by polymer type down to roughly 100 nm, which is how you get a micrograms-per-litre figure, though it tells you nothing about how many particles were present.
Not every particle needs to be analysed to make a count defensible, but a subset should be. Analyse a representative sample of each morphotype class, record the confirmed polymer, and report the optical count with the percentage of particles confirmed. Where a laboratory is doing the full identification, the optical count serves as the sampling frame rather than the result.
Now do the arithmetic. Subtract the mean particle count of the matched blanks from the sample count, then divide the corrected count by the volume filtered in litres to get particles per litre. Report the size floor, the volume, the blank correction, the morphotype breakdown, and the detection limit. Poisson counting statistics mean an uncertainty of roughly the square root of the count, so a filter holding nine particles after blank subtraction carries a relative uncertainty of about a third.
If your blank count is not comfortably below the sample count, the result is not reportable as a concentration. Say so. A laboratory or process blank contaminated with thirty particles invalidates a whole batch of small-count samples, which is why experienced protocols treat the blank as a quality gate rather than paperwork.
Common Mistakes
Almost every implausibly high microplastic count traces back to one of these, and all of them are fixable.
Counting airborne fibres as plastic
The sampler’s own clothing is usually the single largest error source, and the damage is done before the water is ever filtered. Natural-fibre coats, covered workspace, lids on jars in transit, and an equipment blank opened at the bench all reduce it.
Choosing a pore size the method cannot support
A 100 µm mesh is easy to run and will only ever capture the largest morphotypes. It is a reasonable first pass for a classroom exercise, but it cannot support a particle-per-litre figure comparable with anything published at 0.45 µm. Pick the pore size before sampling and state it in the report.
Counting below the detection limit
Filtering a turbid sample on a 0.45 µm membrane and counting what is left is not a low-concentration result, it is a failed one. Report the volume actually achieved and the filter condition rather than a number the method cannot support.
Treating every visible speck as plastic
Organic matter, algal fragments, mineral grains and cellulose fibres all pass a visual check at 40x. Use the squeeze test, record suspect particles as a separate suspect category, and confirm a representative subset spectroscopically. This is the false-positive problem nobody mentions in the quick guides.
Measuring the wrong volume
Assuming a litre went through when half of it ran to waste is easy and invisible unless you measure. Weigh or measure the filtrate, record starting and final volume on the data sheet, and calculate concentration from the volume that actually passed.
Running blanks too rarely
One blank for forty samples cannot tell you which batch went bad. Keep the ten-to-twenty sample rule and one field blank per site per day, and keep the blank handling identical to the sample handling.
Reporting an object count as a mass
Particles per litre and micrograms per litre measure different things, and presenting one as the other is the fastest way to produce a number you cannot defend. If you report mass, say which thermal method produced it and on which subsample.
Frequently Asked Questions
What is the smallest microplastic particle that can be counted?
With an optical dissecting microscope at 36 to 40x on a 0.45 micron gridded membrane, the practical floor is around 20 microns, set more by your ability to classify a particle than by the membrane pore size. Micro-Raman spectroscopy can resolve down to roughly 1 micron and micro-FTIR to about 10 microns. Anything smaller than your stated floor should be reported as below the detection limit, not as zero.
Can I count microplastics in a water sample with only a microscope?
Yes, with caveats. A microscope gives you a particle count and a morphotype breakdown by size class, which is what most citizen-science and classroom studies report. It cannot confirm polymer identity, so organic matter and natural fibres are a real false-positive risk. Keep a suspect category, photograph representative fields, and send a subset for Raman or FTIR confirmation if the number matters.
How much water should I collect for a microplastic count?
For a classroom or first-pass screening, one litre in a glass jar is workable. For results you want to compare with published work, guidance calls for far larger volumes, on the order of several hundred litres of surface water filtered in the field, and drinking water samples processed in repeated passes. Whatever volume you use, record the amount that actually passed through the filter and calculate from that.
How do I distinguish microplastic fibers from natural fibers?
You cannot reliably do it by eye at 40x. Cotton and cellulose fibres look like plastic fibres under magnification, and both are common in natural water anyway. The squeeze test helps with rigidity but does not separate them. Real separation needs either spectroscopy on individual fibres or a chemical digestion step. Record ambiguous fibres as suspected natural rather than counting them as plastic.
What is a field blank and why does it matter?
A field blank is a sealed jar of clean water that you open, handle and close at the sampling site without ever filling it with the sample. It captures contamination that arrives in the air at that location, which sampling containers can pick up from clothing, handling and open lids. Without it, fibres shed at the site end up counted as if the water carried them.
Can microplastic concentration be reported as micrograms per liter?
Yes, but only from a method that measures mass. Pyrolysis-GC/MS gives total plastic mass by polymer type and is the usual route to a micrograms-per-litre figure, at the cost of losing particle numbers. An optical count cannot be converted to mass without a confirmed polymer and an assumed particle size for each particle, so present the count in particles per litre and let mass come from thermal analysis.
Conclusion
A defensible microplastic count rests on four things: clean blanks that travel with the samples, a documented size floor and reporting method, a systematic microscope scan with a morphotype record rather than a quick sweep, and polymer confirmation for at least a subset of the particles. Miss any one of them and the number is a story about your lab coat.
Before you collect anything, set the size limit, clean the glassware, run one full laboratory blank and decide how many field blanks will accompany the batch. Those three decisions cost an afternoon and determine whether your result can be compared with anything else.