Knowing how to measure water temperature accurately comes down to three things: a calibrated sensor, a spot that represents the water you actually care about, and the patience to read only after the number stops moving. Submerge the probe at least 10 cm (4 inches) below the surface, keep it clear of the container walls and bottom, and wait for the reading to hold steady for 30 seconds before you write it down.
Most bad readings are not sensor faults. They are protocol faults, and they are free to fix. This guide walks through the whole process, from picking an instrument to checking it against a known reference, and it covers the places where water is stratified, moving, salty or sitting in direct sun.
Table of Contents
- What You Need Before You Submerge Anything
- Step-by-Step: How to Measure Water Temperature Accurately
- Common Mistakes That Skew a Water Temperature Reading
- Frequently Asked Questions
- What is the most accurate way to measure water temperature?
- Can you measure water temperature with a regular thermometer?
- Should I measure water temperature at the surface or underwater?
- How do I calibrate a water temperature probe?
- What is the difference between a thermistor and an RTD for water temperature?
- Why does my water temperature reading keep changing?
What You Need Before You Submerge Anything
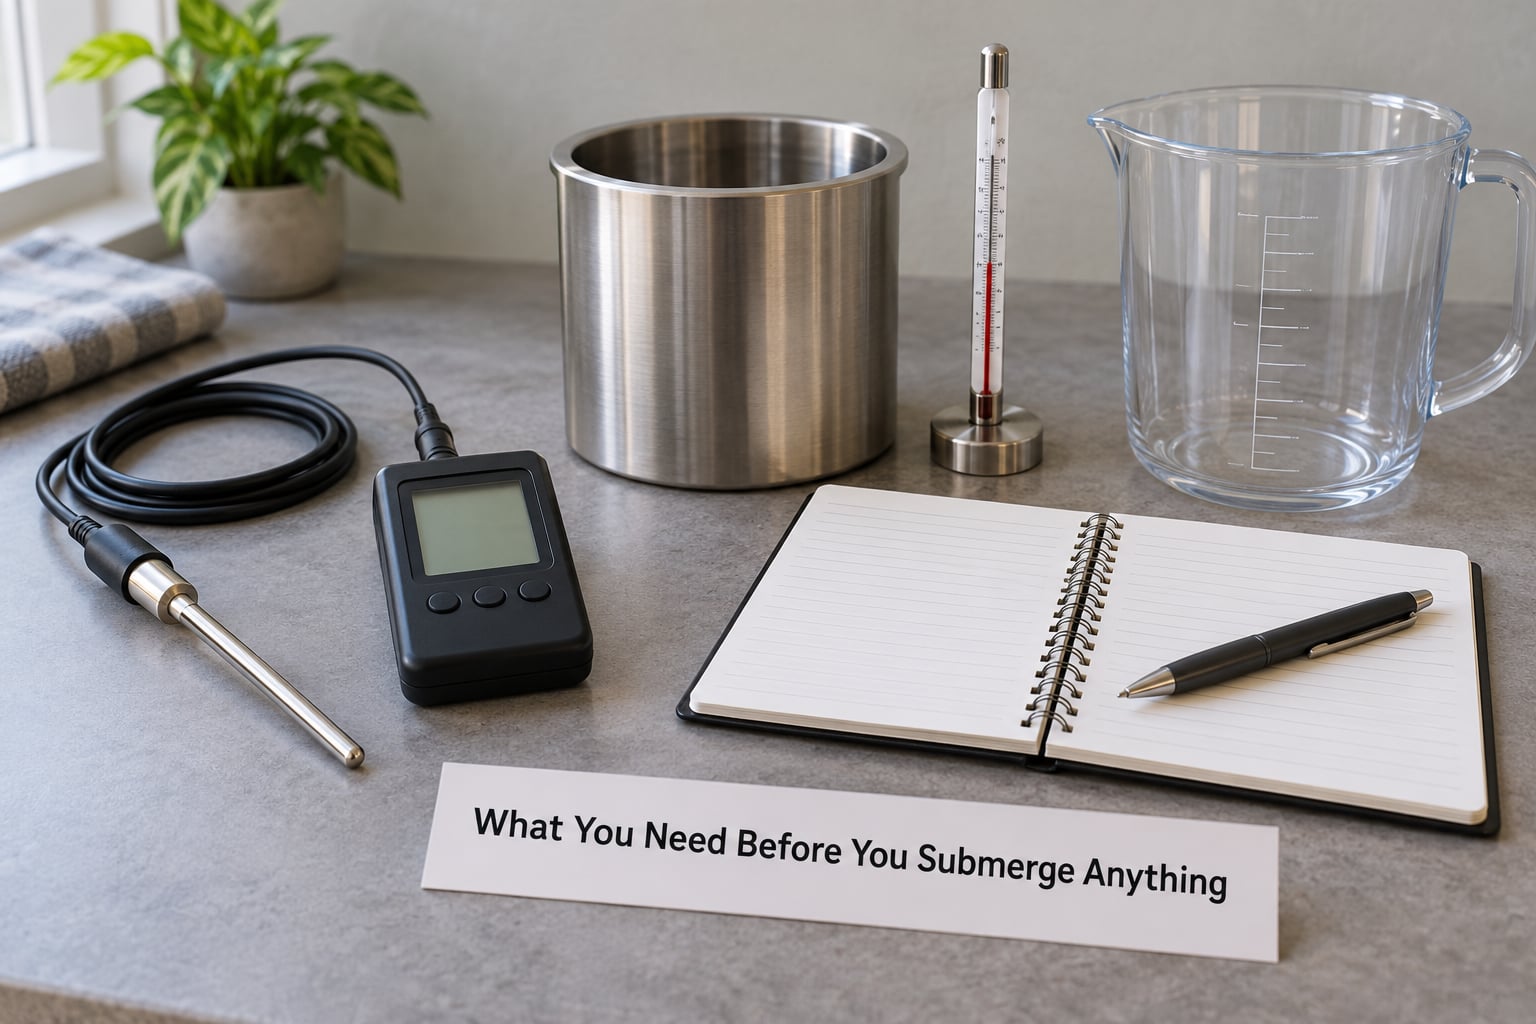
Start by writing down what the reading is for. A fish tank, a brewing kettle and a moored ocean buoy do not need the same instrument, and buying accuracy you will never use is how people end up with a probe they do not trust.
Three questions settle the choice: what accuracy do you actually need, is the water still, moving or stratified, and will you take one reading or log thousands of them.
For still water in a tank or a bucket, a liquid-in-glass thermometer or a digital kitchen probe is genuinely enough. Those cheap stream thermometers sold in citizen-science kits hold up well against lab probes for a spot check, because in still water the physics is kind: put the sensing element in the water, wait, read.
For continuous monitoring, an NTC thermistor or a digital sensor such as the DS18B20 gives you a log you can analyse later. Where the number goes into a report or a control loop, go to a platinum RTD, where stability over years matters more than a fast response.
Infrared thermometers measure surface skin temperature of whatever you point at, not bulk water. They are useful for spotting a warm plume or a hot pipe, and they are not a water thermometer.
Everything below is the same sequence we run on every deployment, and it takes about five minutes per site once the gear is laid out.
Step-by-Step: How to Measure Water Temperature Accurately
Step 1: Choose the Right Sensor for the Water
Match the sensor to the job rather than to the price tag. Here is the honest trade-off between the families you are most likely to hold in your hand.
| Sensor type | Typical accuracy | Usable range | Response | Calibration |
|---|---|---|---|---|
| Liquid-in-glass thermometer | About 0.1 to 0.5 C | -10 to 110 C typical scale | Slow, tens of seconds | Check periodically at an ice bath |
| Digital kitchen or stream probe | About 0.5 to 1 C | Often -50 to 150 C or wider | Fast, a few seconds | Usually factory set, rarely adjustable |
| NTC thermistor | 0.1 to 1 C depending on bead | Set by the curve, often 0 to 100 C or -40 to 125 C | Fast in moving water, slower in still water | Needs a two-point fit against a reference |
| DS18B20 digital sensor | 0.5 C from -10 to +85 C as specified | -55 to +125 C | Up to 750 ms per conversion | Factory calibrated, no routine calibration |
| Pt-100 RTD | 0.1 C class A or better | Typically -50 to 400 C | Slower, best in stirred water | Periodic check against a reference |
| Thermocouple | About 1 to 2.5 C depending on type | Very wide, -200 to 1200 C | Fast | Offset calibration, cold junction required |
If you are logging, decide now whether the sensor can be powered properly. A DS18B20 on a dedicated three-wire supply converts faster and more reliably than one running on parasitic power, a detail that comes up constantly on the Arduino forums.
Step 2: Inspect, Condition, and Calibrate the Probe
Before the probe touches water, look at it. Check the cable for cracks or a stiff section, check that the seal at the housing has not been peeled, and confirm the connector is seated and dry.
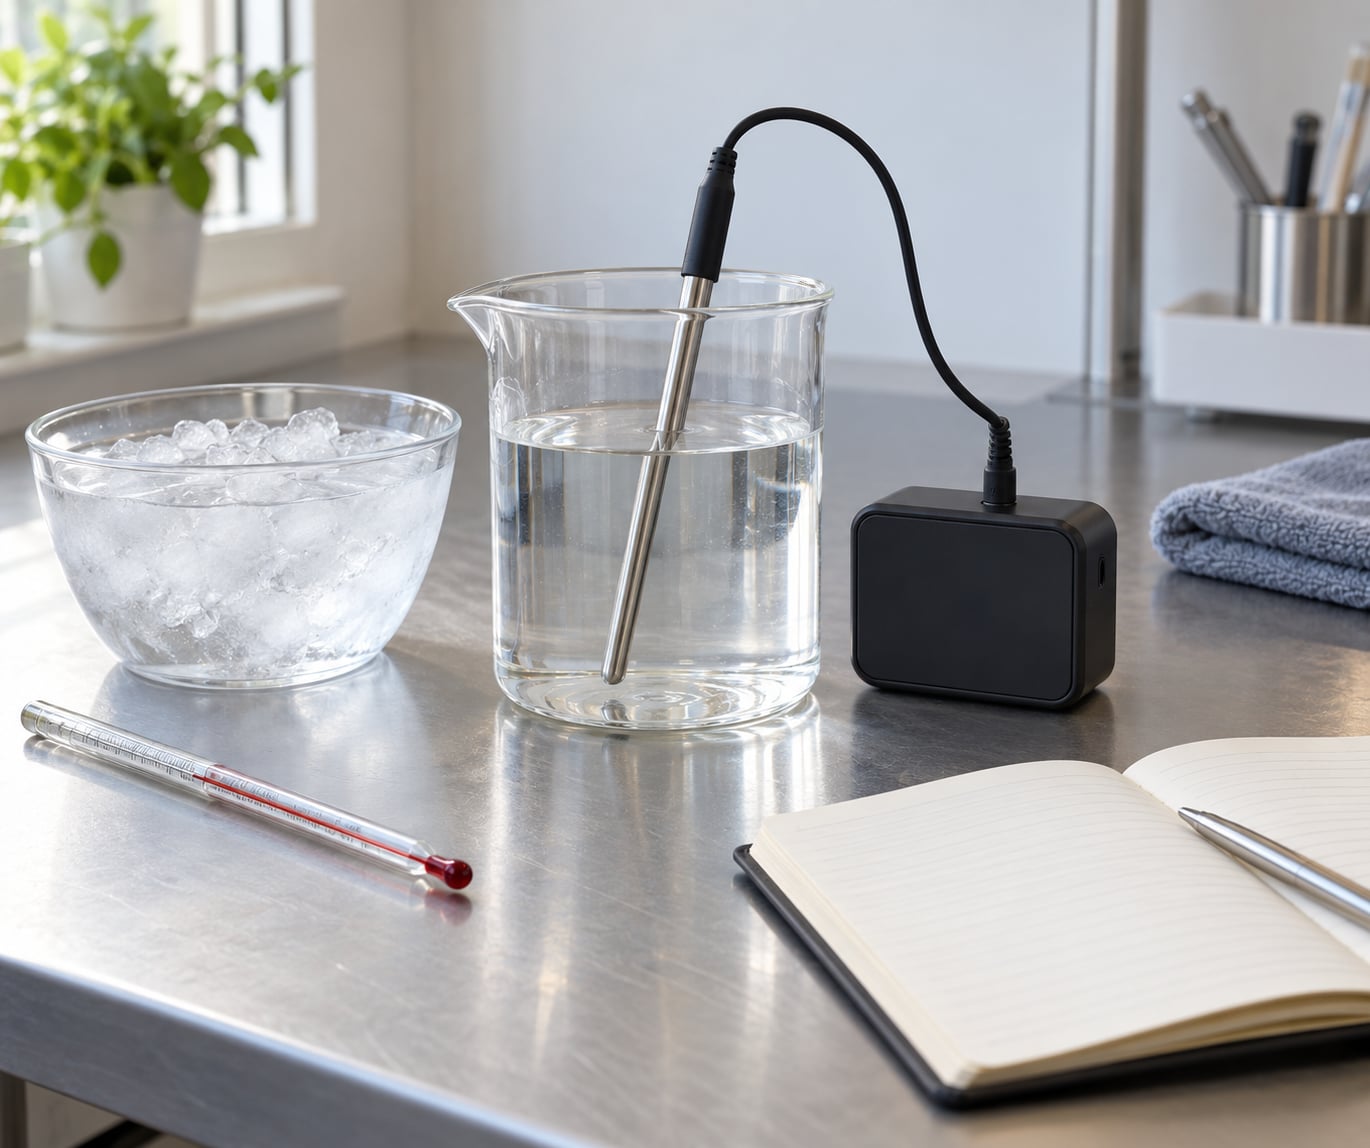
For any sensor you did not buy factory calibrated, or any probe that has been deployed, soaked in salt or dropped, verify it against a known reference. The ice bath is the easiest one at home.
- Fill a cup with crushed ice and add just enough water to make a slush. Stir it, then let it settle.
- Immerse the sensing element in the slush so it is surrounded by both ice and water. Keep it off the cup wall and off the bottom.
- Wait until the reading stops changing, typically five to ten minutes in a fresh bath.
- Note the difference from 0 C (32 F) and record it as the offset for that probe.
It worked if your probe settles within a couple of tenths of a degree of the reference. If it reads high by more than that, the probe or its electronics are drifting and you should offset it or replace it.
A boiling-water check works the same way, with one caveat: water boils at 100 C only at sea level, and drops roughly one degree for every 300 m of altitude. Use the local figure or skip this test entirely if you are far from the coast.
Step 3: Choose a Representative Sampling Location
Surface, shallow and deep water are often three different temperatures on the same morning. How to measure water temperature accurately starts with deciding which of those you are reporting, because an unlabelled number is not a measurement.
Keep the sensor away from anything that is not water: the tank wall, the sediment, the boat hull, a metal fitting, a shaded lid or a sunlit surface film. Those boundaries conduct heat at a rate that has nothing to do with the water around them, and a probe resting against a wall in direct sun can read several degrees warm.
In moving water, stand upstream of your own wake and let the flow wash past the probe rather than pressing the tip into the bank. In a river, that also means keeping an eye on stage: a reading taken in an eddy at the edge is not the river temperature.
For depth work, a handheld probe and a retrieval time are unavoidable. A cheap stream thermometer on a marked stick, lowered and read within a few seconds, is more trustworthy than a lab probe read slowly on deck.
Step 4: Immerse the Sensor Correctly and Wait for Stabilization
Submerge the sensing element at least 10 cm (4 inches) below the surface, and hold it away from any boundary. If your vessel is shallower than that, measure the depth and record it with the reading.
Then wait. The settle window is not one number for every sensor, it is the point where the reading stops moving at the precision you care about. A fast metal kitchen probe can settle in ten to fifteen seconds. A shielded RTD bead or a glass thermometer in still water can take a minute or two.
Use the test rather than the clock: watch the display until it holds the same value for 30 consecutive seconds. That is the field convention and it is simple enough to follow on a boat deck in wind.
You know the step worked when the number has stopped drifting and the probe is not touching anything. If it is still moving, it is either still equilibrating or it is picking up heat from a surface.
Step 5: Record and Verify the Measurement
Repeat the reading twice and take the mean. Two readings that agree within a tenth of a degree tell you far more than one that looks precise.
Record the unit, the depth, the time, the weather if you are in the field, and the instrument plus its last calibration offset. That five-line record is what makes a dataset defensible months later.
Estimate your uncertainty rather than pretending there is none. A reasonable field budget is the instrument accuracy you have verified, plus about 0.1 C for reading resolution, plus whatever stratification you cannot rule out. If the surface and 1 m differ by half a degree, that difference is real, and it belongs in your notes rather than in a single averaged number.
Once per deployment, take one reading with a second instrument. Two devices that agree within their combined specs tell you the reading is trustworthy; two that disagree tell you which one to go investigate.
Common Mistakes That Skew a Water Temperature Reading
Reading immediately after immersion. The probe and the water are still equilibrating, and the display can be several degrees off during the first seconds. Fix: wait until the value holds for 30 seconds.
Measuring only at the surface. On a sunny day the top few centimetres can run well above the water below it, so a surface reading systematically overstates the temperature of the body of water. Fix: sample at 10 cm or deeper, and record the depth.
Letting the probe touch the container. A wall, a bottom or a metal fitting is a heat source or a heat sink, and the probe settles on the boundary temperature rather than the water temperature. Fix: hold the element in open water.
Reading after lifting the probe out. Air is far warmer or cooler than water and it changes fast. Fix: read while submerged, or accept the reading as a surface reading and label it that way.
Shallow immersion on an air-temperature sensor. A housing sitting above the water measures the air, and solar radiation on a dark enclosure can push that several degrees above the true ambient value. Fix: either immerse the sensing element properly or shield the sensor in a ventilated radiation shield.
Using an unsealed or damaged probe. Cable entry points and epoxy joints are where waterproof sensors fail, and a slow leak shows up as drift rather than as a dead sensor. Fix: inspect before use and re-test after any deployment.
Confusing units. A probe set to display Celsius while you assume Fahrenheit gives you a number, just not the right one. Fix: confirm the unit before you record, and write it in the log.
Ignoring self-heating. A sensor drawing its own supply current warms its own junction. In still water with no flow, that milliwatt-scale heating can bias a digital sensor by a fraction of a degree. Arduino users see this most clearly with DS18B20 parts. Fix: power the sensor properly, prefer a three-wire supply, and give it flow or a longer settle.
Treating an infrared reading as bulk water temperature. An infrared thermometer sees the surface skin and nothing below it. Fix: use it to find a gradient, then confirm with an immersed probe.
One last accuracy habit: check your depth and your unit at the moment you write the number, not afterwards. Most of the wrong data I have had to throw out was correct in every respect except the label.
Frequently Asked Questions
What is the most accurate way to measure water temperature?
A calibrated platinum RTD or a factory-calibrated digital probe, fully immersed and held clear of walls, gives the most trustworthy result. Accuracy comes from the combination of a known-good sensor, a settled reading and a representative location, not from the sensor alone. For reporting work, verify against an ice bath before and after the deployment and record the offset you measured.
Can you measure water temperature with a regular thermometer?
Yes, and for still water it is usually fine within about a degree. Keep the tip or column in the water, off the vessel wall, and wait for a stable value before reading. Metal kitchen probes are fast, which makes them good for spot checks and terrible for anything that needs settling time. Never read a thermometer after lifting it into the air.
Should I measure water temperature at the surface or underwater?
Take both and record them as separate values. Solar heating can leave the top few centimetres noticeably warmer than the water below, and a single surface reading overstates the temperature of the body of water. If you can only manage one reading, put the sensor at least 10 cm below the surface and note that depth in your log.
How do I calibrate a water temperature probe?
Use a stirred slush of crushed ice and water, which sits at 0 C (32 F) at sea level. Immerse the sensing element so it is surrounded by both ice and water, keep it off the cup wall, and wait for a stable reading. Note the difference from zero and apply it as an offset. Check once a year for field work, or before and after any deployment that matters.
What is the difference between a thermistor and an RTD for water temperature?
An NTC thermistor is a small resistive element with a fast, non-linear response and good accuracy over a limited range, which makes it cheap and easy to deploy. A platinum RTD is linear, steadier over years and more accurate, but it costs more and usually needs a transmitter to read it. Choose a thermistor for logging and budget work, an RTD when the number ends up in a report.
Why does my water temperature reading keep changing?
Almost always a settling problem rather than a failed sensor. A slow probe, one just lifted into warmer air, or one sitting in direct sun drifts before it settles. Hold it at least 10 cm down, clear of walls and out of the wake, and wait until the value holds for 30 seconds. If it still wanders with the probe fixed in place, check the seal and the housing.
Before you collect a single data point, check your first reading against a reference you trust, an ice bath or a second instrument. If the two agree, your method is sound and the rest of the run is mostly bookkeeping. If they do not, you have found the error while it is still cheap to fix.