Most field tests fall apart at the paperwork stage, not on the water. The vehicle ran, the radio link held a 96% packet success rate over 1.2 km of open water, and three months later nobody could say which firmware was loaded, how deep it was tested, or why the second ballast setting was dropped. To document a field test properly you need three things in order: a written plan with acceptance criteria before you leave, a real-time log while you run, and a report afterward that ties every conclusion back to a specific piece of evidence.
The short version, if you want the procedure before the detail:
- Define acceptance criteria before departure
- Assign roles and issue a test ID
- Record conditions and equipment configuration
- Log every event against a timestamp
- Photograph and film each stage
- Note anomalies and every intervention
- Compare results against the criteria
- Archive raw data and sign the record
That is roughly the whole method. Everything below is what each step actually looks like on a real deployment day, including the parts teams usually skip because they feel like paperwork until the run goes sideways.
Table of Contents
- What You Need
- How to Document a Field Test Properly: Step-by-Step
- 1. Define the test before you leave
- 2. Assign roles and name the files
- 3. Record environment and equipment state
- 4. Follow the run with timestamped logs
- 5. Capture media that proves what happened
- 6. Log anomalies, failures and interventions
- 7. Close the log with results and verification
- 8. Preserve and report the record
- Common Mistakes
- Frequently Asked Questions
- Conclusion
What You Need
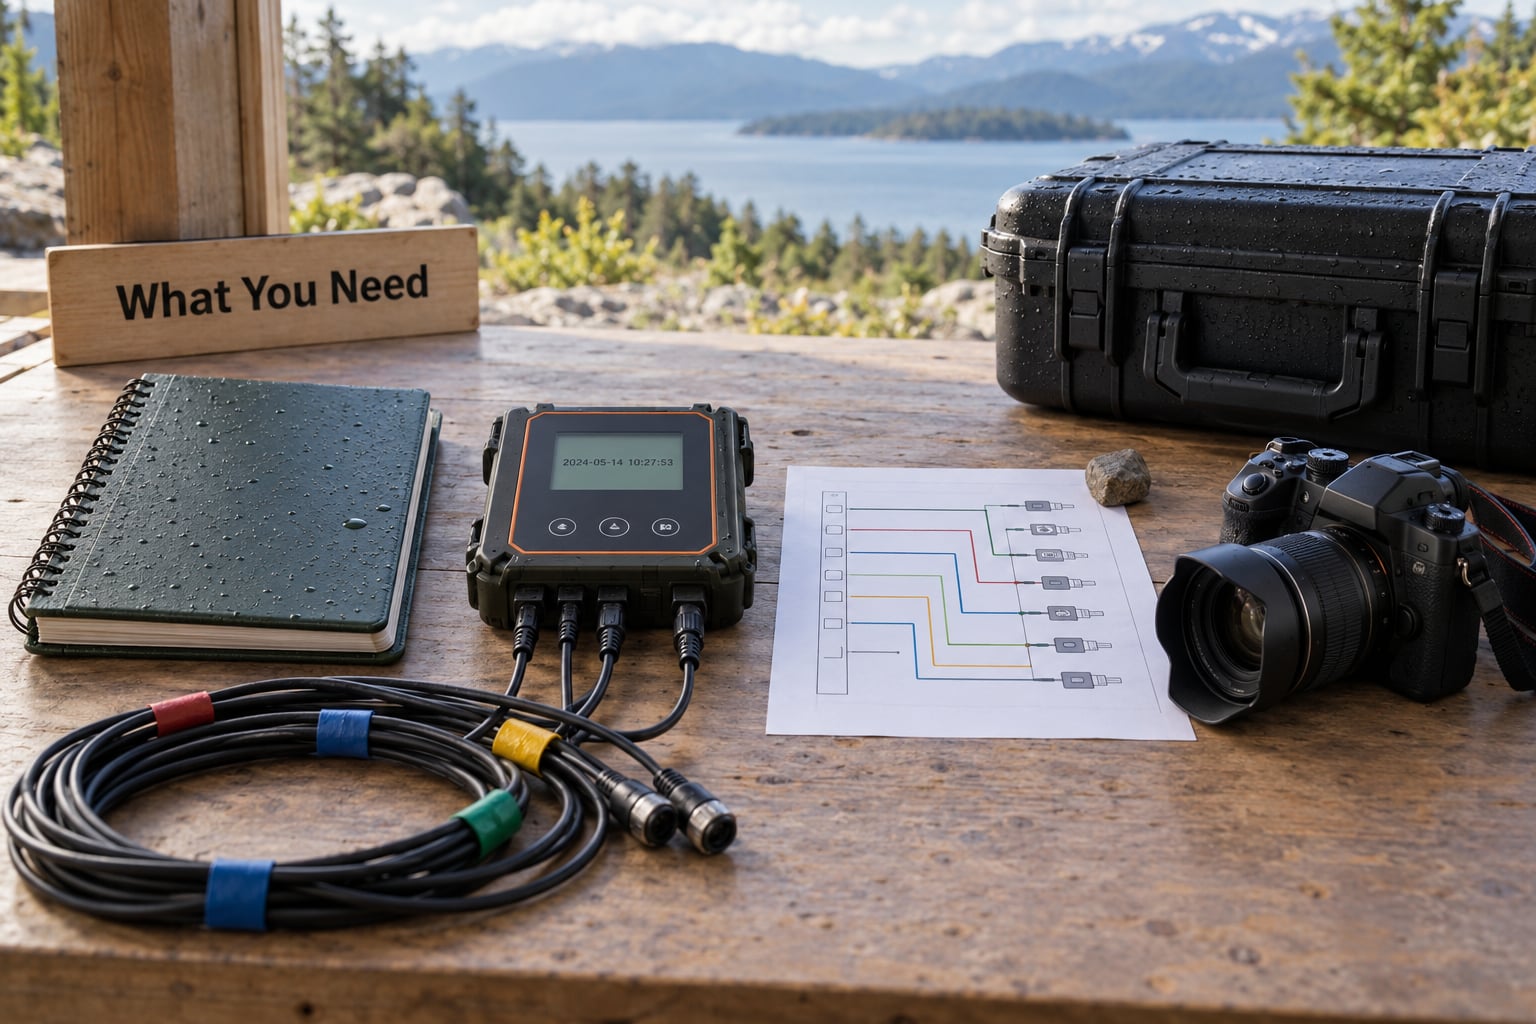
You need five categories of material, and most of it should exist before the boat leaves the dock. The planning set is the easiest to assemble and the most often left until the evening of the test, which is exactly backwards.
Planning documents. A one-page test plan with the objective, the acceptance criteria as numbers, the preconditions, the go/no-go limits, and the equipment list. A test ID, something like AUV-07-014, that appears on every file, photo and log entry from that run onward.
Data tools. Whatever logs your sensors, plus a way to get that log off the vehicle and onto two separate drives before anyone powers anything down. A spreadsheet for the run log is more than enough. People spend hours building elaborate systems and then fail to fill in the last column during a wet, windy afternoon.
Media equipment. A camera that survives spray, more battery than you think you need, and a card you can swap without a laptop. A headlamp matters more than people expect when a run finishes after sunset.
Safety records. The go/no-go thresholds in writing, checked and signed by whoever holds the authority to abort. For on-water work that usually covers wind and wave limits, visibility, traffic in the operating area, and the recovery plan if the vehicle fails to surface.
Reporting materials. A copy-ready report skeleton, a naming convention, and somewhere to archive raw files that is not the same place as your working folder. Keep the archive read-only once a test closes.
How to Document a Field Test Properly: Step-by-Step
1. Define the test before you leave
Write down what the test is meant to prove, in one sentence, before anyone looks at a result. Then attach a number to it. “The acoustic link holds at least 95% packet success rate at 800 m range in sea state 2 or calmer” is testable. “Test the new modem” is not.
The evidence this step produces is a dated plan file. A good plan also lists what the test will not establish, which saves an argument three weeks later about whether a partial result counts as a pass.
How do you tell it was done properly? Someone who was not on the boat can read the plan, predict the result, and say pass or fail without asking a follow-up question. If they cannot, rewrite it.
2. Assign roles and name the files
On any crew bigger than two people, someone is watching the log and nobody is. Name that person. A workable split for a small marine robotics team is navigation, vehicle operations, safety watch, sensors and data, media, and notes, with two or three people holding two roles each.
Settle the file naming convention in the same conversation. A predictable pattern beats a clever one: test ID, date, phase, sequence. Something like AUV-2026-014_launch-01.csv sorts correctly in any folder, on any operating system, with no plugin.
Evidence produced: a roles list inside the plan and a folder tree that already matches it. Done well, someone can find any file from that test in under a minute without asking.
3. Record environment and equipment state
Conditions are the difference between a result someone can reproduce and a number nobody can compare against. Capture them at the start, and again at the end if anything shifted materially: date, time, time zone, coordinates, wind speed and direction, sea state, wave height, water temperature, salinity, visibility and traffic in the area.
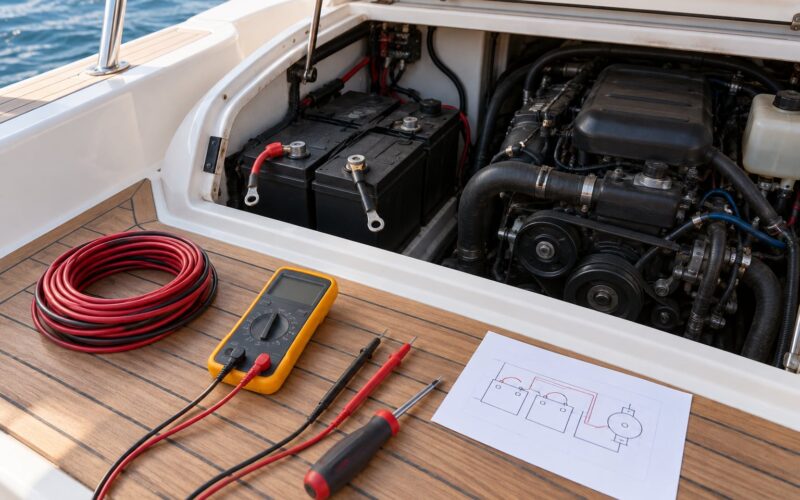
Equipment state belongs in the same place. Record the hardware revision, the firmware version, the sensor calibration date, battery voltage at launch, ballast weight and trim position, antenna placement, and any configuration you know to be out of spec. That last one is the field most people skip and the one that saves you when a result looks wrong.
Evidence produced: a conditions block at the top of the log and a configuration block beside it. Done well, the conditions block reads like something the next engineer could use to decide whether they can even run the test today.
4. Follow the run with timestamped logs
Write the log as things happen, not afterwards. Memory is unreliable within about twenty minutes of a wet deck, and a run where the vehicle dove early will not be reconstructable from notes written at the debrief.
Log at the event level. “14:32 thruster 2 PWM dropped to 40% at 6 m depth” is useful. “Comms got a bit rough after that” is not. Record commands sent, responses received, waypoints, state transitions and anything a person had to do with their hands.
Synchronize every clock before the run, not during it. Set the laptop, the data logger and the vehicle to the same network time source, or take one photo of a reference clock at launch and post it at recovery. A five-second offset between the vehicle log and your notes will scramble the causal story of a failure.
Evidence produced: a timestamped log where each entry lines up with a file or a frame of video. Done well, you can reconstruct the sequence of any incident without asking a single person to remember.
5. Capture media that proves what happened
Photograph the setup before launch, including the configuration block or the ballast weights laid out and labelled. Photograph anything you adjust mid-run. Photograph the failure, even if it is a tangle of cable in a bucket, because a photo of the mess is worth a paragraph of description.
Short video beats long video. A 20-second clip of the antenna moving in the housing after a wave tells you more than two minutes of deck footage. Keep audio where it helps, such as the first report of a thruster noise change.
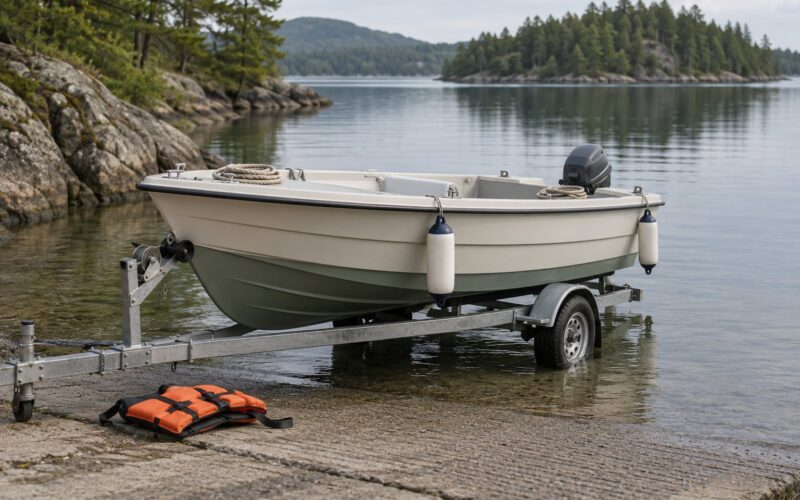
One rule matters more than the rest: no staged images. A neatly posed vehicle on a trailer shot after the fact says nothing about conditions and can misrepresent the test. If you want context shots, take them and label them as post-test.
Evidence produced: numbered images and clips, named against the test ID and the log entry they support. Done well, every claim in the report points to a photo number.
6. Log anomalies, failures and interventions
Every anomaly gets five fields: what you observed, when it happened, what the team did about it, the apparent cause, and whether the intervention affected the validity of the test. That last field is the one that gets skipped and the one that decides whether the run is usable.
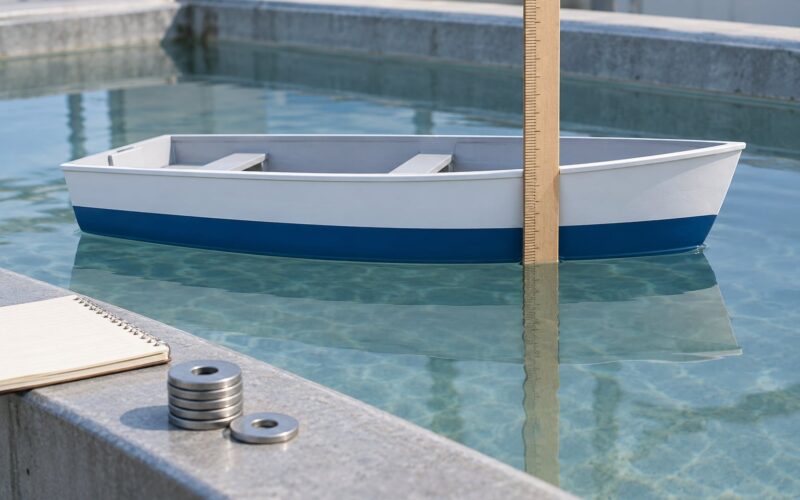
Write down rejected configurations too. If you ran two ballast weights and only one worked, the losing value is arguably the more valuable line in the report, because it is what stops the same idea getting retried a year from now on the next build.
Aborted tests deserve the same treatment as successful ones. An aborted run still produced evidence, usually about weather limits, recovery procedures or battery margins, and someone will want to know about it before they plan the next campaign.
Evidence produced: an anomaly log with times cross-referenced to the main log. Done well, a reader can separate what the system did from what the crew did, which is the only way to interpret the data honestly.
7. Close the log with results and verification
Finish the record with the boring fields. Completion status, the location of every raw data file, deviations from the plan, unresolved issues, the pass-or-fail result against each acceptance criterion stated as a number, and a signature from the responsible operator.
Expected versus actual is the core of it. A small table with metric, expected value, acceptance criterion, actual value and pass or fail takes five minutes to fill in and replaces an entire paragraph of hedging. If you required 95% packet success rate and got 96.2%, write 96.2% and let the criterion do the arguing.
Include a limitations paragraph. State plainly what the test did not prove. You tested one vehicle, one sea state, one range and one battery pack; that is a real result, and saying so is what makes the parts you did prove believable.
Evidence produced: a signed close-out section. Done well, it is the section that survives a design review six months later.
8. Preserve and report the record
Back up raw and processed files to two separate locations as soon as the run ends. Keep the metadata intact, including the sensor calibration records and the reference clock photo, because they are what make the numbers defensible.
Deduplicate by copying, never by editing in place. Rename nothing in the raw folder. If a processed file needs fixing, it becomes a new file with a new name and a line in the revision history saying what changed and why.
Then publish something short. A one-page session report beats a forty-page document nobody reads: objective, conditions, configuration, results against criteria, anomalies, next actions, sign-off. For a full campaign rather than a single run, three to five pages is usually the right ceiling before it turns into a book nobody opens.
Evidence produced: an archived, read-only raw folder and a report that links each conclusion to a file, a photo or a log entry. Done well, a colleague can rerun the test from your record without phoning you.
Common Mistakes
Most documentation failures are not laziness. They are small decisions that each seemed harmless at the time.
Writing the notes after the fact. Memory fills the gaps with plausible detail that is quietly wrong. Fix it by writing the log entry at the moment of the event, even if it is three words and a time.
Unsynchronized clocks. Two devices, two clocks, two stories. Fix it by setting every device to a network time source before launch and photographing a reference clock at deployment.
Documenting only what worked. Rejected ballast weights, failed firmware versions and abandoned sensor placements vanish, and the team proposes them again next quarter. Fix it with a mandatory negative results field in the anomaly log.
Editing raw files. A cleaned-up CSV with no note about the cleaning makes every number in the report slightly untrustworthy. Fix it by keeping raw read-only and publishing processed copies under new names.
Missing conditions. A success rate with no range, no sea state and no water temperature cannot be compared to anything. Fix it by making the conditions block a required field, not an optional extra.
Vague conclusions. “Comms performed well” is unfalsifiable and often gets read as a pass when it was marginal. Fix it by quoting the number and the criterion it was measured against.
Over-formalising. A twenty-page template for a one-hour pool test gets abandoned by week three, and an abandoned template is worse than a short one people actually fill in. Fix it by keeping the single-run report to a page and expanding only when the campaign earns it.
No revision history or sign-off. Without both, nobody can tell which version of the document carried the results, or who accepted the risk. Fix it with a version, date, author, change and approver row at the top of the report.
Frequently Asked Questions
What should a field-test report contain?
A field-test report needs eight blocks: objective and acceptance criteria, conditions, equipment and configuration, procedure as actually run, results against criteria, deviations and anomalies, limitations and lessons learned, then revision history and sign-off. The two people most often missing are conditions and deviations, and those are exactly the ones that stop a result being reproduced or compared against a later run.
Should a field-test report include failed attempts?
Yes, and the failed ones usually carry more value than the successful ones. A rejected ballast weight, an abandoned antenna placement or a run cut short by wind tells the next build what not to repeat. Record each with what you observed, when, what the team did, the apparent cause and whether the fix affected validity. Without these, the same idea gets proposed again a year later.
How do you keep timestamps consistent across multiple devices?
Set every device that writes a record to the same network time source before the run starts, and confirm it by photographing a reference clock at deployment and again at recovery. When a vehicle has no reliable network time, log the offset at launch and correct it in post-processing rather than editing timestamps in the raw files. Keep the reference photo with the test record as proof.
How many photos should I take during a field test?
Enough that every claim in the report points to one. In practice that means the full setup with configuration visible, each configuration you change mid-run, each anomaly or failure, and the final state, which usually runs to 15 or 30 frames for a single run. Shoot short clips rather than long video, keep them short enough to watch later, and label any staged post-test image as such.
What files should I keep when publishing a field-test report?
Keep the raw sensor logs untouched, the processed data with a note on how it was produced, the calibration records, the reference clock photos, the conditions block, the log and anomaly files, and every image and clip referenced in the report. Archive them read-only in two places and remove duplicates by copying rather than editing. A future reader should be able to rebuild every figure in the report from what you kept.
Conclusion
Documenting a field test well is not about longer paperwork. It is about three habits in the right order: decide what would count as success before departure, write the log while the run is happening, and finish with a signed record that links every conclusion to a file, a photo or a timestamp.
If you do only three things this week, define the acceptance criteria as numbers, issue a test ID that appears on every file and photo, and set every device logging the run to the same clock. Those three decisions do most of the work of making a field test readable by someone who was not on the boat.