Yes, you can use ROS for a boat project, and it is the right tool for the job. The Robot Operating System is middleware: it gives your GPS, IMU, LiDAR, camera and autopilot a shared language for publishing and subscribing to typed data, so you can fuse sensors, plan a path and drive a motor without writing every component to talk to every other one. This guide walks through the full sequence, from choosing a ROS version to the first supervised water test, with the commands you need at each stage.
Most people stall on a ROS boat project because there is no obvious starting line. Sensors, compute boards, simulation, an autopilot, and a hull all arrive at once, and every guide on the web is pinned to a ROS distribution that died years ago. Here is how to use ROS for a boat project in a fixed order: decide the autonomy task, install the environment, bring up one sensor at a time, simulate the hull, wire the topics together, connect the autopilot, add the safety layer, then test in escalating conditions. Follow it in that order and each stage is testable on its own.
A word on expectations. A small USV running waypoint following, obstacle avoidance and data logging is very achievable on ROS 2. Full autonomous sailing across open water is a different and much larger project. Decide which one you are building before you buy anything, because the two want different hardware, different sensors and different safety rules.
Table of Contents
- What You Need
- Step-by-Step: How to Use ROS for a Boat Project
- 1. Define the Boat Project and Autonomy Tasks
- 2. Install and Configure the ROS Environment
- 3. Connect GPS, IMU, and Boat Sensors
- 4. Build a Boat Description and Simulation
- 5. Publish and Subscribe to Boat Topics
- 6. Implement Autonomous Navigation and Control
- 7. Add a Kill Switch, Watchdogs, and Remote Override
- 8. Test on Land, in a Tank, and on Water
- Common Mistakes
- Frequently Asked Questions
- Is ROS suitable for a small autonomous boat project?
- Which ROS version should I use for a marine robotics project?
- How do I safely control boat motors with ROS?
- Can I combine GPS and IMU data for boat navigation?
- Should I simulate a boat before testing it in water?
- What onboard computer is needed to run ROS on a boat?
- Conclusion
What You Need
A ROS boat project needs four groups of things: a computer, a boat with propulsion, sensors that can tell the boat where it is and what is around it, and a way to fail safely. Simulation needs only the first group, and that is the cheapest place to start.
Hardware for the boat itself. A hull with a controllable propulsion system, which in practice means one of three layouts:
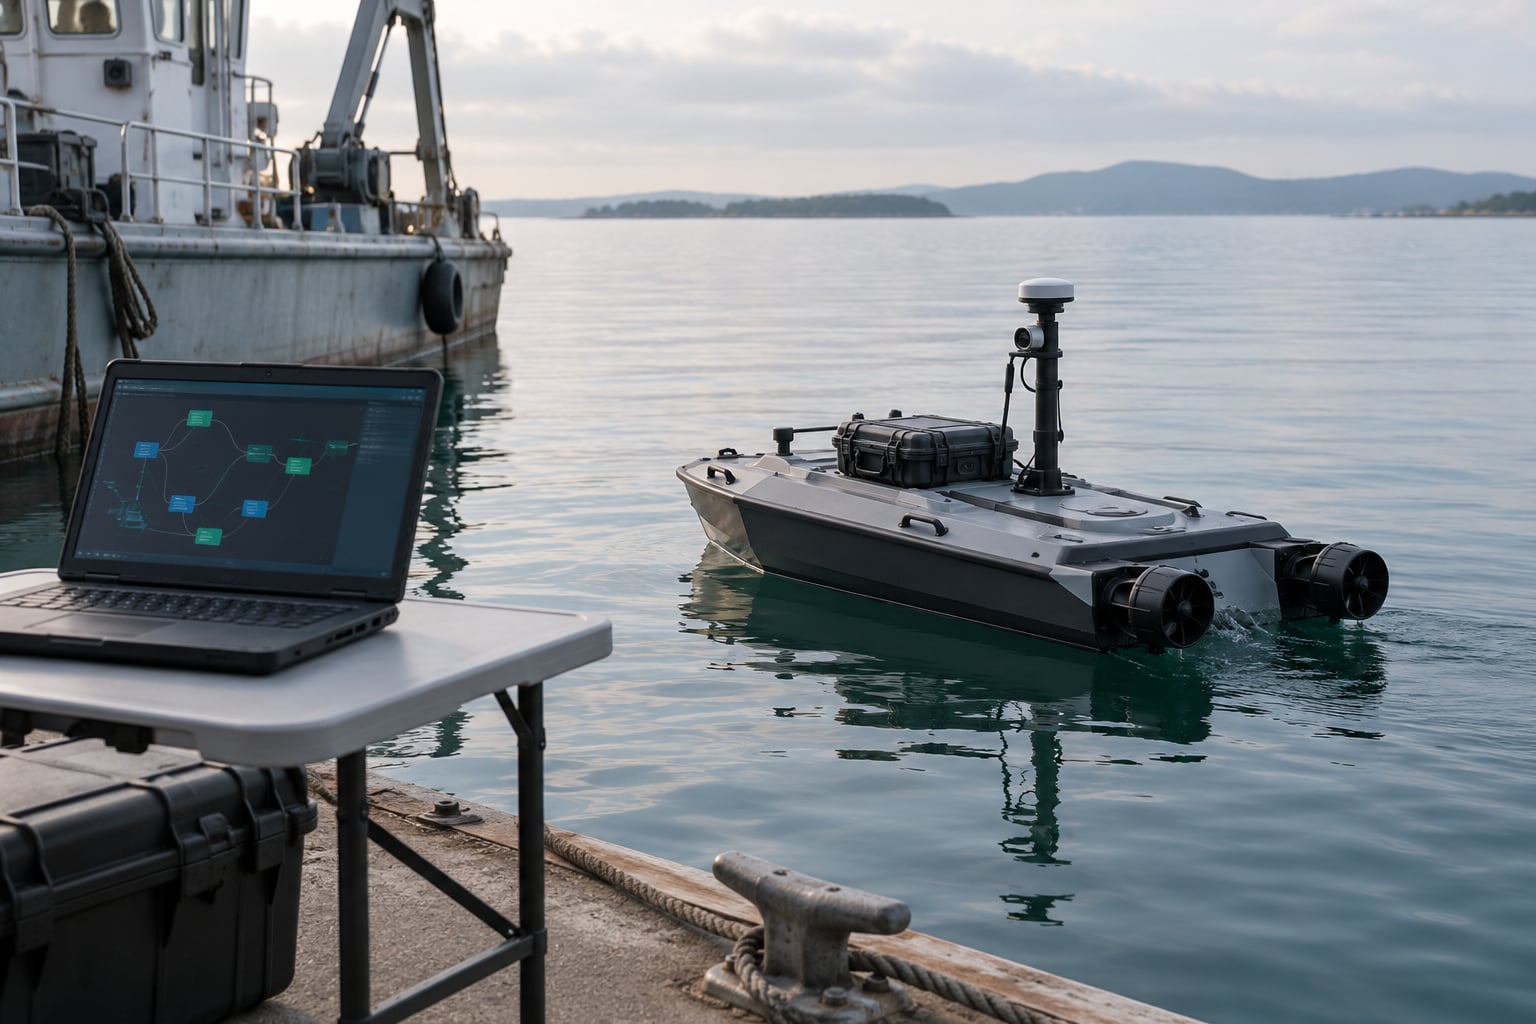
- Twin thrusters with differential steering. Left and right thrust differ to turn, exactly like a tank. This is the most common choice for small autonomous surface craft and the easiest to model in simulation.
- Single thrust plus a rudder or steering servo. Simpler hardware, but a lot harder to control at low speed because the rudder loses bite when there’s no water flow past it.
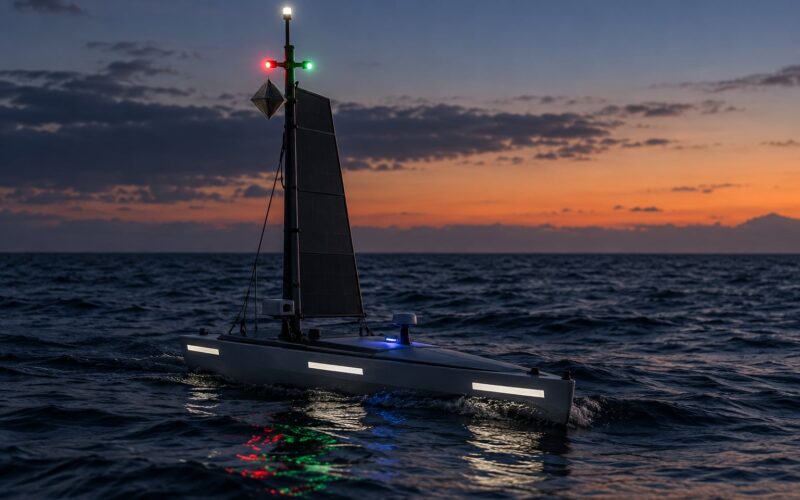
- Vectored thrusters or a sail. Works, but adds control channels and, for a rig, a whole extra problem of deciding where the wind is.
A flight controller. This is the piece most beginners skip and later regret. Put a Pixhawk or an equivalent board running ArduPilot in Rover mode between your ROS computer and the motors. It handles the inner control loop, holds heading, executes missions and provides a failsafe state, and ROS talks to it over MAVLink through MAVROS2. Letting ROS drive raw PWM directly works on a bench and is a bad idea on water. ArduPilot’s own guidance is to make the autopilot work in Manual, Guided and Auto modes before you introduce ROS at all, and I would not skip that step.
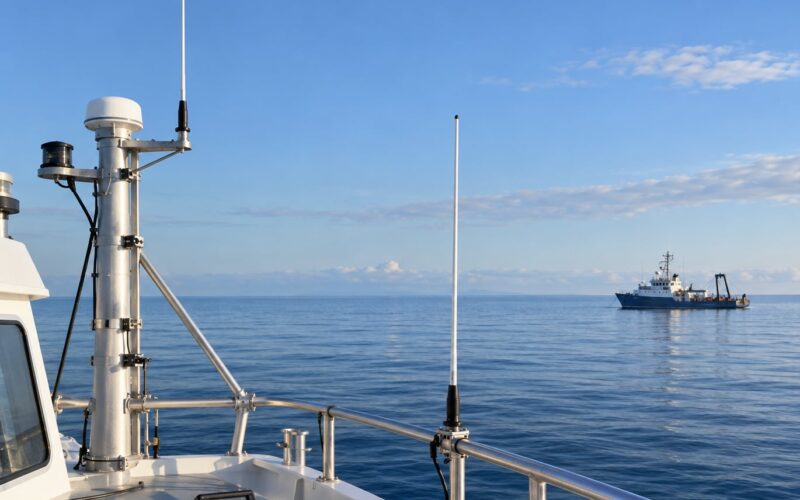
Sensors. A GNSS receiver with a fix, an IMU, and a compass are the minimum for anything that moves on its own. Add a LiDAR such as an RPLidar for obstacle work, and a camera if you need to classify what you detect. Note that a boat has no ground reference: it moves in three axes all the time, so a good IMU matters more here than it does on a wheeled robot at the same price.
Compute. Pick one of these, with the honest trade-off spelled out:
- Raspberry Pi 4 or 5. Cheap, well supported, plenty of power for GNSS, IMU, LiDAR and a bridge to the autopilot. Camera work and heavy perception are where it starts to hurt. Watch memory during builds, more on that later.
- NVIDIA Jetson Orin Nano. The pick when the project includes camera-based perception or a Jetson-specific sensor such as a ZED camera. Higher power draw, which matters on a small boat with a small battery budget.
- Running everything on the autopilot. Not viable for a real ROS graph. The board that flies the boat is not the board you run a desktop-class middleware on. You want two machines: the autopilot and a Linux computer.
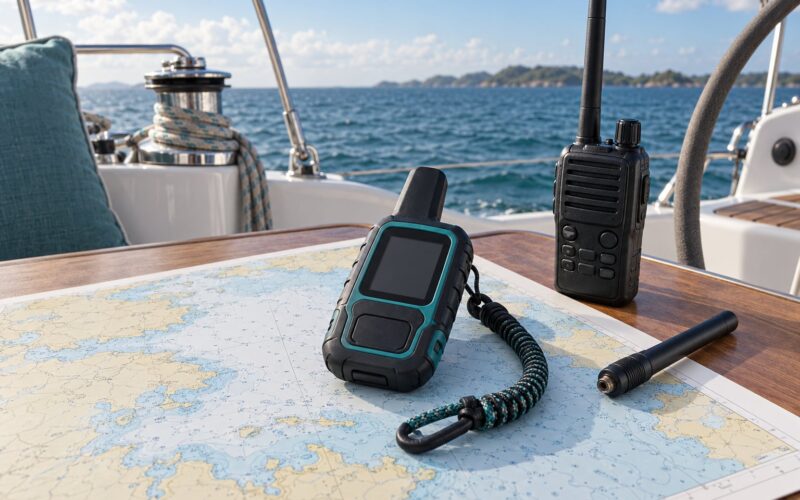
Networking and safety hardware. Wi-Fi or a serial link between the onboard computer and your ground station, a radio for manual override, a physical emergency stop wired to the propulsion system, and a waterproof enclosure. If the radio is the only way to stop the boat, the radio is a single point of failure and you have not thought about the failure case.
The minimum viable software stack. This is short and worth writing down:
- ROS 2 Humble Hawksbill on Ubuntu 22.04 for a project starting now.
colconas the build tool and a standard workspace layout.- A simulator for the hull before you connect hardware.
- MAVROS2 for the ROS-to-autopilot bridge, plus ArduPilot Rover in Guided or Auto mode.
ros2 bag recordrunning for every single test, on water included.- RViz and
rqt_graphfor seeing what your nodes are actually doing.
Where you work. Simulation needs a laptop and nothing else. A pool, a lake or a sheltered harbour is where field testing happens, and it is worth thinking of that as a separate requirement with its own safety rules rather than an extension of desk work.
Step-by-Step: How to Use ROS for a Boat Project
Eight steps, each with a check you can pass before moving on. If a step fails its check, fix it there rather than pushing forward and debugging a stack of unknowns later.
1. Define the Boat Project and Autonomy Tasks
Start by writing down, in plain language, what the boat must do without you. Remote control by radio is the floor. Above that, in rough order of difficulty: GPS waypoint following, station keeping against a fixed point, logging data at a route, local obstacle avoidance, and then things like path planning across a map or autonomous sailing with a real rig.
Pick one as the first objective. Waypoint following around a short loop is the right first target because it exercises the GPS, the state estimate, the autopilot and the motor output all at once, and it fails in ways you can see.
Then write the operating constraints before you pick components:
- The water body, its size and whether there is real boat traffic in it.
- Your speed limit and the speed you will actually develop at.
- The failure conditions, written as “if X happens, the boat does Y”. Link loss, no GNSS fix, low battery and a waypoint that cannot be reached all need an answer.
- How much human supervision you accept. A tethered pool run and an unescorted coastal mission are different projects.
Check that you can answer all four before ordering hardware. Every expensive mistake in this space is a scope decision made implicitly rather than deliberately.
2. Install and Configure the ROS Environment
Pin your versions explicitly and write them down. ROS 2 Humble Hawksbill on Ubuntu 22.04 LTS is the combination with the widest support right now and works on a Raspberry Pi 4 or 5. If you inherit a project on ROS 1 Noetic, that is a working but unsupported branch, and most published boat tutorials are pinned to distributions like Kinetic and Melodic that no longer exist on any current install.
Install on two machines: a development laptop, and the onboard computer. Keeping them separate is how to use ROS for a boat project without spending a debugging session on a boat that has drifted half a kilometre downrange. You develop, build and launch from the laptop over the network, and the onboard machine runs the same nodes when it is on the water.
Set up a workspace with colcon. In ROS 2 the layout is simple: a src directory holding your packages, and a build tool that produces install and log directories.
mkdir -p ~/boat_ws/src
cd ~/boat_ws
colcon build
source install/setup.bash
That source line matters more than it looks. Skipping it is the single most common reason a launch file appears to not exist when the file is sitting right there in your package.
Verify the install with the built-in tools before you add anything of your own. Start a talker in one terminal and a listener in another:
ros2 run demo_nodes_py talker
ros2 run demo_nodes_py listener
Then check that the graph is alive:
ros2 node list
ros2 topic list
ros2 topic hz /chatter
ros2 run rqt_graph rqt_graph
If you see the chatter topic moving in the graph view with a sensible rate, your environment works. Get comfortable with ros2 interface show too, because you will use it constantly to check message fields rather than guess them.
3. Connect GPS, IMU, and Boat Sensors
Bring up one sensor at a time, in a fixed order, and the order matters more than people expect. First test the sensor standalone with its own vendor SDK or a simple serial read, with no ROS involved. Then install the ROS driver and confirm the same data appears on a topic. Only then fuse anything. A driver that never worked standalone will not start working because ROS is running.
This came up repeatedly on developer forums and it is the most valuable single habit in the whole process. Install vendor SDKs inside your ROS environment rather than globally, so a colleague, or you in six months, can rebuild the same node graph.
Map every reading to the message type that carries it correctly:
- GNSS position to
sensor_msgs/NavSatFix, with latitude, longitude and altitude in the fields the message defines rather than in degrees and centimetres you made up. - IMU to
sensor_msgs/Imufor orientation, angular velocity and linear acceleration. - Heading to the MAVROS compass or state topic once the autopilot is connected.
- LiDAR to
sensor_msgs/LaserScanor the point cloud type your driver publishes. - Camera to
sensor_msgs/Image.
Check the units and conventions on each one, because this is where silent errors live. Yaw zero is usually not where you think. Positive rotation is frequently clockwise in the compass convention and counter-clockwise in the ROS convention, and mixing them up makes a boat turn the wrong way in a way that looks like a motor problem. Distance is metres in ROS, knots in NMEA. Angles are radians in almost every ROS message. Relative altitude can be metres above the ellipsoid or above the WGS84 geoid, and a twenty-metre error in that field is a plausible-looking position error.
Check timestamps too. A stale message that keeps arriving is harder to spot than a dropped one, and it silently corrupts any filter downstream. Look at the stamp on every topic and confirm it advances.
Finally, check the frame. A LiDAR driver that publishes without a frame_id set, or set to something inconsistent with your tree, produces a laser scan that renders in the wrong place in RViz. This one trips up almost everyone.
Verify each sensor as you go:
ros2 topic hz /imu/data
ros2 topic echo /fix
ros2 topic echo /scan --once
ros2 run tf2_tools view_frames
Only move on when every topic is publishing at its expected rate with sane values and a moving stamp.
4. Build a Boat Description and Simulation
Model the boat before you trust any code on it. The deliverable is a URDF or SDF description of the hull, the propulsion system, and where the sensors sit relative to the boat’s origin.
Start with the simplest honest geometry: a box for the hull, with the mass and inertia you can estimate. Add thrusters as actuator plugins driven by the same command topics your real hardware will use, so a node that works in simulation is not secretly depending on a simulation-only interface.
For differential steering, two thrusters with opposite mounting is the model. For a rudder, hinge it properly and accept that your minimum turn radius in simulation is optimistic.
Give every sensor a mounting offset. A GNSS antenna two metres forward of the IMU is a lever arm that matters for heading accuracy, and putting it in the model now is cheaper than discovering it on the water.
Build a world with a water plane and a few obstacles, spawn the boat, and drive it with teleoperation. The test that matters here is not visual. It is whether your real control nodes, the ones you will later run on the autopilot, can command this model. If teleop works and your navigation node can send a goal that moves the boat, you have a usable simulation.
Know the limits of what you are simulating. Gazebo does not model buoyancy, swell, spray or the low drag of moving through water. It will not tell you your boat will behave like a boat. It will tell you whether your logic, your frames and your data flow are correct, which is a great deal to get right before the hull is in the water.
5. Publish and Subscribe to Boat Topics
This is where ROS stops being a concept and starts being the thing that makes the project manageable. Four primitives cover almost everything on a boat: nodes, topics, services and actions.
- Nodes are processes that each do one job. A GNSS driver node, an IMU node, a state estimation node, a navigation node and an actuator bridge node are five nodes that never need to know each other’s internals.
- Topics carry continuous streams. Position, attitude, LiDAR scans, camera images and diagnostics are all topics.
- Services handle one request and one response, which suits things like a calibration trigger or a mode request.
- Actions handle a goal with feedback and a result. Sending the boat to a waypoint and watching it report progress is an action, not a service, and using the right primitive here makes your interface much easier to use.
Name topics so they read clearly when you are staring at ros2 topic list at 2am in a rain jacket. Something like /boat/gnss/fix and /boat/imu/data is worth the extra characters. Publish sensor data at the sensor’s real rate, not faster, because a driver that publishes a 1 Hz GNSS at 50 Hz fills your network and your log files with duplicates.
Inspect the flow constantly. ros2 topic list shows what exists, ros2 topic info shows who publishes and who subscribes, and rqt_graph gives you the whole picture in one view. When something is not working, the graph tells you in seconds whether the data exists at all, which removes half of the debugging you would otherwise do.
Learn remapping now, because you will use it every session. A perception node published for a camera called image_raw is retargeted at your boat camera with a remap rather than a code change, which is the difference between a five-minute fix and a rebuild.
6. Implement Autonomous Navigation and Control
Autonomy on a boat belongs to the autopilot, with ROS as the higher-level brain. Connect the two with MAVROS2, which translates MAVLink between ArduPilot and ROS topics and services, including the waypoint goal interface that sends missions to the autopilot.
You will hit a frame conversion immediately, so deal with it head on. MAVLink works in NED, which is north, east, down. ROS works in ENU, which is east, north, up. MAVROS handles the arithmetic, but only if you set the transform up correctly and if you are consistent about which frame each of your own nodes uses. Pick ENU for everything you write and let the bridge convert at the boundary. The one project on the internet that ships a proper transform tree diagram for a boat does so because this is genuinely confusing and worth getting right early.
A boat’s transform tree is small and worth defining once:
map
 └── odom        (continuous, drifts, comes from the fused estimate)
      └── base_link   (the hull)
           ├── imu_link
           ├── gnss_link
           ├── lidar_link
           └── camera_link
Rotating a static LiDAR scan into map in RViz is the check that your tree is right. If the scan does not sit still when the boat is not moving, something in the tree or in the driver’s frame assignment is wrong.
Then connect navigation. There are three realistic choices, and for a small surface craft they are not close to equal:
- ArduPilot’s native mission navigation handles waypoints, loitering and returns on its own, and it fails safe. This is the sensible first implementation and it is what most small boats should ship with.
- MAVROS waypoint goal interface lets ROS push missions and monitor progress without ROS owning the control loop. A good second step, because you get a ROS-side interface while the autopilot keeps the safety net.
- Nav2 adapted to the hull gives you local obstacle avoidance, costmaps and a behaviour tree. It was written for wheeled and legged robots, so it needs tuning for a boat’s slow, wide turning behaviour, and its recovery behaviours assume it can stop and rotate quickly. Treat it as a later project.
Whichever you pick, tune slowly. Set a low maximum speed, then tune the throttle response and the heading tolerance. Give yourself a generous turn radius rather than fighting the hull. Set a command timeout so that if a goal message stops arriving, the autopilot reverts rather than holding the last command forever. And keep manual override live throughout: a mode switch on the transmitter should always be able to take priority over anything ROS decides, and you should test that at the pool before you trust it anywhere else.
Log everything while you tune. ros2 bag record on the relevant topics, and the MAVLink stream from the autopilot, means a bad run is data rather than a story you half remember.
7. Add a Kill Switch, Watchdogs, and Remote Override
This is the step that separates a project that floats safely from one that becomes a story about a boat in the reeds. Treat it as a design requirement, not a feature to add later.
- Physical emergency stop. A hardware switch that cuts propulsion, reachable from the boat, not only from your laptop.
- Command timeout. If no heartbeat or goal arrives within a fixed time, the autopilot reverts to a defined state instead of holding the last command.
- Lost GNSS behaviour. Decide explicitly what happens when the fix degrades: hold, return to the last known good point, or return to launch. The autopilot will not pick for you.
- Lost telemetry behaviour. A design that depends on a live Wi-Fi link to the ground station fails the moment range or spray breaks it. The boat must be able to finish its mission with no link at all, and you should test that by walking out of range deliberately.
- Low battery response. A voltage threshold with a defined action, checked continuously, that triggers before the battery sags enough to brown out the computer and lose your logs.
- Actuator saturation limits. Cap thrust and rudder command so a bad node cannot command full power into an obstacle.
- Watchdog node. A small node whose only job is to check that the critical nodes are alive and publishing, and to trigger the safe state when they are not.
- Geofence. A polygon or a radius outside which the boat returns, so a waypoint typo does not send it across a lake.
- Operator override. Manual control that always wins, tested on the day you need it rather than the day you hoped for it.
Test each failure mode deliberately and on the smallest possible water. Pull the GNSS antenna. Kill the Wi-Fi. Command a thruster to full and watch the limiter hold. Turn the radio off mid-mission and confirm the boat does what you wrote down. The first time you test any of these should not be on a lake.
8. Test on Land, in a Tank, and on Water
Escalate the environment, and do not skip a stage because the previous one was boring. Each stage has pass criteria you can actually check.
Stage 1, static checks. Boat on stands or a bench. Every topic publishing at the expected rate with correct values and advancing timestamps. All frames resolving in view_frames. Actuators move in the commanded direction when you command them, and you have checked the direction of each one, because reversed thrusters are the most common and most embarrassing day-one bug.
Stage 2, land test. Motors on, boat restrained. Verify that a commanded surge moves the boat the correct way, that differential thrust turns the correct way, and that the compass reading agrees with which way the bow is pointing. A reversed thruster here is a five-minute fix; a reversed thruster discovered at sea is a retrieval mission.
Stage 3, tank or pool. Small, calm, contained. Run a closed waypoint loop, then a loiter. Test the fail-safes here: kill telemetry, kill the fix, trip the watchdog. Check that the hull does not flood, that the enclosure is doing its job, and that your bag files are being written.
Stage 4, short supervised water trial. A sheltered lake or harbour, a person on board, a person with the radio on the bank. Short mission. Confirm the real environment’s effects: wave motion corrupting heading, spray on connectors, GNSS multipath near a structure, and telemetry range at real distances.
Stage 5, extended autonomous mission. Only when stages 1 to 4 pass cleanly and repeatedly. Log the full run, both ROS bags and autopilot logs, and review them afterwards rather than assuming a good outcome was a good run.
Set your pass criteria before you go out, not after. My defaults: GNSS fix with acceptable accuracy before arming, heading stable to a few degrees in calm water, command timeout proven to work, override proven to work from the bank, and a bag file on the laptop that is bigger than nothing. When you know how to use ROS for a boat project, most of your time on the water goes to checking those five things rather than to new features.
Common Mistakes
Almost every problem in a ROS boat project is one of these nine, and each has a specific fix.
Launch file not found. The file exists, but the shell that ran ros2 launch has not sourced the workspace. Source install/setup.bash (or devel/setup.bash on ROS 1) in every terminal. Forgetting this is the single most reported error in ROS beginner threads.
AUTO will not arm. The autopilot refuses autonomous modes without a valid GNSS fix and a recorded home position. This is not a ROS problem and no amount of debugging the node graph will fix it. Get a fix outdoors, wait for the home position to be set, then try again. More beginners read this as a broken system than any other message.
The build dies partway through. On a Raspberry Pi, a large parallel colcon build can exhaust memory. Limit it with colcon build --parallel-workers 1 and close anything heavy running on the desktop.
The boat turns the wrong way. Reversed motors or mixed angle conventions. Check each thruster alone before you blame the controller, then check whether your heading is clockwise-positive or counter-clockwise-positive and whether both ends of the stack agree.
Positions are plausible but wrong. ENU and NED mixed up, or altitude in the wrong reference. NED is north, east, down; ROS is east, north, up. Use ENU throughout your own nodes and convert only at the MAVLink boundary. A wrong east-north swap produces a position that is mirrored about one axis, which is easy to miss in open water.
Data arrives but nothing reacts. Stale timestamps. A node can be publishing a frozen sensor value forever and everything will look alive. Check the stamps.
It works in simulation and not on the water. Partly expected: Gazebo models none of buoyancy, drag, swell or spray. What it also hides is a control loop tuned to a robot that changes heading instantly. Re-tune on the water, starting slower than feels necessary, and treat the first ten minutes of a new site as a tuning session, not a mission.
Nothing happens when the link drops. No fail-safe defined. Write the failure cases down before you leave the desk, then test them in a pool, in the order listed in step 7.
A bad run leaves you with no evidence. Record a bag every time:
ros2 bag record /boat/imu/data /boat/gnss/fix /boat/cmd_vel /mavros/state
# and log the autopilot's own data from the ground station at the same time
Before every launch, a short checklist: fix acquired and home set, kill switch tested, radio override tested, timeout set and tested, battery above threshold, bag recording, and a person watching who knows how to stop it.
Frequently Asked Questions
Is ROS suitable for a small autonomous boat project?
Yes, for most small surface craft it fits comfortably. Waypoint following, station keeping, obstacle detection and data logging all run on a Raspberry Pi or a similar board. The honest limit is perception work: heavy camera processing on a Pi gets painful, and you may want a Jetson for that. Keep the control loop on the autopilot and let ROS handle the higher level, and a small boat is a very reasonable ROS project.
Which ROS version should I use for a marine robotics project?
Use ROS 2 Humble Hawksbill on Ubuntu 22.04 for a project starting now. It has the widest driver and package support, and the build tooling is current. Avoid tutorials pinned to Kinetic, Melodic or Foxy, since none of those are still supported. ROS 1 Noetic still works and some marine packages target it, so if you inherit a Noetic project, finish it rather than migrating mid-build.
How do I safely control boat motors with ROS?
Do not have ROS drive raw motor outputs directly. Put an autopilot between ROS and the propulsion hardware, talk to it with MAVROS2 over MAVLink, and let the autopilot run the inner control loop and the failsafes. Set a command timeout, cap actuator output, add a watchdog and keep a physical emergency stop wired to the motors. Keep manual override on the transmitter working the whole time.
Can I combine GPS and IMU data for boat navigation?
Yes, and you should, because a boat moves in three axes and a GNSS receiver alone is not smooth enough to steer by. Use robot_localization or an equivalent filter to fuse the GNSS fix, the IMU and wheel or thrust odometry, and publish the result as the odom frame. Expect noisier data on water than on land: heave, pitch and roll from swell are what makes the IMU input worth fusing in the first place.
Should I simulate a boat before testing it in water?
Yes. A simulator will not tell you how your hull handles waves, because buoyancy and drag are not modelled, but it will prove your nodes talk to each other, your transform tree is correct and your goal logic works, which is most of what goes wrong on a first launch. Simulate the hull, run a closed waypoint loop, drive it by teleop, then move to a pool. That sequence saves more hardware than any other hour you will spend.
What onboard computer is needed to run ROS on a boat?
A Raspberry Pi 4 or 5 handles GNSS, IMU, LiDAR and the MAVROS2 bridge comfortably, and it is the sensible default for a first build. Move to an NVIDIA Jetson Orin Nano when you add camera-based perception or a sensor that needs more throughput. Whatever you choose, plan for a dry, vibration-isolated, salt-resistant enclosure and a power budget that covers the compute, because a brownout mid-mission loses your logs.
Conclusion
Start with one objective and make it small: hold a heading, or run a two-waypoint loop, with a person holding the remote control. Write down your failure cases, verify the sensor and actuator data flow one device at a time, and prove the whole stack in simulation before the hull ever touches water. Document as you go, keep the fail-safes tested rather than theoretical, and add one capability at a time.
That order is what turns “I want to use ROS for a boat project” into a boat that navigates. The projects that work are the ones that moved slowly through the early stages, and the ones that go wrong almost always skipped a step they found boring.