To calibrate a magnetometer on a boat, mount the sensor in its final installed position, power the electronics warm, and swing the vessel through a full 360 degrees in calm water while recording the raw X, Y and Z readings. From that data you solve the fixed bias and scale error, apply magnetic declination on top, and verify the result against a trusted reference heading. A dock procedure takes 30 to 60 minutes with a factory auto-calibration routine, longer if you are fitting offsets by hand.
Worth being honest about the limit up front: calibration corrects for the fixed magnetic signature of your boat and the distortion your hardware creates. It cannot fix a sensor mounted 20 cm from a speaker magnet or a steel engine block. If a heading error is heading-dependent and no amount of offset correction removes it, the answer is relocation, not recalibration.
Most people only notice a problem when a display disagrees with itself: the autopilot steers 8 degrees off, the AIS heading lags the chartplotter, or a wind vane keeps cutting across the bow. All of those are downstream of one number, the heading coming out of the magnetometer. Fix that number and the rest follows.
Table of Contents
- What You Need
- How to Calibrate a Magnetometer on a Boat Step by Step
- How to Calibrate a Magnetometer on a Boat at the Dock
- Set a Fixed Reference Heading
- Calibrate Hard-Iron and Soft-Iron Distortion
- Apply Offsets, Scale Factors, and Declination
- Verify Heading at Several Boat Headings
- Complete a Short Sea Trial
- Common Mistakes
- Field Tips for Reliable Marine Magnetometer Calibration
- Frequently Asked Questions
- How often should a marine magnetometer be calibrated?
- Do I need to calibrate the magnetometer every time the boat moves?
- Should I calibrate a magnetometer before or after installing it?
- What is the difference between heading calibration and magnetic declination?
- Can a compass calibration be performed while the boat is underway?
- How much heading error is acceptable on a boat?
- Conclusion
What You Need
Calibrating a magnetometer on a boat takes a stable reference and a place to sit still. Gather these before you start.
- The magnetometer and its navigation system. Know whether the sensor is a standalone module feeding NMEA 0183 heading sentences, or a fluxgate head built into a display or autopilot course computer. Calibration routines differ, and so do menu paths.
- A stable reference heading. A surveyed range or transit bearing, a charted true bearing to a fixed landmark, or a GNSS course over ground taken over a long straight run in steady current-free conditions.
- Non-magnetic hand tools. Brass or titanium drivers for any physical adjustment. A steel driver near a fluxgate head during adjustment is a self-inflicted error.
- Mounting materials. A rigid, non-ferrous bracket if the sensor is moving at all. Vibration in the mounting is vibration in the heading.
- A chart or survey benchmark. Your local variation figure for the current season, and something with a published bearing to check the finished heading against.
- A power source. A charged house bank or a charger, because a voltage drop partway through a 360 degree swing corrupts the fit.
- The manufacturer’s calibration instructions. Read them first. They define what your unit’s routine is actually called and which orientations it expects.
A hand-held magnetic needle compass is also useful, not for absolute accuracy but for isolation work. Many owners carry one precisely to find which piece of equipment is shifting the heading.
How to Calibrate a Magnetometer on a Boat Step by Step
Menu names and terminology vary between manufacturers, so work from the display or autopilot manual for exact steps. The sequence below is the field procedure the manuals all share.
How to Calibrate a Magnetometer on a Boat at the Dock
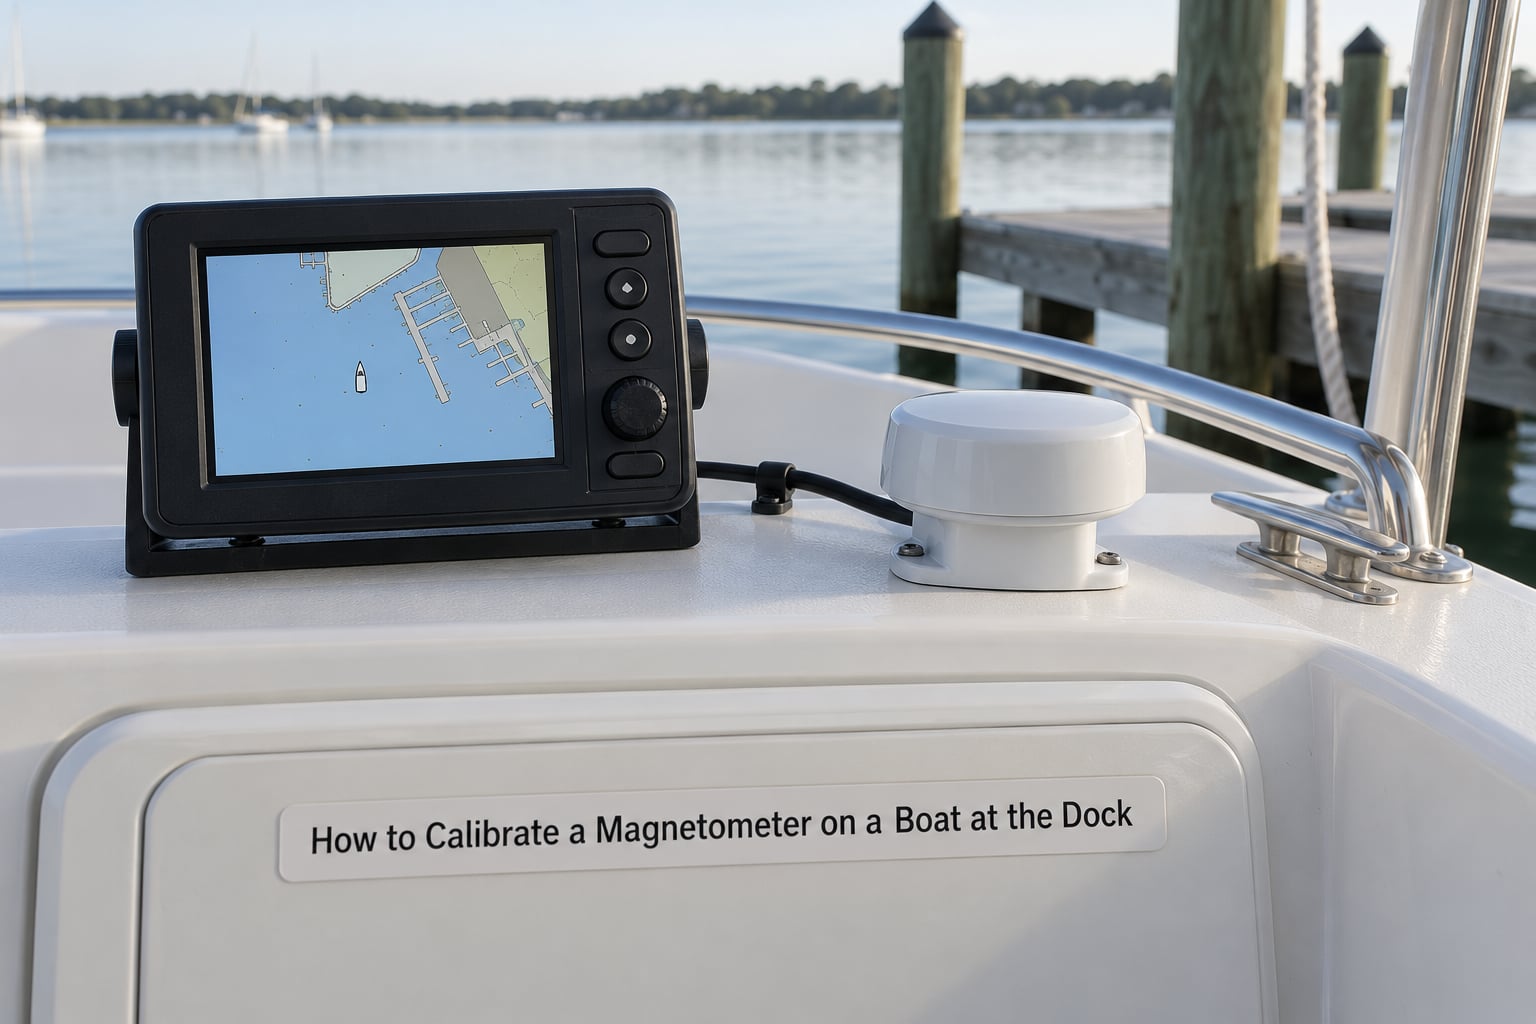
The dock step is about creating conditions where the only thing influencing the sensor is the Earth’s field. Start by confirming the sensor is where it will live permanently, because a calibration performed in a favourable spot is worthless the moment the sensor moves.
- Confirm the mounting. The sensor sits level, on a rigid bracket, with its orientation marked so you can put it back the same way. Photograph the cable routing and the bracket.
- Identify the coordinate convention. Note which axis runs fore-and-aft, which is athwartships, and which is vertical. Calibration software needs this and most raw logs do not label it for you.
- Establish the heading source. Decide whether the display shows magnetic or true, and whether another device is feeding heading over NMEA. Two devices disagreeing about which is which is a common false alarm.
- Power the electronics warm. Run them for 20 to 30 minutes. Fluxgate cores and their compensation circuits settle with temperature, and a cold start produces a fit that drifts once warm.
- Clear the working area. Move loose ferrous tools, cans, speakers, phone cradles and steel-cored dock lines well clear. Choose a berth where no large steel hull sits alongside.
- Back up the current settings. Export or photograph every existing offset, scale and declination value before you touch anything. You want a way back.
You are ready when the boat is stationary, the display has run warm, and nothing within a couple of metres can plausibly shift a heading.
Set a Fixed Reference Heading
A fixed reference heading is the one number your whole calibration is measured against, so it has to be better than the thing you are correcting. Point the bow at a charted object with a published true bearing, or line up on a surveyed range or transit mark, and hold it steady.
GNSS course over ground is a usable reference, with two caveats. In current or wind, the boat crabs across its own track, so the difference between heading and course is real. Take the reading over a long straight leg at steady speed, in open water away from shore and other traffic, and average several samples rather than trusting one.
Write down the reference, the source and the time. A number with no provenance is not a reference, and it is how people end up chasing an error that was baked in at the start.
Calibrate Hard-Iron and Soft-Iron Distortion
Two different errors need two different fixes, and mixing them up wastes an afternoon.
Hard iron is a constant offset: fixed ferromagnetic material near the sensor adds a bias vector that shifts every reading equally. Steel fasteners, a deck-mounted steel frame, the engine block, a battery clamp. Corrected with an offset vector, one number per axis, usually solved as the midpoint of the min and max value on each axis.
Soft iron is a scale error: iron that magnetises and demagnetises as the boat turns, bending the field rather than shifting it. Raw readings trace an ellipsoid instead of a sphere, and the correction is a scale factor or a full 3×3 calibration matrix.
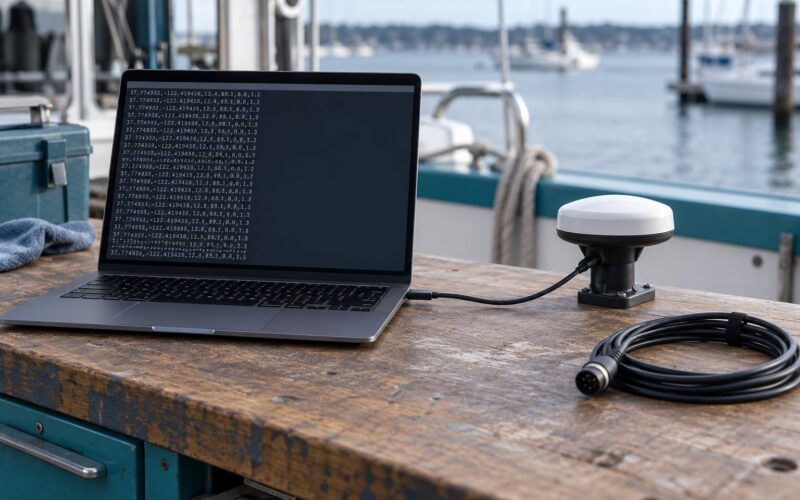
Collect the data by swinging the boat through a full 360 degrees at steady, slow rate, rotating about every axis if the sensor is not tilt-compensated. Log raw X, Y and Z with timestamps at the sensor’s native output rate. Many factory routines do this for you; the ones that do not give you a much fuller picture, because you can also see the outliers.
Prune bad samples. One swing that clipped a piling or one glitch from a thruster pulse will bend a naive fit, and a bad calibration is worse than none. Manufacturers often supply a built-in routine precisely because the fitting step is easy to get wrong.
Apply Offsets, Scale Factors, and Declination
Sensor calibration and magnetic declination are two different corrections that people constantly merge. Calibration removes the boat’s own contribution. Declination converts between magnetic and true north at your position, and it changes as you move.
Enter your offset vector and, if the unit supports it, the scale or matrix values, then save. Enter declination separately, in the settings that feed chart overlays and paper-chart bearings. If your display has a magnetic and a true heading field, the calibration values belong to the sensor layer, and the declination value belongs to the display layer.
Save a separate setting set per sensor and per mounting position. A helm compass head, a masthead backup head and a research-vessel IMU on a payload deck are three different instruments with three different magnetic environments, even on the same hull. A single shared offset set is the reason one display is right and the other one is not.
Then check whether the unit needs tilt compensation. A heeled sailboat changes the orientation of the magnetic field relative to the sensor, and without compensation the heeled heading drifts even when the dock calibration is perfect.
Verify Heading at Several Boat Headings
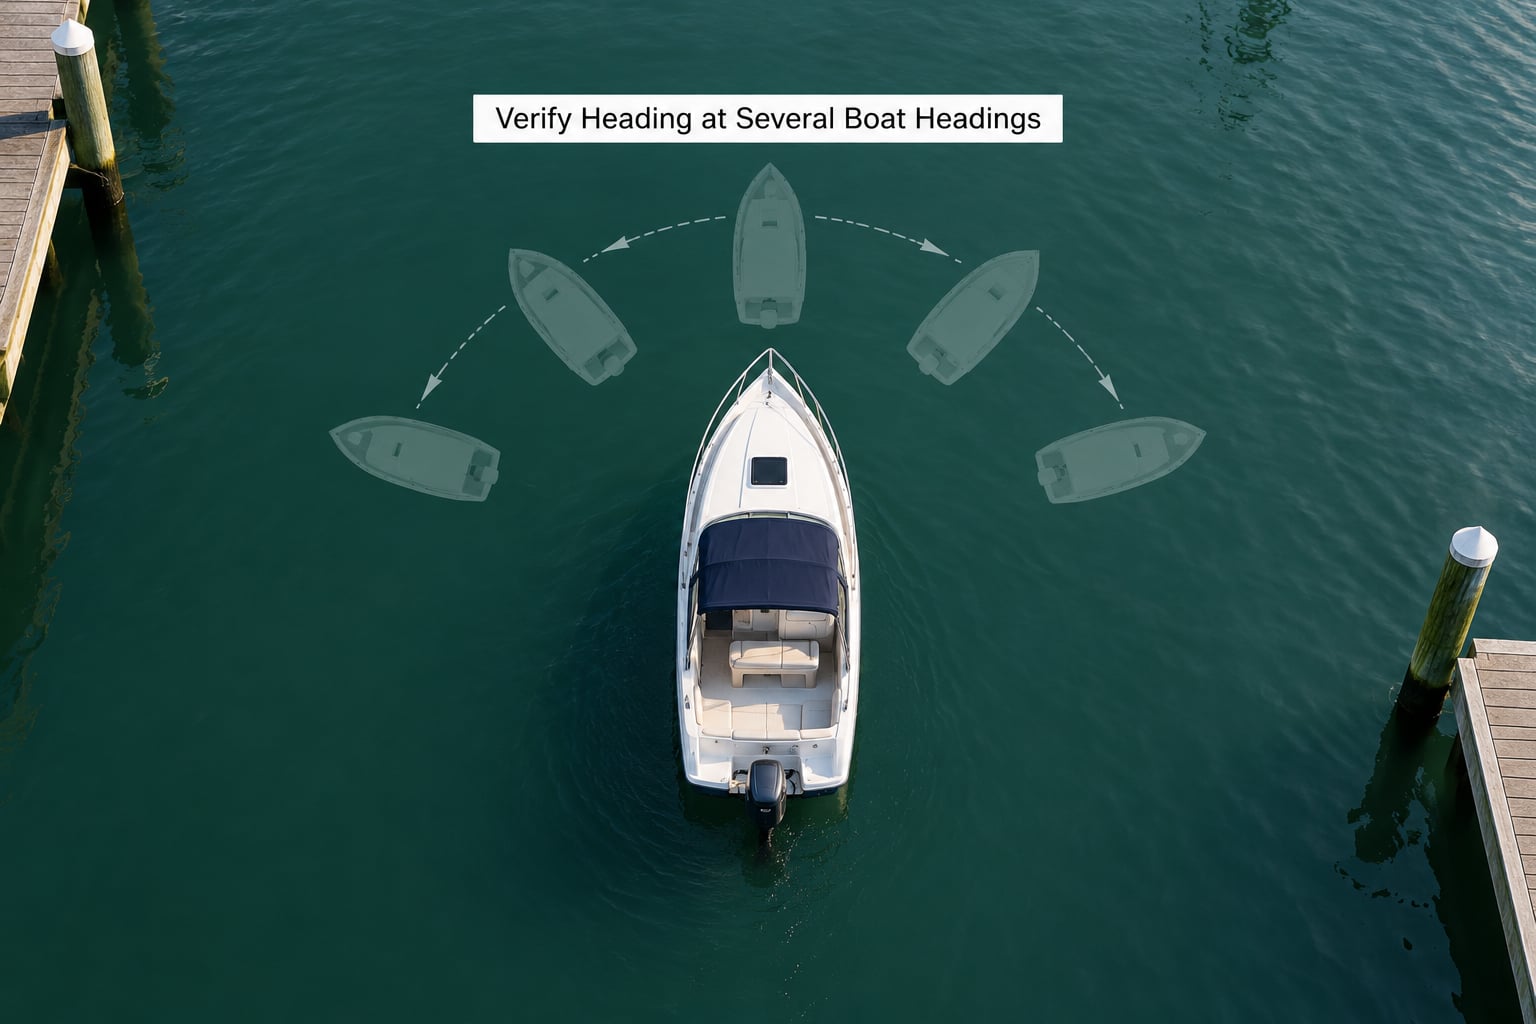
One correct heading proves nothing. A well-calibrated sensor agrees at every orientation, so check a spread: bow north, bow east, bow south, bow west, and a few points in between, comparing magnetic, calibrated and true readings against the chart or your reference.
Note the error at each one. A constant offset across all headings means a reference or declination problem, not a sensor problem. An error that grows and reverses with heading is a signature of soft iron. Errors that only appear on one tack or under heel point at tilt compensation or heel error.
Two quick isolation tests are worth running. Switch the main battery bank off and on and note the heading each time; a shift on either means current-induced interference rather than a calibration issue. Repeat with the thruster, generator and electronics switched individually, which is the diagnostic owners on The Hull Truth marine electronics forum reach for first when a compass disagrees with GPS. If switching gear moves the heading, you have found the interference and no offset value will hide it.
Complete a Short Sea Trial
The dock is the easy half. Calibration validated underway tells you whether the error is actually gone in the conditions you care about, and the conditions are different: engine load, alternator current, hull vibration, swell, heel and nearby metal such as a steel pipeline or a moored barge.
Run a short circuit and compare the compass heading against GNSS course over ground at several points, allowing for the crab angle and for the current. Hold the same headings under different engine loads and watch whether the number moves. A heading that changes with engine RPM is interference, not deviation, and the fix is shielding, relocation or a different install position.
Set your acceptance limit from the task and the manufacturer specification, and record the residual you actually achieved. There is always some residual; a deviation card or a written calibration record is how you carry it honestly rather than pretending it is zero.
Common Mistakes
- Calibrating while the boat is moving. Motion, heel and acceleration smear the orientation data, so the fit describes nothing repeatable.
- Trusting a poor reference. A short GNSS leg in current is worse than a landmark bearing. A bad reference puts the error in from the first minute and the rest of the work cannot remove it.
- Confusing declination with sensor correction. Declination comes from a chart or model and changes as you move. Entering a sensor offset into the declination field produces an error that looks like a compass fault.
- Calibrating next to interference. A steel dock wall, a crane, a moored superyacht or a running generator will poison the fit. Move first, then swing.
- Overwriting settings before backing them up. Without the original values you have no reference for judging the new ones, and no quick way back if the new fit is worse.
- Calibrating cold, or after a ten-minute power-on. The electronics were not at operating temperature when the data was captured.
Field Tips for Reliable Marine Magnetometer Calibration
Make the sensor position permanent and treat any change to it as a calibration event. Moving a sensor a few centimetres, changing cable routing, or adding a new instrument on the same mast can change the magnetic environment enough to matter.
Keep a written record: date, reference used, offsets entered, deviation table, and residual error at each heading. A calibration nobody logged is one you will redo instead of trust.
Run separate routines for different boat configurations. A cruising rig with a loaded chart table, a race crew with gear stowed differently, and a survey configuration with instruments on the payload deck each need their own data. For autonomous surface work, this goes further: repeat the swing routinely and log the heading error against a reference each time, because a small drift that never gets checked becomes a large one nobody notices.
Keep non-magnetic discipline in the neighbourhood of the sensor. Stainless steel is usually not the culprit people expect, since most grades are weakly ferromagnetic, but a few are not, so check before you build an argument on it.
Frequently Asked Questions
How often should a marine magnetometer be calibrated?
Treat calibration as event-driven rather than calendar-driven. Recalibrate after installing or moving any instrument, after a refit or new engine, after a grounding or lightning strike, and any time the heading error changes suddenly. A sanity check against a known bearing or course over ground before each season is enough on a boat that has not changed, and full recalibration is rarely needed on a quiet hull.
Do I need to calibrate the magnetometer every time the boat moves?
No. A dock calibration is a property of the sensor in its mounting, not of the trip, so it stays valid across short passages and even relocation of the boat to another berth. What does change with every passage is the interference environment, so if headings shift with engine load, current or proximity to large metal structures, investigate interference rather than recalibrating. A deviation card is also portable between boats in the same class of conditions.
Should I calibrate a magnetometer before or after installing it?
After, always, and only once it is in its final installed position with the final cable routing. A calibration taken on a bench or on a stand measures the bench, not the boat, and mounting hardware plus nearby wiring are part of the magnetic environment. The only case for a pre-install check is to compare sensors before choosing one, which tells you about the hardware rather than about the install.
What is the difference between heading calibration and magnetic declination?
Calibration corrects what the boat does to the Earth’s magnetic field: fixed bias from hard iron, scale error from soft iron, and any tilt-dependent error. Declination, also called magnetic variation, is the angle between magnetic and true north at your position. It comes from a chart or a geomagnetic model, changes as the boat moves, and belongs in a different field from sensor offsets. One is fixed to the vessel, the other travels with the chart.
Can a compass calibration be performed while the boat is underway?
Not properly. Some manufacturers offer underway auto-calibration, but heading changes, heel and acceleration mean the orientation is never static, so the resulting fit varies between runs. The exception is a rough calibration of scale and offset from a slow circuit, which is useful for a long transit and easy to redo properly alongside later. Never swing while alongside a dock, in a swell, or near magnetic structures, and never with the engine or thruster cycling.
How much heading error is acceptable on a boat?
For a small cruising boat, a couple of degrees is a good working result, and anything under about 5 degrees is generally workable for coastal navigation. Keep a deviation table for the residual rather than expecting zero. Larger or commercial vessels follow class and flag rules with tighter limits, checked and certified by a compass adjuster using a gauss meter. If your residual stays above roughly 10 degrees, treat it as an installation problem, not a tuning problem.
Conclusion
Start by proving your reference: a charted bearing, a surveyed mark, or a clean straight-leg course over ground. Then confirm the sensor is in its final, rigid, correctly oriented mounting, and back up the factory offsets before you change a single value.
From there, run the dock swing in calm water with the electronics warm and the area clear, enter the correction values, and check the result at several boat headings rather than one. Finish with a short sea trial under real engine load, and write down the residual error at each heading so the next person knows what the compass is actually worth.
If you only remember one line of how to calibrate a magnetometer on a boat: a trustworthy reference heading and a fixed, rigid sensor position come first, and everything after that is arithmetic.