To make a boat visible to other vessels, you work three channels at once: what a watchkeeper can see, what their radar returns, and what their electronics receive. Correct navigation lights and high-contrast markings handle the first, a well-mounted radar reflector handles the second, and a working AIS transponder with an active VHF radio handles the third. No single device guarantees detection, so the whole job is stacking them and proving each one works in the dark.
Most of the effort is setup, not gear. Lights mounted an inch above the deck are invisible from a wheelhouse 60 feet up, and a radar reflector stowed in a canvas cover is the same as no reflector at all. What follows is the seven-step sequence I use when setting up a small prototype craft or advising an owner: work out what the traffic actually is, fit compliant lights, make the hull readable, add the electronic channel, position everything for the viewing angles that matter, then test it in real conditions and write down where every part lives.
Rules below are framed as a general baseline drawn from COLREG and national authority practice. Requirements change with length, propulsion, tonnage, and operating area, so treat them as the floor to verify, not the answer for your boat.
Table of Contents
- What You Need
- Step-by-Step
- Step 1: Assess the Vessel and Operating Environment
- Step 2: Select Compliant Navigation Lights
- Step 3: Improve the Boat’s Visual Signature
- Step 4: Add Sound and Electronic Visibility Aids
- Step 5: Position Equipment for Actual Viewing Angles
- Step 6: Secure, Power, and Back Up the System
- Step 7: Test and Document the Visibility Setup
- Common Mistakes: How to Make a Boat Visible to Other Vessels
- Frequently Asked Questions
- What lights make a small boat visible at night?
- Do all small boats need AIS to be seen?
- Does reflective tape work for an autonomous sailing robot?
- Can decorative LEDs be used to make a boat more visible?
- How can I test whether other vessels can see my boat?
- What rules apply to a remotely operated or autonomous boat?
- Conclusion
What You Need
Before changing anything, gather the vessel’s paper record and the rules that apply to it.
- Vessel documentation — registration, length overall, beam, draft, propulsion type, tonnage where relevant, and any existing equipment list.
- The applicable navigation rules — the COLREG light and sound signal tables for your vessel length and type, plus the national authority’s carriage requirements for your operating area.
- Approved navigation lights — masthead, sidelight, sternlight, and any towing, anchor, or obstructed-light fitting your configuration needs.
- Sound-signaling equipment — a whistle, bell, or horn that produces the blast patterns your rules require, with a spare if the boat runs at night.
- Reflective materials — certified marine-grade tape or sheeting, high-contrast hull paint or panels, and flags if the boat operates where day shapes are used.
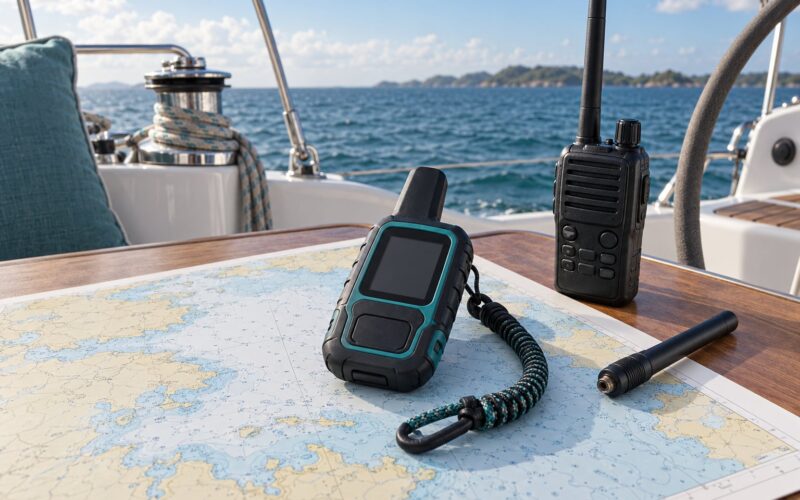
- Communications and collision-avoidance kit — a fixed VHF radio with DSC, an AIS transponder appropriate to your vessel class, and any radar or chartplotter you carry.
- Test instruments — a tape measure, a multimeter, a small hand-held GPS or phone for position logging, a pair of binoculars, and a stopwatch for timing light and sound checks.
Collect these before the first bolt comes off. Half the common mistakes in this area come from fitting a part that was never the right one for the vessel’s length or speed.
Step-by-Step
Step 1: Assess the Vessel and Operating Environment
Start by writing down what the boat actually does, because that determines which lights and ranges matter.
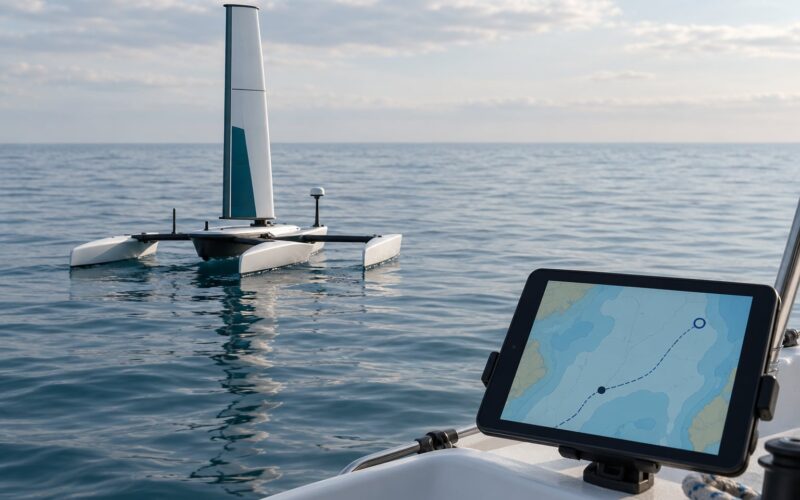
Record length overall, propulsion, mast or superstructure height, normal cruising speed, the sea states you operate in, your usual hours on the water, and how dense the traffic is. An uncrewed surface craft operating a research transect at 4 knots in daylight needs a different answer from a 40-foot sailboat crossing a shipping lane at night.
Then work out realistic viewing distances. A bridge watchkeeper on a 600-foot container ship is often 40 to 80 feet above the water. Anything you fit has to be visible from that height at whatever range gives you time to react.
Identify the governing navigation authority and separate the rules for powered vessels, sailing vessels, and small autonomous platforms, because they are not the same set. Confirm what worked by having the assessment reviewed by a qualified rigger or an experienced skipper before you buy anything.
Step 2: Select Compliant Navigation Lights
Fit the correct light for the vessel’s configuration, mounted where the light’s sector actually reaches a watchkeeper’s eye.
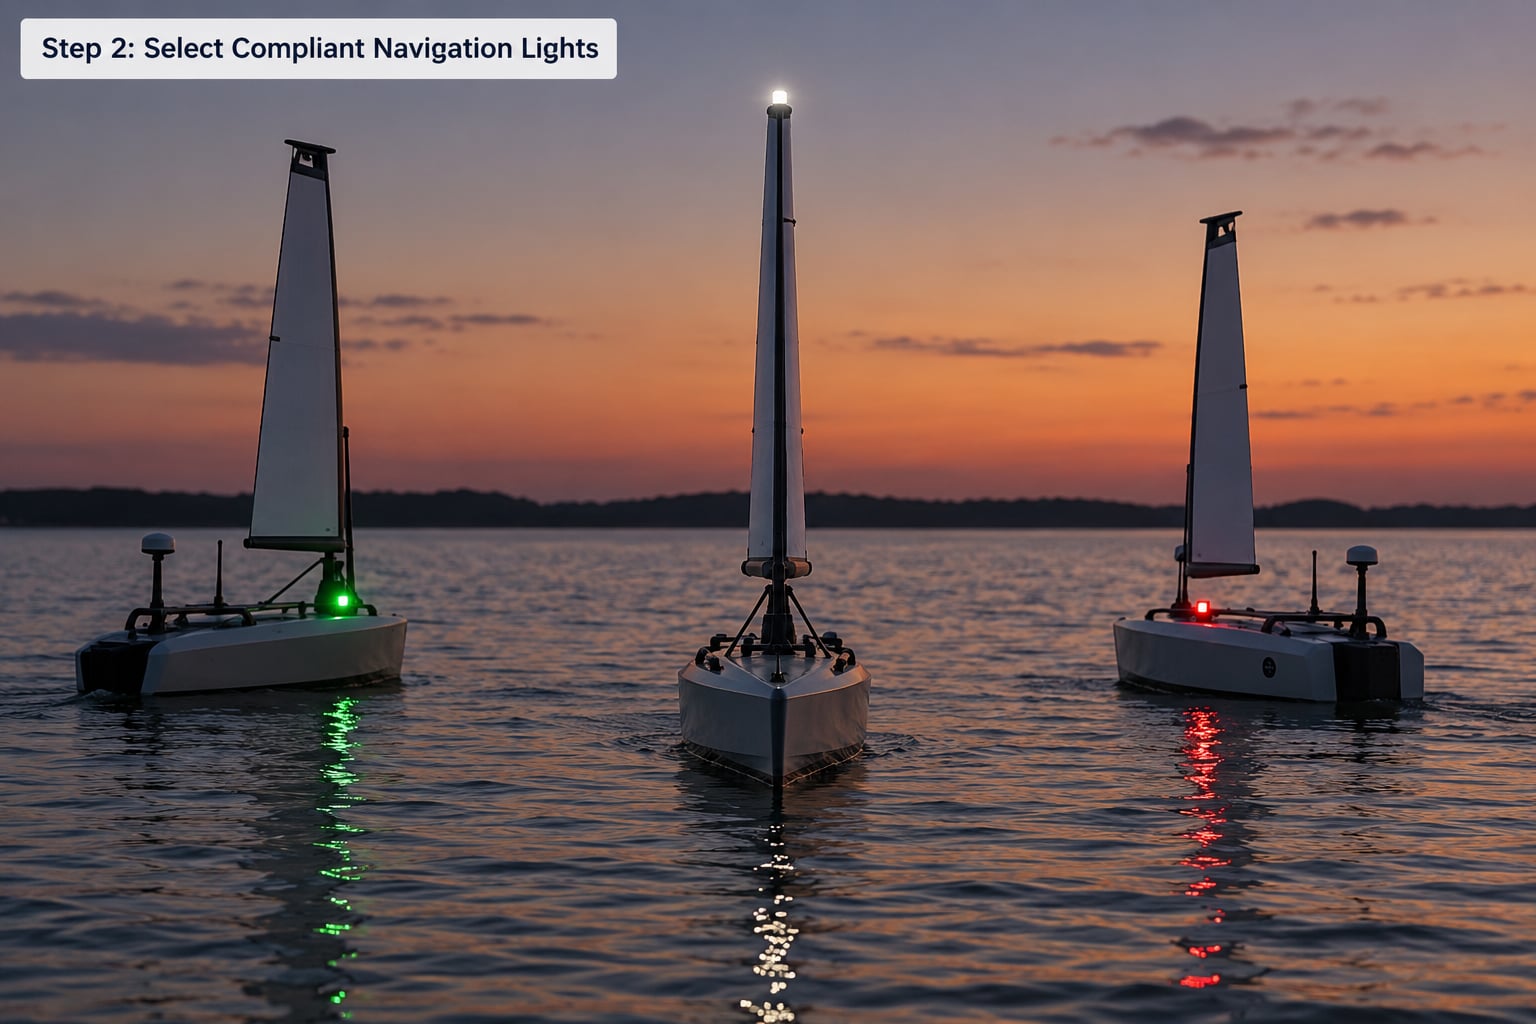
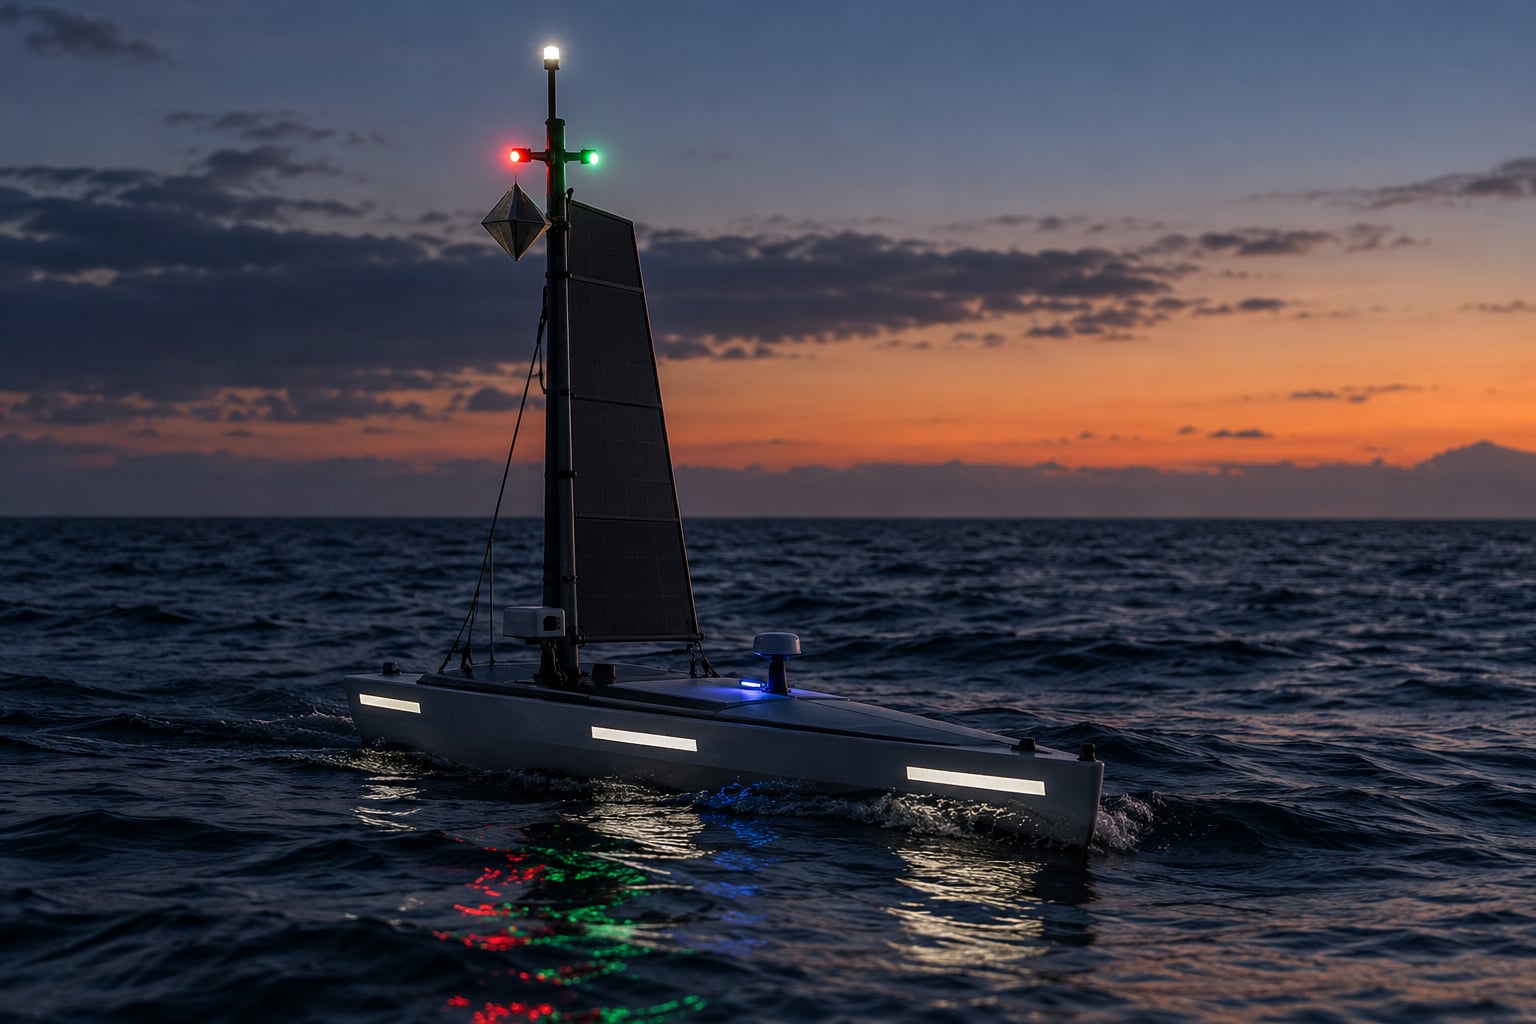
Light selection is not a style choice. A masthead light, sidelights, and a sternlight form a set with defined ranges and defined arcs of visibility, and the arcs are what tell another vessel whether you are coming toward them, crossing, or overtaking. Fitting a wide-beam deck light instead gives the other vessel no information at all.
Check four things on each fitting: the colour is correct for its function, the rated range matches the visibility you need, the lens sits above the sheerline so the arc is not blocked by your own deck, and the power supply is sized so voltage drop at the end of the run does not dim it.
Provide backup lighting. A second lamp or a switchable emergency circuit that keeps the correct colours on the correct arcs matters more than a brighter single fitting.
Follow the COLREG tables and your national rules for type, range, and positioning. Verify by walking the boat at dusk, checking each light from ahead, abeam, and astern, and confirming with a second person that the sectors read correctly.
Step 3: Improve the Boat’s Visual Signature
Make the hull readable at a distance in daylight, then confirm nothing you add creates a misleading signal.
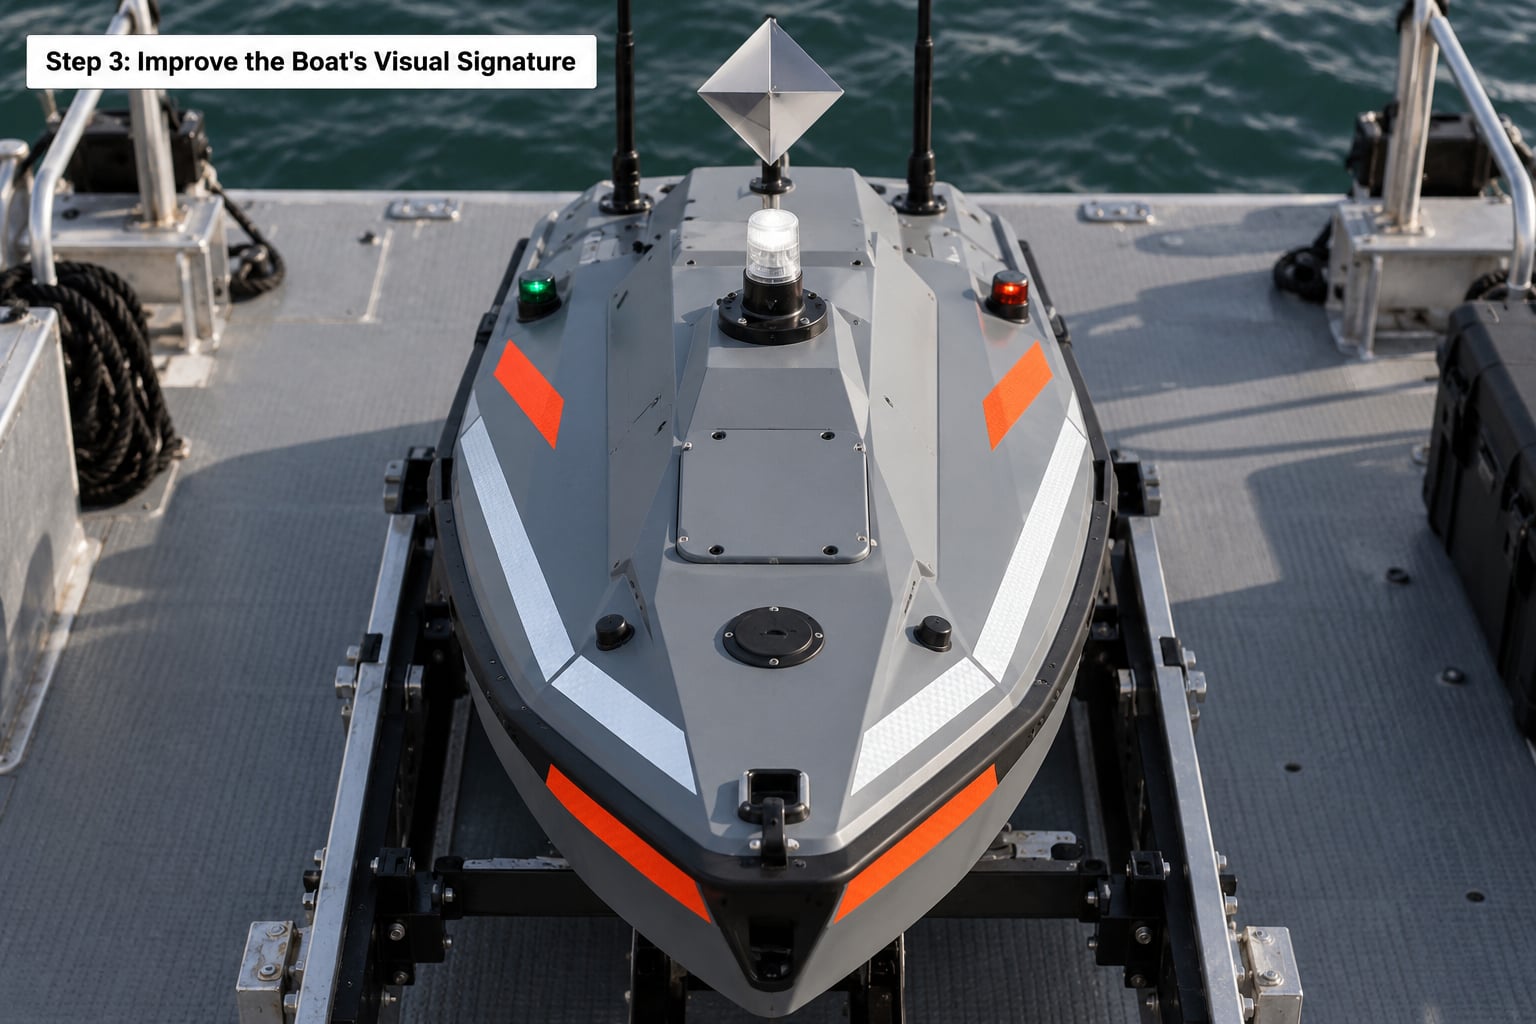
Daylight conspicuity is the channel most guides skip. Hull colour matters: a low-saturation blue-grey hull disappears against a grey sea and a white sky in exactly the flat light where a mistake happens. A contrasting sheer stripe, a light superstructure on a dark hull, or a high-visibility panel on the cabin top gives the eye an edge to catch.
Retroreflective tape returns light toward its source, so it works for a car headlight or a searchlight but not for ambient daylight. Apply it to the highest points and the widest flat surfaces, and check that it survives heel, spray, and washing.
There are places reflective material must not go. Keep it clear of the navigation lights so it cannot wash out a lamp, keep it off the hull sides at waterline level where it can be mistaken for a tow or for an unpowered vessel, and never place a reflective panel in a position that mimics a light’s sector. Any deck lighting you add for work or display should be shielded so it does not glare into a watchkeeper’s eyes or imitate a signal lamp.
Verify in a photograph. Take a frame from a distance at the range you care about in the conditions you expect, then check it against what you can see with the naked eye.
Step 4: Add Sound and Electronic Visibility Aids
Add electronic detection only where it adds a channel the boat does not already have, and keep required navigation equipment distinct from collision-avoidance aids.
An AIS transponder broadcasts position, course, and speed over VHF radio so a fitted-in commercial vessel sees you as a labelled target. Recreational and small commercial craft normally use the Class B standard, while Class A is for larger ships and carries different transmit power and reporting behaviour. A Class B unit raises your detection probability without promising anything, because bridge teams may filter small targets out of a cluttered display.
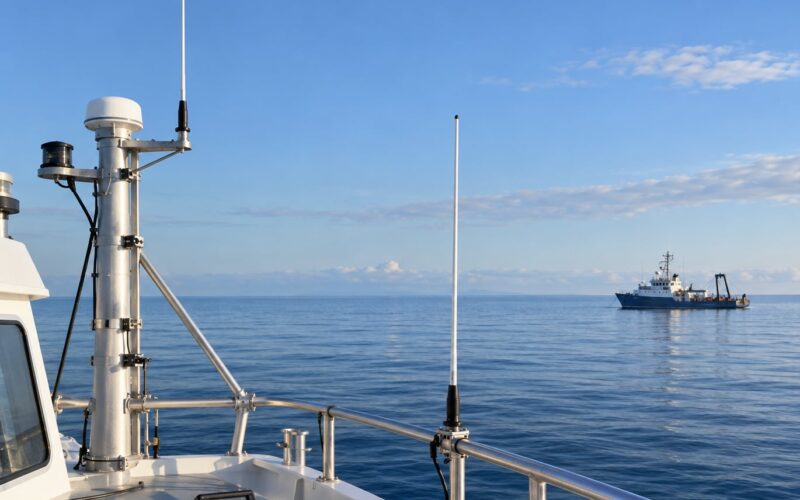
A radar reflector returns microwave energy toward the radar antenna and enlarges your return. A passive octagonal plate needs no power and needs a clear view of open sky and water; an active reflector amplifies the return and costs power and complexity. Mount it high and in clear air, and keep it from sitting where it interferes with a nearby VHF antenna.
Sound signals and a searchlight still matter, especially in restricted visibility. A searchlight pointed at an approaching vessel, used in the manner your rules allow, is often more effective than any passive reflector.
Confirm each addition by checking it appears on a receiving device you do not own — an AIS target on a marina display, a reflector return on a borrowed radar, an echo on someone else’s plotter. Interoperability matters more than the spec sheet.
Step 5: Position Equipment for Actual Viewing Angles
Position lights, reflectors, and antennas for the angles a real watchkeeper looks from, not for convenience on deck.
Mast height sets your whole visual ceiling. Every foot of extra height raises the light into a clearer line over intervening traffic, and on a small craft that often means a mast, a pole, or a hoist rather than a longer part list.
Hull geometry hides things. A recessed cockpit, a high coaming, a stack of instrument gear, or a deployed sail will mask a light that looks perfectly visible when you are standing next to it. Glare from your own instruments at night washes out a low-mounted sidelight, and spray from a forward bow cuts visibility in a seaway.
Run field checks from ahead, astern, abeam, and at oblique angles, ideally from another boat. Then repeat the pass at roughly bridge height by standing on a raised platform or asking someone to observe from a vessel with a raised wheelhouse, because that is the viewpoint that decides whether you get detected.
Record where glare, shadows, and masking show up so the next person who services the rig knows what to look at.
Step 6: Secure, Power, and Back Up the System
Protect and power the system so a soaked connector or a flat battery does not remove the channel when you need it.
Weatherproof every joint, route cables away from chafe points and standing water, add strain relief at connectors, and treat corrosion early. Antenna connectors and light bases are where salt water gets in first, and dielectric grease on the threads is cheap insurance.
Keep antennas, lights, and reflectors clear of sails, running rigging, vegetation, ice, and spray. A reflector that sweeps through the rigging on every tack stops being a reflector and becomes a foil in the rigging.
Size batteries for the load plus a reserve, fuse each branch, and use an automatic cutoff so a fault does not take the whole boat’s electrical system down. On small autonomous craft, run the lighting and radio on a separate supply from the propulsion electronics, so a controller fault cannot silence the lights.
Add a simple fault indication that tells the operator something is wrong without creating a false light or an alarm nobody can silence. Then confirm the whole thing by pulling each branch’s fuse in turn and watching which indicator reports it.
Step 7: Test and Document the Visibility Setup
Test the finished setup in the conditions it will face and write down what you find, because undocumented rigs fail quietly.
Build a repeatable checklist with five passes: daylight, dusk, full dark, adverse weather or fog, and a low-power pass with the battery near its working limit. Run each pass from the same distances and the same angles every time so results are comparable.
At each pass, record the colour and visible range of every light, whether the light reads correctly from ahead, abeam, and astern, whether sound signals carry as expected, whether your AIS transmission is picked up by a receiver you do not control, and what the system does when you disconnect a sensor or pull a fuse.
Log the position of every light, reflector, antenna, junction box, and fuse. Photograph the install from the waterline and note each item’s height above it. An undocumented setup is the one that fails inspection two seasons later.
Repeat the checklist before every season and after any grounding, mast work, or change of equipment. That habit, more than any single purchase, is what makes the difference.
Common Mistakes: How to Make a Boat Visible to Other Vessels
The errors that cost small craft the most detection are almost all installation mistakes rather than equipment mistakes.
- Over-bright decorative lighting. Strips, underwater lights, and cabin glow wash out your own navigation lights and mislead a watchkeeper. Correction: shield everything except the navigation lights, and check for glare from every real viewing angle.
- Poorly aimed or too-dim lights. A light mounted at deck level is below the observer’s horizon. Correction: mount above the sheerline and check the range against the traffic you actually meet.
- Weak daytime contrast. A hull that matches the sea and sky has no edge to catch. Correction: add a high-contrast band or panel and photograph the boat at range to confirm.
- Hidden or obstructed antennas and reflectors. Canvas covers, coiled cable, and rigging block the element. Correction: fit a rigid mount with a clear field of view and inspect it monthly.
- Unregistered or mismatched identifiers. A transponder with no MMSI is a beacon nobody can name. Correction: register the identifier and confirm it reads correctly on a second receiver.
- Improvised sound signals. An air horn or a whistle that cannot produce the required pattern is not a signal. Correction: fit a device that meets the required blast lengths and test it against a stopwatch.
- A single power source. One flat battery silences lights, radio, and reflector at once. Correction: split supplies by function and add an automatic cutoff with a fault indicator.
- Treating one channel as sufficient. Assuming AIS or a reflector means you are seen. Correction: treat each channel as a probability and stack them, then test all of them together.
If you only have time for three things, do these: fix the light mounting and sectors, put the reflector in clear air high on the mast, and run a night pass from a second boat.
Frequently Asked Questions
What lights make a small boat visible at night?
Correctly mounted navigation lights are the core answer: a masthead light, red and green sidelights, and a stern light, each mounted above the sheerline so the arcs are visible to a raised wheelhouse. Brightness alone does not help, because a glare-filled lamp reads as nothing. Add a backup lamp on the same sectors, keep the lenses clean, and verify each light from ahead, abeam, and astern at dusk before you rely on it.
Do all small boats need AIS to be seen?
No. AIS raises your detection probability but is not a requirement for most small craft and is not a guarantee, because bridge teams can filter small targets off cluttered displays. Treat it as one channel among several rather than a solution on its own. A transponder with no registered MMSI adds little, since a target nobody can identify is harder to act on. Keep your VHF radio working regardless, since an early hail often does more than any device.
Does reflective tape work for an autonomous sailing robot?
It works, and on an uncrewed craft it matters more, since nobody is sweeping the horizon for you. Apply marine-grade retroreflective tape to the highest and widest flat surfaces so it returns light from searchlights and headlights. Two limits to plan for: it does nothing in flat ambient daylight, and it must stay clear of the navigation lights so it cannot wash them out. Test it at night from a distance with a handheld light before you finish.
Can decorative LEDs be used to make a boat more visible?
Only in a controlled way. A shielded high-intensity white light aimed at an approaching vessel can help, and undirected strips add nothing except glare that masks your navigation lights and confuses a watchkeeper about your aspect. Never place decorative lighting where it imitates a navigation light sector, and never let it run when your navigation lights are off. Fit it, aim it from a second boat, and remove anything that reduces contrast.
How can I test whether other vessels can see my boat?
You cannot test perception directly, so test the channels you can measure. Walk the boat at dusk with a second person checking each light from ahead, abeam, and astern. Confirm an AIS transmission on a receiver you do not own. Have someone watch your light and reflector from a second boat at a fixed range. Repeat the pass with the battery near its limit, because a dim rig at dusk and a dim rig at low voltage are not the same test.
What rules apply to a remotely operated or autonomous boat?
Requirements depend on the jurisdiction and how the craft is treated, whether as a vessel of small size, a powered craft, or something the authority regulates separately. Most rules still apply in substance: correct navigation lights, sound signals, and a lookout maintained remotely where that is possible. Check with the authority that licenses small autonomous craft in your area, and document who is responsible for the watch when the operator is ashore.
Conclusion
Start with the rules that apply to your specific vessel and water, not with a shopping list. Then fix what is cheapest and most often wrong: light mounting and sectors, hull contrast in daylight, and a reflector in clear air high above the water.
After that, add the electronic channel and prove every channel works with a documented day and night pass from a second boat, including a low-power test and a fault test. The gear is only half of it; a rig that has been checked at the range you actually meet is what makes you easier to detect.
None of this replaces a proper lookout, working radios, and sound collision-avoidance judgment. It shifts the odds in your favour on the worst night of your season, which is exactly what you want when a ship is closing at fifteen knots and nobody is sure whether they have seen you.