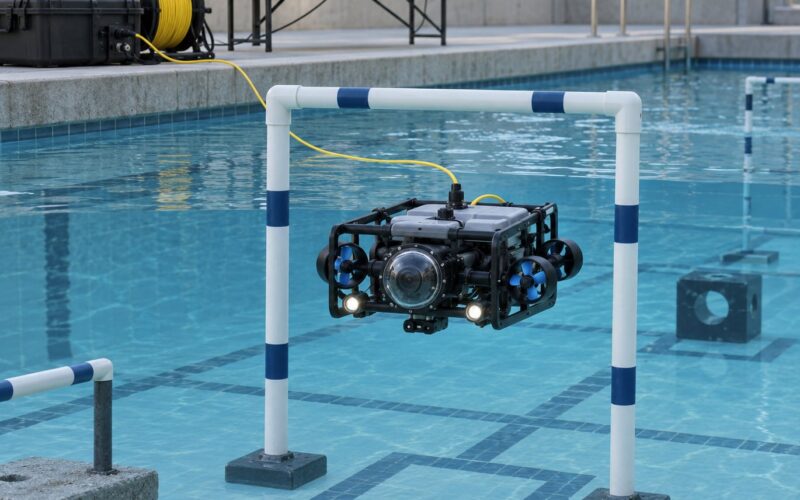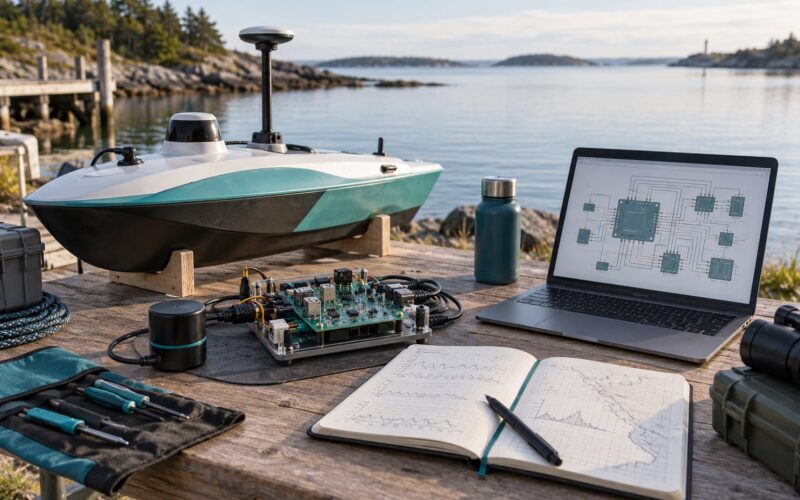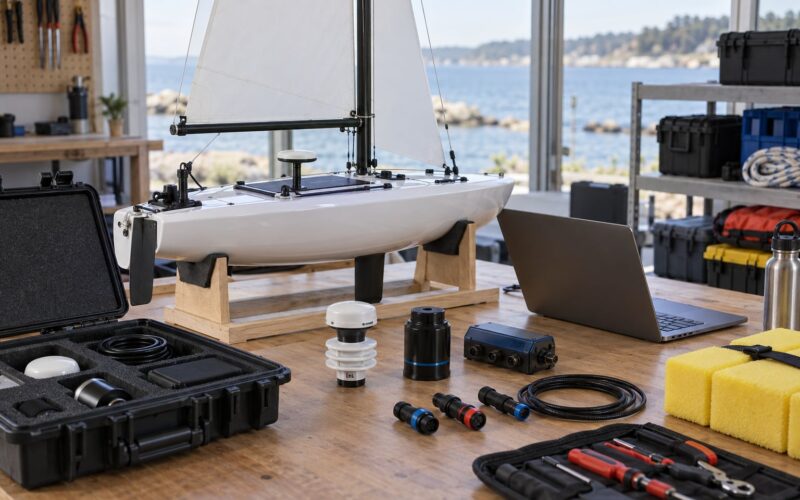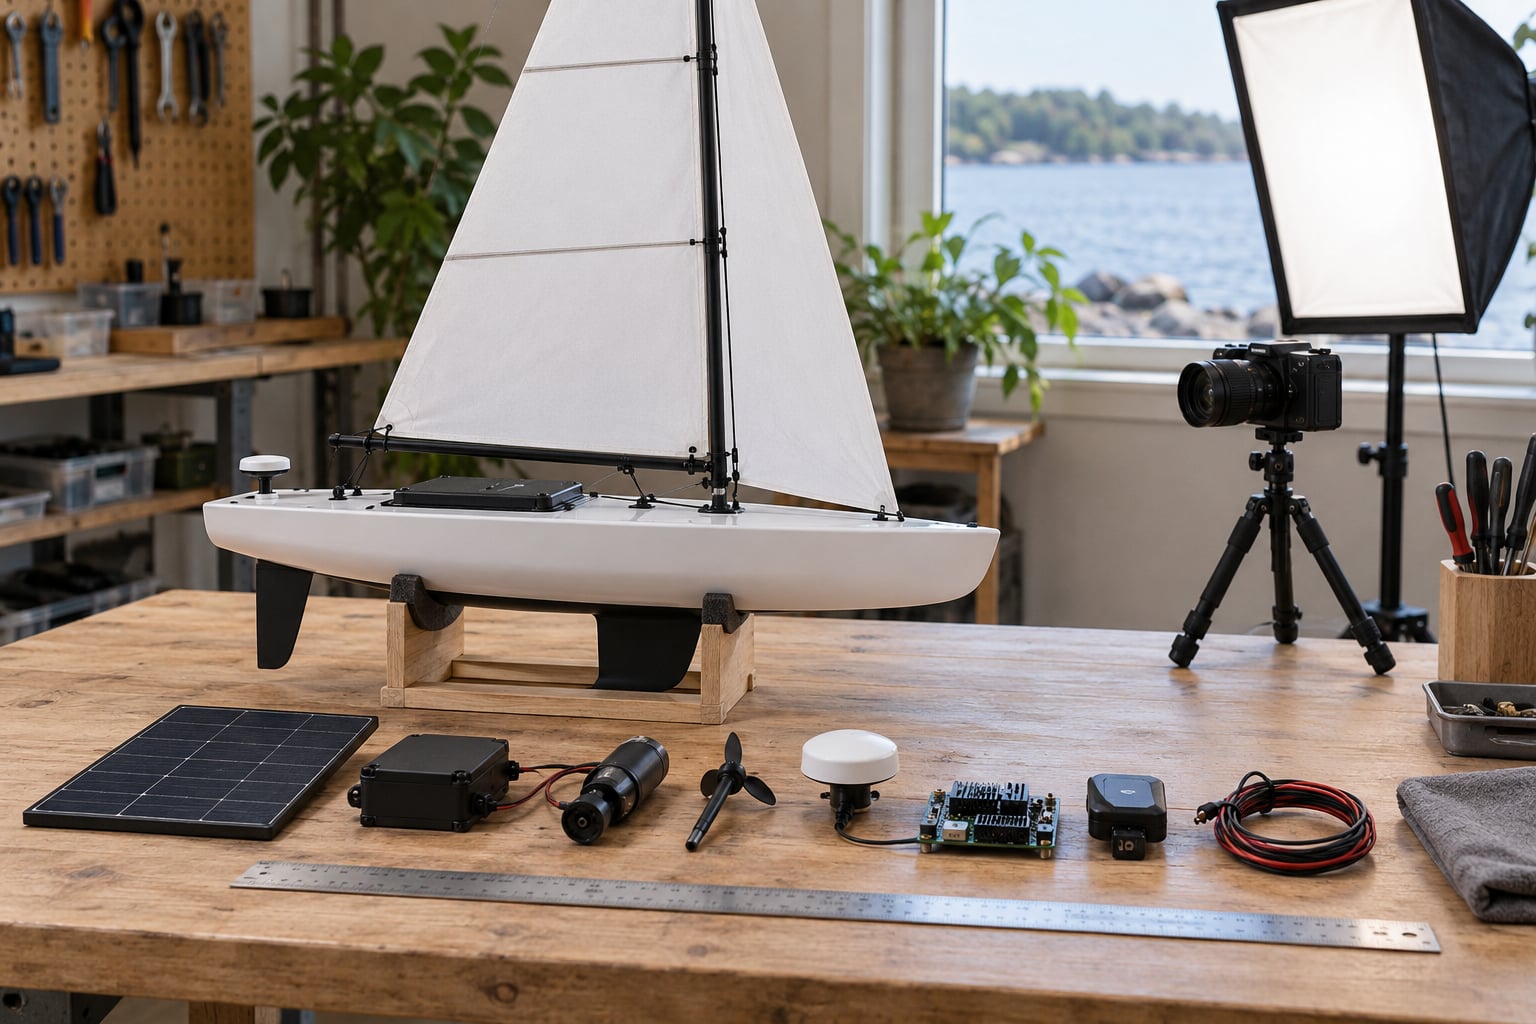
To photograph a prototype well you need seven things: a written shot list, a clean and stable subject, one large soft light source, a supported camera held square to the subject, a scale reference in every frame, a fixed set of angles repeated at every stage of the build, and a naming scheme applied the same day you shoot. That routine takes about twenty minutes for a benchtop unit and it turns snapshots into documentation.
A prototype image is a photograph that records a physical prototype at a specific stage of its build, showing what the thing looks like and enough context for someone else to understand its construction and its size. Good images do three jobs at once: they are a build record, they are evidence the hardware works as designed, and they let another person rebuild or repair it later.
That third job is the one people forget. Six months after a mast gets unbolted and a hull gets glassed, the only record of how the wiring ran is the photos you took before it was hidden. Shoot the inside first.
Table of Contents
- What You Need
- Step-by-Step
- Common Mistakes
- Frequently Asked Questions
- What is the best way to photograph a prototype?
- Do I need a professional camera to document a prototype?
- How do I show the size of a prototype in a photograph?
- What lighting works best for glossy or metal parts?
- How should I photograph a prototype while it is being tested?
- How many photos should I take of a prototype?
- Conclusion
What You Need
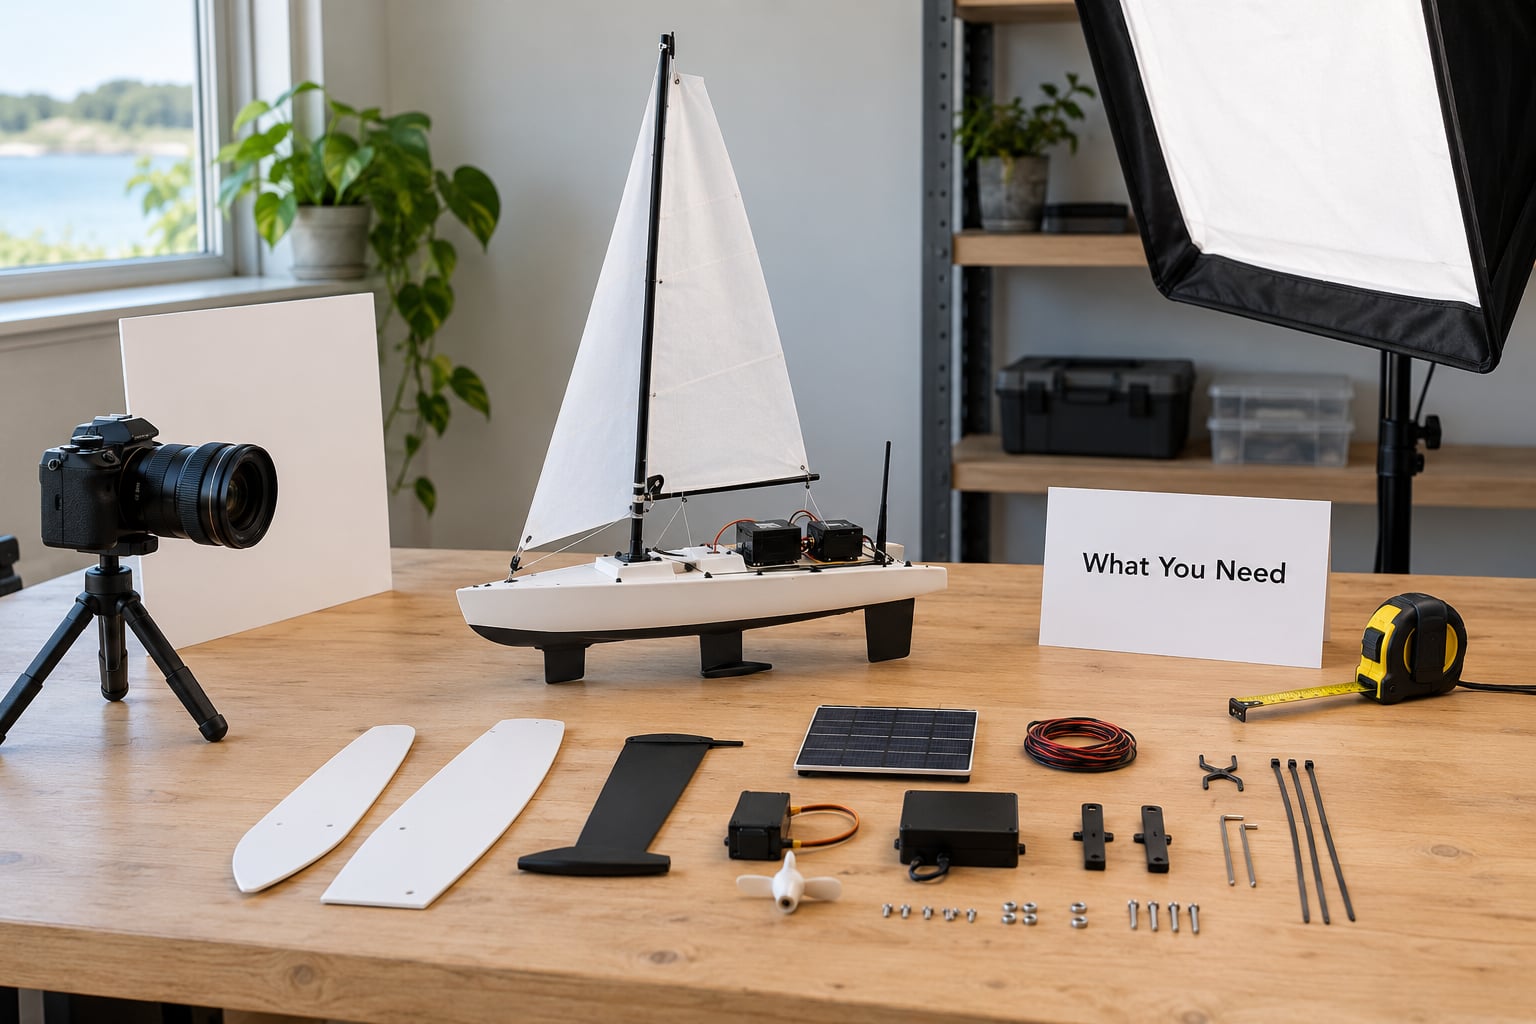
Most of this kit costs less than a replacement component, and half of it is free. Group it by job rather than by price.
- Camera. A phone covers most prototype documentation, and a mirrorless or DSLR body matters only for shallow depth of field, tethered capture and low-light work. Clean the lens first; a smeared lens ruins more benchtop shots than bad technique.
- Light. One large, soft source beats two small ones. A north-facing window is the default. Failing that, a sheet of white foam board bounced from a lamp or an overhead panel light gives an even wash with no hard shadow.
- Support. A tabletop tripod, a phone clamp on a bench lamp arm, or a stack of books at camera height. Anything that stops your hands moving while you reframe.
- Scale reference. A steel rule, a machinist square, a tape measure, or a coin. Put it in the frame for detail shots and remove it for hero shots.
- Staging. Two sheets of matte white or grey card, a strip of black card for flagging, and small adhesive putty stands to hold parts at an angle.
- Safety. Cut-resistant gloves if you are handling sharp offcuts, eye protection for anything that sprays, and a rule that nobody photographs moving hardware from inside the pinch or crush zone.
Before the shoot, run this check: subject cleaned, parts labelled, background set, light softened, camera supported, scale reference ready, and the shot list written where you can see it. Two minutes of prep removes most rework.
Step-by-Step
1. Decide What the Prototype Needs to Prove
Every image you take should answer a question a stranger would ask. Is it bigger than it looks? How is it held together? What is inside the enclosure? Does it work, and under what conditions?
Write those questions down as a shot list before you pick up the camera. A short one works fine: overall shape, scale, front, back, both sides, top, one detail of the busiest area, one detail of the craft you are proudest of, and the thing doing its job. Six or eight frames will cover a small instrument; a hull section needs more.
2. Prepare the Prototype and the Work Area
Most of the ugly condition on a prototype is temporary. Solder flux, cutting oil, dust, fingerprints and clipped zip ties come off, and a clean subject photographs far better than any amount of editing will fix.
Clean the surfaces, secure loose cables with a tie or two, and stabilise anything that would rock. Partially disassemble only what you must: removing a cover gives you the interior shot, but do it on a mat and keep every fastener in a labelled container so the build can go back together.
Clear the bench of everything that is not part of the subject, including the solder spool you will reach for again in ninety seconds. Then put a scale rule in place and mark where the camera stands. Same camera position every time is what makes a build sequence stitch together months later.
3. Choose a Camera Position and Composition
Most prototype photos are ruined by wide-angle distortion at the edges. Stand back and use a longer focal length rather than crowding in with a wide setting; step back twice as far and the perspective starts to look honest.
Shoot a small set of repeatable viewpoints. The overall shot from a three-quarter angle shows form best. The straight side profile shows proportion and length. The top-down view shows layout and footprint. The face-on view is the one that proves a panel or connector is straight. Detail shots fill the frame with one component at a time.
Keep the frame level and the subject straight. Turn on the grid overlay if your camera has one, and check that the horizon or bench edge runs parallel to the frame. Shift your feet rather than tilting the camera; tilting to fit a tall object is the single most common reason verticals look wrong. Leave a little space around the subject rather than butting it against the frame edge, and shoot a tighter duplicate if you need the crop.
4. Use Light to Reveal Shape and Surface
You are after shape, not drama. Place the light at roughly forty-five degrees to the camera and above the subject so the small shadows describe edges and seams. Turn off every other light in the room, including overheads, because two sources from different directions flatten a subject into a grey blob.
Glare is the usual enemy on a benchtop prototype. A glossy enclosure mirrors whatever bright thing faces it, and that reflection lands exactly where the component you want to show is hiding. Three fixes handle most cases: bounce a large soft source into a matte white card and shoot the reflection of the card, angle the part slightly so the reflection falls off frame, and for flat panels a circular polarizer screwed onto the lens cuts surface reflection sharply. On a phone, clip-on polarisers work at around the cost of a coffee.
| Surface | Light approach | Watch for |
|---|---|---|
| Matte plastic or painted hull | Single soft source at 45 degrees | Flat, shadowless results if the source is too large or too close to the axis |
| Brushed or bare metal | Long narrow strip source or a bright card edge to give the surface a gradient | Reflection of the room reading as a grey block across the part |
| Glossy enclosure | Large white bounce card opposite a dim key light | Mirror image of the camera or your own head in the panel |
| Screen or lens glass | Angle the screen away from the light, dim the room, reduce screen brightness | Blown-out highlights and banding at low brightness |
| Wet deck or salt-flecked surface | Overcast light or shade, polarizer if available | Specular sparkle that reads as damage rather than water |
For colour, set white balance manually rather than leaving it on auto. Auto white balance shifts between frames, and a build log whose PCB greens and hull reds drift shot to shot is hard to use. Put a note of the setting in the same place as your shot list, and lock exposure as well if your camera allows it.
5. Show Scale and Construction Details
A prototype with no reference is unreadable, because the eye has nothing to measure against. Include a steel rule alongside the part, or a familiar object such as a coin or a battery cell, and position it in the same plane as the subject rather than closer to the camera.
Pair every wide shot with a close one of the same area. The wide orientation frame tells a reader where to look; the detail frame tells them what they will find there. For deep compartments and tall assemblies where nothing can be in focus at once, take several frames at slightly different focus distances and stack them into one sharp image, a technique called focus stacking.
Depth of field is the shallow band that will be sharp in front of and behind your focal point. At close range on a phone it gets very thin, which is why circuit board photos often have one row of components sharp and the rest soft. Stop down slightly, hold steady, and check the edges of the frame before you accept the shot.
Shoot everything that will be hidden before you hide it. Wiring routes, foam and buoyancy layers, potted joints, the underside of a lid, cable penetrations and fixings all disappear later. Photograph them now while the view is still clear, then photograph the closed unit from the same angle for comparison.
6. Photograph the Prototype in Operation
Static images prove a build exists. An operating shot proves it works, and that is the picture that carries a test report or a funding update. Plan it properly rather than grabbing whatever the moment offers.
Work with a second person whenever possible. One of you handles the prototype, the other shoots, and you call the frames: wide first, then tighter, then a detail of whatever is doing the interesting work. If you are alone, clamp the phone, start recording before the test, and set a wide frame that includes the whole working area.
Make the conditions visible in the image, not just the action. Include the environment the test happens in, and include something that reads as scale. Write down the date, the conditions, and what the prototype was actually doing when you shot it, because a photo of a spinning rotor or a boat moving under power says nothing about speed, load or time of day on its own.
Keep people out of the frame and keep yourself out of the pinch zones. Nobody leans over a moving assembly with a camera in one hand. Wipe the housing before the field session rather than after, and expect salt and glare to cost you a good share of the frames on an exposed deck.
7. Review, Rename, and Store the Images
Run a quick quality pass before you clear the memory card. Check that the subject is sharp where it matters, that highlights are not clipped, that no part is cropped by accident, that the background is clear of clutter, and that the scale reference is legible.
Then rename and file the set the same day. A workable scheme is date, build stage, subject and sequence: 2026-05-14_hull_frame_assembly_03.jpg. Consistent filenames mean you can find the shot of a specific connector in a folder of four thousand without opening them all.
Keep three layers. The full-resolution originals live on at least two drives, the working set lives in a folder per build stage, and a selected set gets exported for reports and posts. Save captions at the same time, since a note about conditions or a wiring change is worth nothing if you cannot find it a year later.
Resist heavy retouching. Crop to fix a tilted frame, lift shadows slightly, straighten white balance. If you have to clone or paint over a part of the prototype, the image stops being documentation.
Common Mistakes
Distorted scale. Crowding the subject with a wide lens bows the near edge outward and makes the far edge look smaller. Step back, use a longer focal length, and keep the sensor plane parallel to the part you are measuring.
Flat lighting. Two sources from above cancel the shadows that describe shape. Switch off the room lights and work with one soft source placed to the side.
Glare hiding the feature. The component you most need to show is behind a reflection. Change the light angle before you change anything else, then add a polarizer if the surface is flat enough.
No scale and no reference. Add a rule or a familiar object in the same plane as the subject, and make sure a close-up includes something that says where it sits.
Waiting until the build is finished. Hidden wiring and internal structure are gone once the enclosure closes. Photograph them before, from a matching angle.
Inconsistent backgrounds. Changing bench colour, light direction and camera height between weeks makes a build log hard to read. Fix those three things once and repeat them every session.
Shooting live hardware from close range. Set the camera down and step back for anything that moves. Gloves, eye protection and a clear escape route are cheaper than a camera in the water.
Over-editing. Heavy contrast and colour shifts turn a record into an advertisement. Keep corrections honest so the image still matches what is on the bench.
Frequently Asked Questions
What is the best way to photograph a prototype?
Shoot a repeatable set of views from the same camera position each time: one overall three-quarter view, straight side and front views, a top-down layout shot, several details, and one frame of the unit working. Use one large soft light source at forty-five degrees, keep the camera level and supported, put a scale reference in the frame, and write down what each image shows. Consistency matters more than polish.
Do I need a professional camera to document a prototype?
No. Most prototype documentation is done on a phone, and a phone with a clean lens, a clamp and a soft light source produces images good enough for a build log, a grant report or a design review. A camera body earns its place when you need shallow depth of field, low-light shooting or tethered capture. Clean the lens, lock exposure and white balance, and treat the phone as a camera rather than an afterthought.
How do I show the size of a prototype in a photograph?
Put a scale reference in the same plane as the subject, not closer to the camera. A steel rule, tape measure or machinist square works for technical work; a coin, battery cell or USB stick reads instantly for anyone else. For a large part, photograph it from a fixed distance with the reference laid out along its length, and add a second frame showing the part beside a person or a familiar object for general scale.
What lighting works best for glossy or metal parts?
Use one large, soft source placed to the side and above, then bounce a white card back into the shadow side to fill it. Glossy panels mirror whatever faces them, so angle the part slightly until the reflection falls out of frame. Brushed metal needs a long narrow highlight, which a strip softbox or the edge of a white board gives you. A circular polarizer cuts surface reflection on flat glass and coated panels, and clip-on versions work on a phone.
How should I photograph a prototype while it is being tested?
Work with a second person whenever you can, or clamp the phone and start recording before the test. Shoot a wide frame that includes the environment and something for scale, then tighter frames on whatever is doing the interesting work. Keep yourself clear of pinch and crush points and step back from moving parts. Write down the date, the conditions and what the prototype was doing, since the image alone will not record load, speed or state of charge.
How many photos should I take of a prototype?
Take more than you think you need. A small instrument is well covered by fifteen to twenty images: several overall views, both sides, the top, a handful of details and one or two in operation. A larger build with internal structure and a field test can justify fifty or more. The constraint is rarely time or storage; it is that the moment to photograph something before it is hidden arrives once.
Conclusion
Start with the shot list, then shoot four frames before you refine anything: one overall three-quarter view, the same subject with a scale rule beside it, one tight detail of the part you most want to show, and one frame of the prototype actually running. Add the hidden internals while you still have access to them, and rename the set the same day.
Once those five shots exist, the rest is repetition. Keep the same bench, the same light and the same camera position each session, and a year of progress assembles itself from the frames you already took.