Putting registration numbers on a boat takes about an hour, most of it spent cleaning and measuring. The numbers go on the forward half of the hull on both the port and starboard sides, in block letters at least 3 inches tall, in one color that contrasts with the hull, and clear enough to read from about 100 feet. Whether that means new vinyl or fresh paint depends on the hull material and what is already there.
The part people get wrong is not the application. It is the placement. Owners install numbers where the boat looks best, not where the rule says, and a marine patrol officer reads the marking from a distance with the boat moving. Confirm your own number and placement requirements with your state boating agency before you buy a single decal, because the sizing, the position and the position of the validation decal are all state-specific and they do change.
This guide covers what to gather, how to measure and mark, how to apply pressure-sensitive marine vinyl without covering a character, when paint is the better option, and how to check your work before the boat goes back in the water.
Table of Contents
- What You Need
- How to Put Registration Numbers on a Boat Step by Step
- Common Mistakes
- Frequently Asked Questions
- Do I need to display a temporary registration number on a newly purchased boat?
- What should I do if my registration number or state changes?
- Must boat registration numbers be visible on the trailer as well as the hull?
- Can I paint over an old boat registration number before applying a new one?
- How do I keep registration lettering from peeling off or fading?
- Conclusion
What You Need
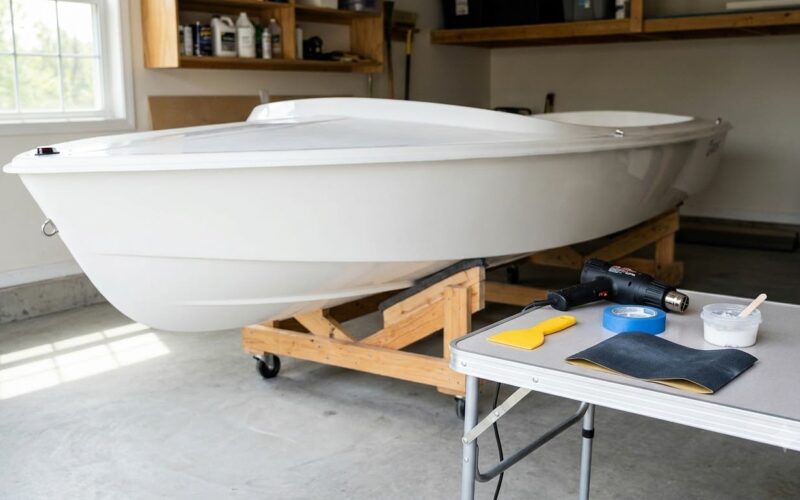
Most of what you need is cheap and already in the garage. The one thing worth spending on is good vinyl, because adhesive failure on a hull is almost always a materials problem rather than a technique problem.
- Your registration certificate or official number. Copy it exactly, including the prefix letters and any hyphen. A transposed digit is the single most common reason a marking gets rejected.
- The sizing and placement rules for your jurisdiction. This is the published rule from your state boating agency, not a vendor’s description of it.
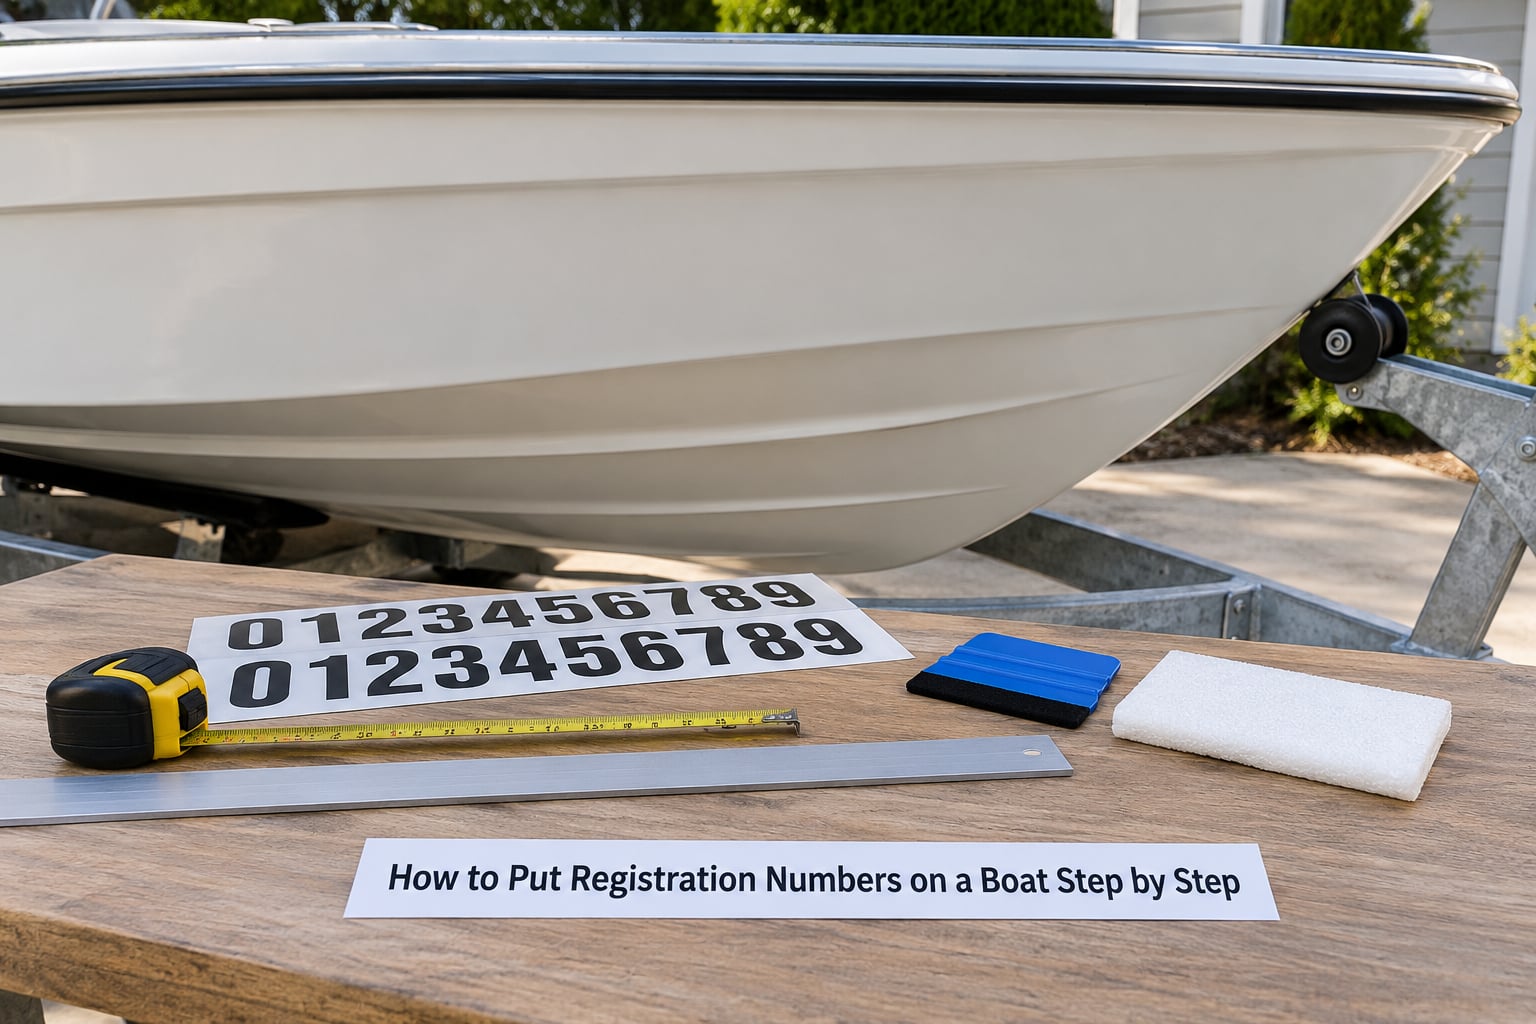
- Pre-spaced marine vinyl numbers on transfer tape, in a single contrasting color. Pre-spaced means the character spacing is already set, which takes the hardest part of the job out of your hands.
- 70% isopropyl alcohol and clean microfiber towels for degreasing the gelcoat.
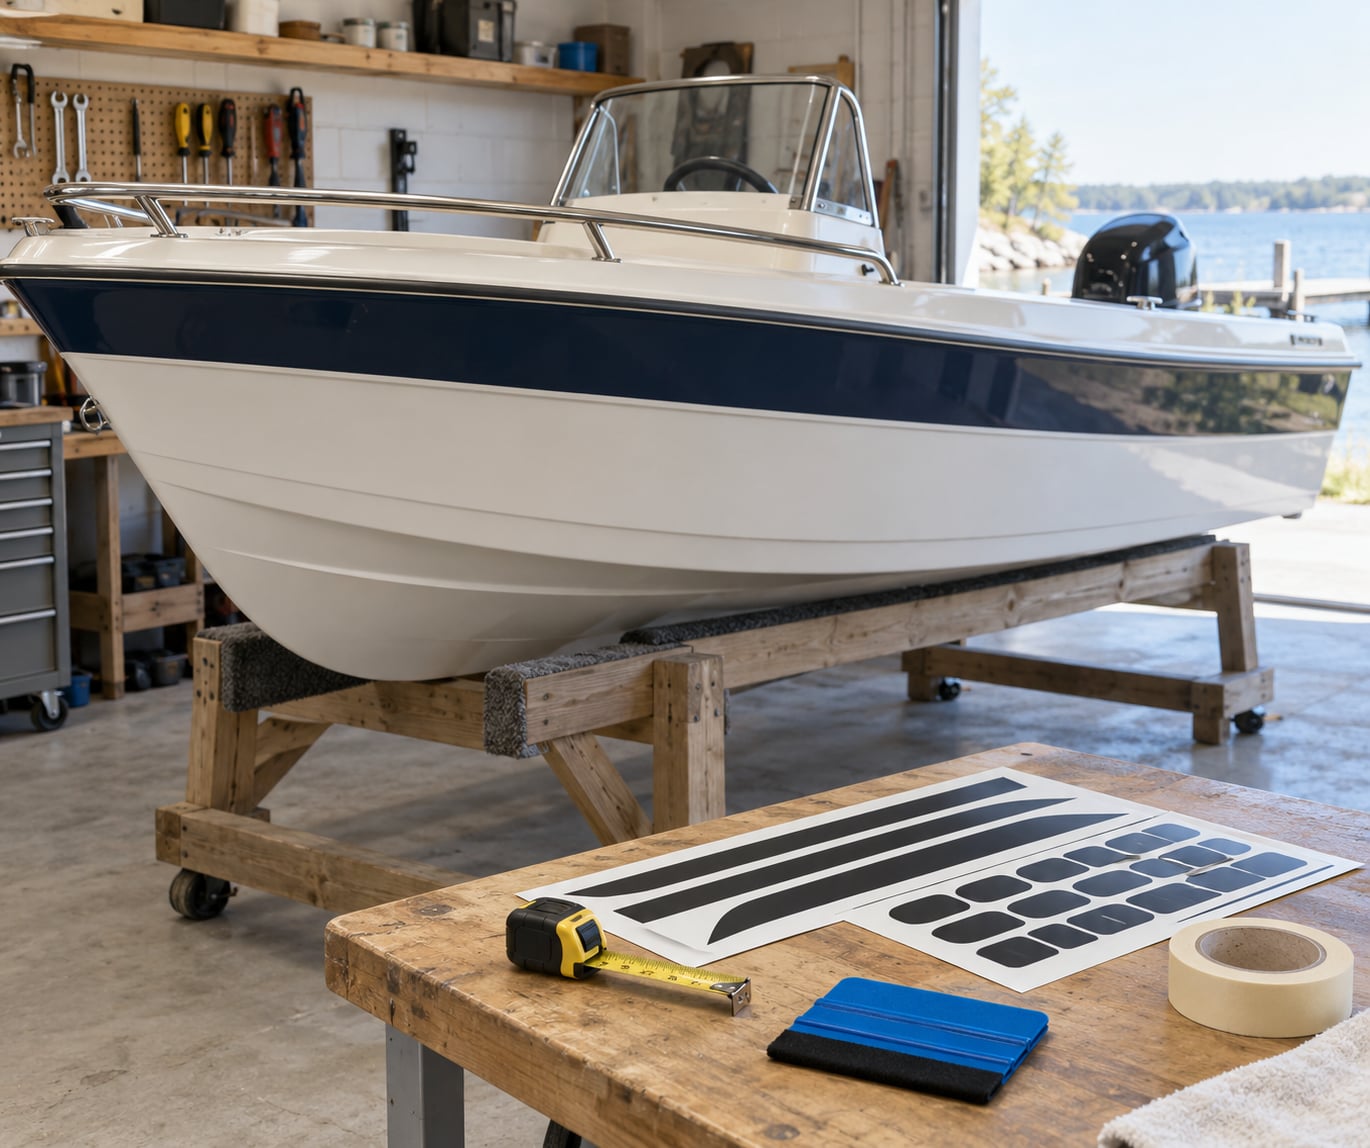
- Low-tack painter’s tape and a tape measure for a level guide line.
- A straightedge long enough to span the flat section of the bow.
- A felt-edged squeegee. A plastic card works in a pinch, but felt gives you even pressure without the hard edge that pushes air to the seams.
- A spray bottle and a pin for the wet method and for popping bubbles.
For paint, you also need masking tape, marine enamel or antifouling-compatible topcoat matched to your hull, and a fine marine-grade brush. Get the exact paint specification from the boat manufacturer before painting over gelcoat.
How to Put Registration Numbers on a Boat Step by Step
Confirm the official number and local rules before you buy anything
Check the exact number and display format with the licensing authority that issued your registration, because display rules vary by country, state, waterway and boat type. In the United States the federal baseline is a minimum of 3-inch block-style letters, a single color, contrasting with the hull, readable from 100 feet, on both sides of the forward half, above the waterline. States add specifics on top of that, and those specifics are what get you cited.
What to pin down before you start: minimum letter height, where along the hull the number sits, how far the validation decal must be offset from the number, and whether your state still issues an annual sticker or has moved to a multi-year cycle. Texas, for instance, requires the validation decal in line with and 3 inches toward the rear of the number. Florida’s published guidance ties placement to the forward hull portion alongside the state tag. Pennsylvania and New York specify their own offsets. Do not assume one state’s answer travels.
If you operate in more than one state, the number you must display can change with the waterway. A boat kept on a lake one season and coastal waters the next may need a second state number, and both sets may end up on the hull in different zones. Our guide to operating a boat that needs its own authorization covers the same principle: waterway rules beat home-state habit.
Measure and mark the required location
Work in the forward half of the hull, not amidships, and choose the flattest area that still clears the rub rail, the hull stripe, hardware and any boat name. On most hulls that flat zone sits just below the rub rail, above the stripe, where the surface runs fairly straight from the bow back to about amidships.
Run a strip of low-tack tape along your chosen baseline, then measure down from the rub rail by the distance your rules specify. New York’s guidance is commonly quoted by owners as 18 inches from the bow on both sides, though plenty of people place the number further aft where the hull is flatter and easier to keep straight.
Photograph the taped baseline from the side before you peel anything off, and step back 15 to 20 feet to see whether the run of tape looks level to the eye. The tape is a guide, not a commitment. Curved bow sections need extra care because a straightedge on a compound curve will leave gaps at the ends, which is exactly where characters tend to lift later.
Marking the two sides matters as much as marking one. Note the tape height and the distance back from the bow on each side, then measure the second side against those notes and hold it within a half inch. Numbers that match visually from across a dock look deliberate; numbers that do not look like a mistake, even when both are legal. If your boat also needs to be seen at night or in rough water, our steps for making a boat visible to other vessels cover the lighting and hardware side of that problem.
The table below shows how the same federal baseline turns into different physical layouts depending on the state.
| State | Letter height | Position on the hull | Validation decal offset |
|---|---|---|---|
| Florida | 3 inch minimum, block font such as Impact or Arial Black | Forward hull portion, alongside the state tag | Positioned with the registration tag |
| Texas | Federal minimum, block letters, contrasting color | Both sides of the bow, above the waterline | In line with and 3 inches toward the rear of the number |
| New York | Federal minimum | 18 inches from the bow on both sides | With the number on both sides |
| Pennsylvania | Federal minimum | Forward half, both sides | 6 inch offset commonly cited by owners |
Treat every row as a starting point and verify it against your agency’s current publication, since offsets and formats do get amended.
How to Put Registration Numbers on a Boat Without Covering Them
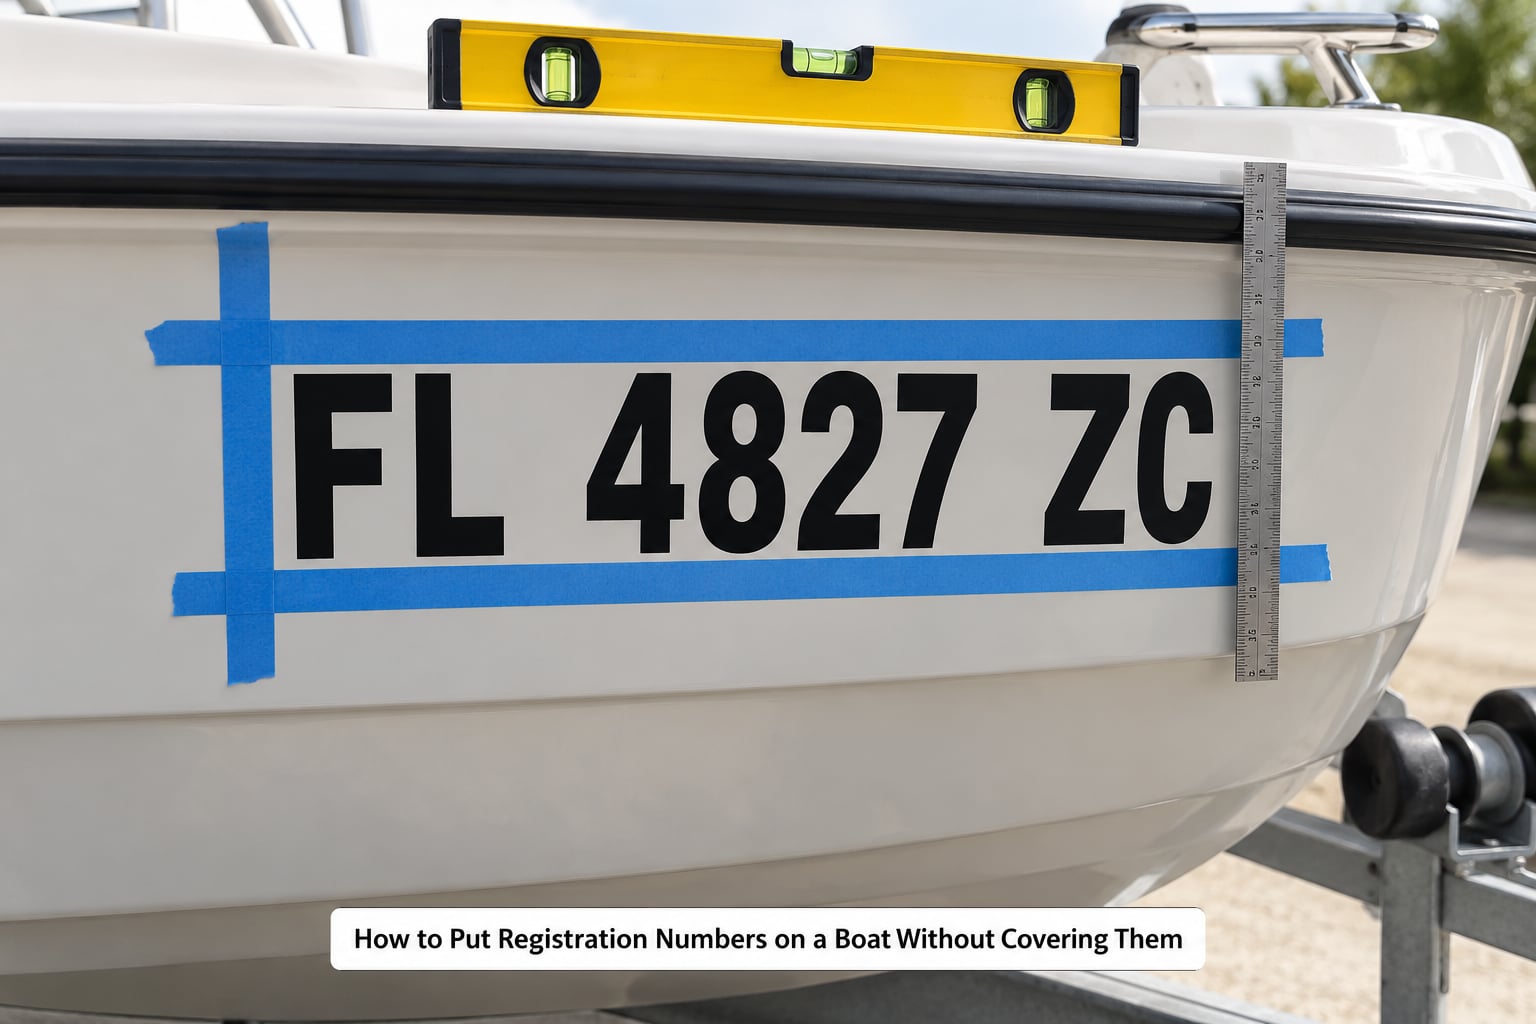
Prepare the surface first. Wash the area with boat soap, rinse, then wipe with 70% isopropyl alcohol and a clean microfiber towel until the towel comes away without a film. Wax, polish and UV protectant are the number one cause of numbers peeling off after a season, and alcohol is what removes them. Skip a wax or polish for at least a couple of days before you apply, and keep the hull between roughly 60 and 85 F, out of direct sun and out of the wind.
Dry and wet application both work. The dry method is faster and gives the cleanest edges on a flat section, but you get roughly 10 to 15 seconds to reposition once the first edge sticks. The wet method, using 2 or 3 drops of dish soap in a spray bottle of water, buys you a few minutes of sliding time and is far more forgiving on a compound curve. On a bow that curves in two directions, use wet.
| Method | Repositioning window | Best surface | Watch for |
|---|---|---|---|
| Dry hinge | 10 to 15 seconds | Flat, non-warpable hull sections | Hinging at the center line so characters stay aligned |
| Wet soapy water | Several minutes | Curved or compound-curve bows | Drying too fast in sun; add soapy water as needed |
To apply, keep the characters separate from each other and keep every seam clear of the character shapes. Peeling the whole set at once in a shallow arc is the usual failure: the first characters catch, the tape stretches, and a letter ends up half-stuck and folded. Peel back a few inches at a time at a sharp angle, almost flat to the hull rather than straight up, and press each section down with the squeegee before you take the next section.
Squeegee from the center of the character outward in short overlapping strokes, then around the full set once more with light, even pressure. Air bubbles can be popped with a pin, working from the outside in so you push air toward an edge instead of spreading it. If a character lifts, leave the tape alone and burnish the edge down again with the felt; yanking at a lifted edge is how vinyl tears.
On aluminum, inflatable PVC or Hypalon, and any surface described by the manufacturer as non-warpable, the prep changes. Aluminum wants a scuff with 800 to 1000 grit and a wipe to remove the dust. Inflatables need a marine adhesive promoter and, per owner reports on inflatables, low heat from a heat gun plus firm card pressure to make the adhesive bite. Never apply vinyl to a hull still inside its paint cure window, usually about 30 days.
Paint the numbers when vinyl is unsuitable
Paint is the answer for non-warpable surfaces, for very small boats that cannot carry vinyl, and for a number board mounted on the transom rather than on the hull. Marine paint also outlasts vinyl in full sun, which matters on a boat that lives on a trailer in a salt-air driveway.
Prep the same way, then mask the character shapes with tape and a straightedge, leaving a consistent outline on every character. Cut the outline slightly wider than the paint line so the tape edge reads as a border rather than as half a letter. Apply thin coats rather than one heavy one; a thick coat sags on a vertical hull and runs at the bottom edge of a character, which ruins the block shape the rules require.
Follow the can’s drying and recoat times, and keep the boat out of rain and direct sun while you work. Remove the tape while the paint is still slightly tacky rather than fully hardened, which gives a much cleaner edge than pulling it off the next morning. Then let the whole marking cure fully before the boat goes back in the water.
Let the marking cure and verify compliance
Give the adhesive and the paint a proper window. Wait at least 24 hours before launching, 24 to 48 hours before the marking gets wet at all, and about 72 hours before you wax or polish over it. Cold weather stretches all of these; the adhesive does not activate properly below roughly 60 F, and a number applied in the cold often peels the first time the hull warms up.
Then check the work against the rule, not against your memory of it. Measure the character height and confirm it meets the minimum. Measure the position from the bow and confirm it matches what your agency specifies. Check that the number sits in the forward half, above the waterline, on both sides, and that nothing you added later, a trailer bunk bracket, a cleat, a live well lid or a boat name, now covers it.
Check visibility from a distance. Stand 15 to 20 feet back and look at the hull as one shape, then have someone photograph both sides from across a driveway. Faded or chalky numbers can fail the contrast and 100-foot legibility requirement even though they are technically present, and that is the version of this problem most owners do not notice until a marine patrol officer points it out.
Finally, photograph the finished placement and keep it with your registration paperwork. Take one before you launch and one each renewal year, and you will have a record of where the number went, which matters if you ever sell the boat or if a sticker needs replacing without disturbing the marking around it.
Common Mistakes
Almost every failed number traces back to one of a handful of causes, and all of them are avoidable before you start.
| Symptom | Likely cause | Fix |
|---|---|---|
| Numbers peel off within one season | Wax, polish or UV protectant left on the gelcoat | Strip with 70% isopropyl alcohol, wait 48 hours with no wax, reapply on a cleaned surface |
| One or two letters lift | Seams crossed a character shape, or application in cold temperatures | Apply above 60 F with seams in clear space, burnish edges with felt instead of pulling tape straight up |
| Air bubbles and wrinkles | Weak prep, a hard plastic squeegee, or the dry method on a compound curve | Prep twice, use felt, switch to the wet method on curved bows |
| Numbers look chalky and hard to read | UV exposure and no laminate or overcoating | Replace with clear-coated vinyl, or paint the numbers in a single high-contrast color |
| A raised ghost remains after removing old numbers | Old numbers baked into the gelcoat by long sun exposure | Buff and wet sand carefully, expect a faint trace, and cover it with the new number in the same footprint |
| Number looks too low or too far aft on inspection | Placed by eye rather than by the published rule | Re-measure from the bow and reapply in the specified position |
Two durable habits cover most of the table. Apply numbers below the rub rail and above the hull stripe, which is where owner consensus across boating forums points, because above-rail markings take the abuse from docks, fenders and trailer bunks. And keep wax off the number for its whole life, not just around installation, since polish builds up under the edges and eventually works the adhesive loose.
One honest tradeoff: below-rail numbers can be harder to read when you pull up alongside another boat at a dock. That is a visibility compromise, not a legal one, so check your state’s rule for legibility and pick the position that satisfies it on the hull you actually own.
Frequently Asked Questions
Do I need to display a temporary registration number on a newly purchased boat?
It depends on how your state handles a newly purchased boat. Most states issue either a temporary certificate or a permanent number right away, and many require the number to be on the hull before you launch rather than after the paperwork clears. Buy the decal as part of the closing, confirm with the agency whether the temporary document is valid on the water, and if it is, keep it with the boat until the permanent marking is applied.
What should I do if my registration number or state changes?
Remove the old number cleanly, then apply the new one in the position your new state specifies. Numbers that are no longer correct are treated the same as missing numbers, so do not run both sets and hope nobody notices. Photograph the old placement before you strip it, and give the gelcoat a couple of days to recover from alcohol cleaning before the new vinyl goes down.
Must boat registration numbers be visible on the trailer as well as the hull?
Usually not on the trailer alone, but the rule does not exempt the trailer from common practice. Many states require the number to be legible while the boat is being towed, and a trailered boat with no visible number invites a stop on the road as well as on the water. If your hull markings face inward or sit too low to read from behind, a small matching set on the trailer frame costs little and removes the question.
Can I paint over an old boat registration number before applying a new one?
Painting over an old number is acceptable only when the new number will sit in a clearly visible, contrasting color and the old shape is fully hidden. A ghosted outline showing through defeats the contrast requirement, so sand or buff the old marking back first. On gelcoat, wet sanding leaves a trace that will not fully disappear, which is another reason many owners simply apply the new number in the same footprint as the old one.
How do I keep registration lettering from peeling off or fading?
Strip wax and polish before you apply, work between 60 and 85 F out of direct sun, and wait 24 to 48 hours before the hull gets wet. Afterward, keep polish off the lettering entirely, because buildup under the edges lifts the adhesive, and choose clear-coated vinyl if the boat lives in strong sun. On inflatables and aluminum, use the adhesive promoter the surface needs and expect to renew the marking every few seasons.
Conclusion
Confirm your number and the placement rules with the agency that issued your registration before anything else, because that one call decides the letter height, the position on the hull and where the validation decal belongs. Then strip the surface with alcohol, tape a level guide line, and apply pre-spaced marine vinyl with seams in clear space, squeegeed from the center out and peeled back a few inches at a time. Match the two sides within a half inch, keep the marking below the rub rail and above the stripe, and let it cure for 24 to 48 hours before the boat goes back in the water.
Before launching, measure the characters, measure the distance from the bow, and photograph both sides from 15 feet back. If anything is faded, blocked or short of the minimum, fix it at the dock rather than explaining it later.