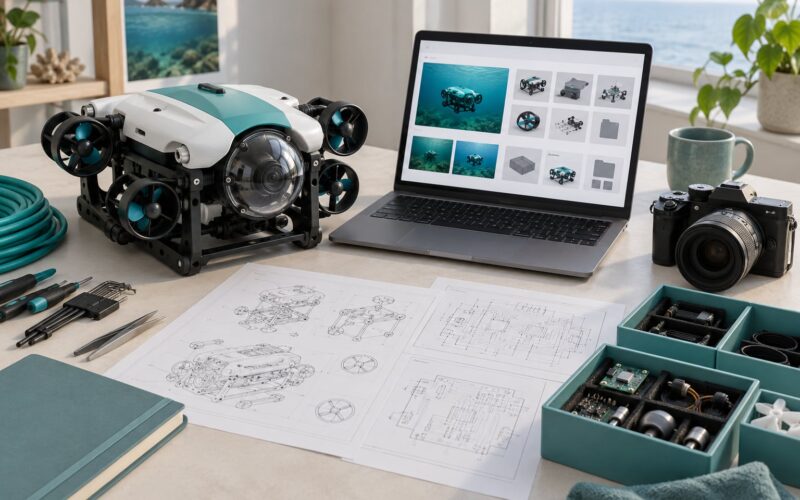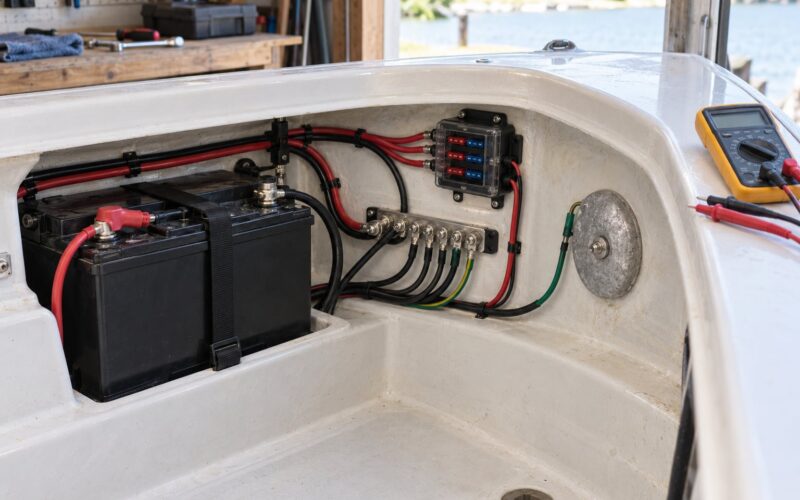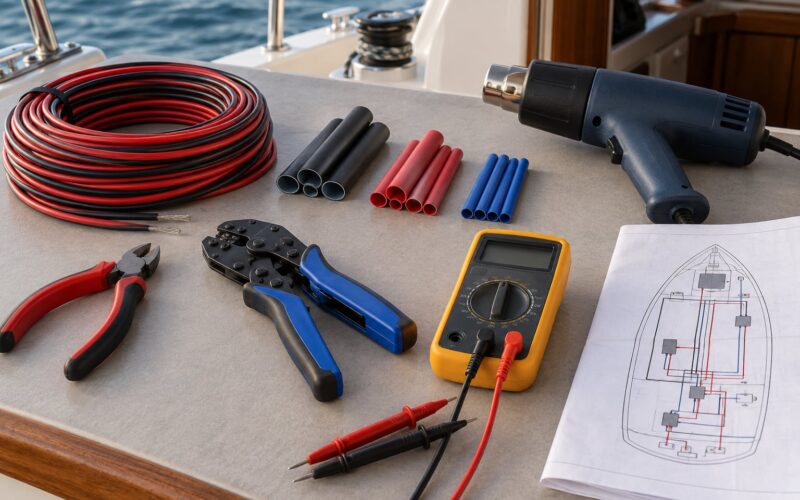
To run a hardware hackathon, you need a narrowly scoped challenge, a standardized component kit every team starts with, scheduled build time that accounts for soldering and debugging, and staff who cover mentoring, safety and judging. Teams design, source, assemble and test a physical device, then demo it on stage. The whole thing runs on a schedule, not on enthusiasm, and the version of this guide below reflects what still holds as of 2026.
Hardware events fail differently from software ones. A team can write working code on a laptop at 2am, but they cannot fabricate a circuit board overnight or hand-solder forty connectors before the deadline. Procurement takes days, firmware debugging takes weekends, and a design that looks finished in a schematic usually has three loose wires holding it together on the morning of judging.
That difference drives everything below. If you plan like a software sprint, you get a room full of half-constructed devices and no demos. If you plan like a build program with a deadline, you get working prototypes.
Table of Contents
- What You Need
- How to Run a Hardware Hackathon Step by Step
- 1. Set a Focused Challenge and Success Criteria
- 2. Choose the Right Format and Schedule
- 3. Prepare Hardware, Tools, and Connectivity
- 4. Recruit Mentors, Judges, and Safety Support
- 5. Brief Participants Before Building
- 6. Run Build Sessions and Field Tests
- 7. Prepare Teams to Demonstrate Results
- 8. Judge Fairly and Close the Event Properly
- Common Mistakes
- Frequently Asked Questions
- Conclusion
What You Need
Most hardware hackathon disasters come from underestimating the physical logistics, not the creative brief. Work through this list before you announce dates.
Venue, power, and connectivity
Budget at least one and a half power outlets per seat, plus a dedicated circuit for soldering stations, bench supplies and any 3D printer or laser cutter you bring. Test the actual sockets with the actual equipment, not just the room’s nominal capacity. Provide a second internet path: a wired backup or a dedicated hotspot on a different carrier.
Core kit and shared components
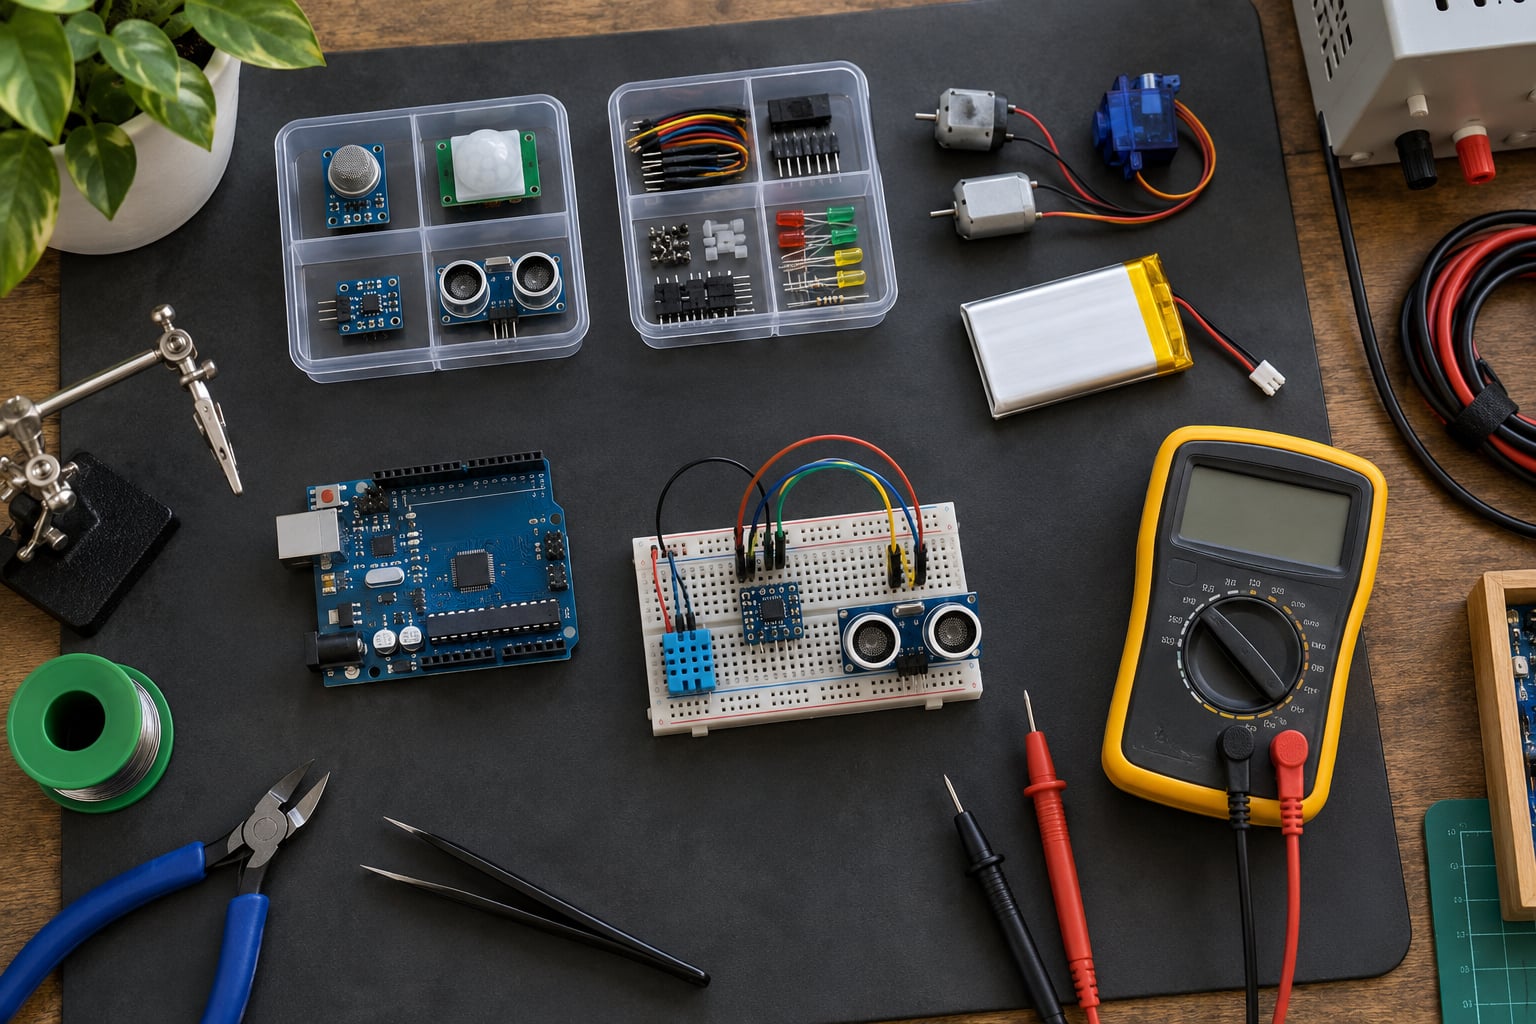
Every team should receive an identical starting kit so that nobody begins with an unfair advantage. A typical kit holds a microcontroller board, jumper wires, a breadboard, headers, a couple of sensor modules, a current-limited power supply, and a small set of passives. See step 3 for how to size it.
Bench tooling
Soldering irons with fine tips, stands, solder, flux, desoldering braid, wire strippers, cutters, needle-nose pliers, screwdrivers, heat-shrink, multimeters, and at least one shared logic analyzer. Count how many of these you actually own, then buy the difference. Two irons for forty participants means a queue that eats an hour of build time.
Design and fabrication tooling
Participants need schematic capture, PCB layout and firmware toolchains. Open tools such as KiCad, KiCad-compatible libraries, and the vendor IDEs for common development boards cover most of it. Decide whether you are also providing access to a 3D printer, laser cutter or small CNC, and if so, write down the per-machine time limit at signup rather than on the day.
Safety and documentation kit
Fume extraction for every soldering station, a first aid kit, a fire extinguisher rated for electrical fires, cable ties, gaffer tape for bench organisation, bin trays for small parts, anti-static wrist straps if any bare board handling is expected, and printed waivers. On a marine or field-testing theme, add life jackets, dry bags and a charged phone per test team.
Staffing roster
Write down names, not roles. You need a lead organizer, a safety lead, one hardware mentor per four to six teams, one float judge, a logistics person who owns the component store, and a communications person who keeps the schedule visible.
Judging pack and scheduling materials
Print the rubric, the schedule, the emergency procedure and the venue map as paper copies. A large-format schedule board taped to the wall ends most of the “when does judging start” questions before they start. Bring a timer for demo slots and a backup laptop for score entry.
How to Run a Hardware Hackathon Step by Step
1. Set a Focused Challenge and Success Criteria
Turn a broad theme into one constraint teams can actually build against. “Environmental monitoring” is a theme. “Build a device that logs one water-quality parameter and streams it over Wi-Fi at least once a minute” is a challenge.
Define what counts as done before registration opens. For most hardware events that means: a working prototype, a demonstration of the core function, a documented bill of materials, and a short statement of limits. Publish those four items and score against them.
The failure mode is over-scoping. A prompt asking for a machine-learning model, a custom board, an enclosure and a deployed pilot will produce exactly two finished projects and twenty half-finished ones. Narrow it, and make the challenge sound specific enough that a participant can tell whether their idea fits.
2. Choose the Right Format and Schedule
This is the decision that most affects the outcome, and organizers tend to default to a weekend because that is what software hackathons do.
A weekend sprint works for teams reusing off-the-shelf modules and skipping custom boards. Anything involving layout, fabrication or enclosure design needs longer. Organizers on the FOSS United forum described a ten to fourteen day window as the practical sweet spot, because it stretches to match the real phases of hardware work: design, then procurement, then integration.
A Reddit thread on running a real RISC-V electric-vehicle hardware event made the same point from the other side. Real hardware complexity does not compress into forty-eight hours, and forcing it to just means fewer working demos.
Whichever format you choose, build the schedule in phases and publish each phase milestone. Milestones are what stop teams from quietly spending nine hours on firmware while their sensor is still wired backwards.
3. Prepare Hardware, Tools, and Connectivity
Inventory everything, then do a full power-on test two weeks out. Plug in every board, power supply and tool you intend to offer and confirm it works. Faulty gear found in week one is a spare-parts problem; the same gear found on Saturday morning is a schedule problem.
Use a three-part access model to keep component access fair. The core kit guarantees a baseline for everyone. A token credit lets teams buy extra parts from a curated store you operate, with a fixed ceiling per team. An open bill of materials policy lets teams bring or order outside parts, as long as they document what they used and why.
That model came out of an organizer thread on making a hardware event more inclusive, and it solves the problem that trips up first-time teams: a professional arrives with a company purchasing card and a student arrives with nothing. With a core kit plus capped token credit, both start from the same shelf.
Set up checkout so it does not create a bottleneck. Label every bin, list contents on the wall, and use a simple paper log with team number, item, count and return tick. If you allow outside parts, require them to be added to the team log, since undocumented parts make the judging unfair and the safety briefing incomplete.
Test the network by running the actual demo path: flashing a board, pushing code, streaming data to a dashboard. Bandwidth problems always appear at the worst possible moment, usually during the final integration test.
4. Recruit Mentors, Judges, and Safety Support
Hardware mentors are the difference between a team that builds something and a team that stops at a breadboard because nobody could read a regulator’s datasheet. Recruit for patience and breadth rather than fame, and ask for a full weekend rather than a couple of hours.
Mentors on the FOSS United thread pushed for dedicated attention per team, because generic office hours leave the same four people in the queue all night. Plan one mentor for every four to six teams, and stagger their rounds so every team gets a visit before any team gets a second.
Run your judges separately from your mentors. A mentor who has spent two days helping a team should not score it. Pick judges who can read a bill of materials and ask useful questions about it, and give them a calibration session before results are announced.
Name a safety lead with the authority to stop work. That person owns the waiver list, the first aid kit location and the decision to shut a station down. It has to be someone who is not also chasing a missing power supply.
5. Brief Participants Before Building
Hold one briefing of twenty minutes and repeat it. Cover the challenge, the core kit contents, the token credit limit, tool checkout hours, electrical limits on bench supplies, the emergency stop procedure, the judging rubric and what documentation is due.
Spell out the rules that hardware events usually forget. No soldering outside designated stations. No mains-powered equipment on the bench. No daisy-chained personal extension leads. No component leads longer than a finger. No blades or hot tools outside the tool booth.
Set out your position on AI tooling plainly. Tell participants which assistants are permitted, and if you allow them, say so in the briefing and in the rules. Silence gets interpreted differently by different teams, and an argument about that on demo day is expensive.
Finally, publish the documentation standard. A one-page schematic, the bill of materials with quantities, a wiring diagram and a short note on what you tested are a reasonable floor. For an event with beginner and advanced tracks, say explicitly that those standards apply to everyone.
6. Run Build Sessions and Field Tests
Set a rhythm. A short stand-up each morning, mentor rounds on a fixed rotation, and a defined testing window in the evening when the bench is quiet enough to measure something.
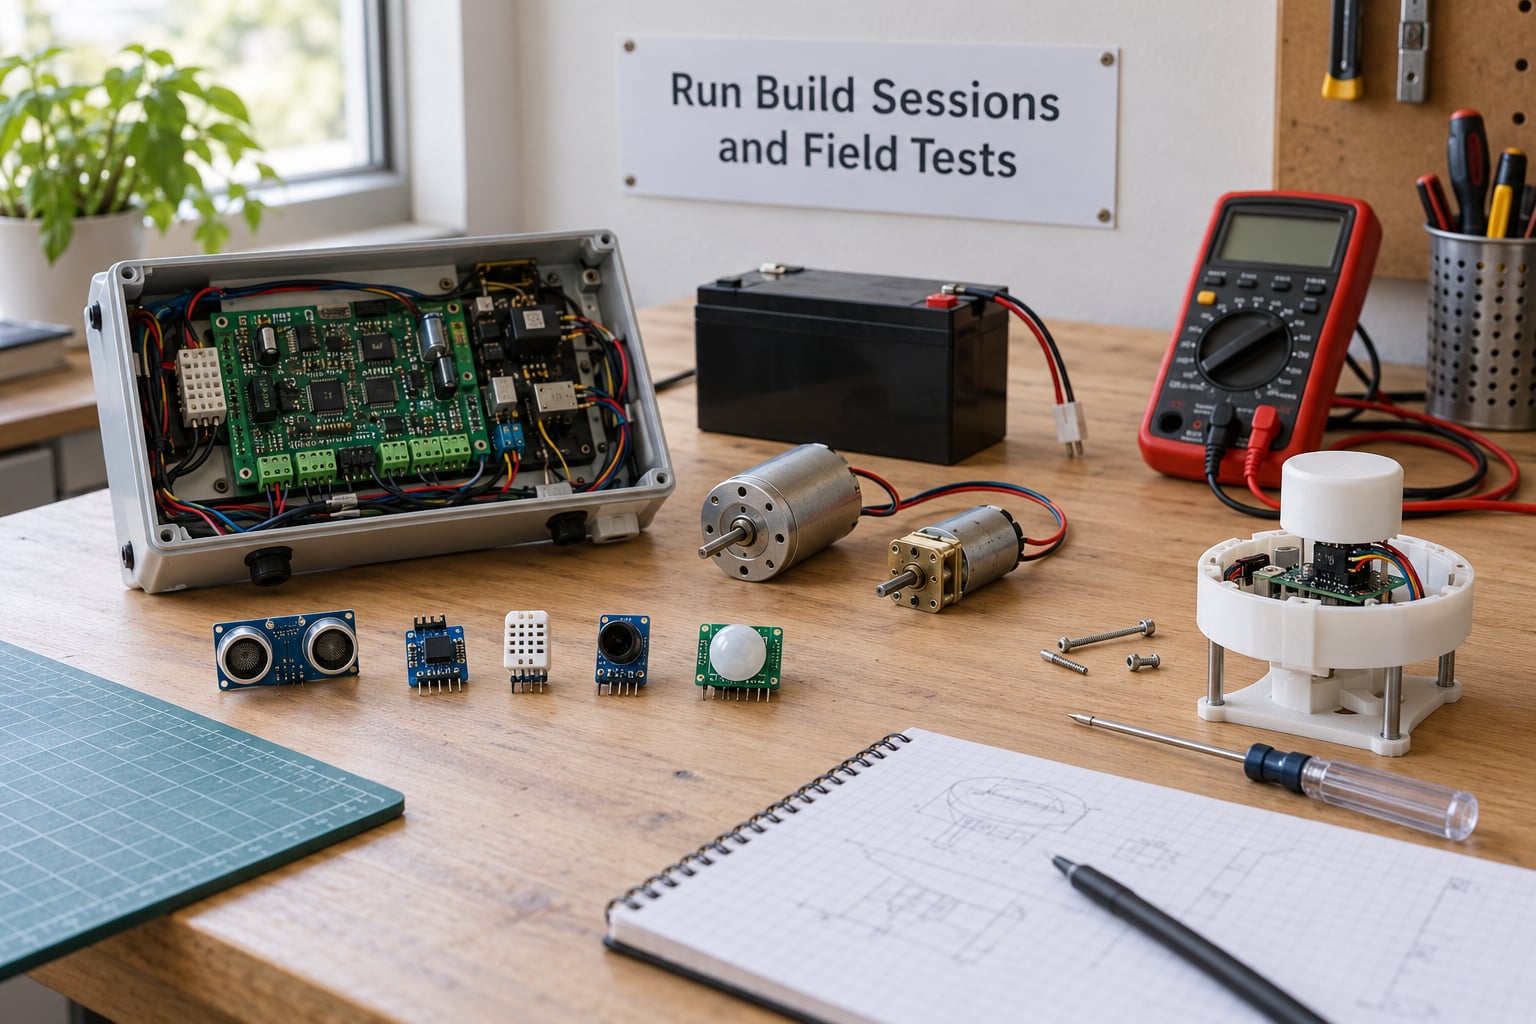
Keep a test log. Every field or tank test gets a line: date, conditions, what was measured, what happened. It costs a team two minutes and it is the difference between a demo and a story. On a marine robotics brief, the log is also what tells you whether a sensor failed because of the build or because of the site.
Give teams a reporting channel for damage, missing parts and near misses, and respond to it fast. If two soldering irons fail, fix them or say so out loud. Silence turns a small hardware failure into a team abandoning its build.
Keep mentors advisory. Answer questions, show a technique, review a schematic. When a team asks you to choose their architecture for them, hand the decision back and ask what they are optimising for. The engineering judgment is the exercise.
7. Prepare Teams to Demonstrate Results
Give every team a demo format with a fixed structure: the problem in two sentences, the design choices that mattered, the evidence it works, the limits you know about, and the next step. Five minutes with a hard stop, with a setup slot beforehand for teams using shared kit.
Insisting teams state their limits is worth the effort. Judges can tell when a team knows exactly what their prototype does not yet do, and it saves demo time that would otherwise go to debugging on stage.
Build in a troubleshooting window before judging, with mentors on hand and the component store still open. The goal is to convert fragile demos into boring ones.
8. Judge Fairly and Close the Event Properly
Use hardware criteria, not software ones. A workable rubric: problem fit, technical integration, evidence of testing, documentation clarity, feasibility, and value achieved with the resources used. That last criterion rewards resourceful teams over well-funded ones, which is the behaviour you want to see.
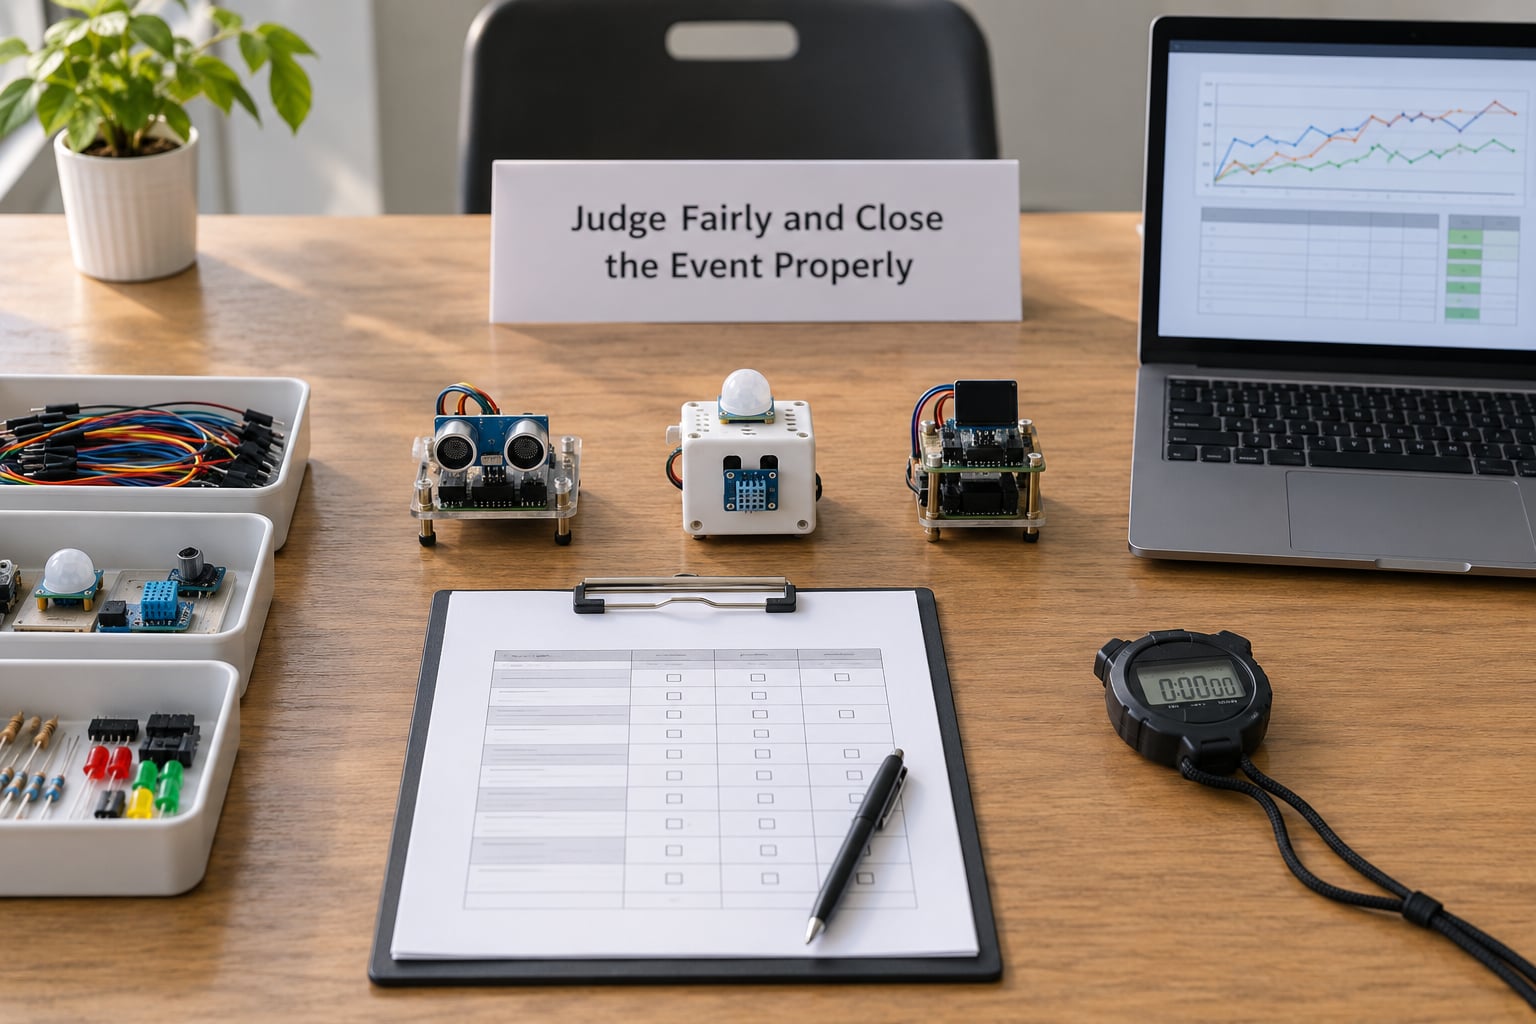
Require score sheets from every judge for every project, submitted before any discussion starts. Discuss only after the sheets are in, and keep the discussion to tie-breaking. An evaluation panel that weighs evidence before opinions is how you end up with a result participants trust.
Handle ties in public with the documented rule: the higher documentation score wins. Write that rule down in advance, because choosing a favourite in the room is how you lose your judges.
Close properly. Run equipment return as a checklist against your inventory, photograph the component bins, and collect every team log before people pack up and lose them. Give feedback within a week, publish the results, and run a debrief the day after while impressions are sharp.
The best continuation step is a fabrication or follow-on funding offer, decided by a short evaluation panel after the event rather than on stage. Organizers running longer formats pair this with community showcase sessions and local meetups so teams keep access to tools and each other.
Common Mistakes
The challenge is too big
Symptoms: everyone spends the first evening picking a microcontroller and nobody gets to integration. Fix: publish a reference architecture and a one-page starter code sketch, and require every team to have a working sensor reading before they add any wireless link or actuator.
Not enough parts, or the wrong parts
Symptoms: five teams want the same sensor module and four get it. Fix: buy core kit quantities at 1.5 times team count, count bins before registration rather than after, and set the token credit ceiling low enough that the store does not run dry on day one.
No scheduled test access
Symptoms: teams test at 2am, break gear, and demo untested builds. Fix: define testing windows, close the benches overnight where possible, and staff at least one mentor during the test slot.
Software judging criteria on a hardware event
Symptoms: winning teams have the slickest pitch and the least working device. Fix: weight evidence of testing and documentation heavily, and score each project against the published rubric before any discussion.
Safety treated as paperwork
Symptoms: extension leads everywhere, one shared soldering iron, no one knows where the extinguisher is. Fix: a named safety lead, one station per four people, a briefing that names the emergency stop, and a physical walk-through of exits before building starts.
Demos fail for boring reasons
Symptoms: dead battery, missing adapter, cloud dashboard offline. Fix: a mandatory pre-judging test slot, a kit check on shared demo gear, and a rule that every demo runs on local hardware rather than a remote service.
Documentation treated as an afterthought
Symptoms: a device that works and no way for anyone else to build it. Fix: require a schematic and bill of materials as a scored deliverable, and publish them after the event so the work survives the weekend.
Frequently Asked Questions
How long should a hardware hackathon last?
A weekend sprint only works if teams reuse off-the-shelf modules and skip custom boards. For anything involving schematic capture, layout or fabrication, plan ten to fourteen days so design, procurement and integration each get real time. A month-long format suits community or sponsor-backed events where weekly access to a makerspace is possible.
How many people should participate in a hardware hackathon?
Plan for teams of three to four, with a total attendance near two thirds of your registrations, since no-show rates run high. Above roughly sixty people, tool and mentor ratios get hard: you need one hardware mentor per four to six teams and at least two soldering irons available at once.
What budget should organizers plan for hardware?
Budget in three lines: reusable tools, the per-team core kit, and consumables. Tools are a one-time capital cost you can often borrow from a makerspace or sponsor. The core kit multiplied by team count dominates the variable spend, so fix the team count and the kit contents before buying anything else.
How do you keep hardware hackathon projects safe?
Use a named safety lead, one soldering station per four participants with fume extraction at each, current-limited bench supplies, and a briefing that covers electrical limits and the emergency stop. Keep mains-powered equipment off participant benches, collect waivers in advance, and walk the room for blocked exits before building starts.
How should hardware hackathon teams be judged?
Score problem fit, technical integration, evidence of testing, documentation clarity, feasibility, and value against resources used. Collect written scores from every judge for every project before any discussion, publish the rubric with the challenge, and use a documented tie-break rule such as the higher documentation score.
What should organizers do after a hardware hackathon?
Run equipment return against an inventory checklist, collect every team log, and debrief within a day. Give feedback within a week and publish schematics and bill of materials so the work outlasts the event. Decide follow-on fabrication or funding support through a short evaluation panel rather than on stage.
Conclusion
Start with the format decision, because it constrains everything else: pick a duration your build phases genuinely fit, then write the definition of done and the judging rubric before you open registration. From there, lock the core kit contents and the mentor-to-team ratio, power every tool two weeks early, and treat safety staffing as a named responsibility.
Run the hardware hackathon around the assumption that nothing works until it has been tested, and that the teams who need the most help are the ones least likely to ask for it. Get that right and you will finish with working devices, documented schematics and a room full of people who want to come back.