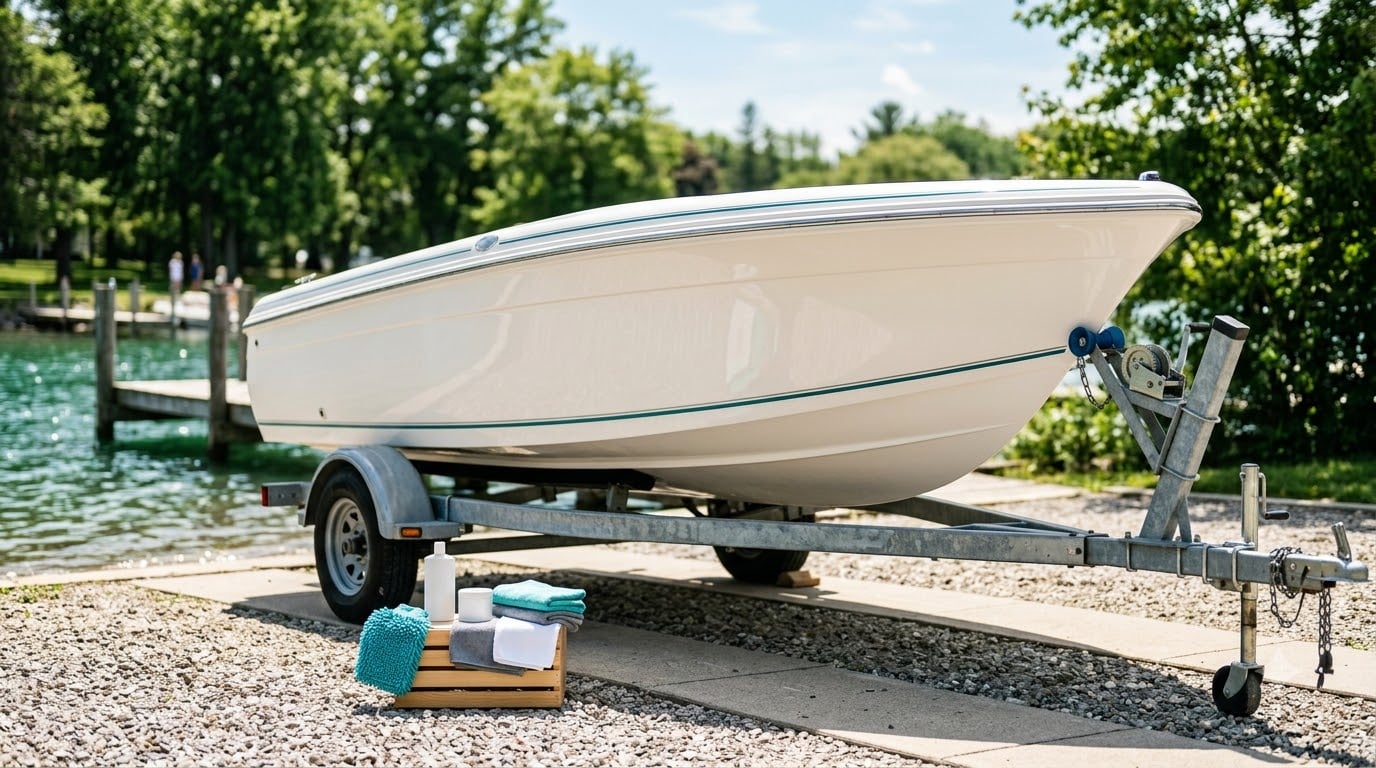
To remove oxidation from a fiberglass boat, wash away the salt and grime, abrade the dead chalky layer off with a rubbing compound on an orbital buffer, refine the surface with a finer polish, then seal it. Most hulls take a weekend, and hand work is enough for small patches.
The chalky, flat look on an old hull is usually not damage to the fiberglass. It is dead resin sitting on top of the gel coat, and it wipes off. That is good news, because what you remove is a surface layer rather than the hull itself.
Oxidation is a cosmetic problem that turns into a structural one if you ignore it. The degraded gel coat becomes porous, and water and ultraviolet light start working on the fiberglass underneath. Regular washing and a fresh-water rinse after every trip slow all of this down, which matters even more if you are planning around how to find the center of gravity on a boat work on the same trailer and storage setup.
Two things decide how this goes: what you use to hold the machine, and how honestly you grade the finish before you start. Get those right and the process is forgiving. Skip them and you can burn through thin gel coat in seconds.
Table of Contents
- What You Need to Remove Oxidation From a Fiberglass Boat
- Step-by-Step: How to Remove Oxidation From a Fiberglass Boat
- Common Mistakes
- Frequently Asked Questions
- Is fiberglass oxidation the same as deep gel-coat damage?
- What is the best polish for a fiberglass boat hull?
- Can oxidation be removed by hand or does it need a machine?
- How often should a fiberglass boat be polished?
- Does boat wax remove oxidation, or does it only protect the finish?
- When should a professional marine detailer handle the hull?
What You Need to Remove Oxidation From a Fiberglass Boat
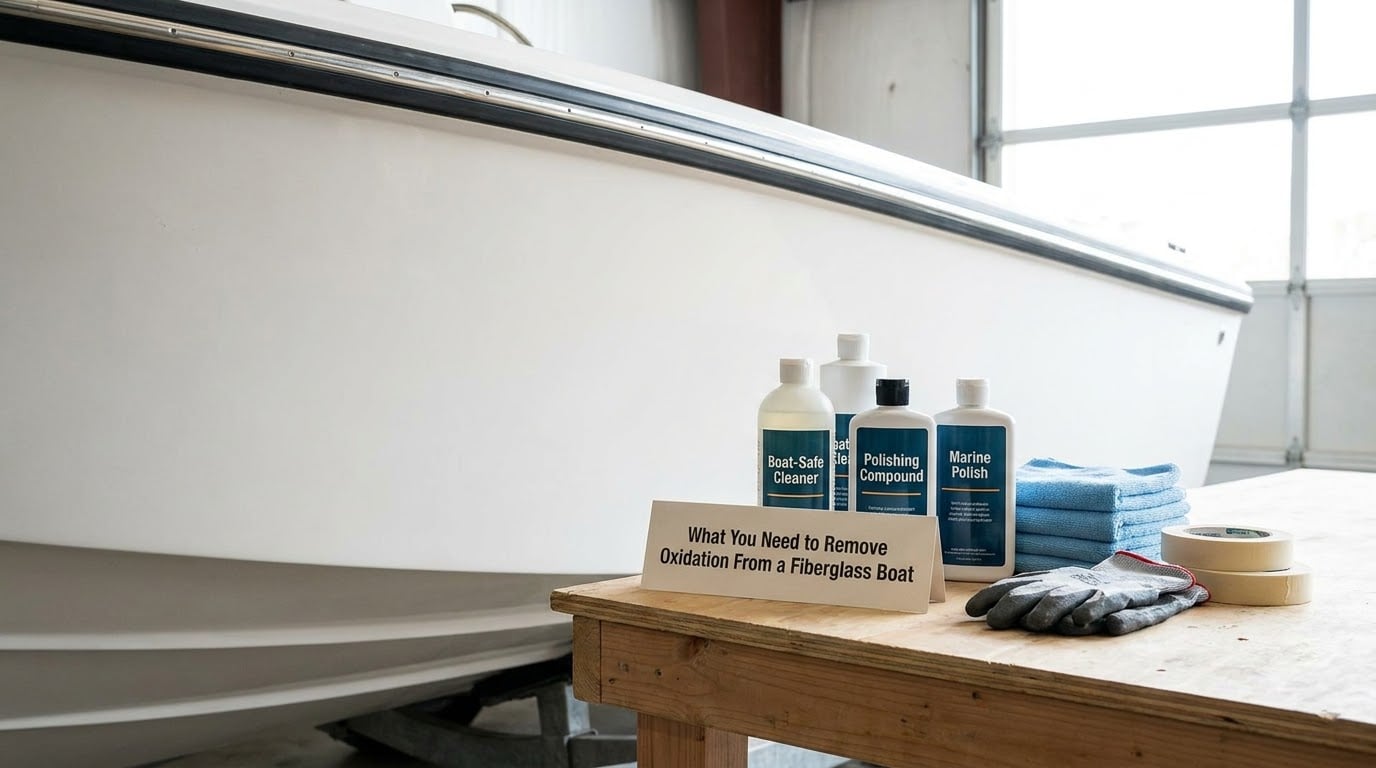
Most of what you need is cleaning and polishing chemistry, not hardware. The machine is the only real purchase decision.
- A pH-neutral boat soap. Nothing household-strength, nothing with bleach or degreaser in it. Those strip the wax you are about to apply and can haze the finish.
- Clean water and two buckets. One for your rinse, one for the soapy wash. Grit that travels back to the hull from a dirty bucket is what leaves swirl marks.
- Clean microfiber towels. You need at least four, because you will dirty each one every few panels.
- A clay bar or mild marine-safe abrasive. For bonded contamination like water spots, exhaust film and tree sap, not for routine washing.
- A heavy-cut rubbing compound and a finer finishing polish. One removes oxidation, the other erases the marks the first one leaves.
- A gel-coat-safe protectant or marine wax. This is the step people skip and then wonder why the haze returned by August.
- A variable-speed orbital buffer with a wool compounding pad and a foam polishing pad.
- Gloves and a dust mask, plus masking tape to protect graphics, hardware and non-gel-coat trim.
A rotary buffer is the thing to stay away from. It spins in one direction, concentrates heat and pressure in a tiny spot, and on a thin hull it will cut a groove you cannot polish out. An orbital buffer throws the pad off-axis, so heat builds far more slowly and a lifted pad just means you lost pressure for a second. That is the whole safety argument.
On the machine itself, anything in the 2,000 to 2,400 RPM range with speed control works. If you are outfitting a small boat and want the electronics side of the build sorted too, running a Raspberry Pi on a boat is a separate weekend, and it will not help you here.
One more item people forget: power. Plug the buffer into shore power or a charged battery pack, not into an outlet inside the boat, and keep any cord or hose well clear of the damp deck you are working on.
Step-by-Step: How to Remove Oxidation From a Fiberglass Boat
Work top-down, in shade, on a surface cool to the touch. Direct sun dries product almost instantly and turns it into a chalky film you have to strip and start over.
1. How to Remove Oxidation From a Fiberglass Boat: Test the Finish First
Pick a low panel on the transom or the flat of the hull where scuffs already hide. Wash it, dry it, and run your fingertip across it. If powder comes off, you are dealing with oxidation. Grade it honestly against this scale before touching the whole boat.
| Level | What it looks like | Touch test | What to use |
|---|---|---|---|
| Sheen | Soft haze, still reflects light | Faint powder on fingertip | Cleaner wax or one-step polish |
| Faded | Flat color, weak reflection | Clear powdery residue | One-step polish, then finishing polish |
| Chalky | Matte and whitish, no reflection | Heavy white powder | Rubbing compound on a wool pad |
| Pitted | Dull with pinprick pits or deep scratches | Nail catches in grooves | Compound and polish, then professional review |
Look for other things while you are down there. Deep cracks that go through to the fiberglass, soft spots, delamination lifting at a seam, and any bubbling or blistering are not oxidation, and no amount of compounding will fix them. Mask those areas off. If the hull is pitted all over rather than in a few spots, get a second opinion before you start.
2. Wash Away Salt, Dirt, and Loose Oxidation
Rinse the whole hull with fresh water first, from the top down. Salt crystallizes on the surface and grinding it in with a pad is how you scratch a hull that was fine before you started.
Mix the boat soap in the wash bucket at the strength on the label, wash in small sections, and rinse each section before the soap dries. A dried soap film traps grit and streaks. Dry with a clean microfiber towel right away, and keep going until the panel is truly dry.
For trailers and boats that sit in a lake, do the same routine immediately after every trip. On saltwater, rinse with fresh water the moment you get home. It is the highest-return habit in this whole article.
3. Remove Stubborn Surface Contamination
Clay bar and mild abrasives are for bonded contamination, not for oxidation. Skip this step if the hull washed clean and your fingertip test came back light.
When you do need it, work a two-foot square panel. Use a lubricating spray or plain water so the bar glides, apply a modest amount of product, and spread it over the whole panel before you turn the machine on. Adding more pressure instead of more product is how people grind through gel coat.
If your fingernail catches in a defect, the machine will too. Sand that spot by hand instead, or leave it for a pro.
4. Polish the Oxidized Gel Coat
This is where oxidation actually comes off. Roughness here means one of two things: you need more cut than the product you chose, or the pad needs changing. Skip ahead to a heavier compound or a wool pad before you add speed.
Set the buffer to the low end, spread the compound over a two-foot square, and work in slow, overlapping passes. Keep the pad flat and moving. Hold the machine like you are pressing down on a piano key, not leaning your body weight into it. Heat, not pressure, does the cutting.
Two rules keep you out of trouble. Keep the panel cool, moving the buffer constantly and dropping a little water on it if it starts to warm up. And change the pad the moment it loads up with dead gel coat. A contaminated pad stops cutting and starts grinding, which is how a boat that needed two passes ends up needing a repaint.
5. Check Gloss and Repeat Only Where Needed
Buff off the compound residue with clean microfiber, then look at the panel from a shallow angle, ideally against something with a hard horizon line like a seawall or a dock light. Straight-on, everything looks shinier than it is.
Expect a haze at this stage. It is not failure and it is not a bad panel. You removed the chalk, and the fine swirl marks left behind are what a finishing polish exists to erase. Skip that step and the boat will stay dull for the entire season.
Run the finishing polish over the whole panel until the haze clears, using a foam pad and more open pressure than you did for compounding. Then wipe a small area with a clean towel and look at it from the side. If you see uniform reflection with no milky film, you are done. Only repeat a pass where gloss is still missing.
6. Protect the Repaired Surface
Freshly polished gel coat is porous and will take UV damage faster than before. Seal it. Apply the gel-coat-safe protectant or wax in thin coats, following the cure time on the label rather than buffing it off early.
The difference between the two matters. Wax dries to a haze and buffs off. Polish and sealant must be worked and removed while still wet. Letting a sealant dry to a haze is how people end up compounding the same panel twice.
From here, keep the habit light: wash with boat soap after every outing, rinse with fresh water, and check the surface before winter storage. Owners who skip the rinse-and-seal rhythm are the ones repeating this whole process next spring. The ongoing list of boat projects, from building a wind sensor for a boat to winterizing the electronics, tends to follow the same calendar, and the hull is the item that benefits most from a ten-minute rinse every time.
Common Mistakes
Nearly every ruined gel coat job traces back to one of these.
Compounding a hull that was never washed
Dirt and salt act like sandpaper under a spinning pad. Wash first, always.
Using automotive paint compounds
Some metal and paint compounds are far more aggressive than anything intended for gel coat. Check that the label names gel coat, fiberglass or marine use. A product that never mentions gel coat is not a safe choice for a hull.
Pressing the buffer down
Pressure adds heat, and heat is what melts through thin gel coat. Let the compound and the pad speed do the work.
Working a hot hull in direct sun
Product flashes off before it can work, the pad loads with dried compound, and the result has to be stripped and redone. Work in shade, early or late in the day.
Using a rotary buffer without real experience
Rotary buffers are one of the few tools on this list that can damage a hull in a matter of seconds. Use an orbital.
Treating deep cracks and blisters as oxidation
A crack through to fiberglass, a lifting seam or a bubble is a repair job. Compounding around it will not help, and pressure on a blister can make it worse.
Sealing before the surface is clean and dry
Wax locks in whatever is underneath, including the last of the loose chalk. If the panel still wipes away powder, it is not ready.
Reaching for household acids
Vinegar, CLR, Bar Keepers Friend and toilet bowl cleaner are the most-posted home remedies in boat forums and the worst idea on this page. They are acids. They etch gel coat, strip wax and can leave a permanently dull, hazy surface that only aggressive compounding will improve.
A mild detergent and a soft sponge are fine for a spot of grime. None of those acids belong anywhere near a hull.
Frequently Asked Questions
Is fiberglass oxidation the same as deep gel-coat damage?
No. Oxidation is a dead, chalky resin layer sitting on top of the surface, and it wipes off or compounds off without touching the finish underneath. Deep damage means cracks through to fiberglass, lifting delamination at a seam, blisters or pitting your fingernail catches in. Those need repair work, not polishing, and pressure from a buffer can make a blister worse.
What is the best polish for a fiberglass boat hull?
A two-stage approach works best. Use a heavy-cut rubbing compound to take the chalk off, then a finer finishing polish to erase the swirl marks the compound leaves behind. On a lightly oxidized hull, a one-step polish that compounds and polishes together saves a whole pass. Always confirm the label names gel coat, fiberglass or marine use before putting it on a hull.
Can oxidation be removed by hand or does it need a machine?
By hand is fine for small patches, a transom, or a hull that is only lightly faded. Apply the product with a soft pad in straight lines, then wipe it off before it dries. Expect to spend considerably more time than a machine would. On a chalky hull, hand application will also leave you with an uneven finish unless you work very small sections at a time.
How often should a fiberglass boat be polished?
Once a year is plenty for most boats, usually at the start of the season. If the boat is covered or stored indoors, every other year is fine. Polishing more often than that mostly strips protection you could have left in place. Wash with boat soap after every outing and rinse with fresh water, and you will get away with far less compounding season to season.
Does boat wax remove oxidation, or does it only protect the finish?
Wax only protects. It will not remove chalky oxidation, and applying it over an oxidized hull just seals the dead layer in place, so the boat stays dull and the haze comes back fast. Polish and compound remove oxidation. Wax and sealant go on afterward, after the surface is genuinely clean and glossy, to slow the next round down.
When should a professional marine detailer handle the hull?
Hand it over when the hull is pitted rather than merely chalky, when you find cracks, blisters or lifting delamination, or when the boat has not been compounded in decades and you have no buffer experience. Professionals also handle large hulls faster than a weekend project allows. Get quotes for the severity level, not a flat price, and ask whether wet sanding is included.
Start with the one panel test. Wash a low section of the transom, dry it, run your finger across it, and grade what comes off. That ten minutes tells you whether you need a polish, a two-stage compound and polish job, or a phone call to a detailer, and it costs you nothing but a hose and a towel.