A Raspberry Pi on a boat is a low-power single-board computer that runs open-source marine software, and it draws about 1.1 amps at 12 volts. Learning how to use a Raspberry Pi on a boat comes down to four jobs: convert 12V cleanly to 5V, protect the board from spray, condensation and vibration, feed it data from instruments you already own, and shut it down without corrupting the disk.
The payoff is a chartplotter, data logger and monitoring hub for the cost of a weekend’s work. The catch is that nothing off the shelf is sealed for a saltwater cockpit, so the build is 70% hardware protection and 30% software.
A word on safety before we start. A Raspberry Pi is not a certified safety-of-life system, and it is not weatherproof out of the box. Keep your primary navigation instruments independent of it, and treat the Pi as a capable second screen and an alarm logger rather than the thing you steer by.
Table of Contents
- What You Need to Use a Raspberry Pi on a Boat
- Step-by-Step: Setting Up a Raspberry Pi on a Boat
- Common Mistakes
- Frequently Asked Questions
- Do I need a DC-DC converter to run a Raspberry Pi on a boat?
- How much power does a Raspberry Pi draw on a boat?
- Can a Raspberry Pi replace a commercial chartplotter?
- Is a Raspberry Pi reliable enough to depend on offshore?
- How do I waterproof and protect a Raspberry Pi installation?
- Can I keep the Raspberry Pi on when the main battery switch is off?
- Conclusion
What You Need to Use a Raspberry Pi on a Boat
Pick the hardware by where it lives. A Pi mounted below deck in a dry locker behaves nothing like one strapped to an exposed helm, and the difference shows up in the enclosure, the connector type and how much power headroom you give it.
Here is the list, grouped by job.
The computer. A Raspberry Pi 5 with 8GB of RAM handles OpenPlotter, Signal K and OpenCPN plus a browser without complaining. A Pi 4 works fine and draws less. A Pi Zero 2 W suits a headless logging or alarm box with no display.
| Model | Typical draw at 12V | Heat | Best job aboard |
|---|---|---|---|
| Pi 5 | 1.0-1.4A | Highest; needs airflow or a heatsink | Chartplotter with display and NMEA 2000 gateway |
| Pi 4 | 0.5-0.9A | Moderate under load | Chartplotter or dashboard on a smaller budget |
| Pi Zero 2 W | 0.1-0.2A | Runs cool | Headless logger, bilge and battery alarms |
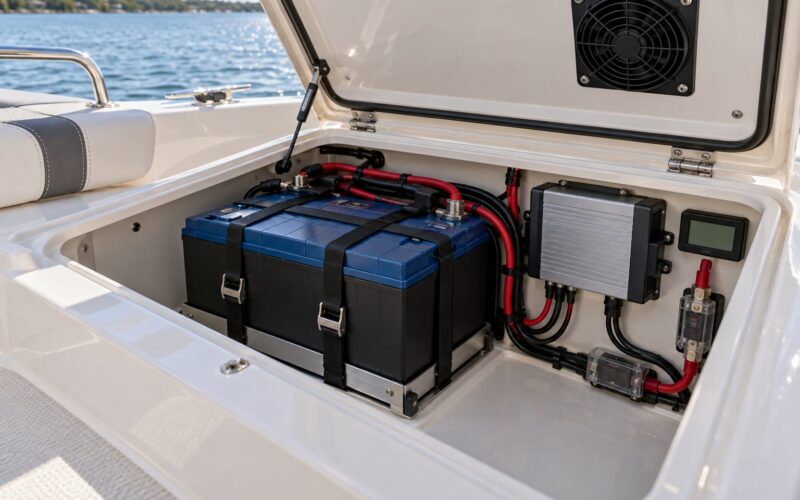
Power hardware. This is the part people get wrong. You need a marine-grade DC-DC buck converter that takes 12V and puts out a regulated 5V at 5A for a Pi 5, plus an inline blade fuse close to the battery, a proper fuse holder, 16 or 18 AWG marine wire, ring terminals and a terminal block or fused distribution strip. Do not feed 12V into the USB-C port and do not rely on the boat’s accessory socket.
Storage. Buy a high-endurance microSD card rather than the cheapest one you find. Better still, boot from a USB SSD, which survives the vibration and salt spray that eats SD contacts.
Networking. A marine-rated Wi-Fi router or a small travel router mounted out of the way, plus a shielded marine Ethernet cable if you want a wired run. Skip powerline adapters, which have no place in a boat.
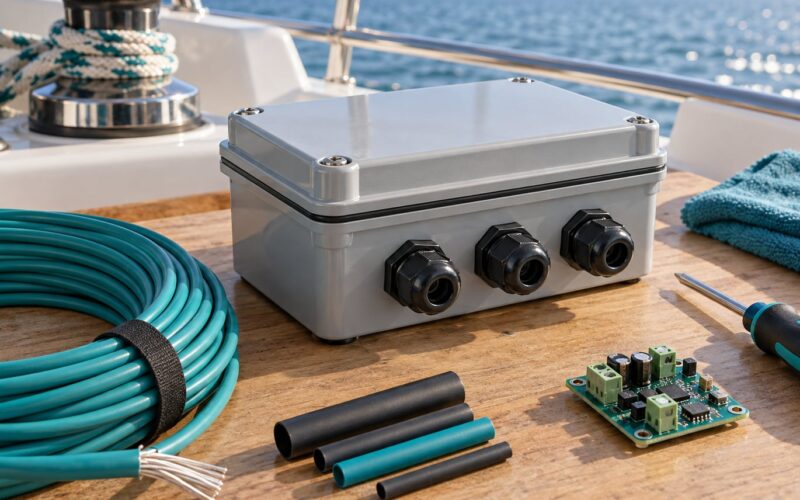
Enclosure and mounting. An IP65 or IP67 ABS or polycarbonate box with a gasket, stainless fixings and rubber anti-vibration isolators for the board or the enclosure lid. Add breathable vent plugs or a desiccant pack for condensation.
Cabling and connectors. Marine Ethernet cable, waterproof bulkhead connectors, cable glands, spiral wrap, heat-shrink and heat-shrink-lined adhesive-lined tubing for strain relief at both ends of every run.
Display, if you want one. A 7 to 10 inch marine LCD rated at 400 nits or better reads in direct sun, and it costs more than the Pi. A cheap HDMI monitor works indoors and fails outside.
Here is roughly what a typical build draws from the 12V battery bank, including conversion losses:
| Device | Typical current at 12V |
|---|---|
| Pi 5 under load | 1.0-1.4A |
| 7-inch display at full brightness | 0.3-0.6A |
| Marine router | 0.2-0.4A |
| USB GPS or AIS receiver | 0.1A |
| Always-on monitoring mode (Pi Zero 2 W, no display) | 0.15A |
That is under 3A for a full navigation stack, roughly 36W, which most cruising boats already carry in nav loads.
Step-by-Step: Setting Up a Raspberry Pi on a Boat
Plan the Raspberry Pi’s Boat Roles
Decide what the Pi is for before you buy anything. Most installs do one job well, and a Pi asked to chart, run an autopilot, log engine telemetry and host a media server will do all four badly.
Common roles, roughly in order of how much they get used:
- Navigation display. A chartplotter running OpenCPN or OpenPlotter, fed by your existing GPS and instruments.
- Data logger. Positions, depth, wind and temperature written to disk or to an InfluxDB and Grafana pair for later analysis.
- Monitoring hub. Bilge float switches, high-water alarm, battery voltage, fridge and cabin temperature, motion detection.
- Comms relay. A Signal K server bridging NMEA 2000 to older instruments, plus internet sharing for other devices aboard.
- Media and entertainment. Music and video on the saloon network. Fun, and the easiest role to get working.
Write down the inputs each role needs. Charting wants GPS position, depth and heading. Monitoring wants GPIO or USB sensors. Autopilot control wants a rudder angle sensor and a compass, and it is the one role I would not hand to a Pi you rely on for passage-making.
Install and Protect the Raspberry Pi on the Boat
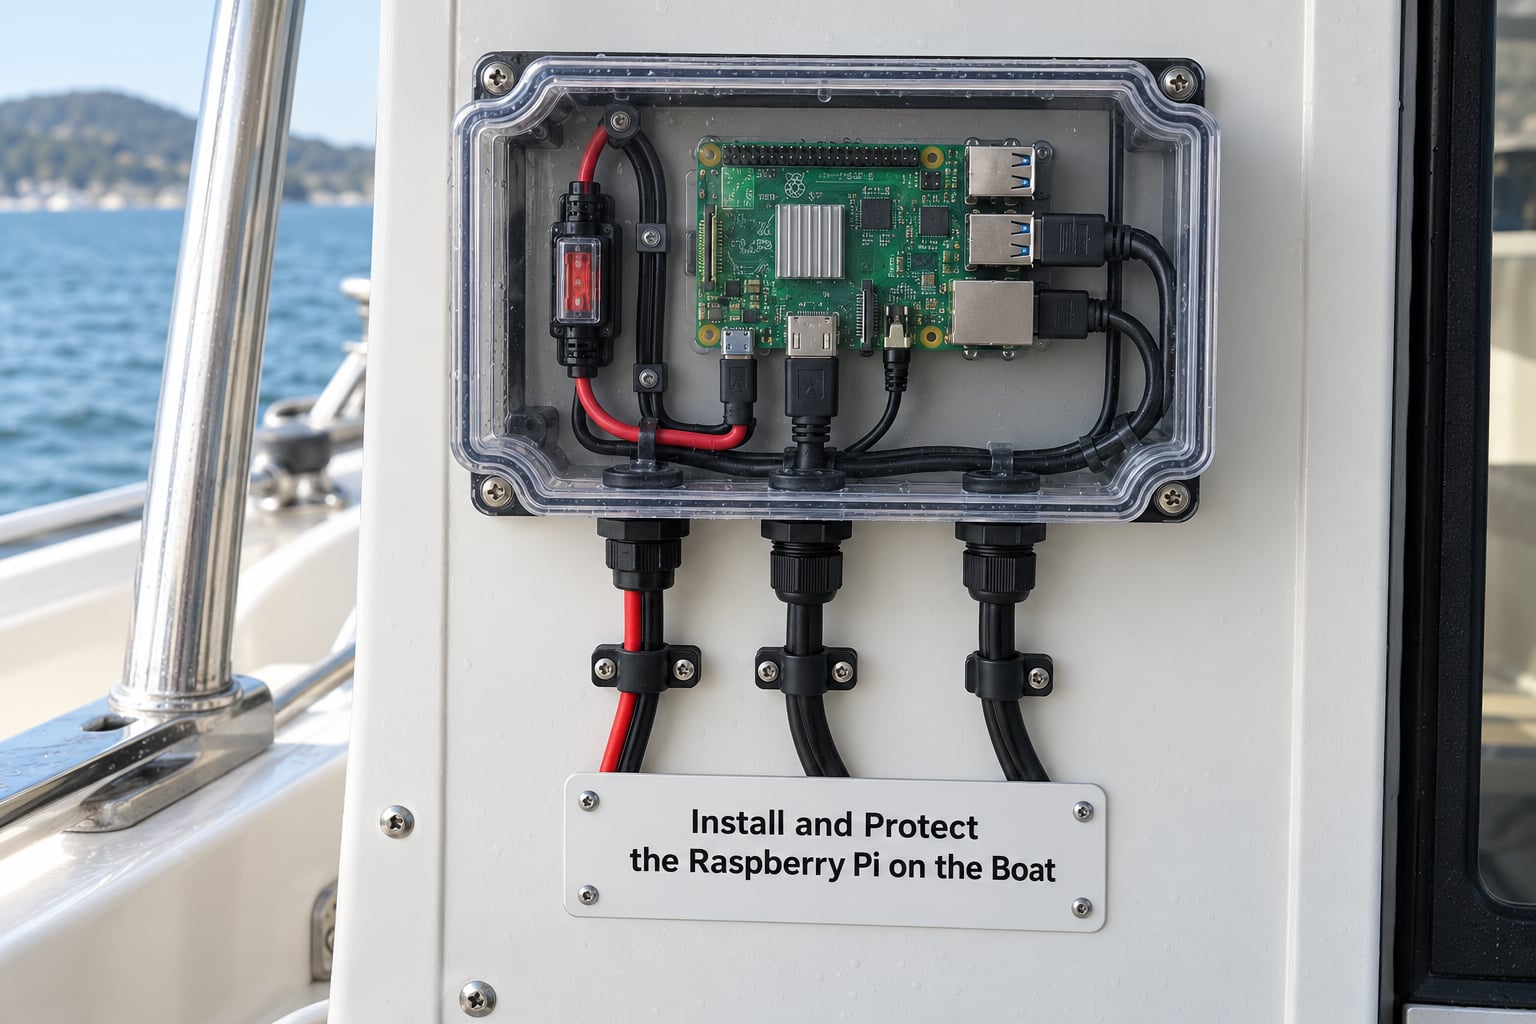
Start with the box, not the board. Mount the enclosure first, where the boat will not hit it with a winch handle or a hiking boot, then size the cable runs to reach it. Below deck in a dry locker is ideal; a mast locker or locker under the step works; an open cockpit is a last resort.
Mount for vibration. Engines and washboards produce a low-frequency shake that walks solder joints loose over months. Sit the board on rubber anti-vibration isolators, or mount the enclosure lid on them, and tighten fixings with a nylon-insert locknut. A dab of thread locker on stainless screws in a vibrating saltwater environment prevents them backing out.
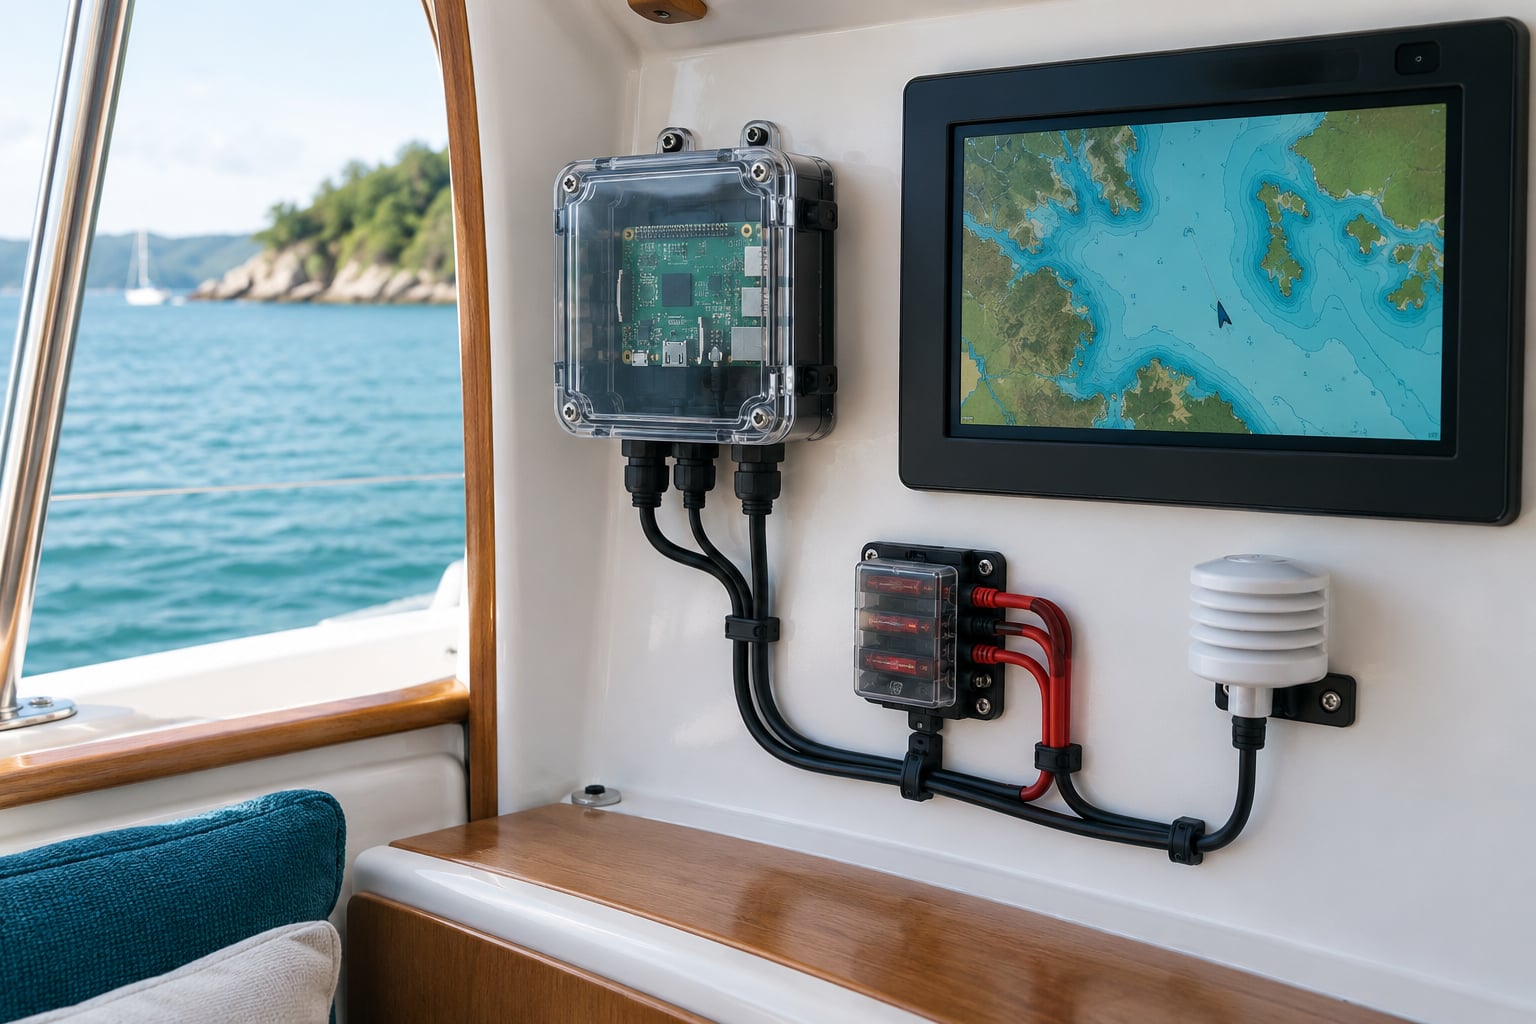
Wire the power last. Run the positive lead from a fused circuit through an inline blade fuse within 30cm of the battery or distribution bus, into the DC-DC converter’s 12V input. The converter’s 5V output goes to the Pi’s USB-C port through a cable short enough to not act as an antenna. Add a small fuse on the converter output too, matched to the Pi’s 5A input, so a damaged cable cannot take the whole circuit down.
Do the strain relief properly. This is where most marine Pi builds fail. Every cable inside the enclosure gets an adhesive-lined heat-shrink anchor fixed to the enclosure wall, so a tug on the loom loads the anchor and not the connector. Outside, cable glands seal the entries, and the Ethernet run gets a drip loop low on its path so water runs off instead of into the box.
Prepare the software image on the bench. Write Raspberry Pi OS to the card using Raspberry Pi Imager on a laptop, set the hostname, enable SSH, configure the Wi-Fi country code, and boot it on the bench with a keyboard and monitor before it ever sees the boat. Serial console over the GPIO header is a good fallback if the video output is dead at sea.
Configure Boat Networking and Remote Access
Get the Pi on the boat’s network over Ethernet wherever you can, because a wired link does not drop out in a rain squall the way 2.4GHz Wi-Fi does. If the run is long, a USB-to-Ethernet adaptor over a short cable can behave better than the Pi’s own port.
For Wi-Fi, treat it as convenience rather than infrastructure. Set the Pi’s country code correctly, force it onto 5GHz if the router supports it, and remember that metal enclosures and a nearby radar or VHF antenna will eat signal. A router on a short mast or inside the cabin usually beats a bare Pi antenna inside a sealed box.
Change the hostname to something you will recognise later, something like helm-pi, rather than the default. Then lock SSH down before the boat leaves the dock: disable password login, add a key, and change the port if you want the log noise down.
For remote access over the internet, use a VPN into the boat’s router and then into the Pi. It matters that the Pi’s SSH service listens only on the local network, not on the router’s WAN port. OpenMarine forum threads on remote monitoring show the pattern most people settle on: a router that keeps a persistent connection, and the Pi reached through a VPN.
Plan for the boat losing connectivity entirely. Every chart, log directory and app cache you rely on should already be on the board. A chart downloader that fails halfway through a passage because the shore went away is a common and avoidable failure.
Connect Navigation and Environmental Sensors to the Raspberry Pi on a Boat
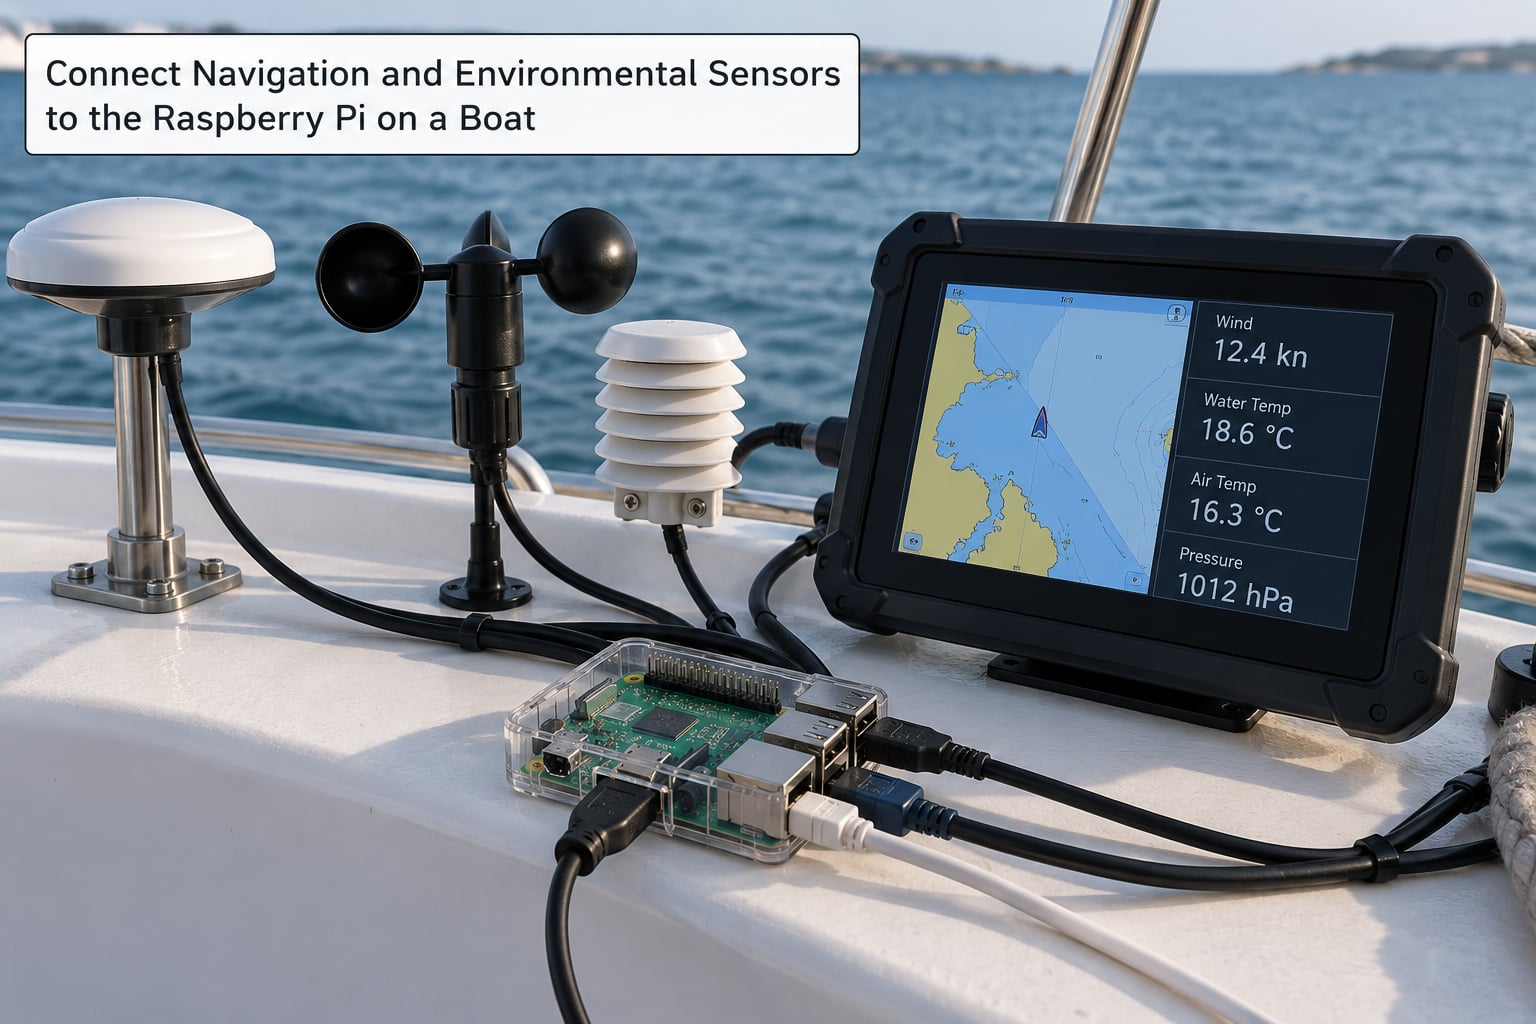
Your instruments probably already speak NMEA 2000, the CAN-based protocol most modern depth sounders, wind displays and AIS units use. A USB NMEA 2000 gateway, which is a small board with a plug-in connector rather than a flat network cable, lets the Pi read that bus directly.
Then the software layer. Signal K is a specification that translates data between instruments, phones and charts. OpenPlotter is the packaged build that bundles Signal K with a dashboard. OpenCPN is the charting program, and it reads both NMEA 0183 sentences and Signal K output. kplex multiplexes serial connections when you have more than one.
To bring in a sensor:
- Connect the NMEA 2000 gateway or a USB GPS to the Pi and note which USB port it lands on.
- Create a stable device path, since
/dev/ttyUSB0can change between reboots. A by-path symlink or a udev rule fixes it. - In the Signal K or OpenPlotter settings, set the port and baud rate, 38400 for most NMEA 2000 devices.
- Watch a live data monitor. Readings appearing within seconds means the connection works.
- Confirm the values make sense against the boat’s own displays before you trust them for routing.
The same pattern covers an I2C temperature probe, a one-wire humidity sensor, a GPIO float switch for the bilge, or an analog wind vane behind an ADC. Each one is a configuration file and a data source once the driver loads.
For a display, run OpenCPN in kiosk mode on a small HDMI screen and mount it where the helmsman can read it at a glance. If you want the Pi’s screen mirrored onto a commercial multi-function display instead, feed the MFD NMEA from the Pi and let it do the rendering.
USB boot. On a Pi 5 or Pi 4 you can boot straight from a USB SSD or an NVMe drive. On Raspberry Pi OS, Image Mapper with the USB boot option set writes the bootloader to the SD card while the system itself runs from USB. A failing SD card becomes a small annoyance instead of a passage-ending problem.
Test, Automate, and Shut Down Safely
Test at the dock in stages before you rely on any of it. Confirm the converter outputs a steady 5V under load with a multimeter, since a sagging converter is the single most common brownout source. Then confirm a GPS lock indoors by holding a window, then outside in open sky.
Turn the boat’s main battery switch off and watch what happens. Anything that drops is on the switched side, which tells you exactly which circuit the Pi is on.
Then run the endurance test that matters: log continuously for a day and a night at the dock, watch for resets, and check the filesystem after. Salt fog overnight in a closed enclosure finds the seams you missed.
Automate startup so nothing depends on a manual login. In Raspberry Pi OS, enable the service under System then Service Manager in the desktop, or drop a systemd unit in /etc/systemd/system/ and run sudo systemctl enable yourservice. It is the standard answer to running a script on startup, and it survives reboots.
Shutting down cleanly is the part people skip and then wonder about. Install a shutdown button wired to a GPIO pin, and use echo | sudo tee /proc/sysrq-trigger to force a sync before power is cut. Better still, add a small UPS or supercapacitor module so a power loss triggers a graceful shutdown rather than a corrupted filesystem.
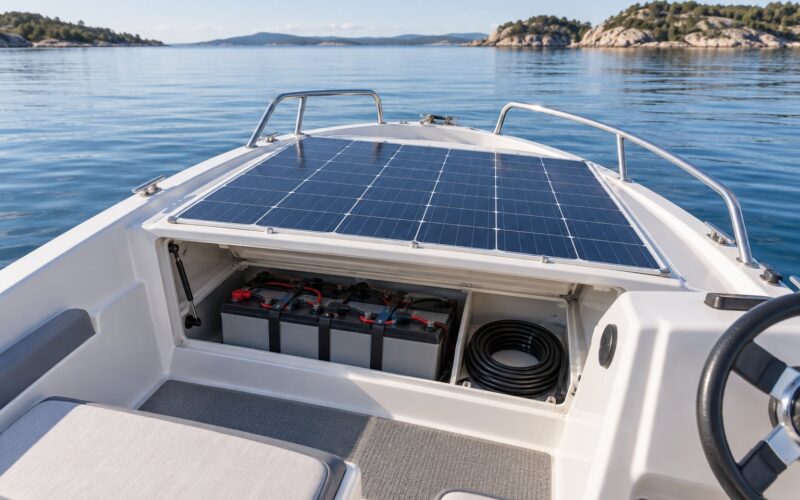
If you want the boat monitored while the main switch is off, tap an always-live circuit ahead of the battery switch, run a low-draw converter from it, and keep the Pi on a minimal logging loop. Add a low-voltage cutoff so a forgotten Pi cannot flatten a battery bank over a two-week lay-up.
Before departure, walk this list:
- Converter output reads 5.0-5.1V with everything running
- Every cable has a strain-relief anchor inside the enclosure
- GPS and depth agree with the boat’s own instruments
- Charts for the intended route are stored locally
- Enclosure gasket compressed and all fixings lock-torqued
- Shutdown button tested, not assumed
- Headings you will actually use are backed up somewhere else
Common Mistakes
Connecting 12V straight to the Pi. The most expensive mistake available on a boat. 12V into a 5V USB-C port destroys the board immediately and sometimes the cable with it. Always use a regulated DC-DC converter with a fuse on the input.
Brownout resets offshore. If the boat drops the Pi is rebooting on brownout. Almost always the converter is undersized, or the 12V feed shares a circuit with a starter solenoid, an anchor winch or a compressor. Give the Pi its own fused circuit and size the converter for the peak, not the average.
Condensation inside the enclosure. Warm humid air gets in, cools overnight and beads on the board. Use an enclosure with a gasket, add a breathable vent plug so pressure can equalise, and drop a packet of desiccant inside. If the box breathes, it will not sweat.
SD card corruption. Vibration and power loss kill cards. Boot from USB SSD, mount the root filesystem read-only, and log to a separate drive. Keep a spare card with the same image taped inside the cabin.
Cables working loose. A chartplotter that dies mid-ocean usually lost a connector. Use adhesive-lined strain relief at both ends, marine-rated connectors, and check every gland after the first heavy weekend.
Unreliable wireless. A Pi antenna inside a sealed metal box will not hold a link. Put the radio in a router with an external antenna, wire Ethernet where the run allows, and treat Wi-Fi as a convenience rather than a critical path.
GPS interference. A display cable running directly over the GPS receiver, or a USB drive and switching power supply next to the antenna, degrades your position fix. Route the antenna lead away from the Pi and keep it above the deck or outside the hull.
Unsupported peripherals. Cheap USB-to-serial dongles with unknown chipsets cause more wasted afternoons on boats than anything else. Buy adapters with a documented chip, such as an FTDI or CP210x, and check the driver is in the Raspberry Pi OS kernel.
Insecure remote access. Port-forwarding SSH straight to the internet is how boats get odd emails. Reach the Pi through a VPN into the boat’s router, use key authentication, and leave the SSH port unreachable from the shore side.
Abrupt shutdowns. Cutting power mid-write corrupts files. Fit the shutdown button, get into the habit of hitting it before you kill the battery switch, and add a UPS module if the boat runs unattended.
Overconfidence. A Pi that works at the dock may fail at 3am in a swell with no way to recover it. Keep a paper chart, a backup compass and a charged handheld, and never route from the Pi alone.
Frequently Asked Questions
Do I need a DC-DC converter to run a Raspberry Pi on a boat?
Yes. The Pi expects a regulated 5V on its USB-C port, so 12V battery power has to pass through a DC-DC buck converter. Feed that converter from its own fused circuit rather than a shared accessory socket, and size it for 5V at 5A with a Pi 5 and display. Wiring 12V directly to the board destroys it within seconds.
How much power does a Raspberry Pi draw on a boat?
A Pi 5 under load sits near 1.0-1.4A at 12V, a Pi 4 around 0.5-0.9A, and a Pi Zero 2 W about 0.1-0.2A. Add roughly 0.3-0.6A for a 7-inch display at full brightness and 0.2-0.4A for a marine router. A full chartplotter build lands under 3A, around 36W.
Can a Raspberry Pi replace a commercial chartplotter?
For charting, AIS target display, waypoints and routes running OpenCPN or OpenPlotter, largely yes. Cruisers report OpenCPN on a Pi matching entry-level commercial units on the features they care about. What it does not replace is a sealed, sunlight-readable screen with physical buttons, or anything safety-of-life. Keep your primary instrument independent.
Is a Raspberry Pi reliable enough to depend on offshore?
Not as your only system. Salt air, condensation, vibration and brownouts will eventually beat it, and the recovery options at sea are thin. You can push reliability a long way with USB boot instead of the SD card, a read-only filesystem, a properly fused DC-DC converter and clean shutdowns, but carry backup instruments either way.
How do I waterproof and protect a Raspberry Pi installation?
Use an IP65 or IP67 enclosure with a gasket, mount it out of the splash zone, add a breathable vent plug or desiccant for condensation, and fix the board on rubber anti-vibration isolators. Seal cable entries with glands and strain-relieve every cable inside the box. A bare board on a cockpit console is the thing to avoid.
Can I keep the Raspberry Pi on when the main battery switch is off?
Yes. Tap a separate always-live circuit ahead of the battery switch, run a low-draw converter from it, and limit the Pi to monitoring tasks such as bilge alarms, battery voltage and motion alerts. The openmarine.net forum discussion of remote monitoring covers this pattern. Fit a low-voltage cutoff so it cannot flatten the bank over a long lay-up.
Conclusion
The safest first project is a monitoring box, not a chartplotter. A Pi Zero 2 W on a fused always-live circuit, logging bilge switch state and battery voltage to a Pi 5 running a GPS and NMEA 2000 gateway can be done on a bench first, tested over a weekend at the dock, and only then extended toward charting or communications. Verify the converter voltage, test the shutdown button and confirm the GPS fix before the boat leaves the slip.