To know how to measure dissolved oxygen in water you have three practical options: an electronic DO meter with an optical or membrane probe, a colorimetric test kit, or the Winkler iodometric titration. A handheld meter gives you a number in seconds and is what most field technicians use. A Winkler titration is slower but is still the reference method laboratories check their meters against.
The part that trips people up is not the instrument. It is calibration, temperature compensation, and how you take the sample. A reading taken in a bottle that you shook on the walk from the boat can be off by a couple of milligrams per litre, which is the difference between healthy water and a fish kill.
Table of Contents
- What You Need to Measure Dissolved Oxygen in Water
- Step-by-Step
- Common Mistakes
- Frequently Asked Questions
- What unit is used to measure dissolved oxygen in water?
- Can dissolved oxygen be measured accurately in saltwater?
- How long should a dissolved oxygen sensor stabilize before reading?
- Should I calibrate a dissolved oxygen sensor before every field measurement?
- What is the difference between an optical and electrochemical oxygen probe?
- How do temperature and salinity affect dissolved oxygen readings?
- Conclusion
What You Need to Measure Dissolved Oxygen in Water
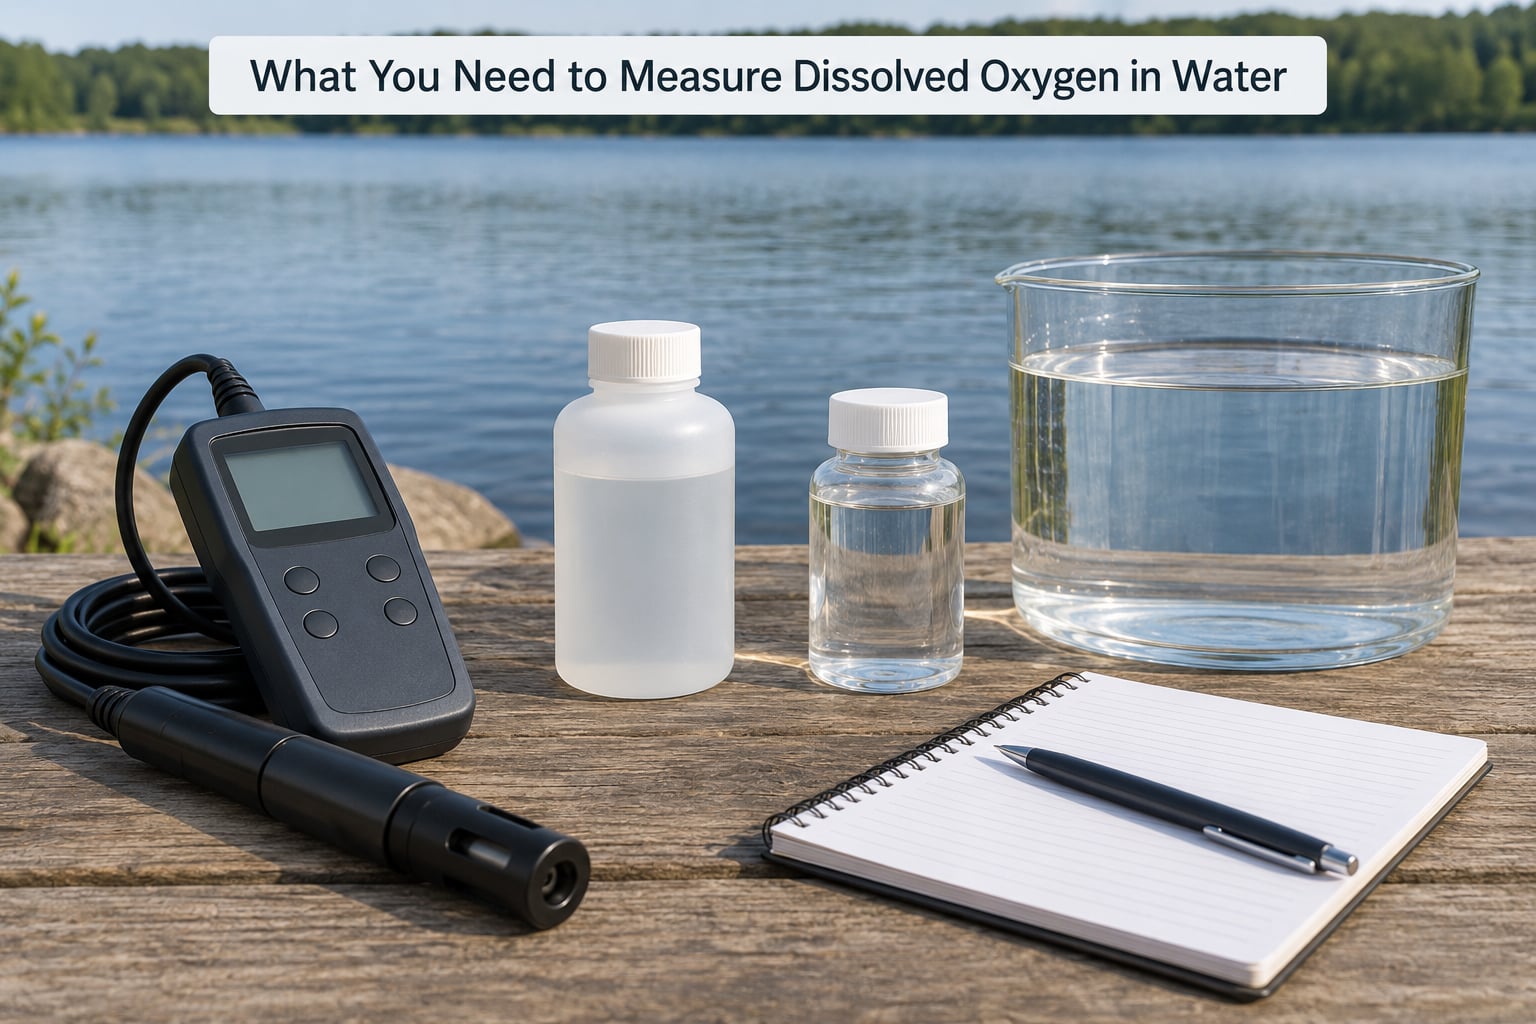
Here is the short answer list of what you need, depending on which method you pick.
- A DO meter or probe. Optical luminescent for low-maintenance work, electrochemical (membrane) if you want a cheaper meter and will do the maintenance.
- A Winkler titration kit if you need a reference value, are working in a classroom, or want to verify a meter that reads suspiciously.
- A colorimetric kit as a cheap screening tool for aquariums, ponds, and field trips where a meter is not on hand.
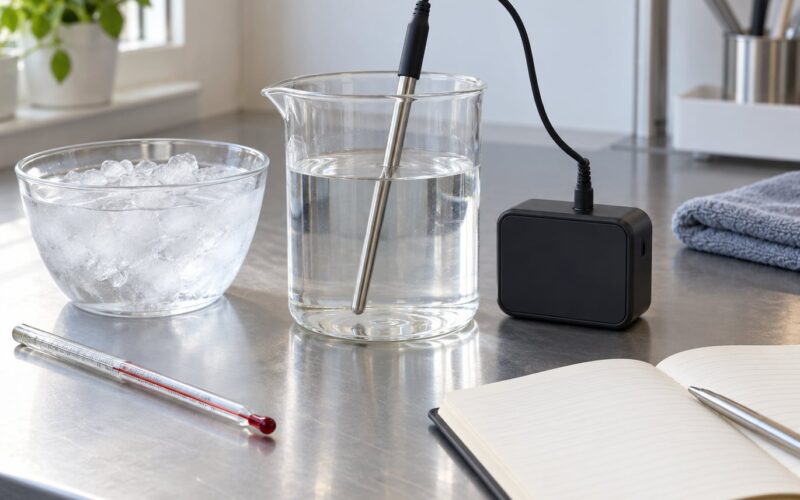
- Temperature compensation built into the meter, plus a thermometer if it is missing.
- A clean sample vessel or, better, the probe itself lowered straight into the water.
- Calibration solution for a two-point check: a zero oxygen solution (sodium sulphite based) and air-saturated water or a known reference standard.
- Power — batteries for a handheld, or a logger and cable for a deployed sensor.
- A field notebook or data logger, because an oxygen reading without the temperature and time next to it is only half a measurement.
- Gloves for handling the membrane, the optical cap, and the titration reagents.
Which set suits your situation? A lab or aquarium bench wants a meter with air-saturated water on hand and a spare membrane or optical cap. Shoreline fieldwork wants a meter that logs, a rinse bottle, and a bottle of zero solution. A classroom wants a Winkler kit, because every reagent step teaches something the black box on a meter hides.
Step-by-Step
How to measure dissolved oxygen in water well comes down to six steps in order: choose the method, calibrate the sensor, take a clean sample, let the reading stabilize, record the value properly with temperature, and then maintain the equipment so the next reading is as good as this one. Skip any one of these and your number drifts.
1. Choose the Right Measurement Method
Pick optical for long deployments and low maintenance, pick electrochemical for a lower entry cost and easy consumable replacement, and pick Winkler when you need a number you can defend. Here is how the main methods compare.
| Method | Principle | Typical accuracy | Typical range | Best for |
|---|---|---|---|---|
| Optical luminescent probe | Blue light excites a fluorescent dye; oxygen quenches the glow | Plus or minus 0.01 mg/L or 0.5 percent | 0 to 20 mg/L | Continuous logging, biofouling-prone water, long deployments |
| Electrochemical (membrane) probe | Oxygen diffuses through a semi-permeable membrane and drives a current | Plus or minus 0.1 to 0.5 mg/L, or 2 percent of reading | 0 to 20 mg/L | Hands-on field work, aquariums, classrooms with a budget |
| Colorimetric kit (indigo carmine) | A reagent changes colour in proportion to oxygen | Around plus or minus 0.1 mg/L on a good kit | 0.2 to 15 ppm | Screening tanks and ponds, high-purity water with a Rhodazin D kit |
| Winkler iodometric titration | Oxygen is fixed as a manganese iodide precipitate, then iodine is titrated with thiosulfate | Around plus or minus 0.1 mg/L | 0.1 to 20 mg/L | Reference values, validation, educational labs |
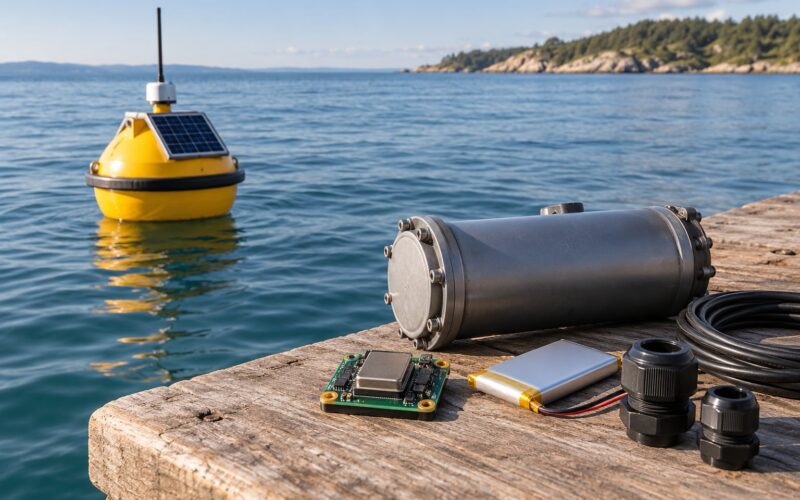
One option has grown popular with makers and marine robotics teams: wiring an optical probe to a microcontroller and logging to an SD card or a live dashboard. The electronics are easy. What is hard is drift. A consumer optical probe that was accurate in air-saturated water on day one can read noticeably off within a couple of months, so the rule is the same as for a handheld — anchor it to a Winkler titration every few weeks and correct your baseline. Open hardware helps you log continuously; it does not remove the need for calibration.
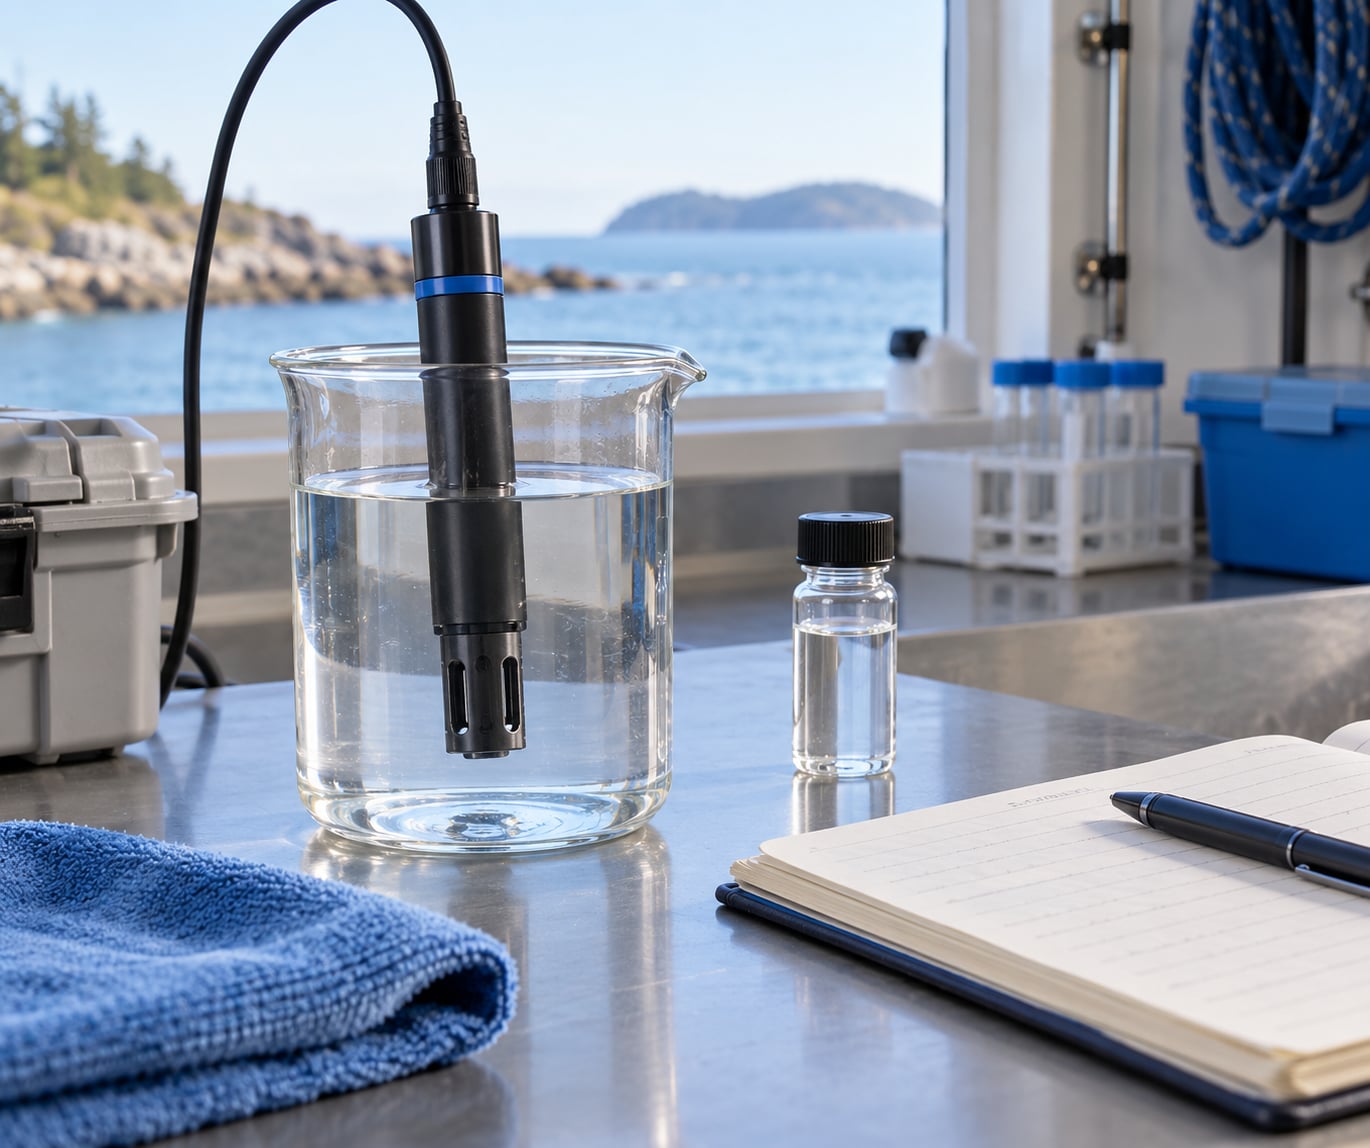
A fourth approach is in situ measurement. Lowering the probe into the water and letting it equilibrate gives the truest picture of what water at that depth actually holds, which matters for thermal stratification and for the bottom of a stratified lake on a hot afternoon.
Accuracy numbers matter less than repeatability for most people. A meter that reads 7.9 mg/L twice in a row is more useful than a meter that claims laboratory accuracy but gives you 7.4 then 8.3. People comparing handheld meters consistently trade absolute specification accuracy for a number that holds steady across readings, which is why rinse-and-cap habits dominate the advice you will read in forums.
2. Prepare and Calibrate the Sensor
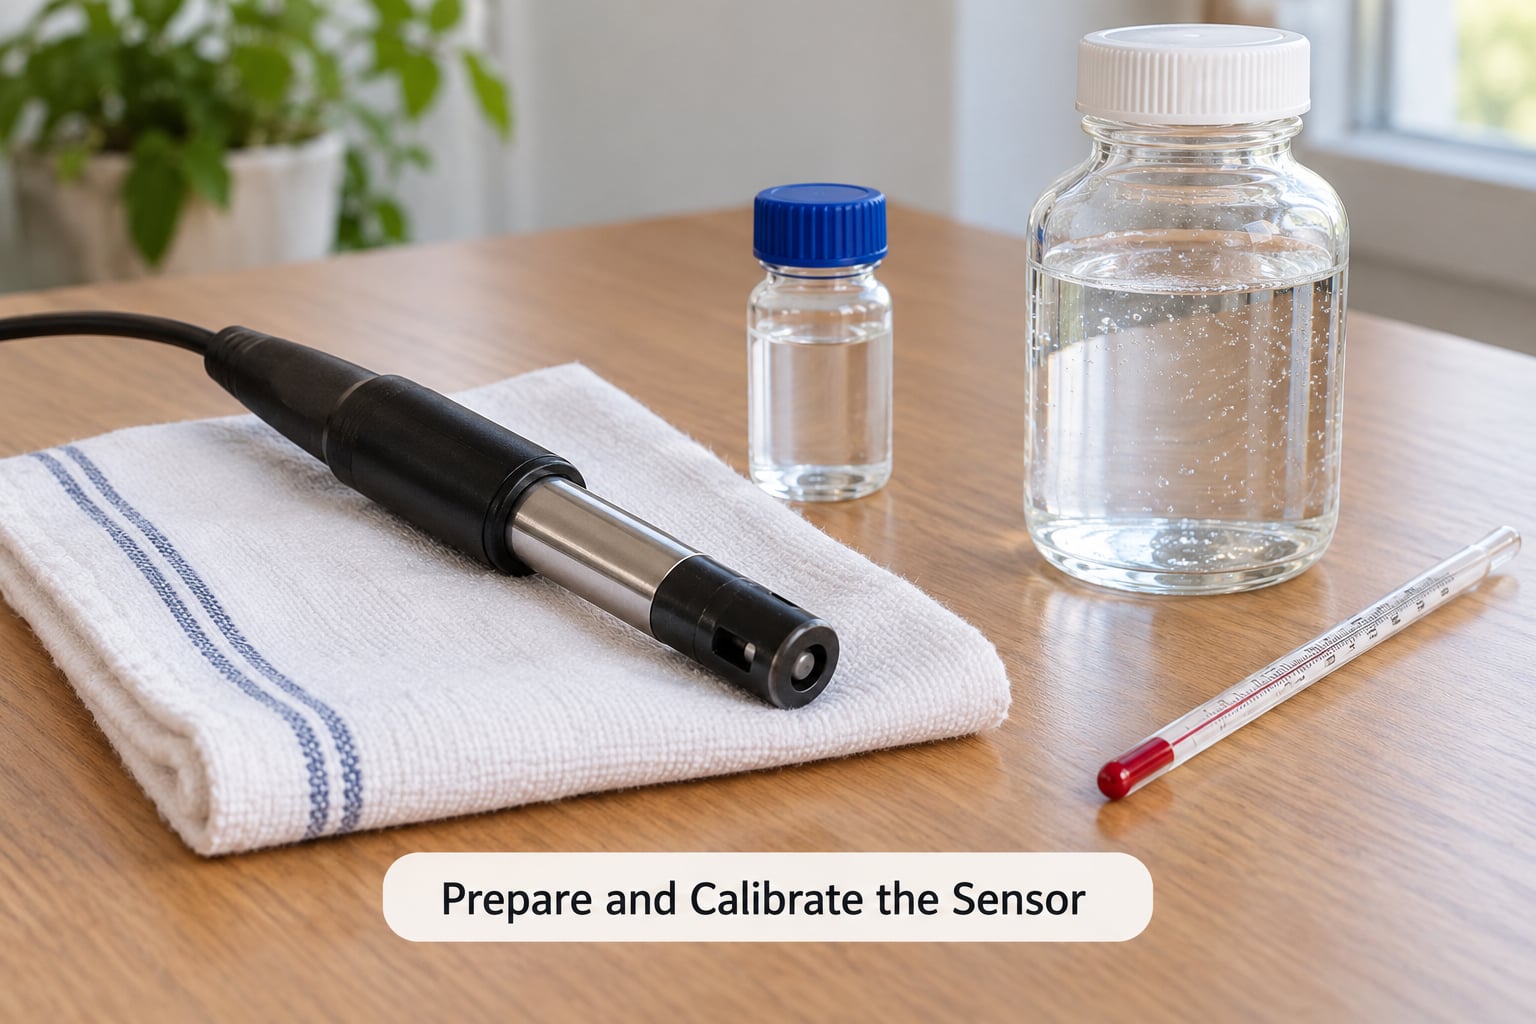
Calibrate before the trip, not at the water’s edge with wet hands and a deadline. Start by inspecting the sensor under good light. A membrane probe needs an intact membrane with no bubbles, tears, or cloudiness, and electrolyte that has not dried out. An optical probe needs a luminescent cap that has not gone cloudy or scratched.
Rinse the probe with the water you are about to measure, following the manufacturer’s instructions for conditioning time. Many meters want the probe wet and running for several minutes before the first calibration check, because the sensing element stabilises with temperature and moisture.
Then do a two-point calibration. Place the probe in a zero oxygen solution, which is usually sodium sulphite with a cobalt catalyst, and wait for the reading to stop changing. Enter that as the zero point. Next, place the probe in air-saturated water at the same temperature and pressure, and enter that as the span, or 100 percent saturation point. Some meters take the span from the atmosphere directly, which works only if the manual says to do it that way.
You will know the calibration worked when a fresh calibration solution reads within the maker’s tolerance of its certified value, and when two consecutive checks of the same solution agree closely. Record the calibration values in your notebook or log file. If the span drifts more than a percent or two between trips, that is your first sign the cap or membrane is going.
How often you calibrate depends on use. Most home aquarists calibrate once before first use, then rely on a rinse-and-cap routine between readings, which is fine for a tank but not for regulatory work. Before a field campaign, before a deployment, after any sensor shock, and whenever a value looks wrong are the four times I would not skip it.
3. Collect a Representative Water Sample
For a grab sample, rinse the container three times with the water you are sampling. This is the single most useful habit in the whole process, because residual water in a rinsed bottle changes the reading more than most people expect.
Then fill the bottle with as little turbulence as you can manage. Do not splash, do not shake, do not let the bottle break the surface with a rush of air, and keep the probe below the surface. Air bubbles carried into the sample raise the apparent oxygen content immediately. If you are filling a BOD-style Winkler bottle, let the water overflow the top so the last of the displaced water is flushed out, then stopper it with no trapped air.
Keep it simple about sediment. Stirring the bottom releases organic material that consumes oxygen, and lowering a sample into stirred sediment gives you a number for disturbed water rather than the water column. Hold the probe or bottle steady at the depth you care about, wait, and read there.
Temperature changes between the sample and the meter also matter. A bottle of warm surface water cools in your hands, and the saturation value moves with it. Measure promptly and record the temperature at the same moment. In saltwater, mix gently and expect to enter the salinity value as well; without it, a meter reading in seawater is off by several percent.
4. Stabilize the Reading and Check Quality
Do not read the first number that appears. Membrane probes typically need one to two minutes in moving water to stabilise, and optical probes can take anywhere from a few seconds to a minute depending on the model and temperature. Watch the value settle until consecutive readings agree within the meter stated accuracy.
Some meters need flow past the membrane. A slow stir, a gentle sweep motion, or dropping the probe into a stream of container water usually fixes a sluggish reading. On some meters, spinning the probe rapidly in the sample is the documented method for membrane-equipped sensors.
Then run the quality checks. Confirm temperature compensation is switched on, or enter the temperature yourself. Confirm salinity compensation is set if you are in seawater. Confirm the pressure or altitude setting is correct if you are above sea level, since the saturation standard drops with altitude.
If a value comes back impossible — negative, or above the saturation ceiling for that temperature and salinity — do not average it away. Re-rinse, re-check the calibration solution, and take a second sample. If the meter keeps disagreeing with a Winkler titration you trust, the meter or its cap is the problem, not the water.
5. Record and Interpret the Result
Report the number with its unit and its conditions, which means DO in mg/L, the water temperature, the salinity or conductivity, the time, and the depth. Percent saturation is a useful addition for anyone comparing sites, because it normalises the reading against what the water could hold at that temperature.
Understand the units before you compare anything. In water, 1 mg/L equals roughly 1 ppm, so those two are interchangeable for practical purposes. Percent saturation is that concentration divided by the saturation concentration for the measured temperature, salinity, and pressure, multiplied by 100. A reading of 100 percent saturation means the water is fully saturated, not that it holds 100 mg/L.
| Unit | What it tells you | Conversion |
|---|---|---|
| mg/L | Oxygen mass per litre of water | Essentially equal to ppm in water |
| ppm | Parts per million, the same mass fraction | 1 ppm = 1 mg/L |
| Percent saturation | How full the water is relative to its capacity at that temperature | Percent = mg/L divided by saturation value, times 100 |
| ppb | High-purity water work, using a Rhodazin D type kit | 1000 ppb = 1 mg/L |
To interpret a reading, compare it against what the water could hold. In fresh water at sea level, expect roughly these saturation concentrations.
| Water temperature | Full saturation (mg/L) |
|---|---|
| 5 °C | 12.8 |
| 10 °C | 11.3 |
| 15 °C | 10.1 |
| 20 °C | 9.1 |
| 25 °C | 8.3 |
| 30 °C | 7.5 |
| 35 °C | 6.8 |
So a stream reading of 6 mg/L is about 72 percent saturation at 25 °C and still concerning for a sensitive site. The same 6 mg/L in a 10 °C pond is closer to 53 percent of a much higher capacity, and the water at that temperature has more oxygen in reserve before it stresses fish. That is why a number alone is never the whole story.
Interpret the number for your context rather than against a universal threshold. Most freshwater fish do fine above 6 mg/L, show stress between 4 and 6, and die below roughly 3, though cold-tolerant species and warm-water species differ. Warmwater aquarists usually want 6 to 8 mg/L in the tank, and pond keepers watching for summer crashes should know that the ceiling itself drops with temperature. A 7 mg/L reading in July and the same reading in March mean very different things.
Too much oxygen has its own problem. Water can hold more than full saturation after heavy photosynthesis or aeration, and fish exposed to supersaturated water can develop gas bubble disease, where gas forms in the blood and tissue. Watch for gas bubbles on fins and in eyes, and for a reading well above 100 percent saturation, especially right after a plant-heavy tank lights cycle or a waterfall feature runs hard.
Then separate the single reading from the trend. One measurement tells you the state of the water at that moment. A value that holds around 9 mg/L for a week, then falls to 4 mg/L overnight with the temperature rising, is an algal die-off or an organic load problem, and the trend is the evidence. Loggers exist for exactly this reason, and it is the most requested feature in aquarium and pond forums.
6. Maintain Field and Long-Term Measurements
Between readings, rinse the probe with clean water, shake off the excess, and fit the storage cap. That routine, described repeatedly by experienced aquarium users, is what keeps membrane sensors from drying out and optical caps from being scratched or left in air-saturated water at full glow.
On a deployment schedule, expect a membrane and electrolyte change roughly every 12 to 18 months on a clean freshwater job, and an optical cap lifespan in a similar range. Biofouling shortens both dramatically. Wipe the sensing area gently, keep the probe above the fouled zone where you can, and use a wiper or antifouling sleeve for long deployments in productive water.
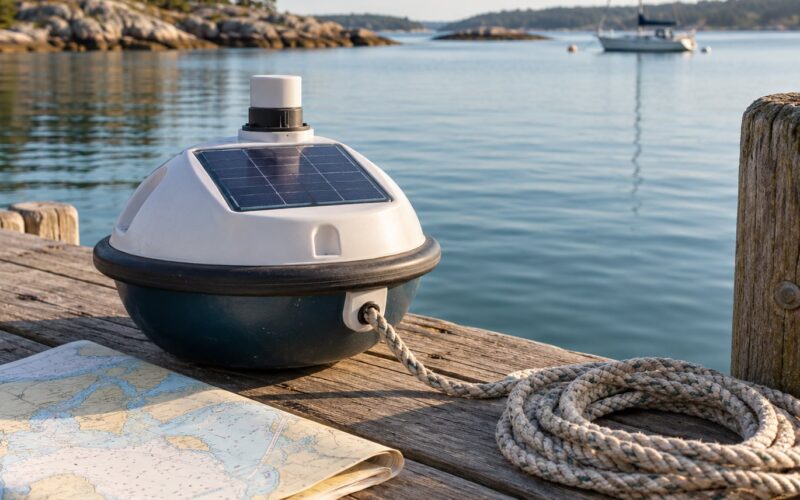
Check batteries or the solar charge on a schedule you write down, not when the reading stops making sense. Run a span check against a fresh air-saturated solution every few weeks in the field; a slow span loss is the signature of an ageing cap. If a deployed sensor is fouled, the tell is a reading that has barely moved in weeks while temperature has changed a lot.
Recover sensors deployed in marine environments the way you would any other instrument. Rinse with fresh water before the saltwater dries and crystallises on the membrane, keep the cap wet or dry as the manual specifies rather than guessing, and log every recovery. A shore crew that fills out a recovery sheet will catch a failing sensor on the second deployment instead of the tenth.
Common Mistakes
Almost every bad dissolved oxygen reading traces back to one of a handful of habits. Here is what goes wrong and what fixes it.
- Reading before the value stabilises. The first number after immersion is still equilibrating. Wait for consecutive readings to agree.
- Measuring an air-contaminated sample. Splashing, shaking, or a trapped bubble in a BOD bottle raises the result. Rinse three times, fill gently, overflow the top, stopper immediately.
- Ignoring temperature compensation. Warm water holds less oxygen, so a meter with automatic temperature compensation off will overstate what is available on a hot day.
- Calibrating against the wrong standard. Ambient air is not air-saturated water. Use a proper zero solution and a certified span solution, or follow the manual’s stated air procedure exactly.
- Leaving the sensor dirty or dry. A fouled or dried membrane reads slow and low. Rinse, cap, and replace on a schedule.
- Mixing up units. A meter set to percent saturation is not showing mg/L. Confirm the mode before you record the number.
- Treating one reading as a trend. A single number cannot tell you whether oxygen is falling. Log over hours or weeks.
- Forgetting salinity and pressure. Seawater and high-altitude sites both need correction, or your percent saturation will be misleading.
| Symptom | Likely cause | Fix |
|---|---|---|
| Reading changes every time you repeat the measurement | Sample aerated by splashing or stirring | Lower the probe gently, stop movement, wait for a stable value |
| Slow response, value never quite settles | Fouling, no flow past the membrane, or an ageing cap | Clean or wick the sensing area, stir the sample, replace the consumable |
| Reading near zero in clearly oxygenated water | Span drift from an old membrane or cap | Span check against fresh air-saturated solution, then replace |
| Value far above saturation | Air bubble on the sensor or a genuinely supersaturated sample | Lift, rinse, and re-immerse carefully; if it persists, treat as supersaturation |
| Saltwater reading consistently high | Salinity compensation off or salinity not entered | Enter salinity or conductivity and enable compensation |
| Deployed sensor flat-lined for days | Biofouling or dead battery | Recover the sensor, check power, clean or sleeve the probe |
One more thing that trips up aquarium keepers: tank shape changes what a reading means. A tall, narrow tank has less surface area per litre than a wide shallow one, so gas exchange is slower and the water holds less available oxygen at the same concentration. Keepers on forums note this repeatedly, and it explains why two tanks with identical readings can have very different outcomes.
Frequently Asked Questions
What unit is used to measure dissolved oxygen in water?
Dissolved oxygen is reported in milligrams per litre (mg/L), in parts per million (ppm), or as percent oxygen saturation. In water, 1 mg/L and 1 ppm are effectively the same, so many meters show both. Percent saturation compares your reading to the amount the water could hold at that temperature, salinity, and pressure.
Can dissolved oxygen be measured accurately in saltwater?
Yes, but you must enter the salinity or conductivity and enable salinity compensation. Seawater holds less oxygen than fresh water at the same temperature, so an uncompensated meter reads high. Optical probes handle routine marine work well with no consumable membrane; Winkler titration also works in seawater but the reagents need salt-tolerant versions for some protocols.
How long should a dissolved oxygen sensor stabilize before reading?
Allow one to two minutes for a membrane probe in gently moving water, and from a few seconds to about a minute for an optical probe depending on the model and temperature. The correct test is not the clock but the number: take consecutive readings and accept the value once it changes by less than the meter stated accuracy.
Should I calibrate a dissolved oxygen sensor before every field measurement?
Not necessarily, but do calibrate before the first use, before a deployment, after the probe has been dropped or soaked in a way that is not normal, and whenever a value looks wrong. For regulatory or research data, calibrate with a zero oxygen solution and an air-saturated or certified span standard each time. For home tanks, a monthly span check is usually plenty.
What is the difference between an optical and electrochemical oxygen probe?
An electrochemical probe works like a tiny battery: oxygen diffuses through a semi-permeable membrane and drives a current, so it needs a membrane, electrolyte, and flow past the sensing surface, plus consumable replacement every year or so. An optical probe shines blue light at a fluorescent dye and measures how oxygen quenches the glow, which needs no consumables beyond the cap, uses very little power, and drifts far less.
How do temperature and salinity affect dissolved oxygen readings?
Warm water holds less oxygen than cold water, so the saturation ceiling drops as temperature rises: about 12.8 mg/L at 5 °C but only 7.5 mg/L at 30 °C in fresh water at sea level. Salinity lowers capacity further, and lower air pressure does as well, which is why meters offer temperature, salinity, and altitude compensation. Without them, percent saturation will be misleading.
Conclusion
Start with the calibration, because a meter that has not been checked in air-saturated water will not tell you anything useful about the water in front of you. Put the probe in the water gently, wait for the number to settle, and write down the temperature next to it.
From there, the method follows the question. A single tank check needs a handheld meter. A record of how oxygen moves through a day needs a logger. A defensible reference number needs a Winkler titration. And anything you publish should be a trend with conditions attached, not one number pulled from a shaking bottle.
This guide reflects standard practice described in EPA Method 360.1 and USGS field methods, both of which treat Winkler iodometric titration as the reference procedure that meters are checked against.