To prevent biofouling on sensors, you combine three things: a fouling-resistant sensing surface, physical protection that keeps organisms from settling, and a cleaning routine you actually stick to. Get that sequence right and a dissolved oxygen, pH or optical sensor can hold usable data for months in nutrient-rich water instead of days.
Budget a few days of workshop time for the coatings and guarding, then a few minutes per sensor per inspection for the rest of the deployment. The hardest part is not the chemistry. It’s being honest about how long you will actually be able to service the sensor after it goes in the water.
What You Need
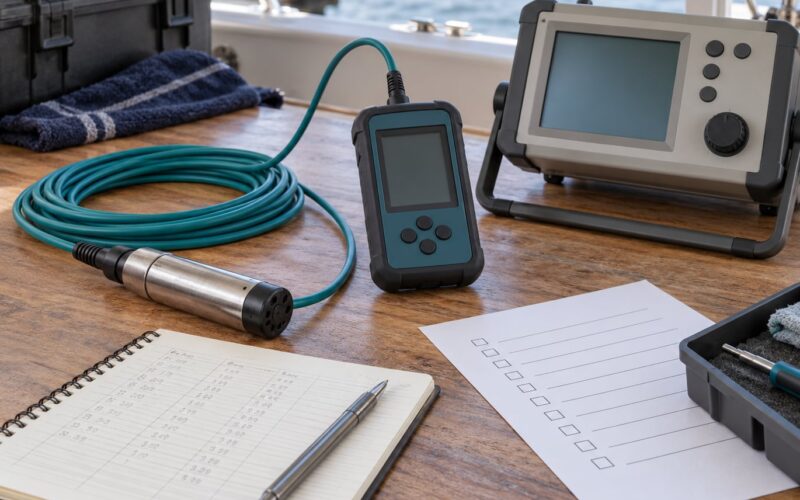
Before you choose a method, gather the sensor’s own documentation. You are looking for the exposed sensing area, whether the membrane or optical face can be touched, the recommended cleaning agents, and the manufacturer’s calibration procedure.
Then collect the deployment facts, because these decide everything: depth, immersion time, whether the unit moves, expected water temperature and salinity, and the nutrient load of the site. A harbour berth and an offshore mooring at the same depth are not the same problem.
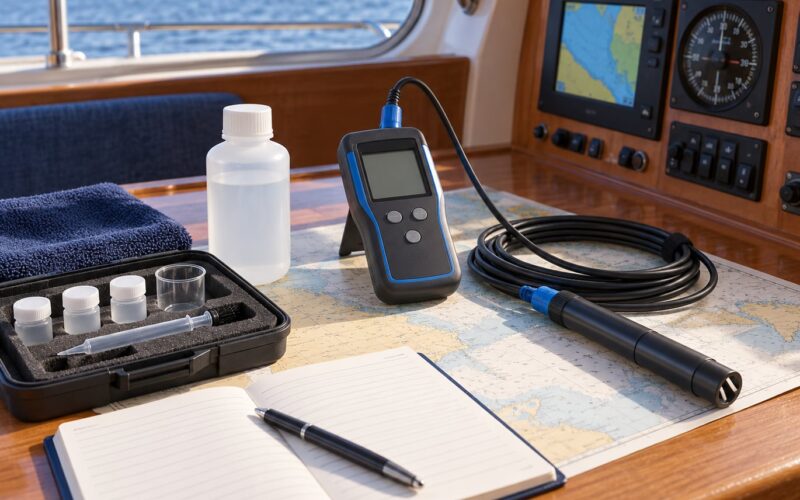
For the physical work, budget a set of soft nylon brushes, lint-free swabs, a gentle non-abrasive detergent, a bucket of clean local seawater for rinsing, and spare wipes or pads. A small bottle of diluted white vinegar handles carbonate scale on optical faces. A toothbrush is more useful underwater than anything you would buy for it.
Add a camera that works in low light, a small flashlight, and a hand lens. Most fouling is obvious once you look; the problem is that nobody looks. Safety kit matters too, since sensor work means working over the side of a boat or in the wet: a buoyancy line, gloves, and non-slip footwear.
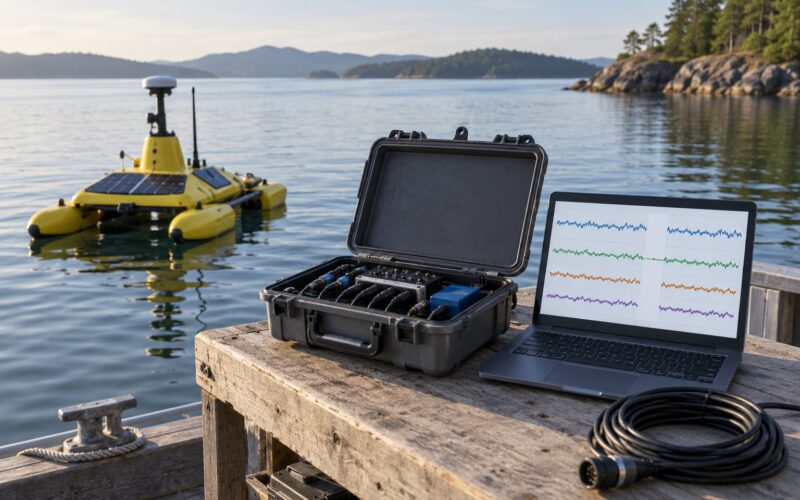
Finally, bring a data logger. You cannot judge fouling without the history to compare the current reading against, and you cannot tell a fouling drift from a real water chemistry change without one.
Step-by-Step
These five steps run in order. Skipping the first one is the most common reason a sensor comes back ruined after two weeks in an estuary.
1. Identify the Fouling Risk
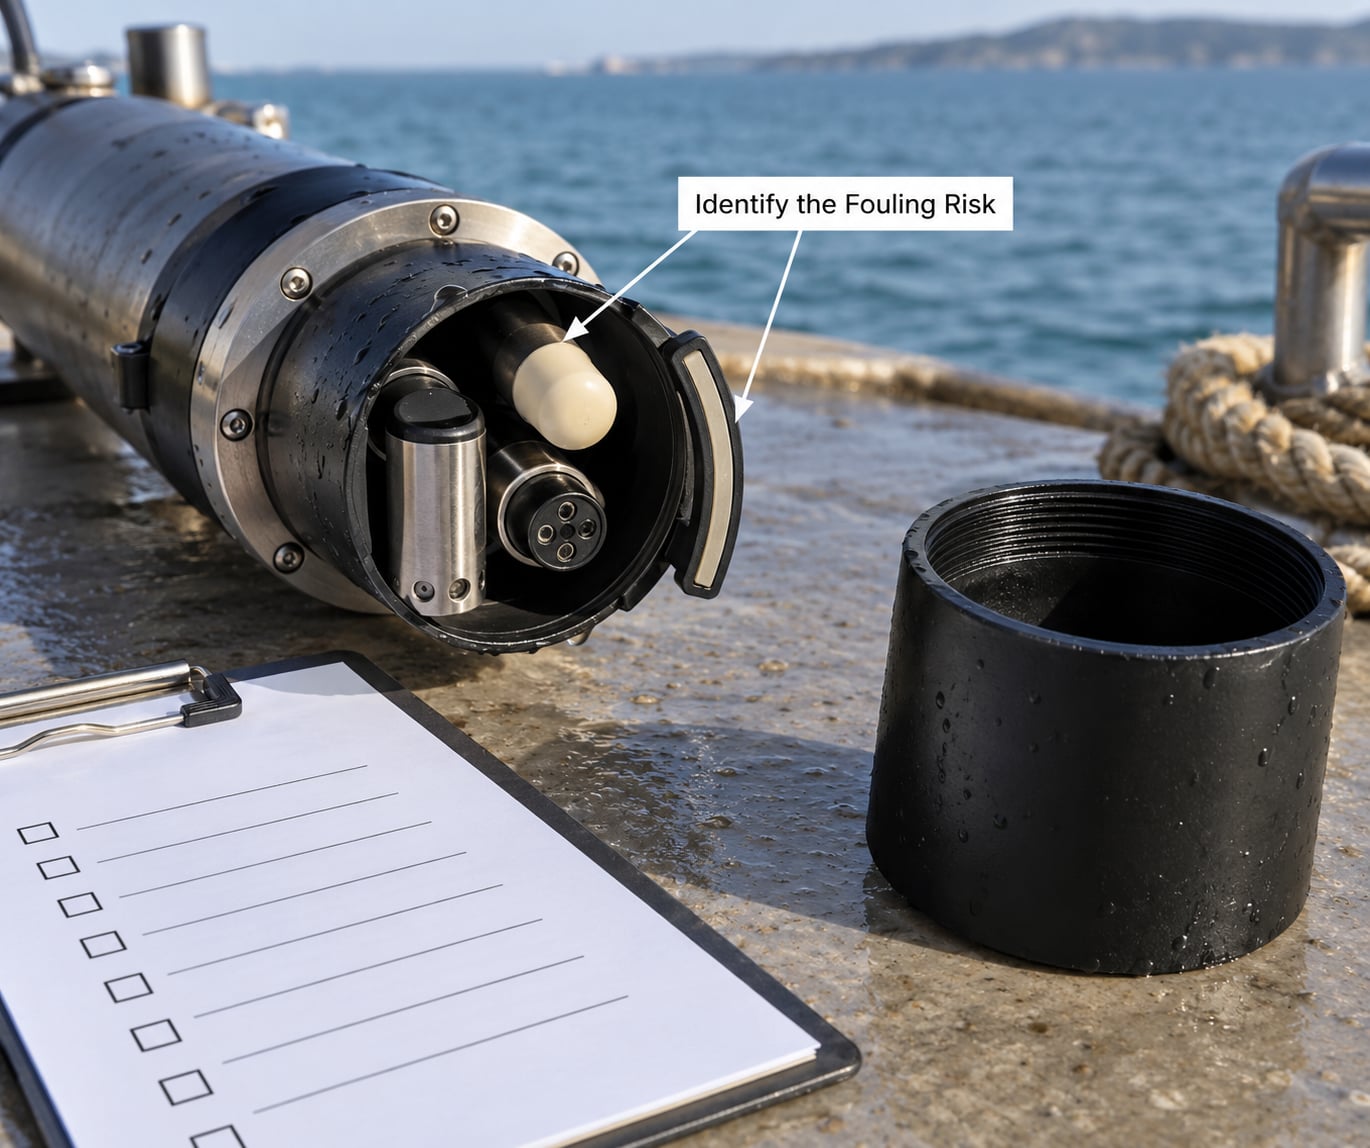
Assess exposure before you buy anything. Barnacles and mussels dominate sheltered, nutrient-rich water, while diatom and algal films take hold on any surface where flow is thin.
Work through four questions: is the sensor in moving water or in a sheltered corner, is it deep or near the surface, how warm is the water, and how long will it sit without a visit? Warm, still, shallow water in a harbour or a fish cage is the worst case. Cold, fast-flowing open water is comparatively forgiving, even in winter.
Sediment is a separate risk from biology. Suspended sand abrades exposed surfaces and buries a recessed sensor face, so a deployment near a seabed or a river mouth needs a recessed or shrouded mounting, not just an anti-fouling coating.
You will know the risk is real if you can name a probable fouling community, not just “growth”. Write down what will grow, how fast, and where on the sensor it will land. That prediction becomes the checklist you use later.
2. Choose Low-Fouling Materials and Coatings
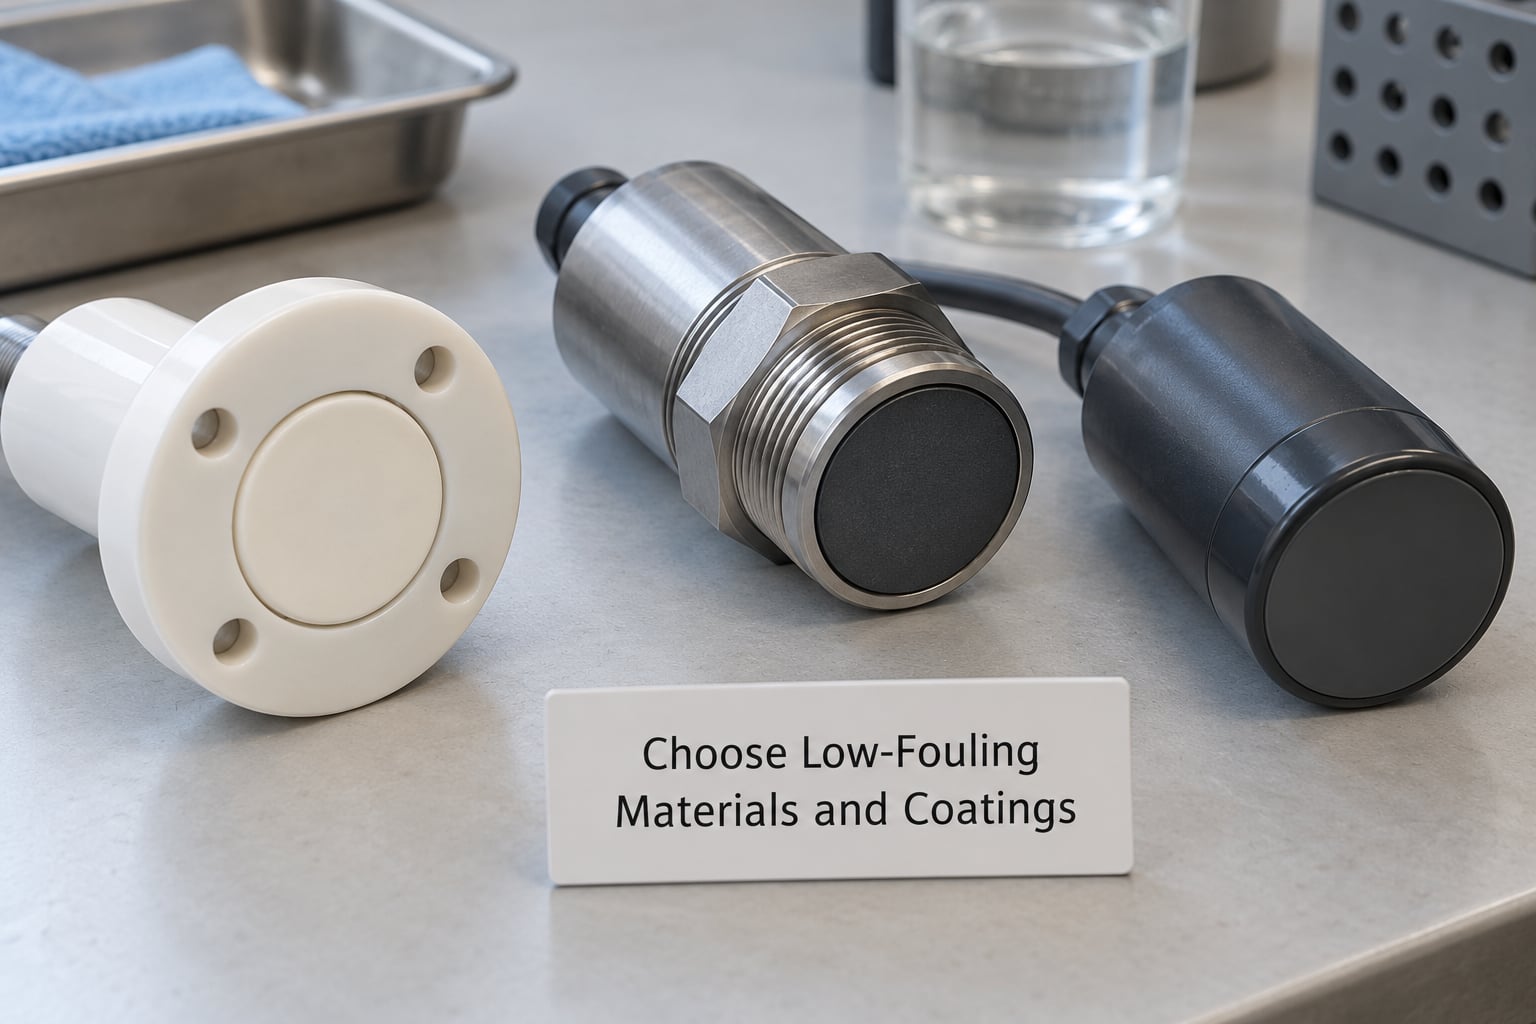
Start with the material. Ceramic, titanium and smooth polished polymers shed settlement better than rough or corroded surfaces, because there is no crevice to anchor into. Perched, recessed and shielded fittings trap debris passively, so removing them removes a whole fouling site.
Coatings split into two families. Hydrophilic and zwitterionic surface chemistry keeps water wetting the surface, so organisms have nothing dry to grip. Foul-release coatings go the other way: the layer stays slippery, and any growth that does arrive lets go with the shear from moving water.
Some results are worth knowing before you spend a weekend. A published in-situ trial of low-cost coatings on optical sensors found that transparent films, epoxy and PDMS did not prevent biofilm formation, and the remaining problem was micro-biofouling too small to see. Cheap barrier coatings can be worse than nothing, because they dull the optical path while giving you false confidence.
There is one genuine coating family that works on metals and polymers alike: biocide-releasing copper, zinc or silver surfaces. Keep them off the sensing path. The dissolved metal interferes with optical readings and biases the electrochemistry, so a coated shaft is fine and a coated membrane cap is not.
3. Add Physical Protection Without Losing Sensitivity
This is the most neglected step, and it is usually the cheapest. Anything that prevents the first settling organism from getting a foothold outperforms every coating you can spray afterwards.
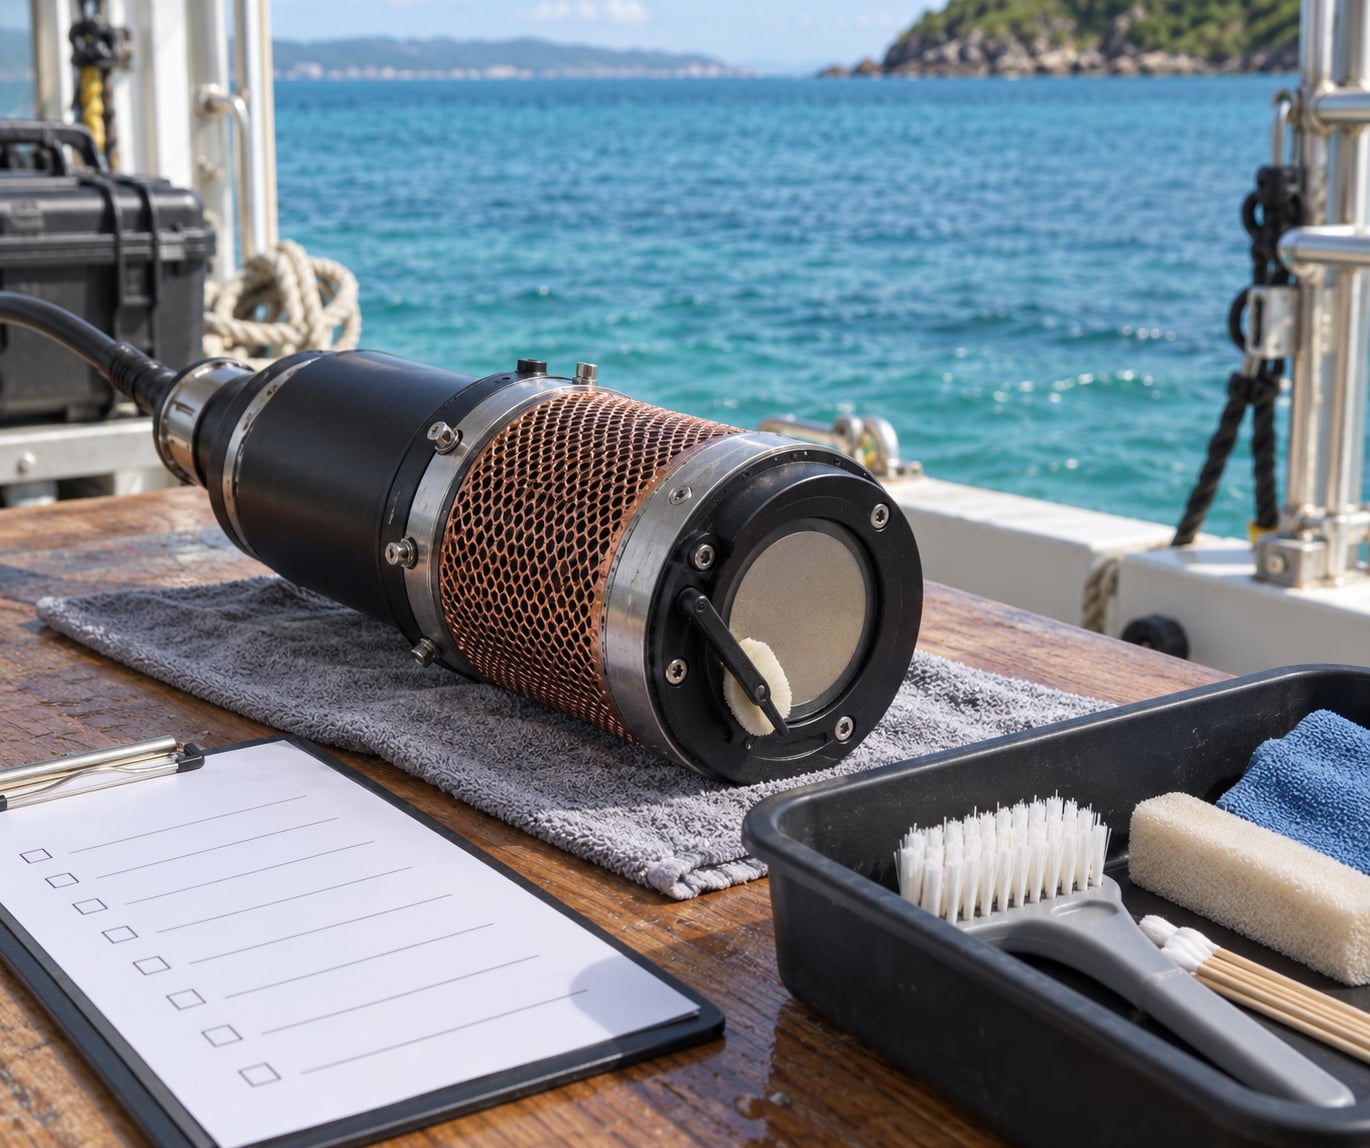
A wiper or scraper is the direct option. A blade sweeps the sensing face on a schedule and removes both biofilm and the settled juvenile organisms before they cement down. Many commercial sondes ship with a central wiper; open-hardware builds can add a small actuator on a timer.
The power cost is small if you keep the duty cycle short. A wiper drawing 150 mA at 3.3 V and running for ten seconds four times a day uses about 2 watt-hours over a year, which a small solar panel or lithium cell covers without noticing. Scrubbing once a day instead of four times barely changes the total.
For low-power builds that cannot justify a wiper, copper mesh and copper-alloy guards are the common fallback. Operators report that a shroud keeps fouling off for months, which is a real field result rather than a laboratory claim. A removable mesh shroud is also easy to lift and inspect on a service call.
Recessing the sensing face behind a lip protects it too, and it costs nothing. So does keeping two identical sensors on the same frame. If one is fouled, the untouched one tells you whether the water actually changed, which is worth more than either reading alone.
4. Deploy for the Least Favorable Conditions
Installation does more for your data than any product choice. Orient the sensor face into the prevailing flow so nothing settles on it from upstream, and avoid mounting it in a corner formed by a frame member or a shaded underside.
Keep it off the seabed and clear of the surface film. A buoy’s waterline is the single worst location on the whole platform, and a lot of fouling problems really are waterline placement problems wearing a disguise.
Mind the cable. A slack loop draped across the frame is a prime attachment surface, and it is usually the first thing a diver finds covered in mussel. Run cable tight, clip it down, and leave no loose ends to flap.
On a moving platform, motion helps. A sensor on an AUV, drifting buoy or small craft sheds growth that would build on a fixed frame, since flow keeps sweeping the face. Vertical mounting also drains better than horizontal, so shed material falls away instead of sitting where you cannot see it.
5. Inspect, Clean, and Record Results
Set the interval from the risk assessment in step one, then shorten it if the first inspection shows growth you did not expect. In warm, sheltered, nutrient-rich water, weekly visual checks are realistic. Cold open water can go months between visits.
At each check, photograph the sensing face under the same lighting and compare it with the last photo. Readings move before growth is visible, so compare the current value against your pre-deployment baseline and a reference value from a second, protected unit.
When you do clean, use the least aggressive method that works. Rinse with clean local seawater, wipe with a soft lint-free pad or a soft brush, and use dilute vinegar for carbonate film on optical windows. Never use abrasives, wire wool or a scalpel on a membrane or an optical face, since a single scratch can cost more accuracy than the fouling ever did.
Then recalibrate. Cleaning changes the sensor, and a fouled sensor cleaned and left uncalibrated is simply a clean drifted sensor. Record the pre-clean reading, the post-clean reading, the calibration result and the condition of the surface every single time. After three services you will know your fouling rate, your coating’s remaining life and your real cleaning interval, and none of that is guesswork anymore.
Common Mistakes
Coating the whole sensing path. Any coating, barrier or film on the sensing surface attenuates the response. Keep coatings on the housing, the shaft and the guard, and leave the measurement surface alone.
Cleaning with abrasives. Scrapers and scouring pads feel effective because they remove a lot. They also scratch membranes and optical windows permanently. Soft pads, soft brushes and dilute acid work; anything that would scratch a fingernail should not touch the sensor.
Choosing a coating without checking compatibility. Ask the manufacturer what the surface chemistry does to your specific measurement, especially with copper-bearing coatings near nutrient, pH and optical channels. Check that the coating will not foul a companion electrode or contaminate the electrolyte.
Fitting copper mesh before calibration. This is the mistake that quietly invalidates a deployment. A practitioner warned that copper mesh keeps sensors clean for months, but the readings will not be accurate if the mesh goes on before the sensor is calibrated. Calibrate first, then shield.
Leaving copper guards on nutrient sensors. Copper can leach into calibration standards and interfere with nutrient measurements, which is why one monitoring program swapped copper guards for plastic ones. If you measure nutrients, use a polymer guard.
Ignoring sheltered fittings. Cable loops, unused mounting holes, connector bodies and frame corners accumulate more growth than the sensor face. Walk the whole assembly during the survey in step one and eliminate what you can.
Treating fouling as only a cleaning problem. If you clean without changing the exposure, you will clean again on the same schedule forever. Prevention, siting and installation hygiene are what actually change the interval.
Cleaning without a record. If you do not log the pre-clean and post-clean values you cannot prove whether a step improved anything, and you cannot set an alarm threshold that catches the next drift before it becomes a month of bad data.
Frequently Asked Questions
What is biological fouling?
Biological fouling is the unwanted buildup of living organisms on a surface exposed to water. It starts with a bacterial conditioning film within hours of immersion, then adds algae and bacterial biofilm, and finally larger settlers such as barnacles, mussels and tubeworms. On a sensor it blocks light, coats a membrane, or adds drag and mass.
What is the difference between biofouling and biofilm?
A biofilm is the slimy, microscopic layer of bacteria and their secreted matrix, usually only micrometres thick, and it forms on almost any wet surface. Biofouling is the broader term for biological growth that impairs function, so a biofilm is one stage of it. Macro-barnacles and mussels settling on top of a biofilm are biofouling without any biofilm in the name.
What are the effects of biofouling on sensor data?
Fouling blocks light paths, adds a diffusion layer across a membrane, and changes the sensor’s response. The result is a reading that is biased, low, and slowly drifting, with no error flag from the instrument. Over a long deployment that turns into weeks of quietly wrong data, which is far worse than an outright failure because nothing alerts you.
Can you give me an example of biofouling?
A moored dissolved oxygen sonde left in a sheltered harbour berth for six weeks is a good example. A biofilm forms first, mussel spat settle onto it, and the membrane response drops as the diffusion layer thickens. The instrument keeps reporting valid-looking numbers, so the drift is only visible if you compare against a reference unit or a pre-deployment baseline.
How often should in situ sensors be cleaned and recalibrated?
Match the interval to exposure. Warm, sheltered, nutrient-rich water such as a harbour or a fish cage usually needs weekly visual checks and cleaning every two to four weeks. Cold, flowing open water can go months. Recalibrate after every cleaning, and use a second, protected reference unit to catch the drift that arrives before you can see growth.
Is copper safe to use on water quality sensors?
Copper is effective against fouling but is not neutral to the measurement. It can leach into calibration standards and interfere with nutrient analysis, and dissolved copper interferes with optical readings. Calibrate before fitting any copper guard or mesh, use it on the housing and shroud rather than the sensing face, and switch to a polymer guard if you measure nutrients.
Conclusion
For a long mooring or a fixed harbour station, pick a fouling-resistant body and a recessed or copper-shrouded mounting, calibrate before the guard goes on, then set a weekly photographic check and a cleaning interval you can keep.
For a moving platform, lean on flow and motion: orient into the current, keep the face off the waterline, and run a wiper on a short duty cycle. The power cost is trivial next to the data you protect.
Whatever the deployment, write the baseline and the logging routine down before the sensor goes in. Prevention is decided in the workshop; the maintenance schedule is what makes it hold.