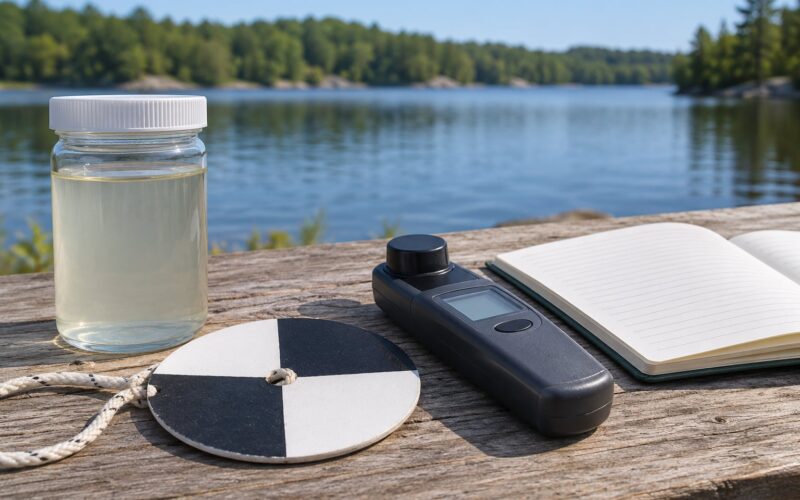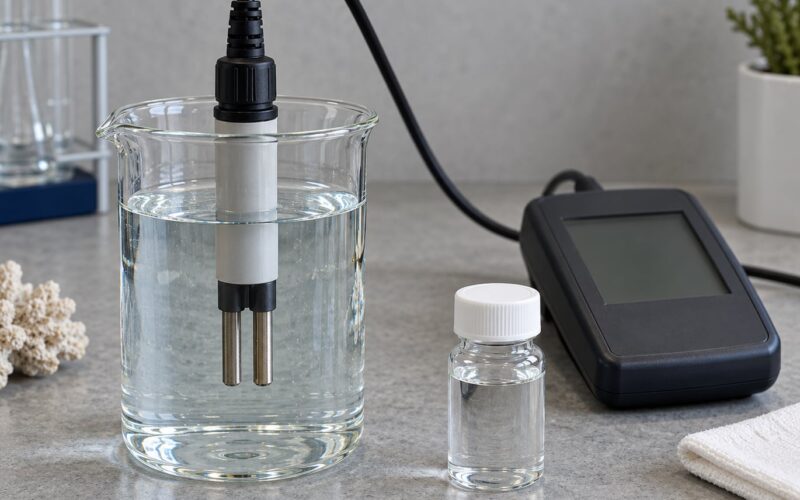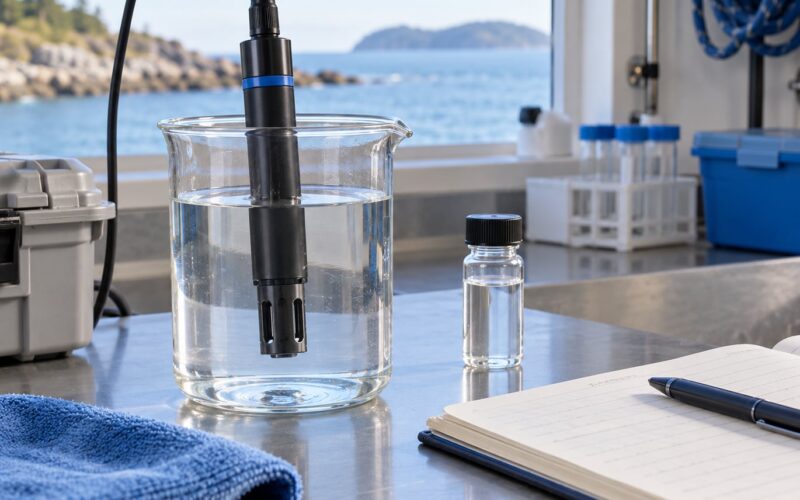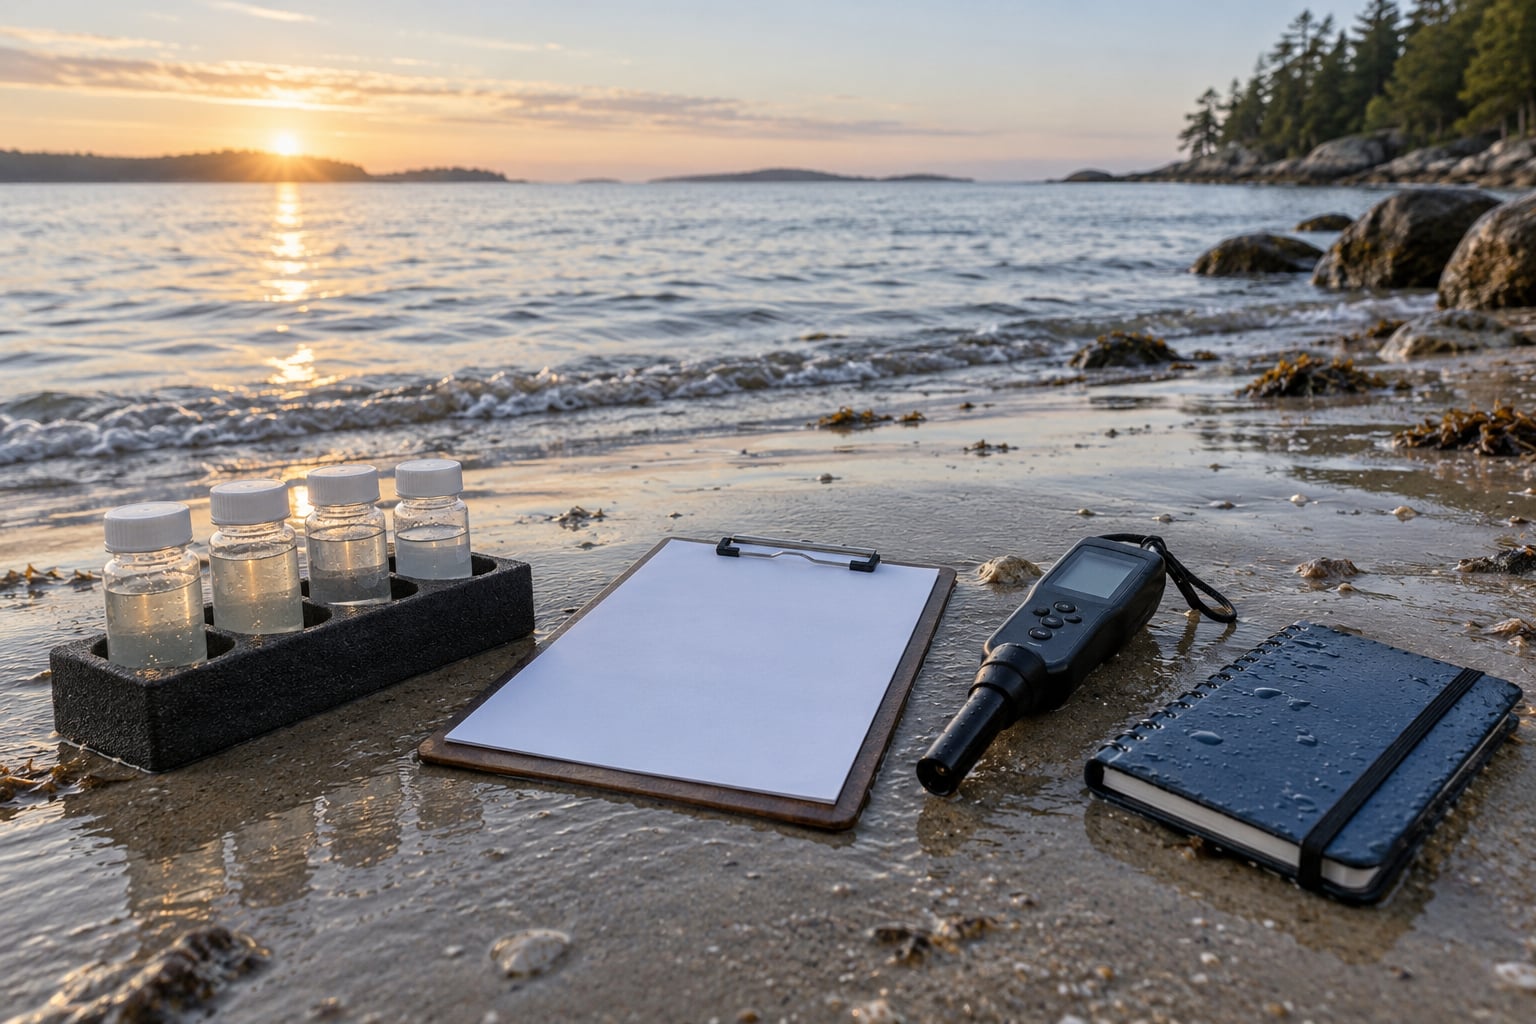
A water monitoring group is a small team, often volunteers, that measures the same water quality parameters at the same sites over and over, following a written plan so the records are comparable and useful. Learning how to start a water monitoring group comes down to four decisions made before anyone wades in: one monitoring question, one accessible site, one short list of measurements, and one schedule you can actually keep.
The direct answer: pick a single question you want answered, choose one site you can reach in every weather, measure a handful of parameters with a method you can repeat, and run a three-month pilot before you recruit a crowd or buy anything expensive.
A first-year group usually needs less gear than people expect and far more paperwork than they expect. What follows is the sequence I would follow, written for organizers, educators, community scientists and marine technology teams who want records an agency will take seriously later.
Table of Contents
- What You Need Before You Recruit Anyone
- Step-by-Step: How to Start a Water Monitoring Group in Seven Steps
- Common Mistakes and How to Fix Them
- Frequently Asked Questions
- Do volunteers need experience to join a water monitoring group?
- How often should a community group sample water quality?
- What should a new water monitoring group measure first?
- How much funding does a community monitoring program need?
- Does citizen science water quality data count with agencies?
- Where can I find training and templates for a new monitoring group?
- Start With One Site, One Question, and One Schedule
What You Need Before You Recruit Anyone
Most stalled monitoring groups fail in the planning stage, not the field. Write these six items down first, and the rest of the process gets much faster.
- A monitoring goal in one sentence. Not “improve water quality.” Something like “document whether the bacteria levels at our swimming beach rise after heavy rain.”
- A defined study area. Where the water starts and stops being your responsibility. Name it on a map.
- A core measurement set. Four to six parameters, not twenty.
- Named roles. Who coordinates, who holds the data, who runs training, who handles safety.
- Three planning documents. A quality assurance project plan, a sampling and analysis plan, and a standard operating procedure for each field task.
- A reporting destination. Where results go so someone other than your group sees them.
Those three planning documents sound heavier than they are. A quality assurance project plan is simply the promise of how good the data needs to be and who is responsible for it. The sampling and analysis plan holds the site list, schedule, methods and equipment. The standard operating procedure is the one-page instruction a volunteer follows at the stream bank.
Now assign roles. Most working groups run on one dependable on-the-ground coordinator plus a handful of part-time helpers.
| Role | Responsibility | Typical time |
|---|---|---|
| Coordinator | Owns the plan, the schedule, the equipment and the agency relationship | 8 to 12 hours a month |
| Data manager | Checks submissions, runs quality control, maintains the shared database | 4 to 6 hours a month |
| Trainer | Runs the classroom session and the supervised field certification | 6 to 10 hours a month |
| Safety and access lead | Waivers, site access agreements, weather and hazard rules | 2 to 4 hours a month |
| Technical advisor | Reviews methods, interprets odd results, signs off on data going public | 2 to 3 hours a month |
| Volunteer monitor | Samples on schedule, fills the field sheet, flags anything unusual | 2 to 3 hours a month |
One technical advisor is worth more than five extra monitors. That person is what separates a hobby dataset from something a watershed council or a state agency will use.
Step-by-Step: How to Start a Water Monitoring Group in Seven Steps
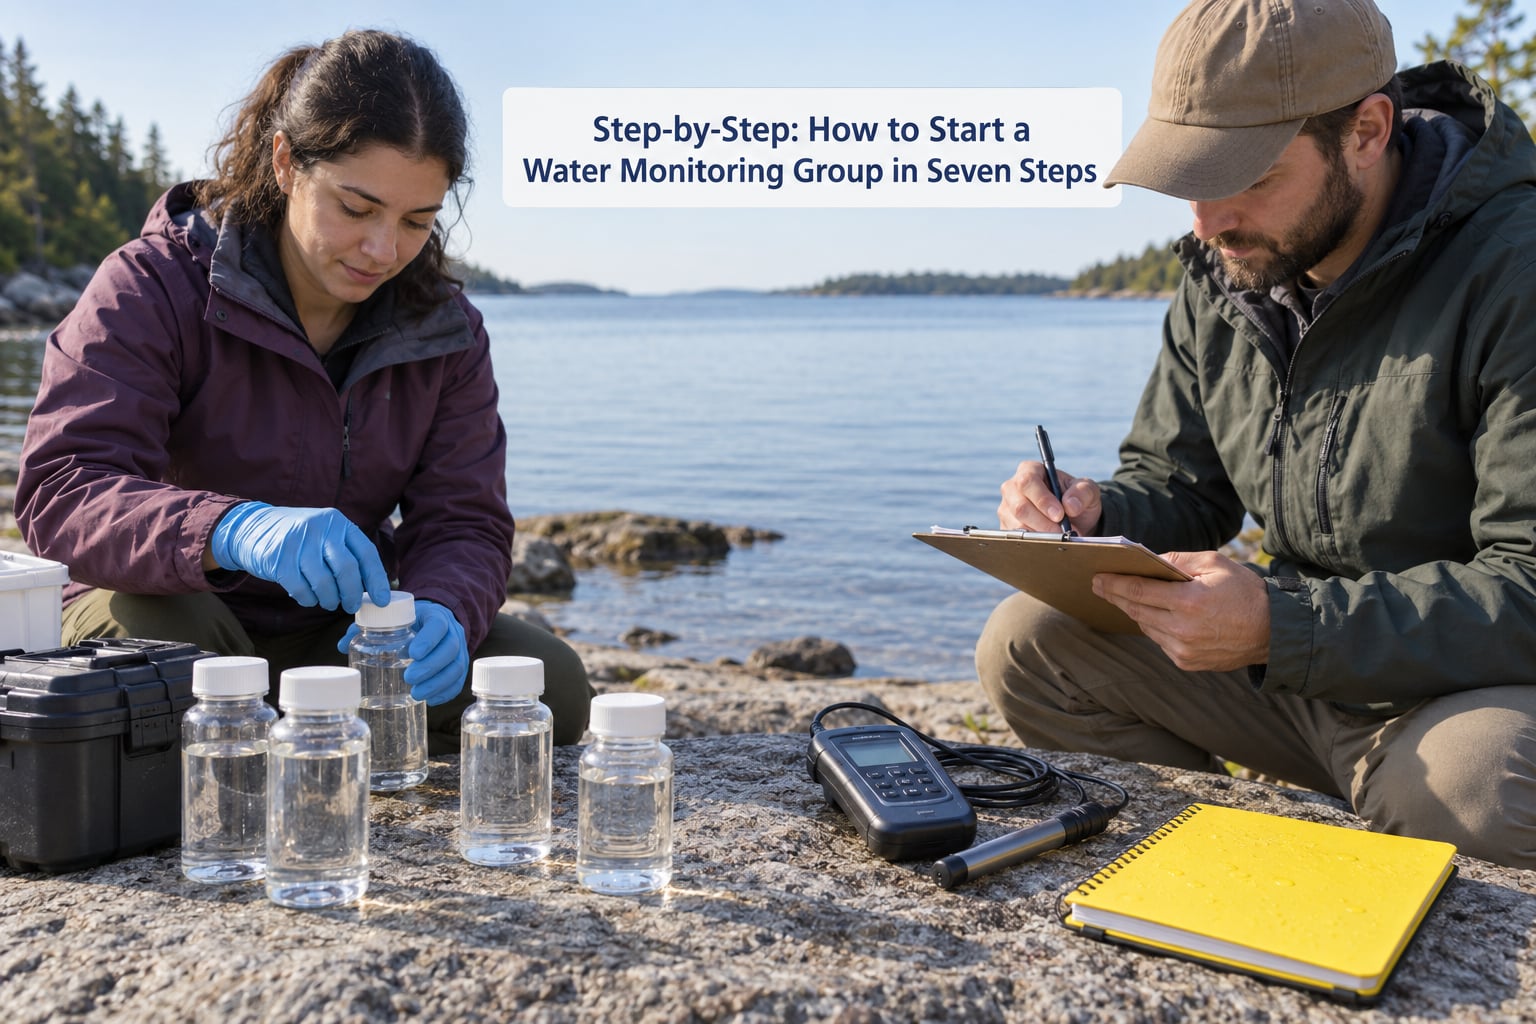
Step 1: Define the monitoring question
Start with the question, not the equipment. A group that says “monitor water quality” will drown in data and answer nothing.
Useful monitoring questions have a place, a variable and a time frame: salinity trends at a coastal inlet, temperature swings in a neighborhood pond, nutrient conditions during the algae season, shoreline litter counts, or evidence of recurring runoff after storms. Pick one.
Write it as an objective you could actually check. “Is the creek warmer than 20 degrees Celsius on summer afternoons?” beats “understand the creek.” The second version can never be answered or refuted.
Step 2: Pick locations and set a schedule
One site to start. Choose somewhere reachable without a permit headache, safe at the water’s edge and reasonably representative. Record the coordinates, the depth and the exact spot with a photo so the next person finds the same place.
Then fix the rhythm. Monthly is the standard that most groups survive, because it produces a seasonal picture and it fits in an ordinary month. Sample at the same time of day every visit, since dissolved oxygen and temperature both move with the sun.
Put the schedule on a calendar before you announce it. A visit including travel often runs one to two hours, and that is the number people underestimate when they commit.
Step 3: Choose measurements and equipment
Separate the measurements you need from the ones you would enjoy. The table below covers the parameters most new groups start with.
| Parameter | What it tells you | Typical method | Difficulty |
|---|---|---|---|
| Water temperature | Seasonal change, thermal pollution | Thermometer, field meter | Easy |
| Dissolved oxygen | Whether fish can breathe there | Field meter | Easy |
| pH | Acidity change, pollution signal | Field meter or test strip | Easy |
| Conductivity | Dissolved salts, road and runoff influence | Field meter | Easy |
| Turbidity or transparency | Sediment and algal growth | Secchi disk or tube | Easy |
| E. coli or Enterococcus | Recreational safety risk | Lab analysis of a grab sample | Harder |
| Nitrate and phosphate | Fertilizer and wastewater loading | Lab or field kit | Harder |
| Macroinvertebrates | Long-term biological health | Field collection and identification | Harder |
There are two honest equipment paths. The field-meter path uses multi-parameter meters, thermometers and turbidity tubes, and it gives you instant numbers with moderate capital cost. The lab-backed path adds sample bottles, preservation, coolers, chain-of-custody forms and per-bottle analysis fees, and it gives you bacteria and nutrient results a regulator will trust.
Many groups start with the first four rows and add lab work in year two. Open-hardware builds, where volunteers assemble simple temperature, pH and conductivity loggers from inexpensive boards, are also a legitimate first tier. They cost little and teach a lot, but expect monthly recalibration and occasional sensor drift.
Step 4: Recruit and train volunteers
Recruit for reliability rather than enthusiasm. Ten people who show up monthly beats thirty who sample once in July.
Run training in three phases, which is the model the larger state programs use. Phase one is a classroom session on the monitoring question, the parameters, the plan and safety. Phase two is supervised field practice where each volunteer takes a reading next to an experienced monitor. Phase three is unsupervised certification after a few supervised trips.
Assign buddy pairs so no one works a hazardous bank alone. Keep a shared equipment pool so people are not maintaining four duplicate meters, and set a participation pledge, usually a year, so the coordinator can plan around absences.
Step 5: Run a pilot sampling day
Treat the first outing as a test of paperwork rather than of chemistry. Walk the whole chain end to end: pack the kit, drive to the site, take the readings, label the bottles, complete the chain-of-custody form, enter the data, then check the equipment.
Everything that feels awkward on a pilot day becomes a broken field sheet later. Timing it tells you whether the one-to-two-hour commitment is honest, and reviewing the sheets afterwards shows exactly which fields volunteers leave blank.
How to start a water monitoring group properly means finishing this pilot before announcing the program. Most groups that skip it spend their first season fixing inconsistent records.
Step 6: Build a repeatable data workflow
Consistency is what separates a record from a pile of readings. Set up four habits: one field sheet used by everyone, one file naming convention, one shared data dictionary that defines every column, and two backups of every submission.
Name files like site, date and parameter rather than final_final_v2. Keep the data dictionary short: column name, meaning, unit, acceptable range, and what to do when a value sits outside it.
Run basic quality control as samples come in. Check for impossible values, missing fields, and readings that drift far from the same site’s history. Fix errors by going back to the field notebook, never by editing the number to look reasonable. One reviewer should sign off before data is published.
Step 7: Analyze results and report them
Look at change over time, not single readings. Plot each parameter by month, note the season, and flag unusual values for a repeat visit rather than a headline.
Compare against local sources when they exist, such as the state or county environmental agency, the local utility and the watershed council. A number that disagrees with a nearby permitted discharge is worth investigating.
Then publish something short: an annual report card, a one-page dashboard or a short summary for the community meeting. Say plainly what the data can and cannot support. A year of monthly readings shows a pattern; it does not prove what caused it.
Close the loop by telling people what changed because they sampled. That is what keeps volunteers in the chair for year two.
Common Mistakes and How to Fix Them
Monitoring everything at once. The result is shallow coverage of a dozen parameters. Fix: four parameters, one site, one year.
Sampling at different times of day. Sunlight and traffic change temperature, pH and dissolved oxygen, so the trend you plot is partly your schedule. Fix: fix the window, for example the first two hours after dawn, and hold it.
Skipping calibration. Meters drift silently and a whole season can be quietly wrong. Fix: calibrate before every trip, log the calibration values, and run a check standard at least once a month at a known reference point.
Unlabeled bottles. Fix: pre-print labels with site, date, time and parameter, and write on the bottle in the field, not at the car.
Unsafe shoreline work. Sloped banks, submerged debris and cold water kill more monitors than any equipment. Fix: written hazard rules, buddy pairs, a no-entry rule for high water, and signed liability waivers plus access permission for private property.
Weak recordkeeping. Field notes in pockets and phone photos are not a database. Fix: one paper form completed in the field, transcribed within a week.
Reading too much into one odd result. A single spike usually means a sensor, a storm or a transcription error. Fix: confirm with a repeat visit and a second instrument before drawing any conclusion.
Ignoring volunteer retention. Fix: recognize results, rotate the training duty, and pair new volunteers with veterans each season.
Frequently Asked Questions
Do volunteers need experience to join a water monitoring group?
No. Most successful programs assume complete beginners and train them from scratch in three phases: a classroom session on the plan and the parameters, supervised field practice alongside an experienced monitor, then unsupervised certification after a few trips. What matters more than background is a commitment to the schedule and a willingness to follow the written procedure exactly, because consistency between trips is what makes the record useful.
How often should a community group sample water quality?
Monthly is the most common cadence for a new group and the easiest one to sustain, since it captures seasonal change across a full year and fits an ordinary month. Sample at the same time of day on every visit, because temperature and dissolved oxygen shift with sunlight. Stay on that rhythm for at least a full year before drawing conclusions, and add storm-event sampling only as a separate, clearly labeled effort.
What should a new water monitoring group measure first?
Start with four parameters that are cheap, fast and hard to argue with: water temperature, dissolved oxygen, pH and conductivity, plus turbidity if your equipment supports it. These are all field measurements, so volunteers get results the same day and the group builds a habit quickly. Add bacteria such as E. coli or Enterococcus, and nutrients such as nitrate and phosphate, only once you have lab relationships and a chain-of-custody process in place.
How much funding does a community monitoring program need?
It depends almost entirely on whether you want field results or lab results. A field-meter group needs meters, a thermometer, a turbidity tube, field sheets, a database and some mileage. A lab-backed group adds bottles, a cooler, preservation, chain-of-custody forms and a per-sample analysis fee that multiplies with every extra parameter and every extra site. Many groups fund year one from in-kind donations and grants, then add parameters as sponsors appear.
Does citizen science water quality data count with agencies?
It can, and plenty of it does, but only when the method is comparable to theirs. Agencies generally accept community data when the group follows a written quality assurance project plan, uses the same parameters and methods, documents calibration and quality control, and reports honestly about limits. Before promising anything, ask the state or regional environmental agency directly what they will accept, then design your plan around their answer rather than the other way around.
Where can I find training and templates for a new monitoring group?
University extension offices, state environmental agencies and regional watershed councils publish free guides, sample quality assurance plans, field forms and parameter manuals. Look for the volunteer monitoring program nearest you, since most states run one and many provide the curriculum, the trainers and the database at no charge. Online project platforms and national coalitions are useful for finding open designs and equipment libraries, but verify any methods document against your local agency before you rely on it.
Start With One Site, One Question, and One Schedule
Here is the whole guide in one action. Choose one monitoring question, one accessible site and a measurement set of four or fewer, then schedule a monthly visit at a fixed time of day.
Write the quality assurance plan, the sampling plan and the field procedure before you recruit anyone, run one pilot day to test the paperwork, and only then open training. That order is what makes how to start a water monitoring group a manageable project rather than an endless one, and it is exactly what an agency or grant reviewer will ask to see.
Revision note: practices and framework references checked for 2026.