A water sampling drone is a multirotor vehicle carrying a sealed bottle on a line, a messenger-release depth sampler, or an in-situ sensor pod. It flies to a GPS waypoint, hovers, lowers the payload to a set depth, collects the sample, and brings it back for lab analysis. How to build a water sampling drone that returns a clean sample takes a weekend of assembly plus a slow, careful test cycle before you touch open water.
The hard part is not the flying. Anyone can bolt a bottle to a quadcopter. The hard part is keeping the sample intact on the way down, keeping the electronics dry on the way up, and proving the numbers match what a boat would have collected.
This guide walks through the whole build, from hull and pump to firmware and field validation, with the acceptance check for each stage. I have laid out the sequence the way I would tackle it, because the order matters more than the parts list.
Table of Contents
- What You Need
- Step-by-Step: How to Build a Water Sampling Drone
- How to Build a Water Sampling Drone: Step 1—Define the Sampling Requirements
- Step 2—Build and Test the Buoyant Hull
- Step 3—Install the Water Sampling System
- Step 4—Add Environmental Sensors
- Step 5—Connect Power, Control, Navigation, and Communications
- Step 6—Program Sampling Missions and Data Logging
- Step 7—Validate Samples in Controlled Conditions
- Step 8—Deploy Safely and Validate Field Data
- Common Mistakes
- Frequently Asked Questions
- What type of drone is best for collecting water samples?
- What is the simplest way to build a water sampling drone?
- How deep can a small water sampling drone collect water?
- Can a water sampling drone operate without a tether?
- How do I keep water samples uncontaminated during collection?
- What rules apply to operating a water sampling drone?
- Conclusion
What You Need
Before you order anything, decide four things: the maximum depth you need to reach, the sample volume per site, the parameters you actually need to measure, and how long you expect to be out. Everything else in the build follows from those four answers.
A shallow turbidity transect on a pond and a 30 m profile in a mine pit lake are different machines. The first can be a foam float with a bottle and a servo. The second needs a pressure-rated line, a depth-triggered release, and a real power budget.
Pick your architecture first
Four routes cover almost every build. Choose one before buying parts, because the mechanism dictates the airframe, the power budget and the flight logic.
| Architecture | Sample volume | Typical depth | Added payload mass | Build difficulty | Best for |
|---|---|---|---|---|---|
| Hoisted bottle on a line | 250-1000 mL | Shallow, 0-5 m | Low, 0.5-1.5 kg wet | Easy | Surface grabs, repeated site visits |
| Messenger-release depth sampler | 500 mL-1 L | 10-60 m | Moderate, 1-3 kg | Hard | Discrete depth profiles |
| Direct-immersion amphibious | 1-4 L | 0-3 m, hull wetted | High, 3-6 kg wet | Hard | High volume, calm sheltered water |
| In-situ sensor pod | None, measures in place | 0-20 m | Low, 0.5-2 kg | Moderate | Real-time profiling, no lab round trip |
If your question is really about dissolved oxygen, turbidity or pH rather than a bottle going to a lab, the sensor pod route gives you continuous profiles and skips the whole preservation problem. Know which one you want before you buy a pump.
Core component list
Mechanical: a marine-grade hull or float, a frame, a sealed battery tray, a low-mounted centre of gravity, quick-release payload mounts, and landing gear that stays out of the water.
Electrical: flight controller, ESCs, motors, a battery with a fuel or voltage gauge, a distribution board, a pump with its own supply, an RC receiver or autopilot, and a hardware kill switch reachable from the ground station.
Sensing: temperature, conductivity, pressure or depth, turbidity, and optionally dissolved oxygen and pH. Add a radar altimeter if you hover below structures or in moving air.
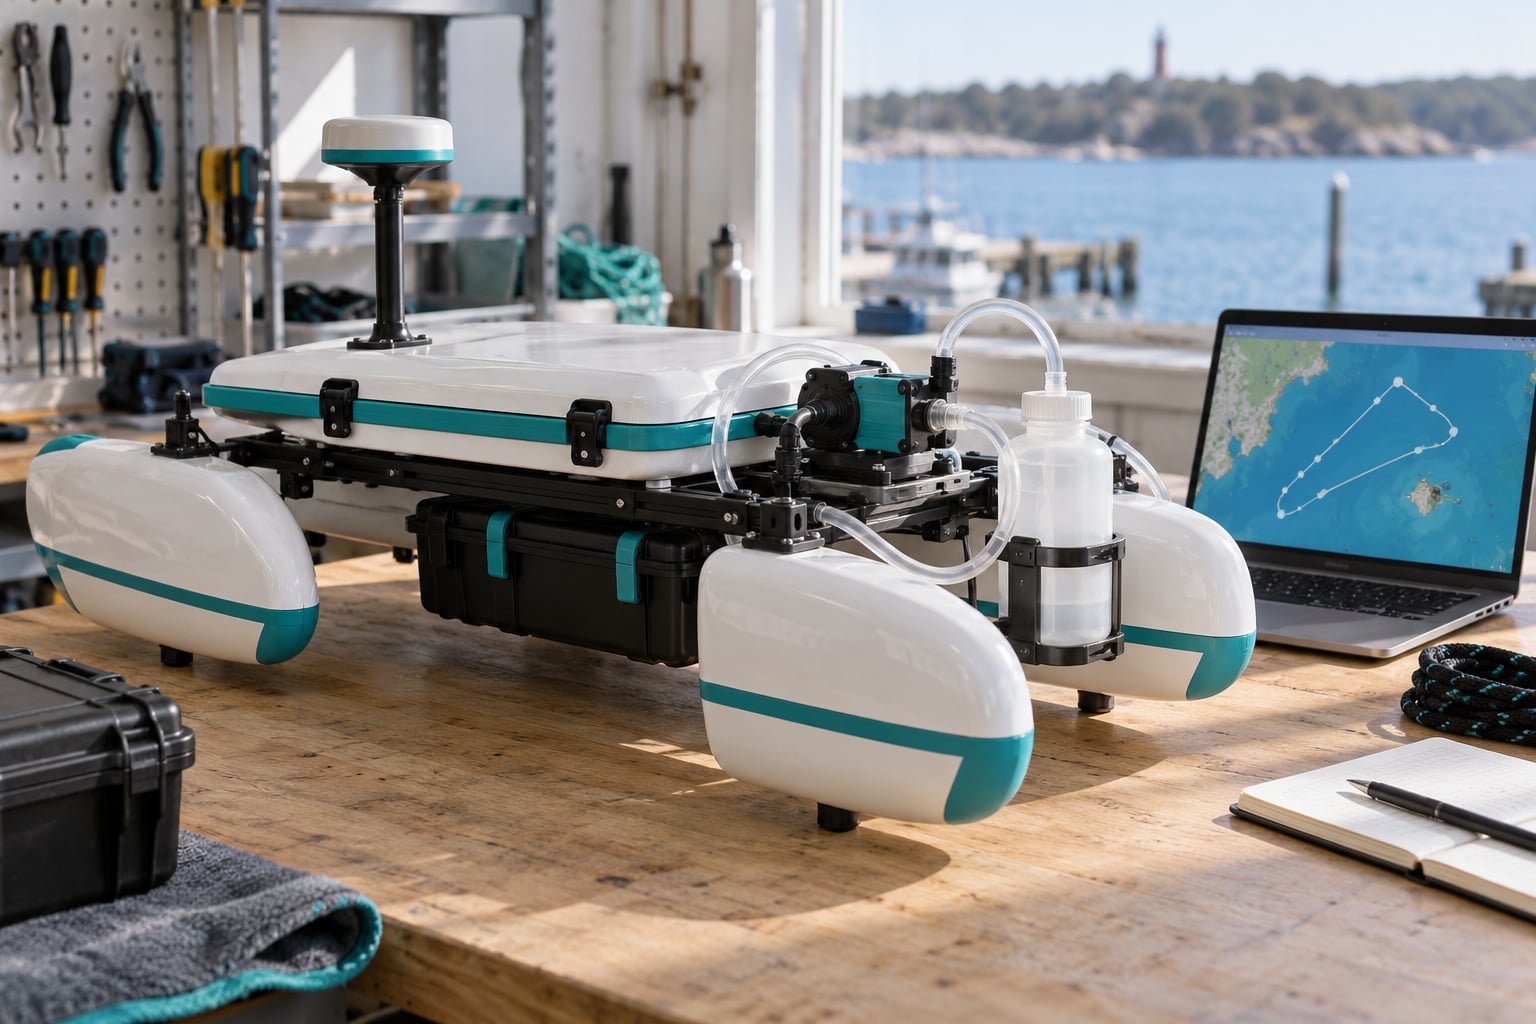
Sampling: a peristaltic or diaphragm pump, food-grade or lab-grade tubing, a three-way valve, a purge line, sample bottles, and a controllable valve or release mechanism.
Navigation and comms: GPS, preferably RTK if you need repeat waypoints to within centimetres, a telemetry radio, and a ground station running your flight software.
Safety: a redundant release so the payload drops free if the link fails, a tested return-to-launch, a bright strobe, a first aid kit, and a throw bag if you fly near water.
Bill of materials with approximate masses
Masses are the part of any BOM that actually constrains the design. Budget the wet mass, not the dry mass, because the water in your bottle is heavier than the bottle.
| Component | Specification | Approx. mass |
|---|---|---|
| Hull or float | Marine-grade shell or sealed HDPE float | 1200-2500 g |
| Frame and arms | Carbon fibre or aluminium, quad or X8 | 600-1400 g |
| Motors, props, ESCs | Matched set for the wet mass | 500-900 g |
| Flight controller and autopilot | RTK-capable with a depth or baro input | 60-150 g |
| Battery | Li-ion pack sized for hover reserve | 800-1600 g |
| Pump and valve block | Peristaltic head, 3-way valve, purge port | 300-700 g |
| Tubing and fittings | Lab-grade line, clamped fittings | 100-250 g |
| Sample bottles | Three or four 500 mL containers | 150-400 g dry |
| Sensor pod | Temp, conductivity, turbidity, optional DO and pH | 400-1200 g |
| Telemetry, GPS, wiring | Dual-band radio, patch antenna, harness | 200-400 g |
Add the electronics, then add the full sample volume of water, then check your hover margin. If you have less than about 25 percent thrust margin at hover, you will not get a stable sample.
Step-by-Step: How to Build a Water Sampling Drone
How to Build a Water Sampling Drone: Step 1—Define the Sampling Requirements
Write the research question down as numbers before you look at a single part. Depth in metres, volume in millilitres, accuracy within centimetres, hours of endurance, and a limit on how much you can disturb the site.
For example: ten sites on a reservoir transect, 15 m maximum depth, 500 mL per site, repeat visits at the same coordinates within 1 m, dissolved oxygen and turbidity logged live, samples preserved at 4 degrees C within two hours of collection.
Acceptance check: every component you pick must trace back to one of those numbers. If a part serves no requirement, it is weight you are carrying for nothing.
Step 2—Build and Test the Buoyant Hull
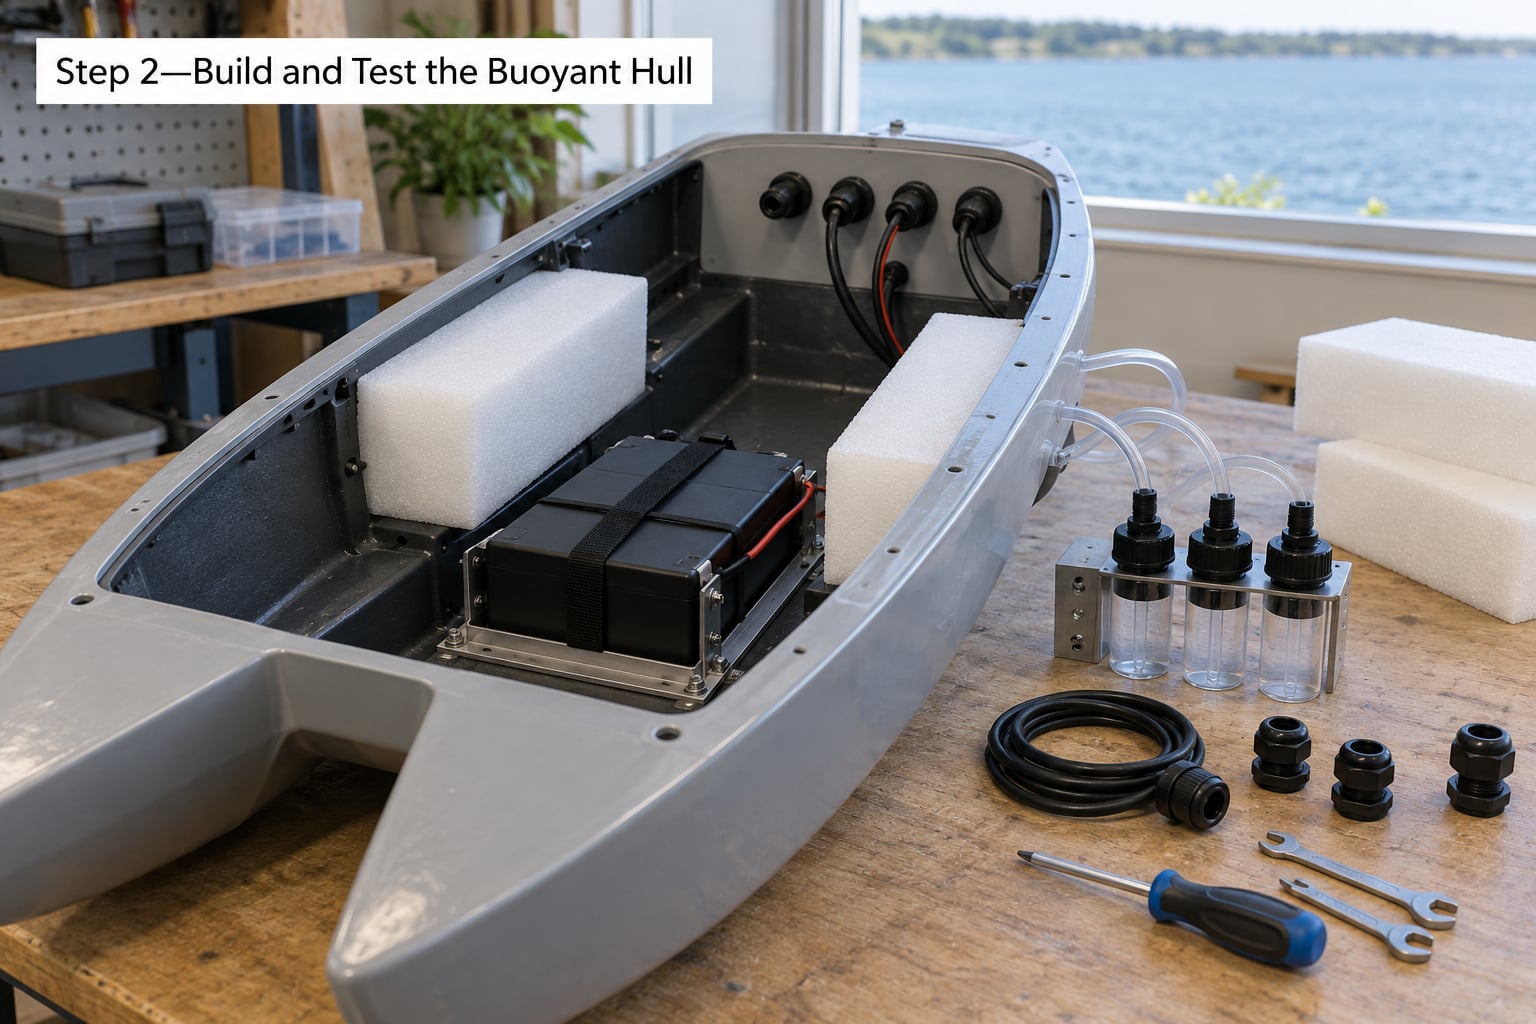
Build or adapt a float that is stable, serviceable and easy to open. Put the heavy parts low, near the waterline, so a full bottle changes trim as little as possible. A bottle hanging off the side of a top-heavy float will tip the whole vehicle the moment it fills.
Route every cable through a proper cable gland and seal it with the manufacturer’s compound. Add buoyancy material above the battery so a flooded compartment still floats. Fit sample ports you can reach from the deck with a bottle in hand.
Acceptance check: leave the sealed hull floating for an hour with no payload and confirm the freeboard does not change. Then soak it overnight and look for water inside. A damp paper towel in the bottom compartment is the cheapest leak test there is.
On trim: if the bow sits more than a few degrees low with a full sample, move mass aft until it levels. Repeatability of trim matters more than appearance, because a tilted drone drags its sampler through the surface layer and picks up water you did not ask for.
Step 3—Install the Water Sampling System
Fit the pump below the hull on a vibration-isolated mount, run the intake through a screened strainer, and keep the tubing short and straight. Long loops trap air and slow the purge, and every metre of line is a metre that can snag.
Use lab-grade or food-grade tubing and a three-way valve that lets you route flow to the sample bottle, the purge waste, or a field blank. Prime the pump with the intake in clean water before you ever put it in the sample, and run a full purge cycle between sites so the previous sample does not contaminate the next one.
Acceptance check: fill a bottle at the bench and check the volume against your target. Repeat three times. If the recovered volume varies by more than about ten percent, your pump is losing prime or your valve is leaking past its seat.
Sediment is the quiet failure here. Descend slowly, around 0.5 to 1 m per second, and never drag the intake along the bottom. Keep the strainer well above any substrate and approach the sample point vertically rather than sweeping across it.
Step 4—Add Environmental Sensors
Mount temperature, conductivity, and turbidity probes on a fixed strut, with pressure or depth for the profile. Add dissolved oxygen or pH only if your question needs them; each one is mass and another calibration job.
Calibrate every probe against a known reference before installation, then verify the reading in a bucket of water next to a calibrated meter. Keep the probes away from the intake plume and well clear of the surface, because a disturbed bottom and an aerated surface both skew the result.
Acceptance check: put the pod in a bucket, stir, and watch the readings track a handheld reference within the manufacturer’s tolerance. If a channel sits flat while others move, check the connector first; underwater connectors fail by corrosion long before the sensor dies.
Log at one hertz or faster during a descent profile, slower at the surface. A log rate of one sample per second is usually plenty for a depth profile and keeps file sizes manageable over a season of flights.
Step 5—Connect Power, Control, Navigation, and Communications
Wire the battery through a fuse to the distribution board, the motors through the ESCs, and the pump through its own regulator. Check polarity at every connector with a meter before the first power-up; reversing a sensor harness is the classic way to lose a flight controller.
Add strain relief to every moving cable, and route pump wiring away from GPS and telemetry antennas, because a peristaltic pump is a noise source that will degrade your position fix. Fit the kill switch somewhere the operator can reach without a ladder.
Acceptance check: power up on the bench with motors disarmed and confirm the flight controller sees the battery, the GPS lock, and the sensor channels. Then test the failsafes one at a time: pull the radio link, then drop the voltage below threshold. In both cases the vehicle should return to launch or land rather than continue the mission.
Test the redundant release with the propellers removed. Cut the link, fire the release, and confirm the payload separates. This is a five-minute test that saves a drone.
Step 6—Program Sampling Missions and Data Logging
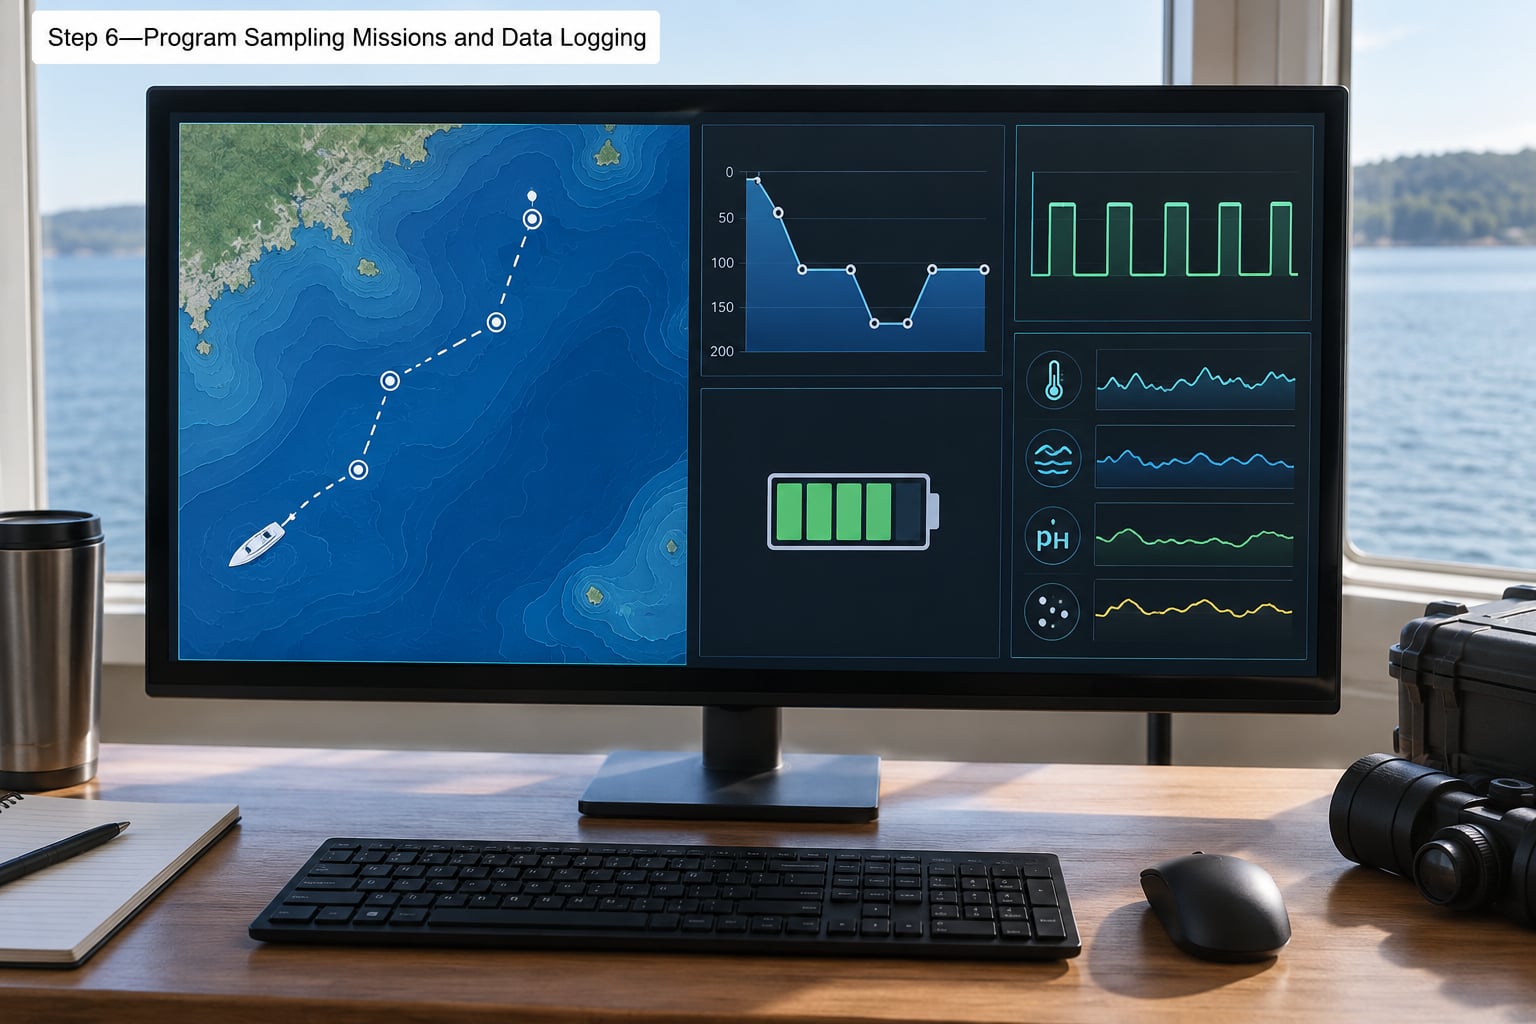
Define your mission as a list of waypoints with a depth, a pump duration, and a sample ID attached to each one. On ArduPilot or PX4 you can drive the pump relay and valve from a mission script or from an auxiliary channel, and log a sample event every time a fill completes.
For each waypoint, set the arrival radius tight, roughly 0.5 to 1 m, and set the descent rate explicitly. Give the hover a settling window before the pump starts, because a sample taken while the vehicle is still correcting attitude is not depth-representative.
Acceptance check: fly the mission with the pump off and watch the ground station. Waypoint order, depth setpoints, and the fill log all need to line up. Then run one live fill and confirm the timestamp of the sample event matches the time the bottle started filling, not the time the vehicle reached the waypoint.
Export the flight log with waypoint files into whatever you use for mapping. Repeatable coordinates are the whole argument for doing this by air, so keep the raw logs.
Step 7—Validate Samples in Controlled Conditions
Move up through three stages and do not skip one. Bench first, in a tub, with the intake in still water. Then a pool or a calm freshwater body where you can repeat a transect. Then protected open water, with a boat alongside for comparison.
Run blanks and duplicates. A field blank tells you what your own handling adds to a sample; duplicates tell you how repeatable your collection is. Log how long the system takes to recover after a fill, and watch the intake for fouling between repeats.
Acceptance check: collect drone and boat samples at the same point on the same trip and send both to the lab. If dissolved oxygen, turbidity or the analyte of interest agree within the method’s own tolerance, the build is validated. If they do not, you usually have a rinse problem, a depth mismatch, or a probe fouling, not a flight problem.
Step 8—Deploy Safely and Validate Field Data
Run a pre-launch inspection every single time: frame cracks, prop damage, gland tightness, battery charge, pump prime, GPS fix count, and a clear line of sight to the recovery area. Check the weather and your own operating limits, and use a tether for the first open-water flights.
Fly the mission, keep the operator in visual contact with the vehicle at all times, and never leave the site with an unrecovered payload. At each waypoint, confirm the vehicle settled, the fill completed, and the sample ID logged before moving on.
On the bank, rinse the intake with clean water between sites, run the purge, then transfer into a lab-grade container and start the chain of custody record. Do the post-flight checks on the vehicle too, because salt water and sediment do damage quietly and faster than most people expect.
Acceptance check: three consecutive flights with no sample loss, no flood in the compartments, and lab values that track the boat reference. Once you have that, you have a data set, not just a drone.
Common Mistakes
Almost every failure on this list is a build decision made in a hurry. The table pairs the symptom with the fix.
| Symptom | Likely cause | Fix |
|---|---|---|
| Unstable trim, vehicle lists after filling | Centre of gravity above the sample | Move mass low and aft, level the trim with a full sample aboard |
| Water inside a compartment | Loose gland, missing O-ring, pressure at depth | Replace seals, re-torque glands, add conformal coating and potting |
| Intake blocked or sample not filling | Strainer fouling, air lock in the line | Screen the intake, keep the line short, prime before every run |
| Cross-contamination between sites | No purge or no decontamination | Run a full purge cycle, rinse with site water, use fresh tubing per campaign |
| Depth readings drift | Air bubbles in the pressure line, moving water | Purge the line, mount the sensor away from the intake, log surface pressure |
| Sample disturbed at depth | Fast descent, tilted vehicle | Descend at 0.5-1 m per second, level the trim, wait for the hover to settle |
| Sample spills on surfacing | Vehicle tilts as the payload breaks the surface | Retrieve vertically, slow the last metre, keep the bottle submerged until it is aboard |
| Battery dies before the route ends | Wet mass was not in the power budget | Re-budget with a full payload and keep a 25 percent hover reserve |
| GPS loss over water | Reflective surface, low antenna | Use RTK, raise and isolate the antenna, add a horizon or optical sensor |
| Fill log out of sync with waypoints | Trigger fires on arrival instead of fill complete | Drive the relay from a mission script and log the valve state, not the arrival time |
| Line snags on structure or vegetation | Long uncontrolled descent, no slack control | Shorten the line, add a guide, and abort the station on unexpected load |
| Lab values disagree with boat samples | Rinse gap, depth mismatch, probe fouling | Run blanks and duplicates, verify depth, clean probes between casts |
Two habits prevent most of that list. Fly a tethered station test before every new site type, and rinse the whole wet path the moment you land, not at the end of the day.
Frequently Asked Questions
What type of drone is best for collecting water samples?
A quadcopter handles most surface and shallow sampling work, and an X8 octocopter earns its extra mass when you need stability in wind, redundancy if a motor fails, or a low descent rate over open water. Match the airframe to the job rather than the other way round: size the frame so the wet mass, including a full sample, still leaves about 25 percent hover thrust margin.
What is the simplest way to build a water sampling drone?
Start with a sealed float, a hand-held release, and a manually triggered pump rather than an autonomous winch. Fly it under direct control, descend to a fixed depth, run the pump for a fixed time, and retrieve. You can add waypoint logic and a messenger-release sampler later, once the basic build returns an intact sample on three consecutive flights.
How deep can a small water sampling drone collect water?
Depth is limited by line strength, sampler pressure rating, and how well you can hold position, not by the vehicle itself. Shallow rigs with a hoisted bottle work reliably to about 5 m. Past 10 m you want a pressure-rated sampler and a pressure sensor on the line; by 30 to 60 m you need a proper messenger-release mechanism and a hull rated for the pressure at that depth.
Can a water sampling drone operate without a tether?
Yes, and most do. A tether is a training aid and a safety net during the first open-water flights, not a requirement. Untethered operation needs a tested return-to-launch, a redundant payload release so a lost link does not drag the vehicle down, and enough battery margin to fly home with a full sample aboard.
How do I keep water samples uncontaminated during collection?
Use lab-grade or food-grade tubing and containers, purge the line with clean water before the first fill, and run a full rinse between sites. Take a field blank so you can measure what your own handling adds, and never reuse tubing that has touched a site with known contamination without replacing it. Decontamination matters more than the drone.
What rules apply to operating a water sampling drone?
In the United States, recreational and commercial flights both fall under FAA rules, and Part 107 covers most commercial work: certification, registration, and operating within visual line of sight unless you hold a waiver. Rules outside the US vary by country, and water adds its own hazards, so check local aviation and waterway authorities before the first flight and keep a flight log.
Conclusion
A water sampling drone comes together in a fixed order: settle the research question into numbers, choose one architecture, build and soak the hull, plumb and prime the pump, add and calibrate the sensors, wire power and control with the failsafes tested, program the mission, then validate in a tub before the lake.
Start by writing down your depth, volume and accuracy requirements. Pick the intake depth and mechanism that match them, and do not fly anything until a tethered bench test returns the same sample volume three times in a row. Everything after that is repetition, and repetition is where good water data comes from.