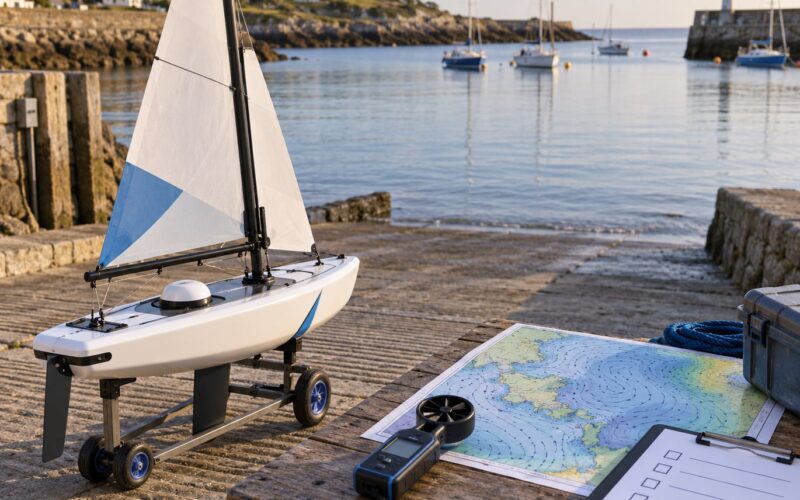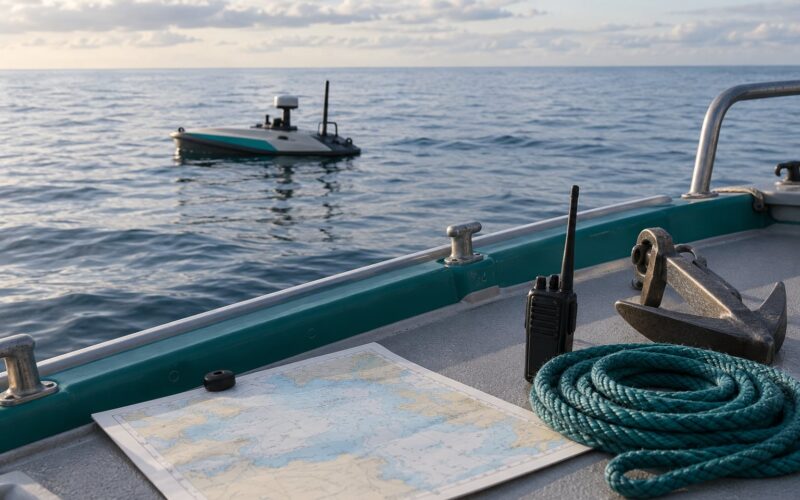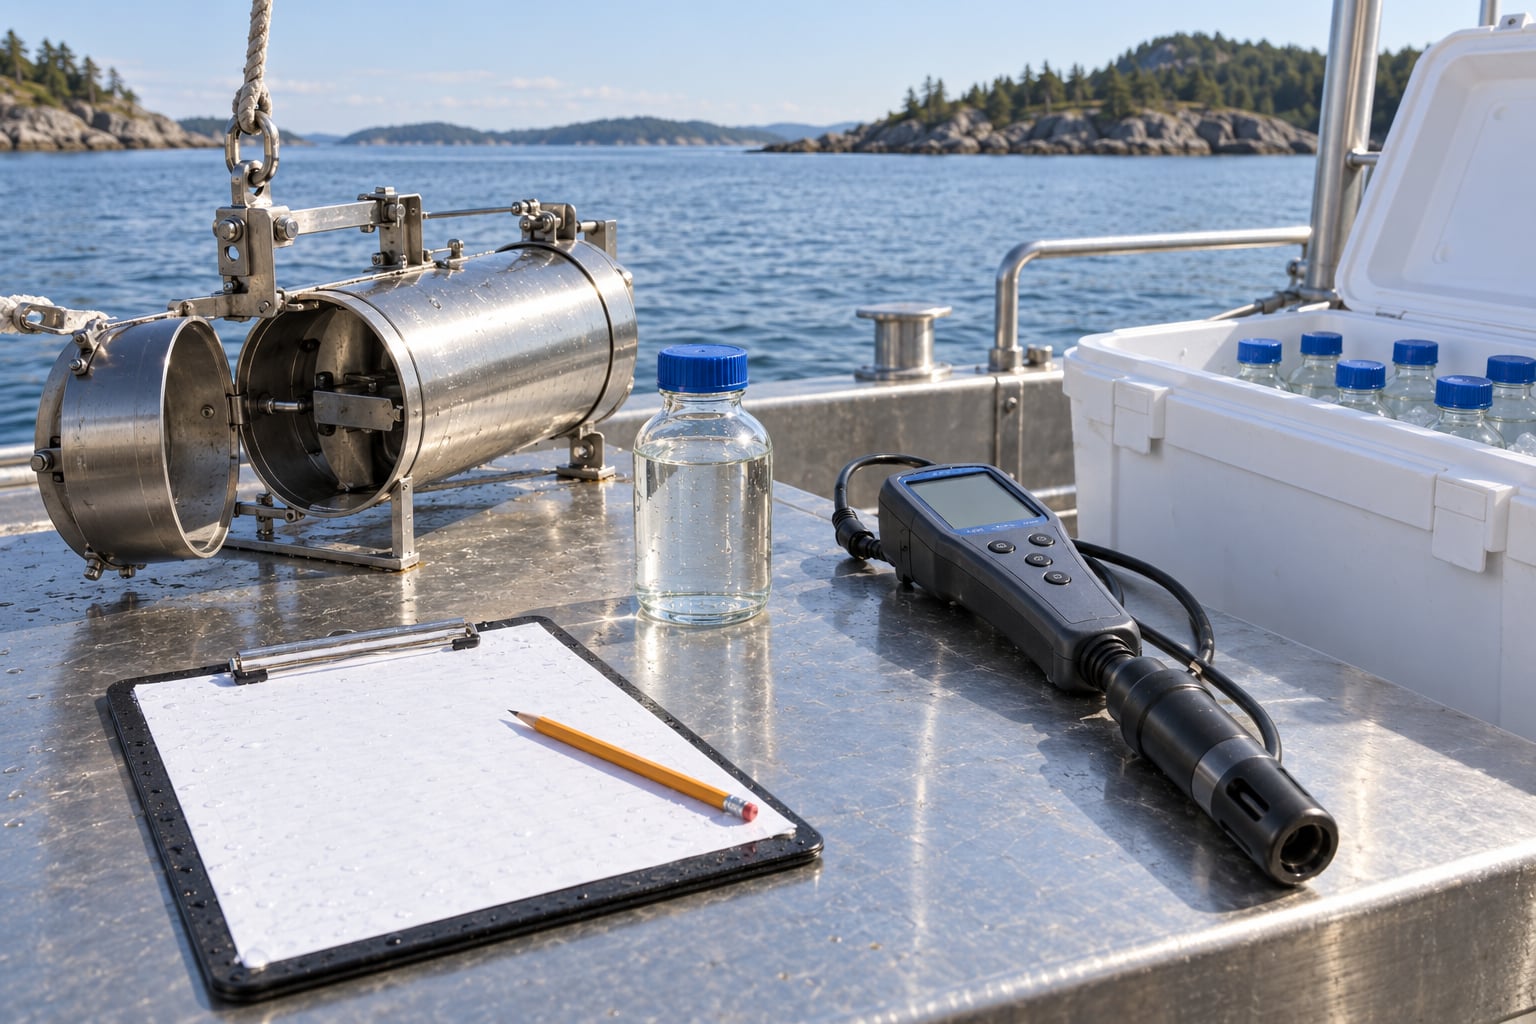
Learning how to collect a water sample correctly comes down to about forty minutes of careful work at the sampling point. The container, the flushing, the handling, the label and the cold chain all decide whether the number on the lab report describes the water or describes your technique. Most unusable samples fail in one of those five places, and no amount of laboratory precision brings back information the bottle no longer holds.
This guide is written for marine and coastal work: field sampling from a small boat, a shoreline, a dock, a research mooring or a monitoring well, with samples going to a laboratory or to a bench instrument that came with its own collection rules. I have laid it out as an eight-stage procedure, and every stage answers three questions: what do you do, how do you know it worked, and when do you throw the sample out and start again.
One rule sits over all of it. The receiving laboratory or your study protocol decides the container, the volume, the additive and the holding time. Everything below assumes you have that document in hand. If your instructions and mine ever disagree, theirs wins.
Table of Contents
- What You Need
- Step-by-Step
- 1. Define the Sample and Check the Protocol
- 2. Prepare Clean Equipment and Containers
- 3. Choose and Document the Sampling Site
- 4. Collect the Sample Without Contamination
- Label It in the Field
- 5. Preserve and Stabilize as Required
- 6. Inspect, Seal, and Log the Sample
- 7. Store and Transport Under the Required Conditions
- 8. Verify Receipt and Assess Data Quality
- Common Mistakes
- Frequently Asked Questions
- How deep should a water sample be collected?
- Should I wear gloves when collecting a water sample?
- Do I need to rinse the sampling bottle before use?
- How long can a water sample be stored before analysis?
- What is a field blank for water sampling?
- How do I collect a water sample for an ocean sensor project?
- Conclusion
What You Need
Collect the equipment before you leave, because the moment you are standing in a skiff in cold water you cannot improvise a missing part.
Containers and preservation
Pre-cleaned sampling bottles sized to the protocol volume, plus enough spare bottles to lose two without stopping. Bring the preservatives your analytes require, whether that is an acid, a neutralizer or a fixative, and bring a small graduated dispenser for adding the exact amount.
Grab a few plain screw-cap bottles for field blanks and duplicates. A field blank is deionized water carried through the entire handling chain in the same bottle type, so any contamination it picks up is contamination your equipment introduced.
Documentation
A waterproof field sheet or a rugged clipboard with a pencil that works when wet. Write in pencil and duplicate: one copy goes with the samples, one stays with you. Bring waterproof labels, a permanent marker that survives wet surfaces, and a chain-of-custody form if the lab supplies one.
Personal protection and the cold chain
Nitrile gloves, eye protection, a life jacket or buoyancy aid when working over the side, and hand sanitizer plus paper towels for decontamination between samples. Bring an insulated carrier pre-chilled with frozen packs, a digital thermometer you can log the reading from, and a second cooler for volatile samples you want separated from the rest.
Measurement and calibration
A handheld multiparameter meter for dissolved oxygen, pH, temperature, conductivity and turbidity at the point of collection, with its calibration solutions and a check standard. Uncalibrated field meters make a bad companion to a good sample, so log the calibration check in the field notes next to the sample ID.
Step-by-Step
1. Define the Sample and Check the Protocol
Write down the analyte, the coordinates or station name, the depth, the time window, the number of replicates and the detection limit you need before you touch a bottle. Without that list you are collecting water at random and calling it data later.
Decide the sample type, because grab, composite and passive samples are not interchangeable. A grab sample represents one moment at one point. A composite sample is several draws pooled over a window, commonly a discharge or storm event. A passive sampler sits in the water for a set period and integrates what passes through it. Each answers a different question, and a lab asked to analyze a composite as a grab will report something you did not sample.
Verify: the protocol lists your analyte, the required volume, the container and the holding time, and the station list has a start time against each one. Reject and re-plan if the station list or the time window is vague, because a missed time window quietly turns a survey into a random sample.
2. Prepare Clean Equipment and Containers
Inspect every bottle and fitting for chips, scratches and residue. Work from clean to dirty: clean bottles first, then the decontamination equipment that touches the outside of the sampler.
Decontaminate the sampling gear between stations, and rinse it with sample water after cleaning so no detergent or acid carries into the next bottle. Rinse bottles three times with the water you are about to sample if the protocol asks for it, since a rinse with untreated tap water on a marine boat is how you add a chlorine signal that is not in the sea.
Keep four handling paths separate if your station list mixes analytes. Trace metals want acid-clean glass or polymer and never touch brass, aluminium or greased fittings. Microbiology wants a sterile container and aseptic handling, with no talking over the open bottle. Nutrients want a container rinsed only with sample water, because a detergent trace is a nutrient reading. Volatile compounds want a container with zero headspace and its own sealed carrier, so it does not ride next to anything off-gassing.
Home inspectors working private wells describe a practical version of this logic: run cold water three to five minutes, flush the fixture with rubbing alcohol, stand for five minutes, flush cold water again, then sample. Follow a published field protocol rather than improvising, but the principle holds. The last thing to touch the inside of the bottle before the water does should be clean.
Verify: bottles are labelled with the container number before sampling starts, and decontamination is recorded between stations. Reject any bottle with a scratch inside the neck, a loose cap seal or a cloud of residue, because those surfaces hold material you cannot rinse out.
3. Choose and Document the Sampling Site
Record the coordinates in decimal degrees, the depth, the time, the tide state, the sea state, the air and water temperature, and the vessel’s position and heading. Note any nearby inflow, outfall, boat ramp, marina, farm or construction activity within sight, because those are the features that explain an odd result later.
Approach the station slowly and quietly. Do not drag an anchor, a probe or a hull across the bottom near the sample point, and do not stand where your wake can resuspend sediment into a water you are about to sample. If you are near a bed of eelgrass, shellfish or a spawning area, pause and pick a comparable point that is not disturbed.
Log the hazards before you need them: current, depth under the hull, submerged structure, a line under the surface, an approaching squall, cold water shock on entry. The station note is also the record that lets somebody else repeat your work two years from now.
Verify: the field sheet has coordinates, depth, time, weather and a note on nearby sources before the sample is drawn. Repeat the site visit if the coordinates were guessed after the fact, since a sample with a wrong position is not a sample you can use.
4. Collect the Sample Without Contamination
This is the stage that most directly answers how to collect a water sample correctly. Put the sampler in the water, open it at depth, and let the water you want run through it. Where a purge is specified, purge until the outflow looks like the surrounding water, which usually takes several volumes, and log the purge volume and flow rate.
Never let the outside of the bottle, the sampler arm or your glove touch the water inside the container, and never touch the inside of the cap or the threads. If you do, the sample is a blank until proven otherwise. Keep the mouth of the container pointed away from the wind, avoid holding a conversation over an open vessel, and watch for a skin of surface film, foam, weed fragments and floating debris, all of which bias the result upward for whatever they carry.
Fill slowly enough that the water runs down the inside wall and air does not come along with it. Bubbles clinging to glass read as suspended material and can shift a density and turbidity result. Stop at the fill line, and do not top up later because the first fill looked low.
For a depth profile, take bottles from the shallowest station to the deepest so that each bottle is opened in cleanest-first order, and take duplicate grabs at the same depth to learn how variable that point is.
Verify: no bubbles, no debris, no outside contact, fill line reached in one pass. Reject and re-collect if the cap interior was touched, if the bottle was filled from a hose end, or if the water was drawn from just under a surface film you could not avoid.
Label It in the Field
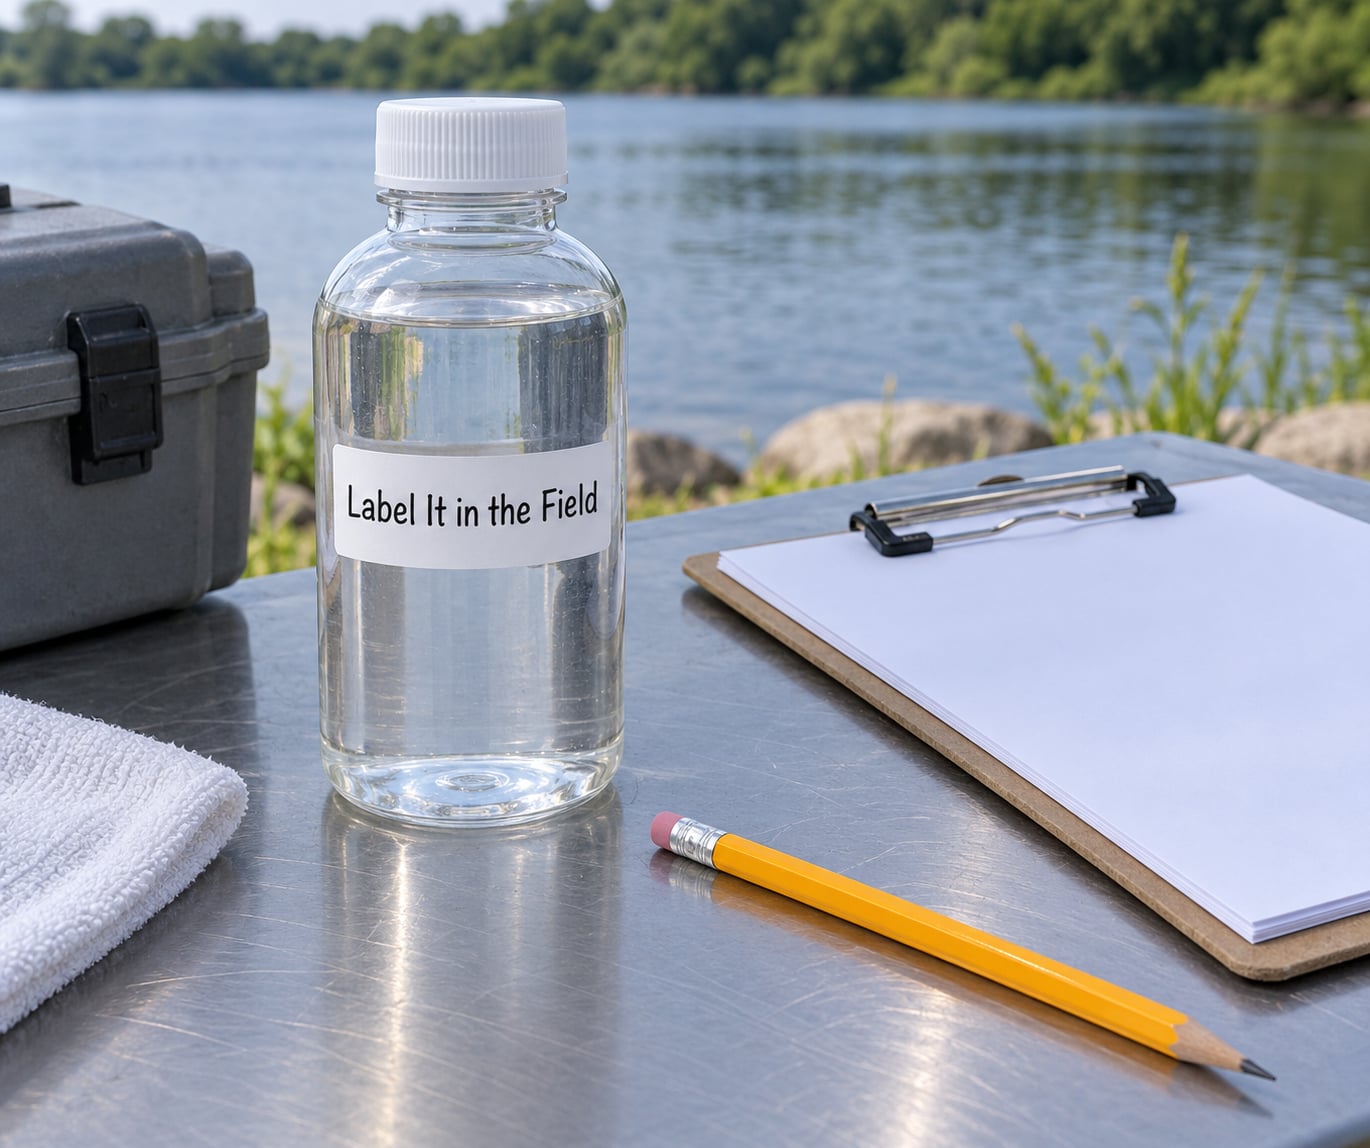
Label in the field, not at the dock, because at the dock you will have ten bottles and one memory. Minimum information: unique sample ID, project and analyte, station, date and time in full, depth, collector name, preservative added and container number.
Write the time to the minute and use a 24-hour clock. A pencil entry stays legible on a wet sheet; a pen entry runs. Read every label back after you write it, comparing it against the field sheet, and correct it there and then rather than at the laboratory counter.
Verify: every bottle has a legible label, a matching field sheet line and a matching custody entry. Reject anything whose label is smudged, abbreviated or inconsistent with the sheet, because a mismatched sample is discarded on arrival no matter how good the water was.
5. Preserve and Stabilize as Required
Preservation is analyte-specific and never interchangeable. An acid that fixes a total metals digest will also destroy the organisms a microbiology bottle is supposed to protect, and a neutralizer added to a metals bottle blanks the result you paid for.
Add the additive in the order the protocol gives, usually the preservative first into the empty or partly filled container, then the sample, because that path mixes more evenly. Add the stated volume, close the container, and invert it a fixed number of times so the concentration is the same from the bottom of the bottle to the top. Write the amount added, the additive and the time on the field sheet.
Record the temperature at the moment of preservation if the analyte is temperature-sensitive, and note the meter reading alongside the bottle. Where a preservation step needs a time window rather than a chemical, write down the actual clock time you started.
Verify: the preservation record on the sheet matches the protocol volume, and the bottle is inverted and mixed the same number of times as every other bottle in the batch. Reject a bottle where the additive was added twice, or where the sheet says preserved and the field note says you ran out of dispenser.
6. Inspect, Seal, and Log the Sample
Give each bottle a final pass before it goes in the carrier. Check for leaks when you invert it, a fill level at the line, no trapped bubbles, and turbidity or colour that does not match what you saw at the site. If the water is black, oily or strongly coloured, photograph it and note it, because that is a result in itself and a clue about which analysis to prioritize.
Seal the cap firmly but without forcing it, tighten the closure to the point the laboratory specified, and keep the label clear of the grip. Confirm the preservation entry, the sample temperature, the date and time, and the collector.
Sign the field sheet, record every deviation from the protocol in plain language, and log the quality-control samples in the same sequence as the real ones. A deviation written down becomes a footnote. A deviation you remember becomes an argument with the laboratory.
Verify: no leaks, correct fill, legible label, complete custody and deviation notes. Reject any bottle that leaks, has a broken seal, or has no matching record, and re-collect rather than hoping the laboratory will not notice.
7. Store and Transport Under the Required Conditions
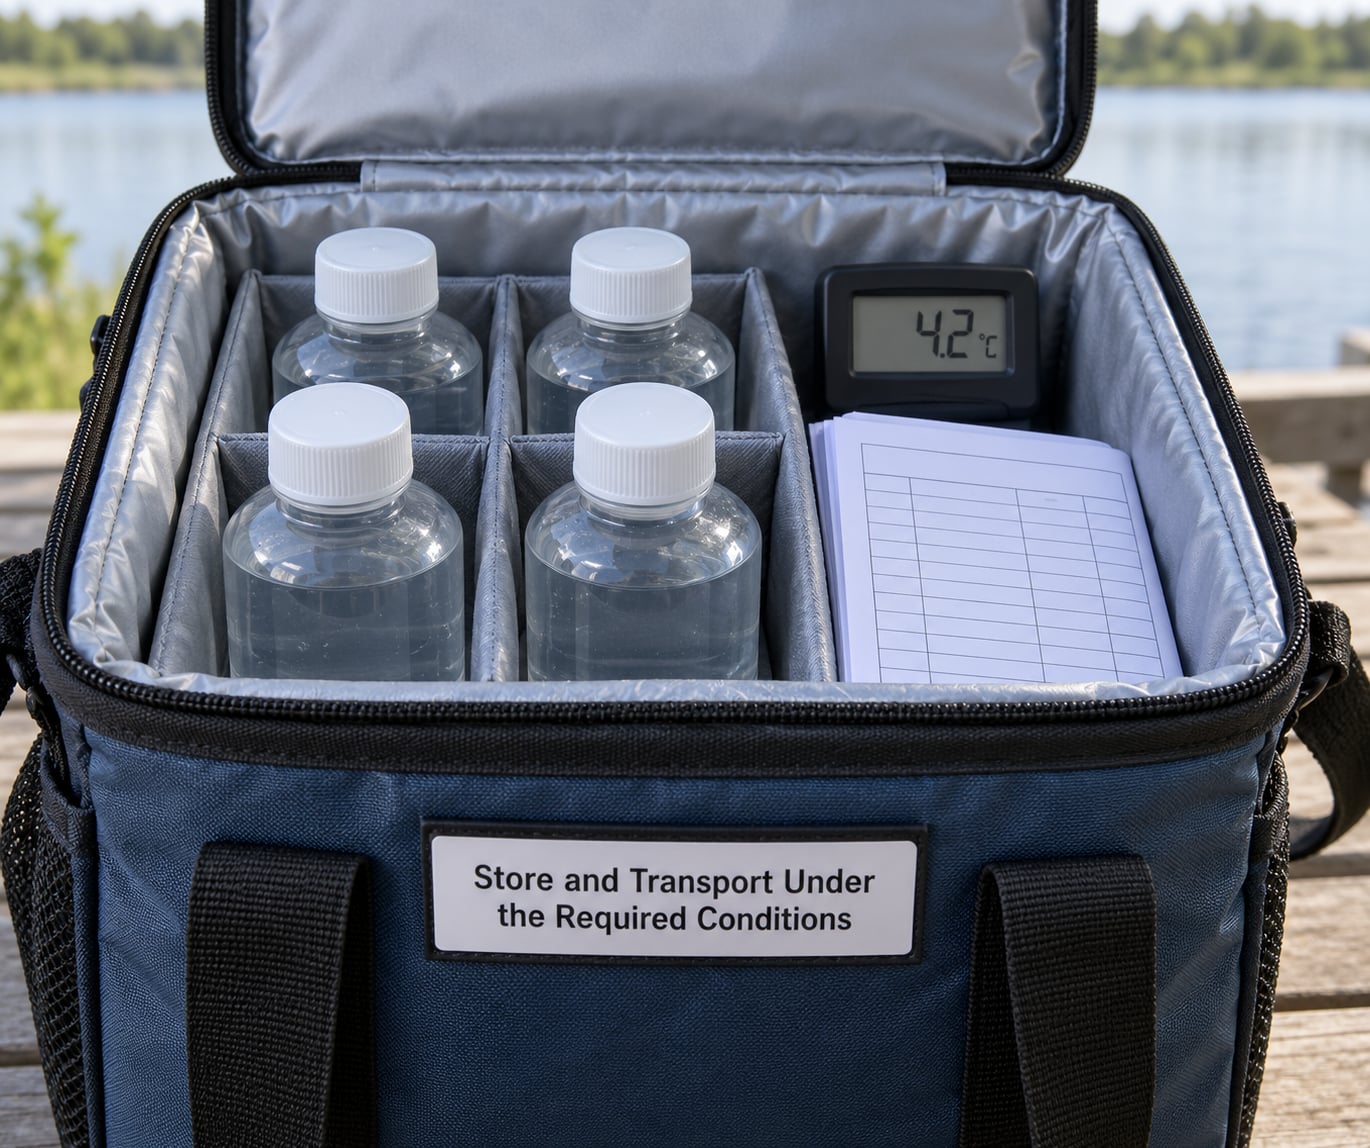
Get the samples cold quickly and keep them cold. Most marine and microbiological protocols call for cooling to a few degrees above freezing and holding there, with the exact target and maximum time set by the receiving laboratory. Log the temperature in the carrier when you load it and again when you hand over, since a temperature record is the only evidence of the cold chain after the fact.
Keep containers upright and cushioned so nothing strikes a cap, store them dark, and separate volatile samples into their own sealed carrier. Where a protocol says not to freeze, frozen bottles expand and can break or lose analyte, so hold them chilled and never solid.
Complete the chain of custody at handover: sample IDs, count, seal numbers, temperature, time, and the signature of the person accepting them. Sending a batch at the end of a long day, on Friday, when the holding time will be gone before the carrier reaches the laboratory is the most common way a good day of sampling is thrown away.
| Sample type | Typical preservation | Storage target | Indicative holding time |
|---|---|---|---|
| Bacteriological | Chilled, often with a sodium thiosulfate neutralizer in the bottle | About 2-5 degrees C | Hours to a few days, method dependent |
| Metals and trace elements | Acidified to a stated pH, commonly nitric acid | Ambient after preservation | Months |
| Volatile organic compounds | No additive, zero headspace, sealed immediately | Chilled and separated | Days to a couple of weeks |
| Nutrients | Acidified or frozen depending on the nutrient | Chilled or frozen | Days to weeks |
| PFAS | None, container material rules instead | Chilled, no glass or PTFE contact | Days |
| Physical parameters such as turbidity | None, analyze dark and quickly | Dark and cool | Hours |
Treat that table as orientation, not instruction. ISO 5667-3, EPA 40 CFR Part 136 and the method in your project plan set the numbers that matter, and a change of analyte or method can change the window completely.
Verify: temperatures logged at load and at handover, custody signed, every container accounted for. Reject the batch if the temperature log has gaps, or if the estimated arrival time falls outside the holding time for the analyte.
8. Verify Receipt and Assess Data Quality
Ask the laboratory to report the receipt time, the sample temperature on arrival, the measured field parameters and the status of every quality-control sample. Compare those against your own field sheet line by line, starting with the sample IDs.
Read the blanks before the results. A field blank with detections means the handling chain is dirty, and the affected samples cannot be rescued by a good analytical result. A trip blank that is clean gives you a bit of confidence about volatile carryover during transport. Duplicates and field duplicates tell you how much of the spread you are seeing is the water and how much is the water plus the handling.
Where a parameter was measured both in situ and in the bottle, the difference tells you about processing: dissolved oxygen and pH drift fastest, which is why those get measured in the water rather than from a bottle hours later. Where two methods disagree, as one practitioner with more than 200 samples found while reconciling ion chromatography against spectrophotometer nitrate results, the disagreement is often in the sampling and preservation step, not the instrument.
Decide quality before you use the data. Flag anything that missed a holding time, a temperature target or a preservation requirement, and keep those records with the dataset rather than quietly dropping them.
Verify: blanks and duplicates reviewed, custody reconciled, deviations attached to each affected sample. Re-sample rather than interpret data you know failed a check.
Common Mistakes
- Wrong container for the analyte. A household jar, a rinsed jam bottle or the wrong colour bottle from a kit changes the result before the laboratory starts. Fix: use only the containers your protocol lists, and check the container number against the analyte list at the start of the day.
- Rinsing with untreated tap water. On a boat, an onboard tap or an untreated shoreline supply adds chlorine, metals or detergent that were never in the sample. Fix: rinse with sample water, or with deionized water where the protocol specifies it.
- Touching the inside of the cap or the bottle neck. Skin oil, powder and fingerprints are enough to fail a trace metals or microbiology result. Fix: hold the bottle by the body, keep gloves on, and re-collect the bottle if the inside was touched.
- Skipping or overdoing the flush. Too little and you sample the pipe, not the source. Too much on a first-draw request and you throw away the stagnation effect that makes the test meaningful. Fix: confirm from the protocol which method you are running before you open the tap.
- Delaying preservation. Preservation added twenty minutes late is not preservation added on time, and nothing in the analysis recovers it. Fix: pre-stage the additive with a dispenser, and add it at the sampling point.
- Filling with trapped air. Headspace lets volatile compounds off-gas and shifts density and turbidity. Fix: fill down the wall to the line and cap immediately.
- Mislabeling or abbreviating. A wrong or unreadable label means disposal at the counter, and a shortened station name means you cannot pair the result with the tide or weather record. Fix: write every field in full and read it back.
- Ignoring holding times and the cold chain. A bacteriological sample that warms in a hot car is dead on arrival, and no rushing gets it back. Fix: log temperatures, cool immediately, and check the estimated arrival time before you leave the site.
- Running without blanks or duplicates. Without a field blank you cannot tell whether the equipment contaminated the sample, and without duplicates you cannot tell how much of the spread is real. Fix: carry a small percentage of QC volume on every field day.
Field Tips for Reliable Results
Time your stations so low and high water fall inside the sampling window you promised, and record the tide rather than assuming it. Run replicates at stations where you expect a sharp gradient, and remember a single surface grab is indicative, not representative, of anything below it.
Keep a spare cold chain, spare caps and a spare battery for the meter, because cold-chain failure is the most common reason a good field day is lost. Work with the laboratory before the field day, not after: send them your analyte list and your method, and ask what they need on the submission form.
What you should never do is improvise a step that conflicts with a validated study protocol. A quick fix that was never validated is a change to your method, and it turns a comparable dataset into a set of numbers nobody can explain. If the protocol does not cover your situation, ask the laboratory to add a written instruction to it, then follow what they send back.
Frequently Asked Questions
How deep should a water sample be collected?
Depth depends entirely on the question the sample must answer. Surface water monitoring usually takes a grab at a fixed depth, often one metre below the surface, while a depth profile uses a sampler that opens at discrete depths on a rosette or Niskin bottle. Always follow your study protocol or the laboratory instruction for depth, and record the actual depth on the label, because a sample with a wrong depth is not the sample the report claims.
Should I wear gloves when collecting a water sample?
Yes, for most field sampling, and always when the analyte list includes metals, hydrocarbons or microbiology. Nitrile gloves keep your skin oils and the residue on your hands out of the bottle neck and cap thread. Gloves do not replace good technique, though. Touching the inside of a cap with a gloved hand still contaminates the sample, so change the glove between stations and never reach over an open container.
Do I need to rinse the sampling bottle before use?
Only if your protocol says so. Most laboratory-supplied bottles are certified clean and must not be rinsed, because rinsing can push detergent residue or tap water into a container that was ready to go. Where a rinse is required for metals or field filters, use the liquid the protocol specifies, usually deionized water or sample water, and rinse three times. When in doubt, ask the laboratory rather than guessing.
How long can a water sample be stored before analysis?
It depends on the analyte, and the answer comes from the laboratory rather than from general advice. Bacteriological samples are the most urgent and are typically kept at about 2-5 degrees C with a holding window measured in hours to a few days. Acid-preserved metals can hold for months, while volatile compounds and physical parameters such as turbidity need analysis within days or hours. Check the holding time before you leave the site, not at the laboratory counter.
What is a field blank for water sampling?
A field blank is deionized water that is carried through your entire handling chain in the same bottle type, opened, filled, capped and preserved exactly like a real sample. It is a test of your equipment and your hands rather than of the water. If the field blank comes back with detections, your contamination source is the gear, the gloves or the preservation step, and the affected field samples have to be treated as compromised.
How do I collect a water sample for an ocean sensor project?
Take discrete bottle samples at the depths and stations your sensor will visit, and measure dissolved oxygen, pH, temperature, conductivity and turbidity in situ at the moment of collection, since those parameters drift fast once water sits in a bottle. Then pair the grabs with the logged in situ data. If the sensor is taking its own samples, follow the manufacturer’s handling rules for those volumes and containers, and keep the analytical bottle set separate from the sensor intake line.
Conclusion
Start by settling two things before you pack the boat: which analyte the sample must answer for, and what the receiving laboratory requires for container, volume, preservation and holding time. Everything after that is execution, and execution is where the difference between a usable dataset and an expensive bottle of seawater is made.
Then build the kit around that answer: clean equipment, the correct containers, waterproof labels, field blanks and duplicates, the right preservation, and a cold chain with temperature logs in it. Get those three decisions right and how to collect a water sample correctly stops being a question. If the protocol you are following and the procedure described here ever disagree, follow the protocol and ask the laboratory to update their instruction in writing.