To remove old boat registration numbers, warm the decal with a heat gun or hair dryer, lift a corner with a plastic scraper, peel it back slowly at less than a 45-degree angle, then dissolve the leftover adhesive with a remover and a final wipe of isopropyl alcohol. On a fiberglass boat with gel coat, one set of numbers takes an hour or two and a few basic supplies.
The method changes completely depending on what the numbers actually are. A vinyl decal lifts off with heat. Paint needs a chemical strip. Numbers molded into the gel coat during building are part of the boat, and sanding is the only way back to a clean surface. Know which one you have before you touch a heat gun to the hull.
There is also the paperwork side of this job. Registration numbers belong to a specific vessel on a specific document, and removing a number that is still legally required creates an inspection problem. Sort that out before you start scraping.
Table of Contents
- What You Need
- Step-by-Step: How to Remove Old Boat Registration Numbers
- Common Mistakes
- Frequently Asked Questions
- Can I remove old boat registration numbers myself?
- Do I need permission before removing a boat registration number?
- What is the safest way to remove numbers from a fiberglass boat?
- Will removing old registration numbers damage gelcoat?
- Should I repaint or wax the area after removing the numbers?
- Do I need to update the boat registration after removing the old numbers?
- Conclusion
What You Need
Start with the documents, not the tools. Pull the current registration certificate, find out which authority assigned the number, and confirm the number is obsolete or being replaced. Federal display rules under 33 CFR 173.45 set minimum requirements for numbers on both sides of a hull, and states add their own, so your state marine authority is the one to call with questions.
On the boat side of the job, gather cleaning supplies, a heat source, plastic lifting tools, solvents, and protective gear.
| Tool or supply | What it does | Safe on gel coat |
|---|---|---|
| Heat gun on low, or hair dryer | Softens the pressure-sensitive adhesive so the vinyl releases | Yes, if kept moving |
| Plastic scraper, old credit card, or plastic putty knife | Lifts an edge and pushes under the decal | Yes |
| Sharp broad wood chisel | Alternative edge lifter for stubborn baked-on vinyl | Yes, on a controlled angle |
| Adhesive remover, citrus or solvent based | Dissolves the glue left behind | Test first, citrus types are gentlest |
| 99 percent isopropyl alcohol | Final clean and degrease before new numbers go on | Yes |
| Marine wash or gentle degreaser | Cleans wax, dirt and salt off the area first | Yes |
| 1000 to 1200 grit wet/dry paper, compound, polish | Blends out the ghost outline after residue is gone | Only with water and light pressure |
| Nitrile gloves, eye protection, painter’s tape | Protects your hands and masks nearby trim | Required |
Two things people skip and regret. Take photographs of the numbers before you start, because if the job goes sideways you want a record of what was there. And open a window or work outdoors, especially with any solvent that smells strong enough to notice.
Step-by-Step: How to Remove Old Boat Registration Numbers
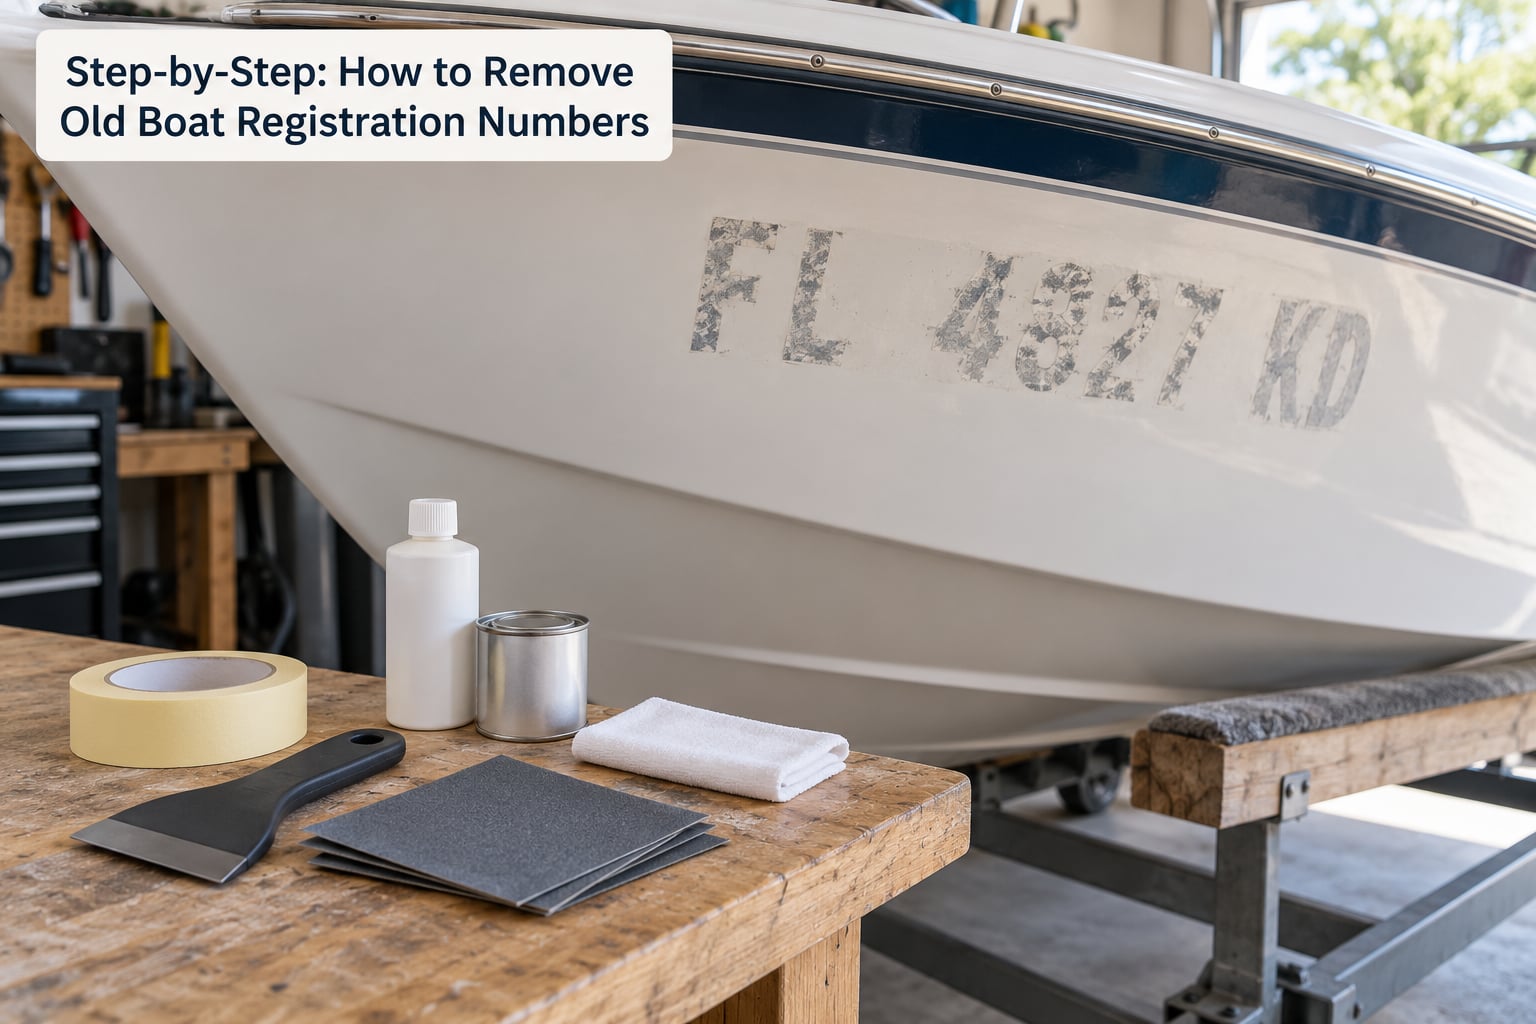
1. Confirm the Registration Is No Longer Required
Read the numbers off the hull and compare them with your registration certificate. If they match a live registration, they stay until the authority tells you otherwise, whether you are re-issuing numbers or transferring the boat.
Call the state agency that issued the certificate and ask what you should do with a number being replaced. Most want the old markings off the hull before the new ones go on, and some want the change recorded before the new set is displayed. A quick phone call removes most of the risk in this whole job.
You will know this step worked when you have written confirmation or a clear answer on record that the old number is no longer yours to display.
2. Clean and Protect the Hull
Wash the marked area with marine wash or a gentle degreaser, rinse, and dry it fully. Wax, polish, salt and dirt all sit between the decal and the gel coat, and grinding that layer into the surface is how people scratch a hull that looked fine before.
Test every solvent you plan to use in a spot nobody sees, such as the underside of the hull near the trailer. Put a small amount on a microfiber cloth, leave it for the dwell time listed on the product, then wipe and look for dulling or softening.
Mask chrome fittings, trim, boot stripe and any neighbouring decal with painter’s tape. Pull anything you would not want to sand, like a rubbing strake or a nonskid pad, out of the work area entirely. Wear nitrile gloves, and keep the boat well ventilated.
3. Choose the Least Aggressive Removal Method
Start with the least aggressive option that could work, and move up only if the numbers refuse to lift. Heat plus a plastic card handles most modern vinyl decals. Heat plus a broad wood chisel, held on a controlled angle like a straight razor, is the next step and takes the adhesive with it in one pass.
Here is how the main methods compare.
- Heat plus plastic card: fastest, roughly 10 to 20 minutes per side, low risk to gel coat, fails on paint and on vinyl that has been baked on for a decade.
- Heat plus wood chisel: 20 to 40 minutes per side, moderate risk, works on vinyl and thin paint, needs a sharp flat blade and a steady hand.
- Rubber eraser wheel on a drill: slow and tedious, low visible damage. Owners on iboats report it will not harm gel coat or paint, while others on offshoreonly say it just moves residue around without lifting it. Worth trying on a small area, not worth building a plan around.
- Oven cleaner or chemical strip: 25 to 30 minutes of dwell per pass, two passes for heavy paint, and it strips gel coat as readily as paint. Gloves, a respirator and serious ventilation are not optional. One iboats owner removed paint and stencil from gel coat this way and still needed a follow-up with acetone and 1200 grit paper.
- Wet sanding: the last resort, and the only real option for numbers embedded in the gel coat. It removes surface material, so it must be finished with compound and polish.
The hull itself decides how much risk you can take.
| Hull material | Best first choice | Main caution |
|---|---|---|
| Fiberglass with gel coat | Heat plus plastic card | One pass with a blade or grinder can cut through to fiberglass |
| Painted hull (aluminum or steel) | Heat plus plastic card for vinyl, stripper for paint | Solvents that are safe on gel coat can lift paint or cloud it |
| Bare or anodized aluminum | Heat plus plastic card, then degrease | Steel wool and wire wheels leave rust-starting scratches |
| Polycraft or wood | Low heat, gentle scraping | Solvents and heat can raise the grain or soften a fairing |
Avoid power grinders, aggressive wire wheels and heat held still in one spot. Vinyl melts and gums before the adhesive gives up, and a chewed spot takes far longer to fix than a stubborn number takes to lift.
4. Erase the Numbers and Work Out the Residue
Hold the heat gun 6 to 8 inches from the decal and warm it for 30 to 60 seconds, keeping the gun moving the whole time. Work in sections the size of one number rather than trying to heat the whole set at once.
Slide the plastic card under a corner at roughly a 30-degree angle, and peel slowly. Slow and shallow beats fast, because vinyl that tears halfway leaves half a decal and a fresh mess of adhesive. Reheat for a few seconds whenever the pull starts to feel stiff, and swap to a clean edge of the card as soon as it drags.
Then deal with what is left. Spray or dab adhesive remover onto the residue, give it 2 to 5 minutes to dwell, and wipe with a clean microfiber cloth before the remover evaporates. Repeat rather than scrubbing harder. Isopropyl alcohol clears the last film and any solvent streaks.
Stop and reassess if the gel coat turns glossy, uneven or thin in any area. Those are signs you have reached the fiberglass underlayer, and from there the repair is a kit, not a wipe.
5. Finish and Protect the Repaired Area
Work residue cleanup while the surface is still slightly warm; cold gel coat holds a faint haze that shows badly in sun. Once the area is clean, run a cloth over it and look in daylight from an angle, where a ghost outline is far easier to see than it is from straight on.
If a shadow remains, wet sand it with 1000 grit, then 1200 grit, keeping the surface flooded and the pressure light. Follow with a cutting compound and a polish to bring the gloss back, then wax the whole section so the repaired patch matches the rest of the hull.
For a deeper gouge, a marine gel coat repair kit matched to your hull colour handles small damage; anything larger than a fingernail or wider than the numbers themselves is a job for a repair shop. Clean surface, no wax, no silicone, and new marine vinyl needs a surface above 50 degrees F to bond. Let fresh numbers cure at least 24 hours before the boat goes in the water.
Finish each side and then walk around the boat with the new numbers placed, before you press them down. Getting the spacing and height right once is easier than peeling a set you have already stuck on crooked.
Common Mistakes
Removing a number that is still required is the one mistake with legal consequences. Confirm the registration status first, every time.
Using a metal razor or a utility blade on gel coat is the most common avoidable damage. It cuts micro-grooves that catch dirt and dull the finish permanently. Use plastic, or a sharp broad chisel on a controlled angle, which is what a sailboatowners poster described as shaving with a straight razor.
Yanking a cold decal tears it in pieces and leaves adhesive fragments you now have to pick out one at a time. Heat first, every time, and peel at a shallow angle.
Treating every solvent as safe. Acetone can cloud gel coat and may sit badly with a hull warranty. WD-40 is a lubricant, not a remover, though owners report it shifting adhesive after multiple applications. Oven cleaner strips gel coat as well as paint. Citrus and plant-based options such as Debond, Rapid Remover and Tar-X are the gentler choice, and 99 percent isopropyl alcohol is the default safe answer that offshoreonly posters come back to year after year.
Skipping the residue cleanup is the mistake people regret most, because leftover adhesive traps dirt and makes the hull look worse than before you started. Budget real time for it. On a 1993 Formula with large old decals, the hair dryer lifted them easily and the residue still needed a stronger remover to shift it.
Forgetting to update the paperwork leaves your displayed numbers and your document disagreeing with each other, which is exactly what an inspecting officer checks first.
Sanding dry, or skipping the polish afterwards, leaves a matte patch that announces the repair. If you sand, use water, and if you compound, wax the whole section afterward.
Frequently Asked Questions
Can I remove old boat registration numbers myself?
Yes, on a fiberglass boat with vinyl decals this is a normal weekend job with a heat gun, a plastic scraper and an adhesive remover. Expect an hour or two for one set of numbers including cleanup. Painted or gel coat-embedded numbers are harder and sometimes worth handing to a repair shop, and any solvent work needs gloves and ventilation.
Do I need permission before removing a boat registration number?
Confirm the status of the number first. If it belongs to a live registration on your certificate, it stays on the hull until the issuing authority tells you otherwise. Federal rules under 33 CFR 173.45 set minimum display requirements and states add their own, so call your state marine agency and ask what they require before new numbers go on.
What is the safest way to remove numbers from a fiberglass boat?
Heat the decal with a heat gun or hair dryer held 6 to 8 inches away for 30 to 60 seconds, keep it moving, then lift an edge with a plastic card and peel slowly at under 45 degrees. Clean the leftover adhesive with a citrus remover and finish with 99 percent isopropyl alcohol. Never use a metal blade, and always test solvents out of sight first.
Will removing old registration numbers damage gelcoat?
Not if you work gently. Heat plus a plastic card leaves the gel coat untouched, and that handles most modern vinyl. Damage usually comes from metal blades, dry sanding or holding a heat gun in one spot. Stop if the surface turns glossy or uneven, because that means you have gone through to the fiberglass and need a repair kit instead of another wipe.
Should I repaint or wax the area after removing the numbers?
Wax is usually enough. Once residue is gone, polish out any ghost shadow with 1000 then 1200 grit wet sandpaper under water, follow with compound and polish, then wax the whole section so the sheen matches. Full repainting only makes sense if the numbers were molded into the gel coat, where sanding has removed surface material that needs filling.
Do I need to update the boat registration after removing the old numbers?
Record the change with the agency that issued your certificate, especially if you are re-issuing numbers or the boat is changing ownership. Most states want the old numbers off the hull before new ones are displayed, and an inspector compares what is on the transom and hull sides against the document. A short phone call avoids the problem entirely.
Conclusion
Confirm the old number is no longer required, then identify what it actually is: vinyl, paint, or molded into the gel coat. That single decision sets the method, and for most fiberglass boats it means heat at 6 to 8 inches plus a plastic card peeled slowly at under 45 degrees.
Give the residue cleanup the time it deserves, blend out any ghost shadow with wet sanding, compound and wax, and let new numbers cure 24 hours before launching. Rules vary by state, so your local boating authority settles the paperwork questions.
While the boat is out of the water anyway, it is a good moment to check how visible it is under way. Our guide on how to make a boat visible to other vessels covers the lighting and marks that keep you seen. If the numbers you removed relate to handling or trim, how to find the center of gravity on a boat explains the loading math behind it, and how to improve GPS accuracy on a small boat covers the electronics that put the wrong position on the chart in the first place.